Battery Check
| Battery Check |
| Test method |
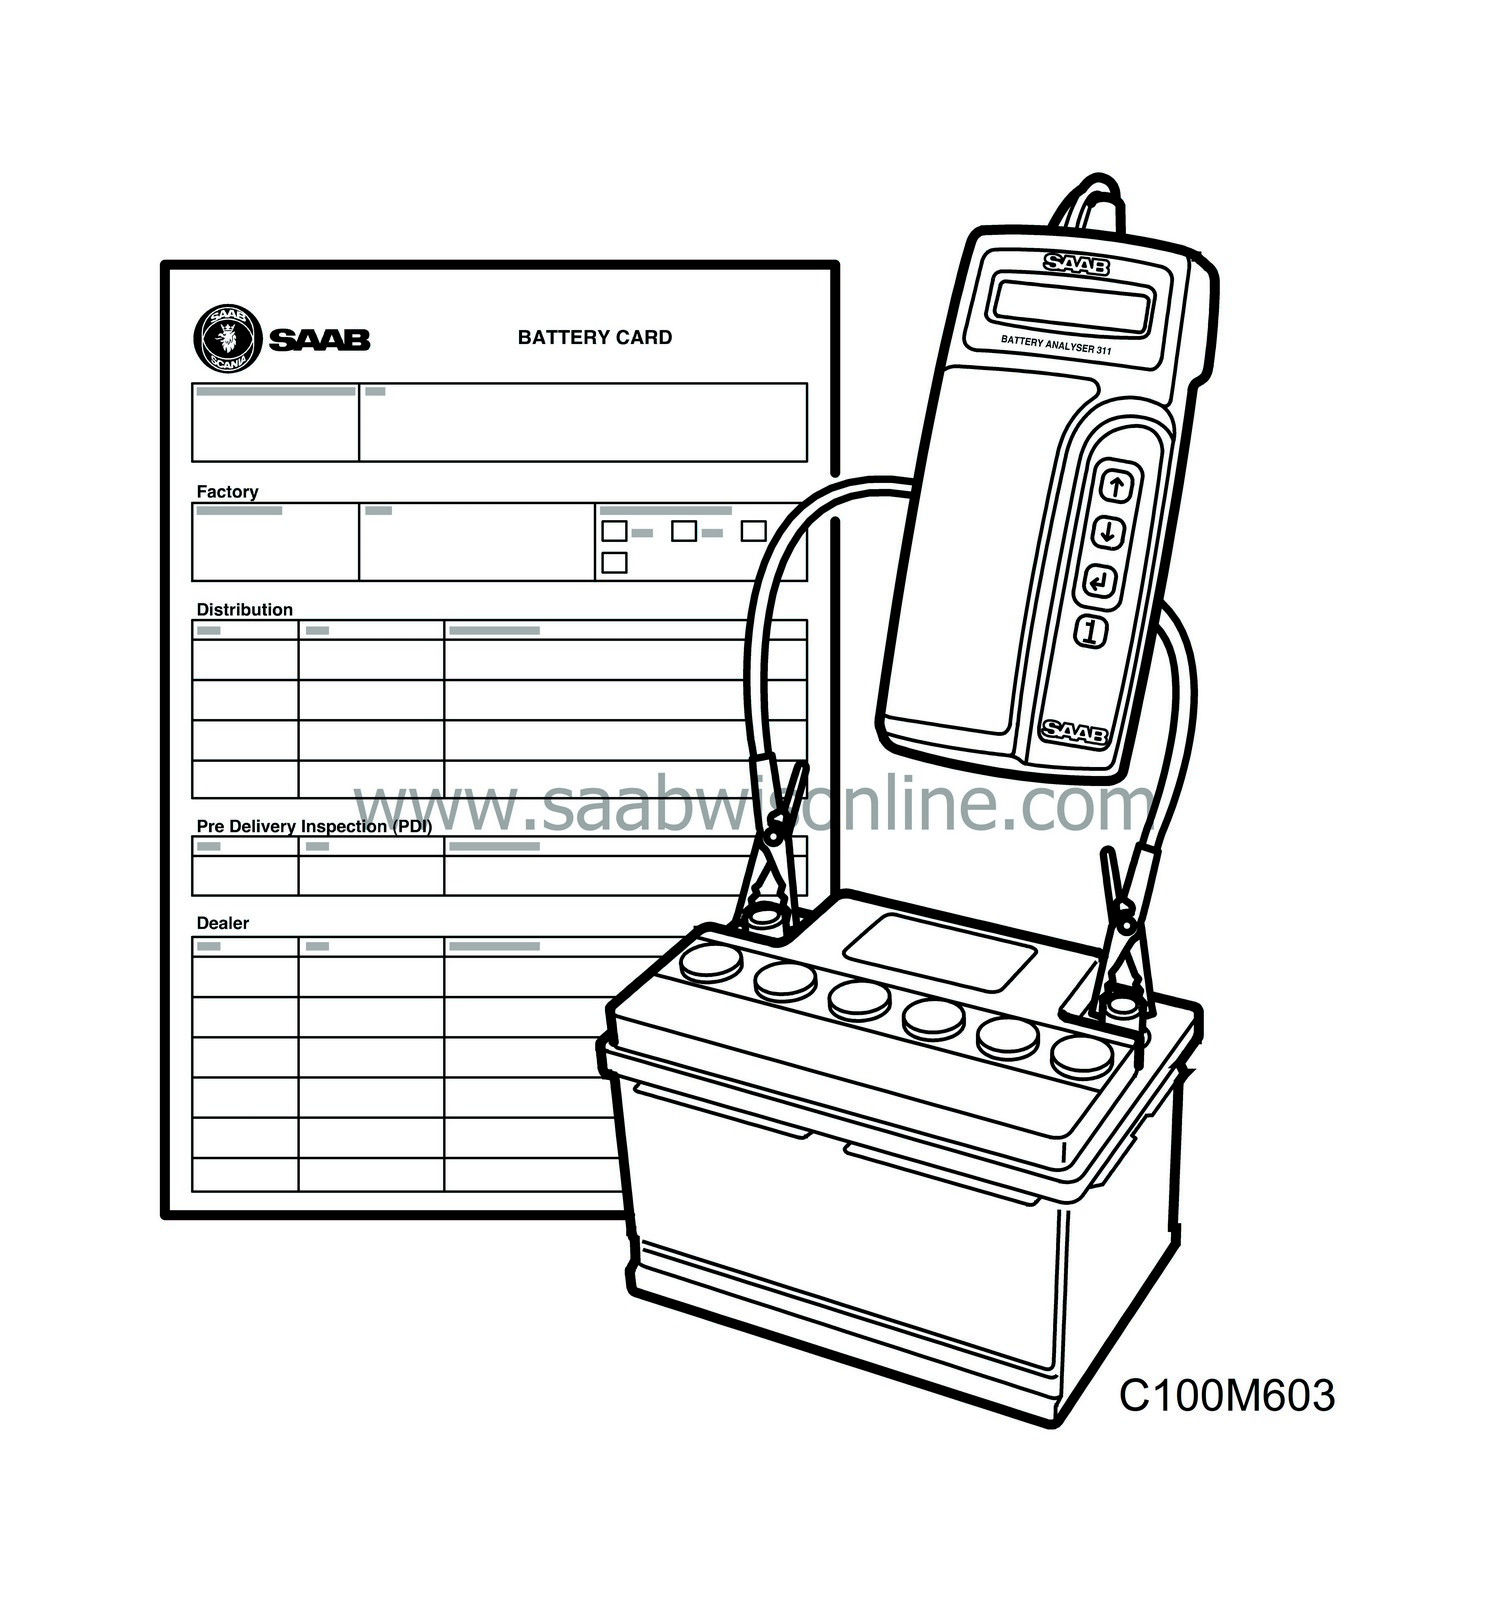
The battery check should be performed with Battery analyser 311, see also Service Information 311-2009 (SE = 311-2145)
Use the arrow buttons to select the correct alternative in each menu.
Use the ENTER key to confirm the selection. The selections made here will remain as default selections the next time the analyser is activated.
| 1. |
Check the acid level in the battery and top up if necessary (especially on warm markets). If the battery has been used for a period with low acid level, it should be recharged after topping up before carrying out the battery check.
|
||||||||||
| 2. |
Clean the battery terminals.
|
|
| 3. |
Connect the red cable clamp to the positive terminal (+). (Incorrect polarity will not damage the analyser.)
|
|
| 4. |
Connect the black cable clamp to the negative terminal (-). When both clamps are attached, the analyser self-test will start automatically. If there is a fault in the analyser, the message “INTERNAL FAULT SERVICE REQU.” will be displayed.
|
|
| 5. |
Ensure that the cable clamps make good contact.
|
||||||||||
| 6. |
At “SELECT TEST”, specify whether the battery is connected to the car's electrical system (“IN VEHICLE”) or not (“OUTSIDE VEHICLE”).
|
|
| 7. |
At “BATTERY TYPE”, select whether the battery is factory-fitted (“SAAB BATTERY”) or a replacement battery of other manufacture (“NOT SAAB”).
|
|
| 8. |
Confirm “SELECT SAE(A) TEST” if the battery's cold-starting current is specified to CCA(SAE) standard. Select and confirm “SELECT DIN(A) TEST” for batteries specified to DIN standard.
DIN standard can be selected when the analyser is used to check replacement batteries that are not specified to SAE. |
||||||||||
| 9. |
Enter the specified cold-starting current for the battery in question.
On Saab factory-fitted batteries, this value can be found in large characters on the label on top of the battery from model year 1999. The table below specifies the CCA (SAE) values for factory-fitted batteries from model year 1994 to be used when testing the battery with Battery Analyser 311.
The battery check will be started automatically as soon as a value has been selected and confirmed. The analyser may then request further information before presenting the results. A “BATTERY TEMP” Under certain conditions, the analyser needs to know if the battery temperature is above or below 0°C (32°F) in order to assess the battery correctly. This can happen even if the battery is checked at room temperature. By selecting and confirming the correct value, a new test will be performed. B “SURFACE CHARGE DETECTED” Under certain conditions, the charge can exist as a surface layer on the battery electrodes. This gives a relatively high voltage reading but does not contain useable starting energy. In order to give a correct assessment of the battery in this case, the analyser will ask the operator to turn the ignition ON and put on dipped headlights for a few seconds by displaying the message "IGNITION ON HEADLAMPS ON". The analyser will then indicate when the load can be disconnected by displaying "IGNITION OFF HEADLAMPS OFF". A new battery test will start automatically when this has been done. If the analyser can not detect the load being connected or disconnected the message “WARNING” will first be displayed and then "LOAD ON NOT DETECTED" or "LOAD OFF NOT DETECTED". C “SELECT BEFORE CHARGE” “SELECT AFTER CHARGE” Under certain conditions between measured voltage and conductance, the analyser will need to know if the test is being performed before or after recharging the battery in order to correctly assess the battery.
Once any questions have been answered, the analyser will display the test results in one of the following ways:
When “GOOD BATTERY” and “GOOD-CHARGE” are shown, the display will switch between showing the message and showing the battery charge in steps of 25%, e.g. “CHARGE STATUS: 0-25%”. This value provides a good indication of the current battery status. We recommend performing an extra test with the battery outside the car when the analyser indicates that the battery should be replaced within the warranty period. The test code from this test must then be attached to the warranty claim (see Warranty Policy for further information).
|
|||||||||||||||||||||||||||||||||||||||||||||||||||||||||||||||||||


