Charge air cooler
| Charge air cooler |
| 1. |
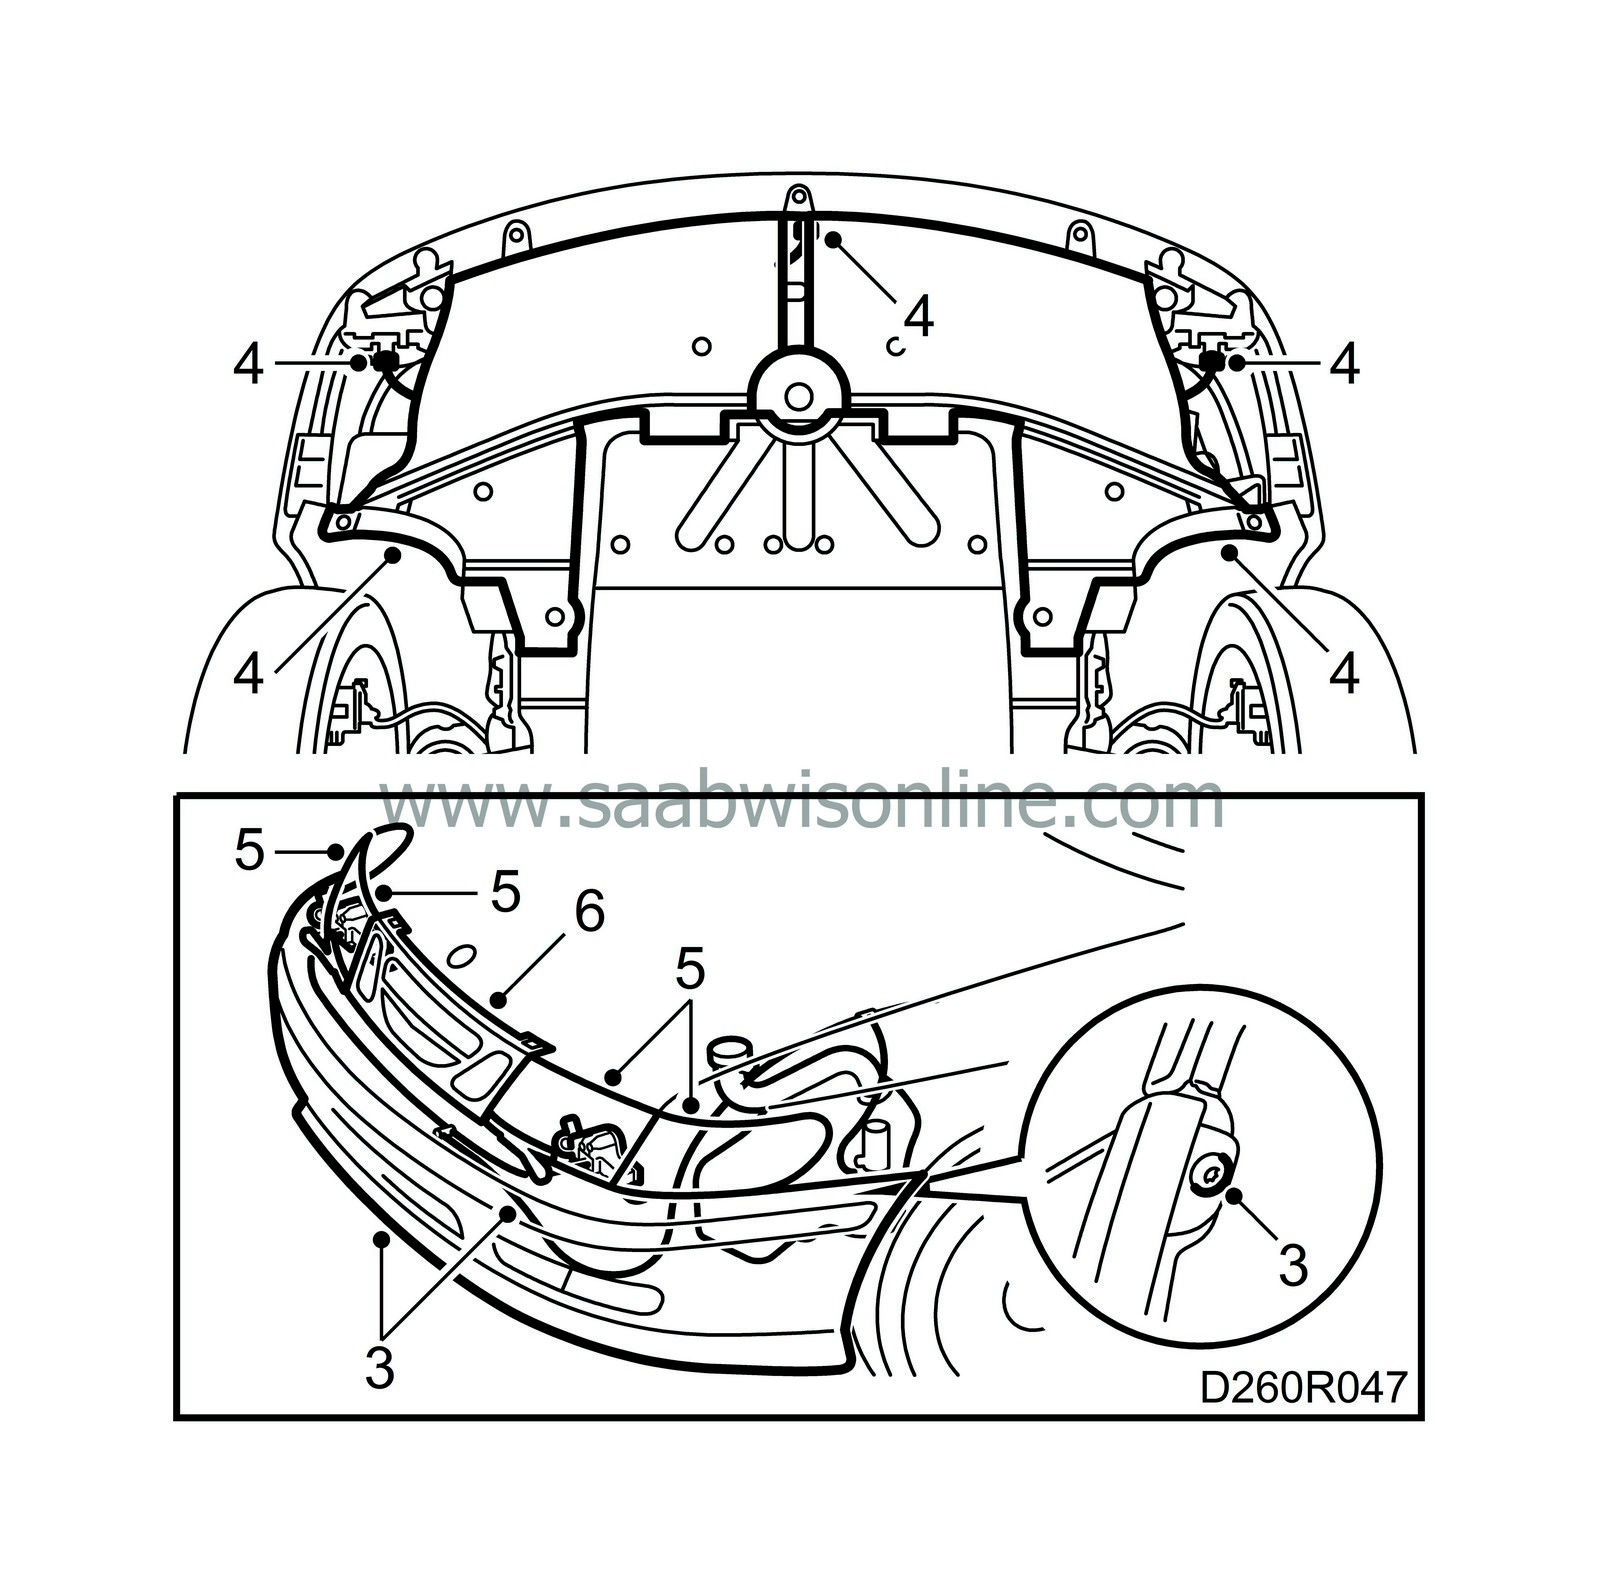
Remove the grille, direction indicator lamps and the headlights as well as unplug the electric connections.
|
|
| 2. |
Raise the car and remove the air shields. Unplug the connection for temperature sensor, outdoor air and for the fog lights (if the car is equipped with them).
|
|
| 3. |
Lower the car to working height, remove the bumper attaching bolts, pull away the washer hose from the clips and pull the bumper forward.
|
|
| 4. |
Remove the air shields from both sides of the radiator.

|
|
| 5. |
Remove the hoses from the charge air cooler and remove the charge air cooler.
|
||||||||||
| To fit |

| 1. |
Fit the charge air cooler in place, tighten the bolts and connect the hoses.
|
|
| 2. |
Fit the air shields by the radiator.
|
|
| 3. |
Fit the bumper in place and tighten the bolts. Fixate the washer hose.

|
|
| 4. |
Raise the car, connect the temperature sensor, outside air and fog lights and fit the air shields. Lower the car.
|
|
| 5. |
Connect and fit the headlamps and the direction indicator lamps.
|
|
| 6. |
Refit the grille.
|
|
| Cleaning, charge air cooler |

| 1. |
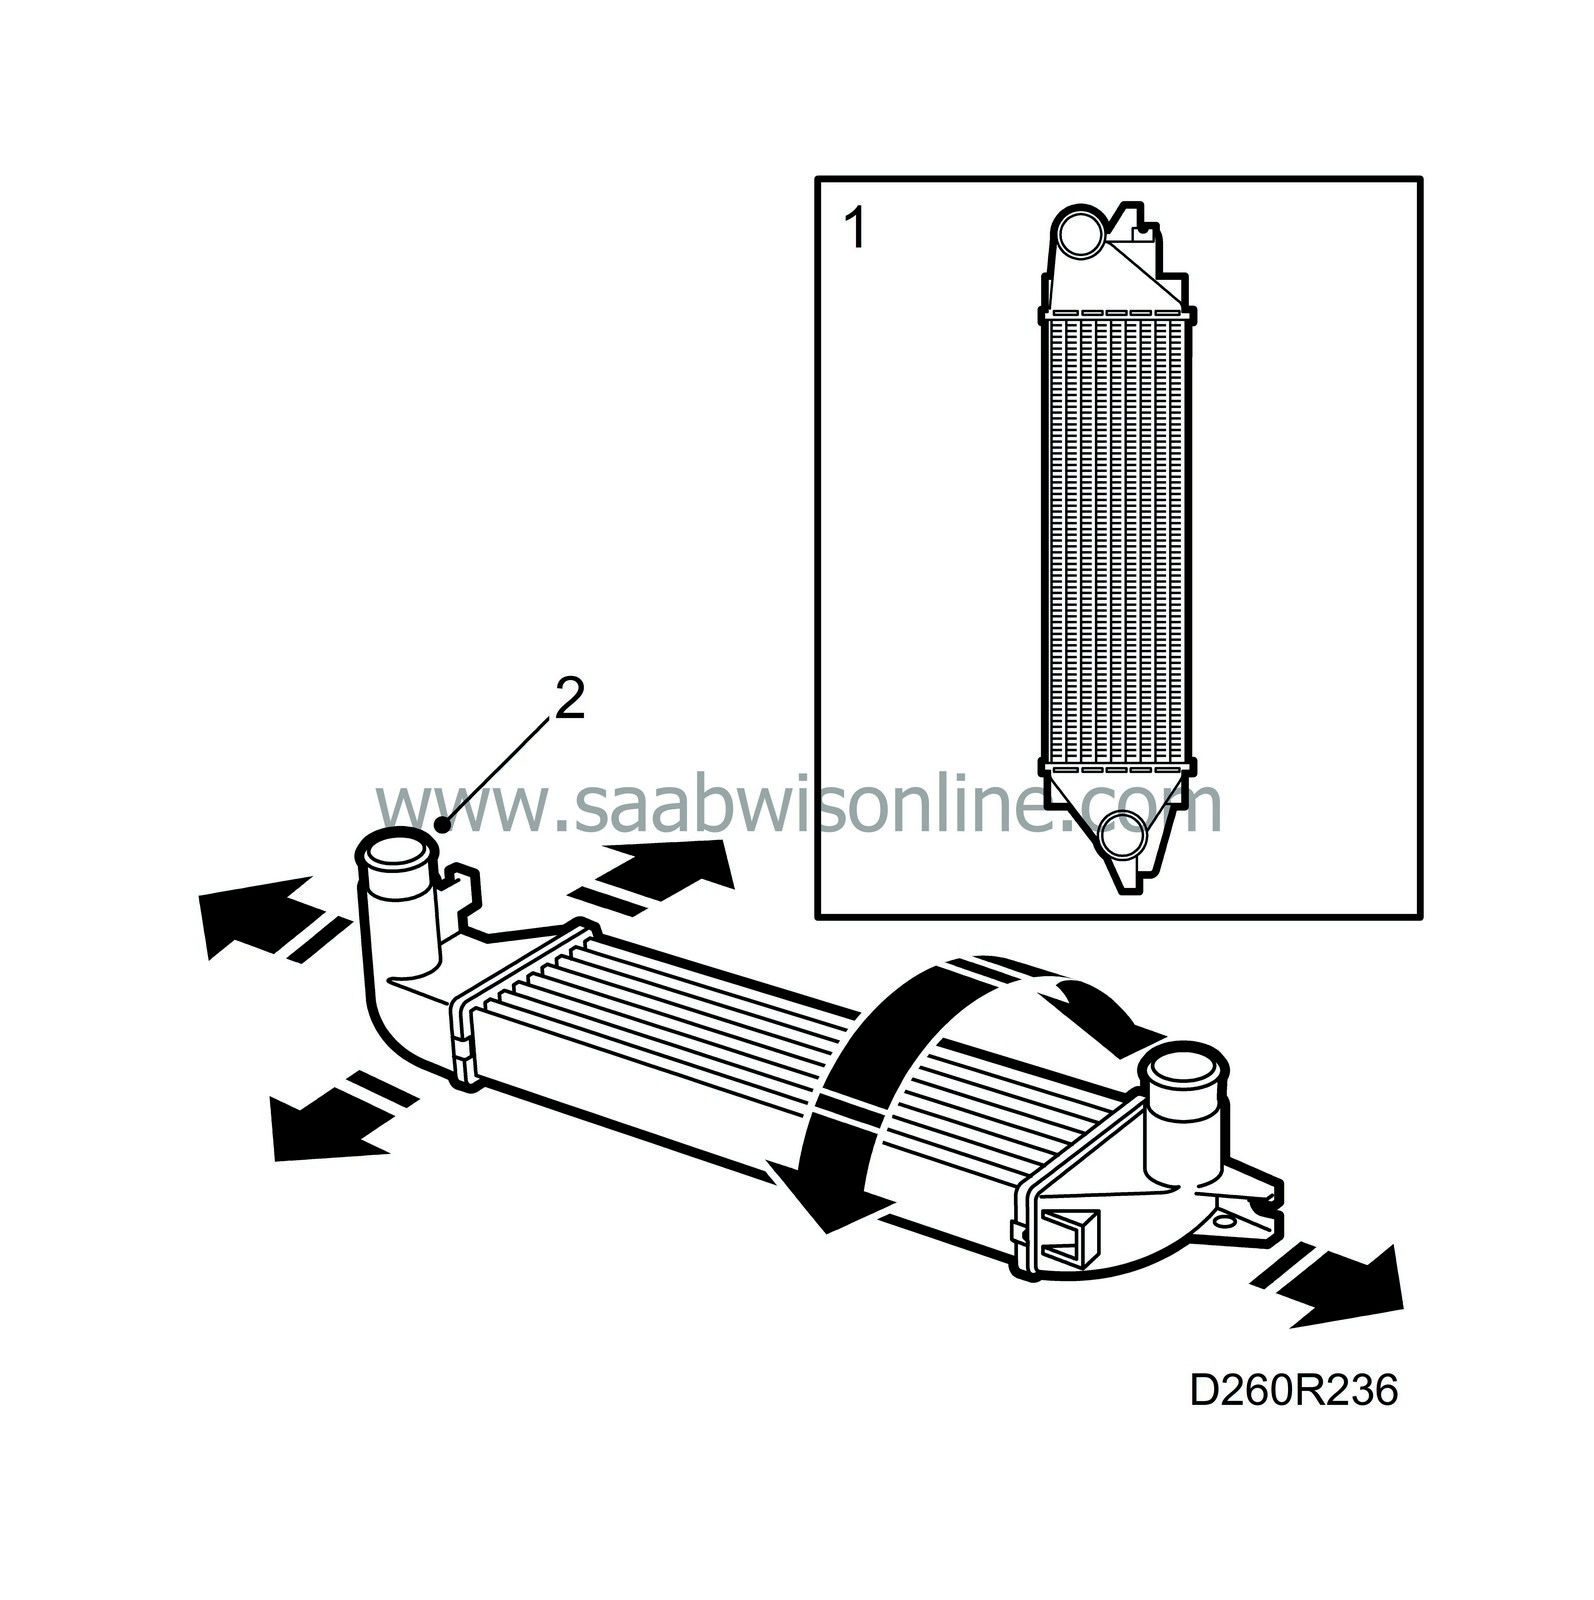
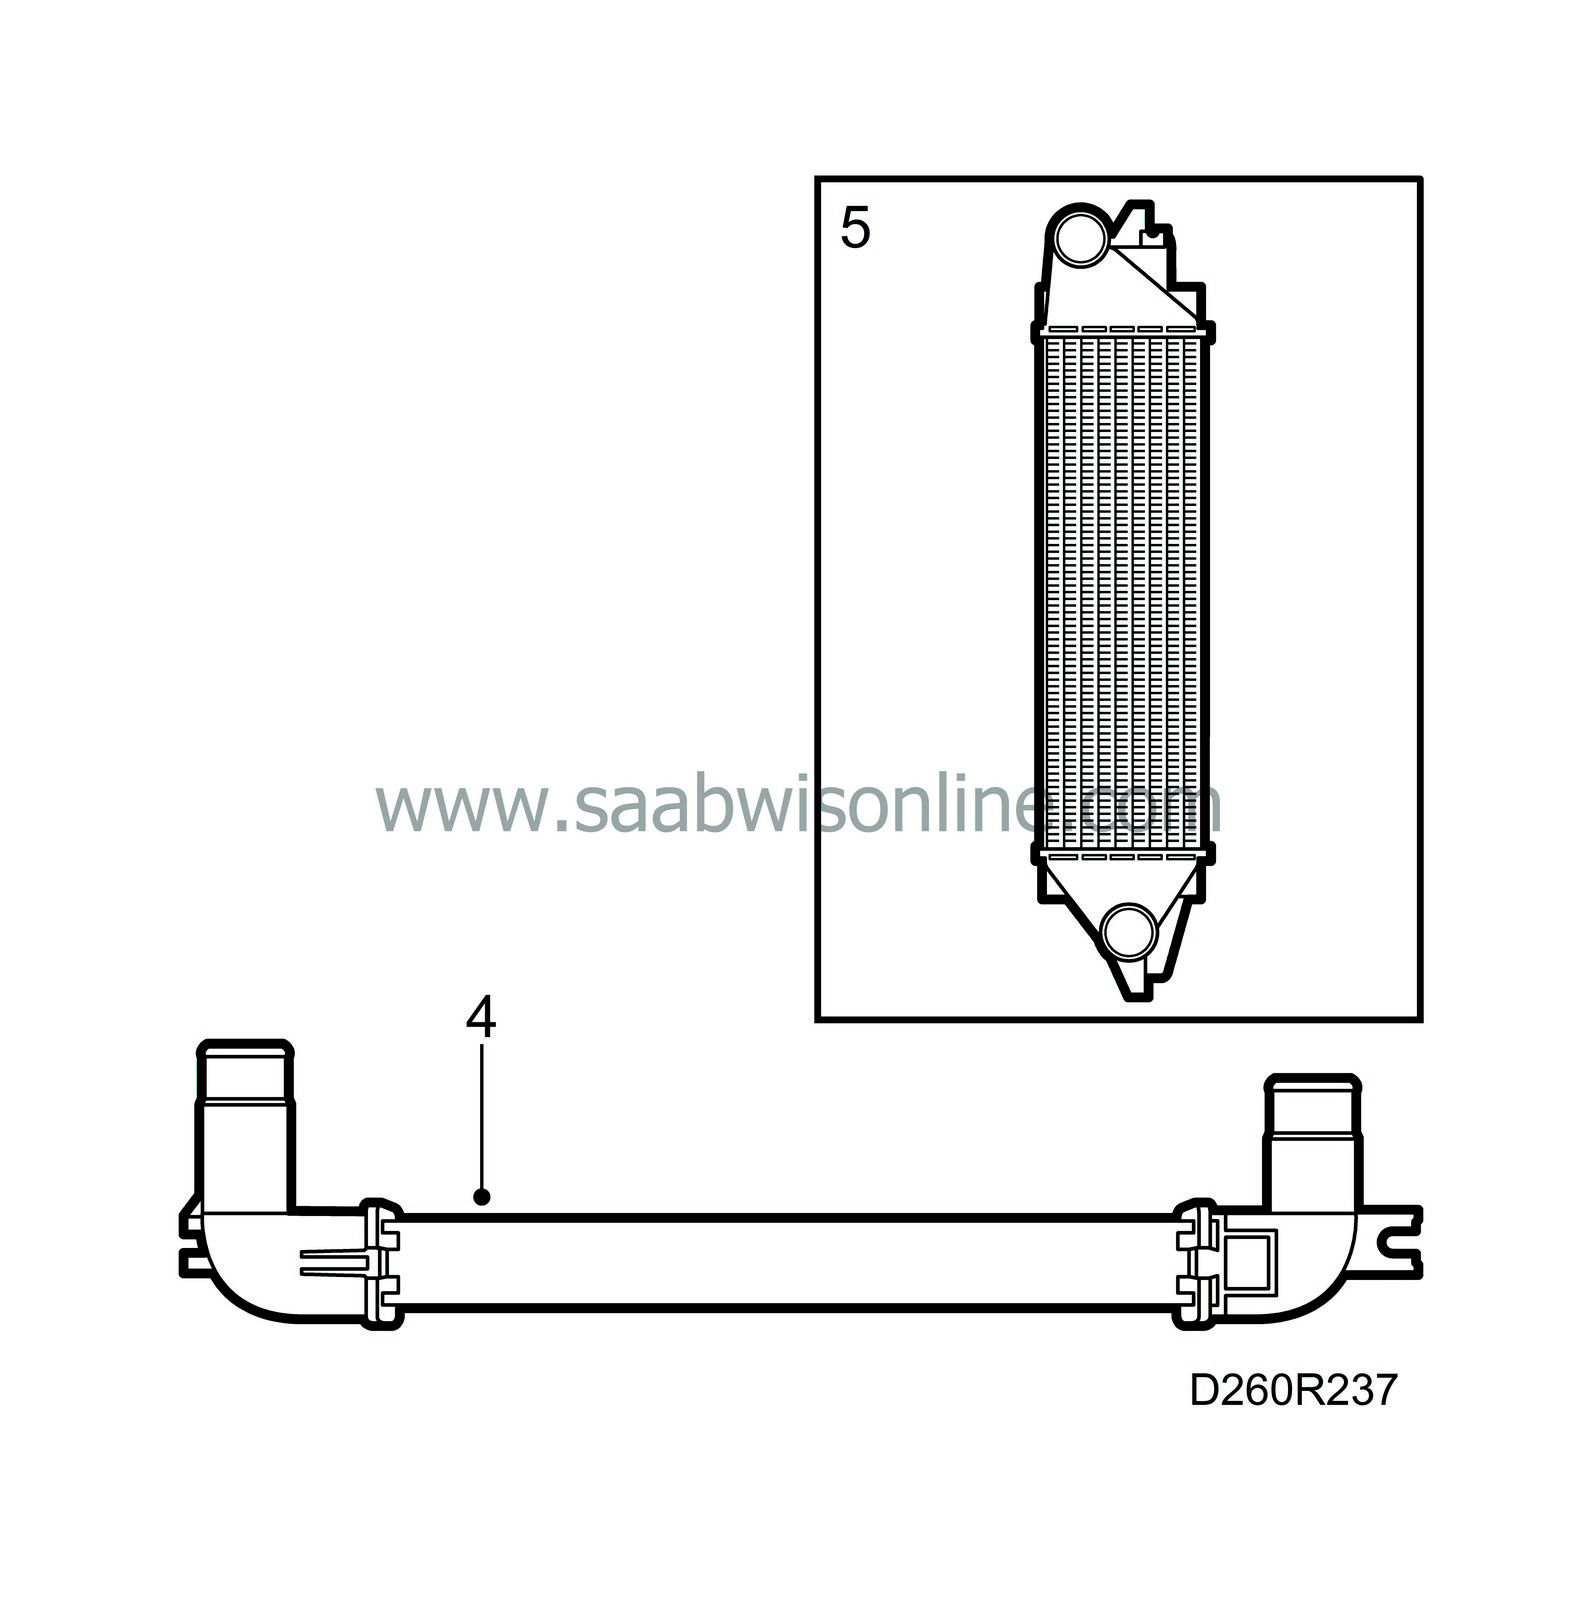
Stand the cooler on edge with the lowest connection at bottom and allow the oil, if any, to run out.
|
|
| 2. |
Lay the cooler flat and pour in Remover 2482, part no. 30 02 482 / 30 02 490, or the equivalent. Move the cooler sideways and angled in different directions so that the cleaning fluid reaches all parts of the interior. Drain the cooler and repeat the procedure.
|
|||||||||
| 3. |
Drain the cooler, positioning it with the lowest connection at bottom.

|
|
| 4. |
Place the cooler in an inclined position and rinse it out with hot water. Rinse it alternately from the right and left connections until the water no longer contains any traces of oil.
|
|
| 5. |
Stand the cooler on edge after rinsing it and allow the water to run out.
|
|
| 6. |
Finally, blow the cooler dry carefully with compressed air to get rid of any remaining water.
|
|


 Warning

