CD changer (option)
| CD changer (option) |
| 1. |
Connect Tech 2.
|
|
| 2. |
Establish communication with the CD changer (CDC).
|
|
| 3. |
Select “
PROGRAMMING
” in the system menu.
|
|
| 4. |
Press “
ENTER
”.
|
|
| 5. |
Select “DIVORCED” with the change button and press “
OK
”.
|
|
| • |
When removing a CD changer (to install it in another car or return it for repair under warranty), select “
DIVORCED
”.
|
| 6. |
The sound should now fall silent and “CDC CODE” should be displayed on the SID.
|
|
| 7. |
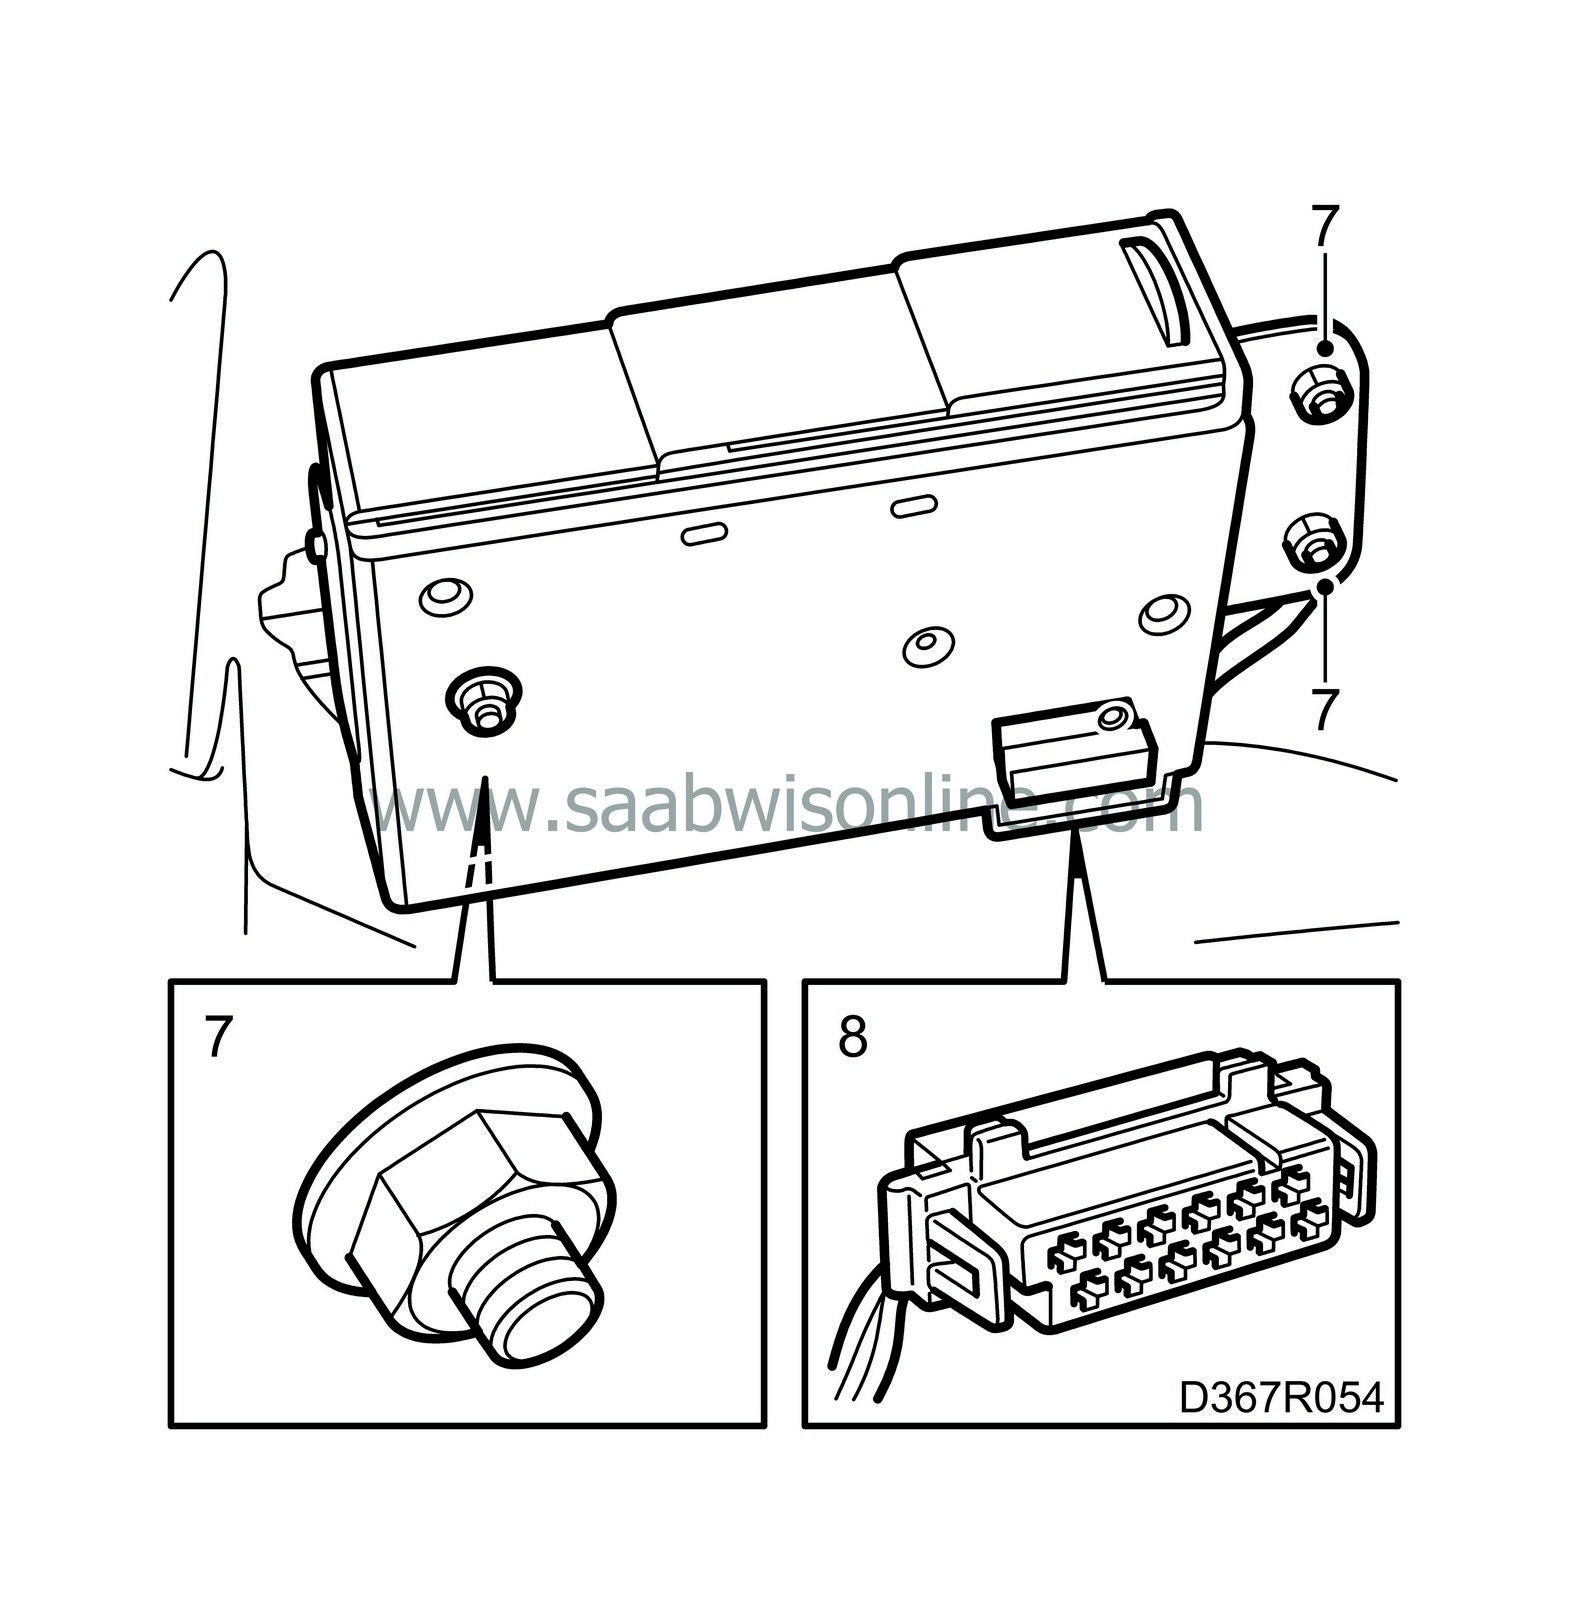
Unscrew the three nuts securing the CD changer.
|
|
| 8. |
Unplug the connector.
|
|
| To fit |

| 1. |
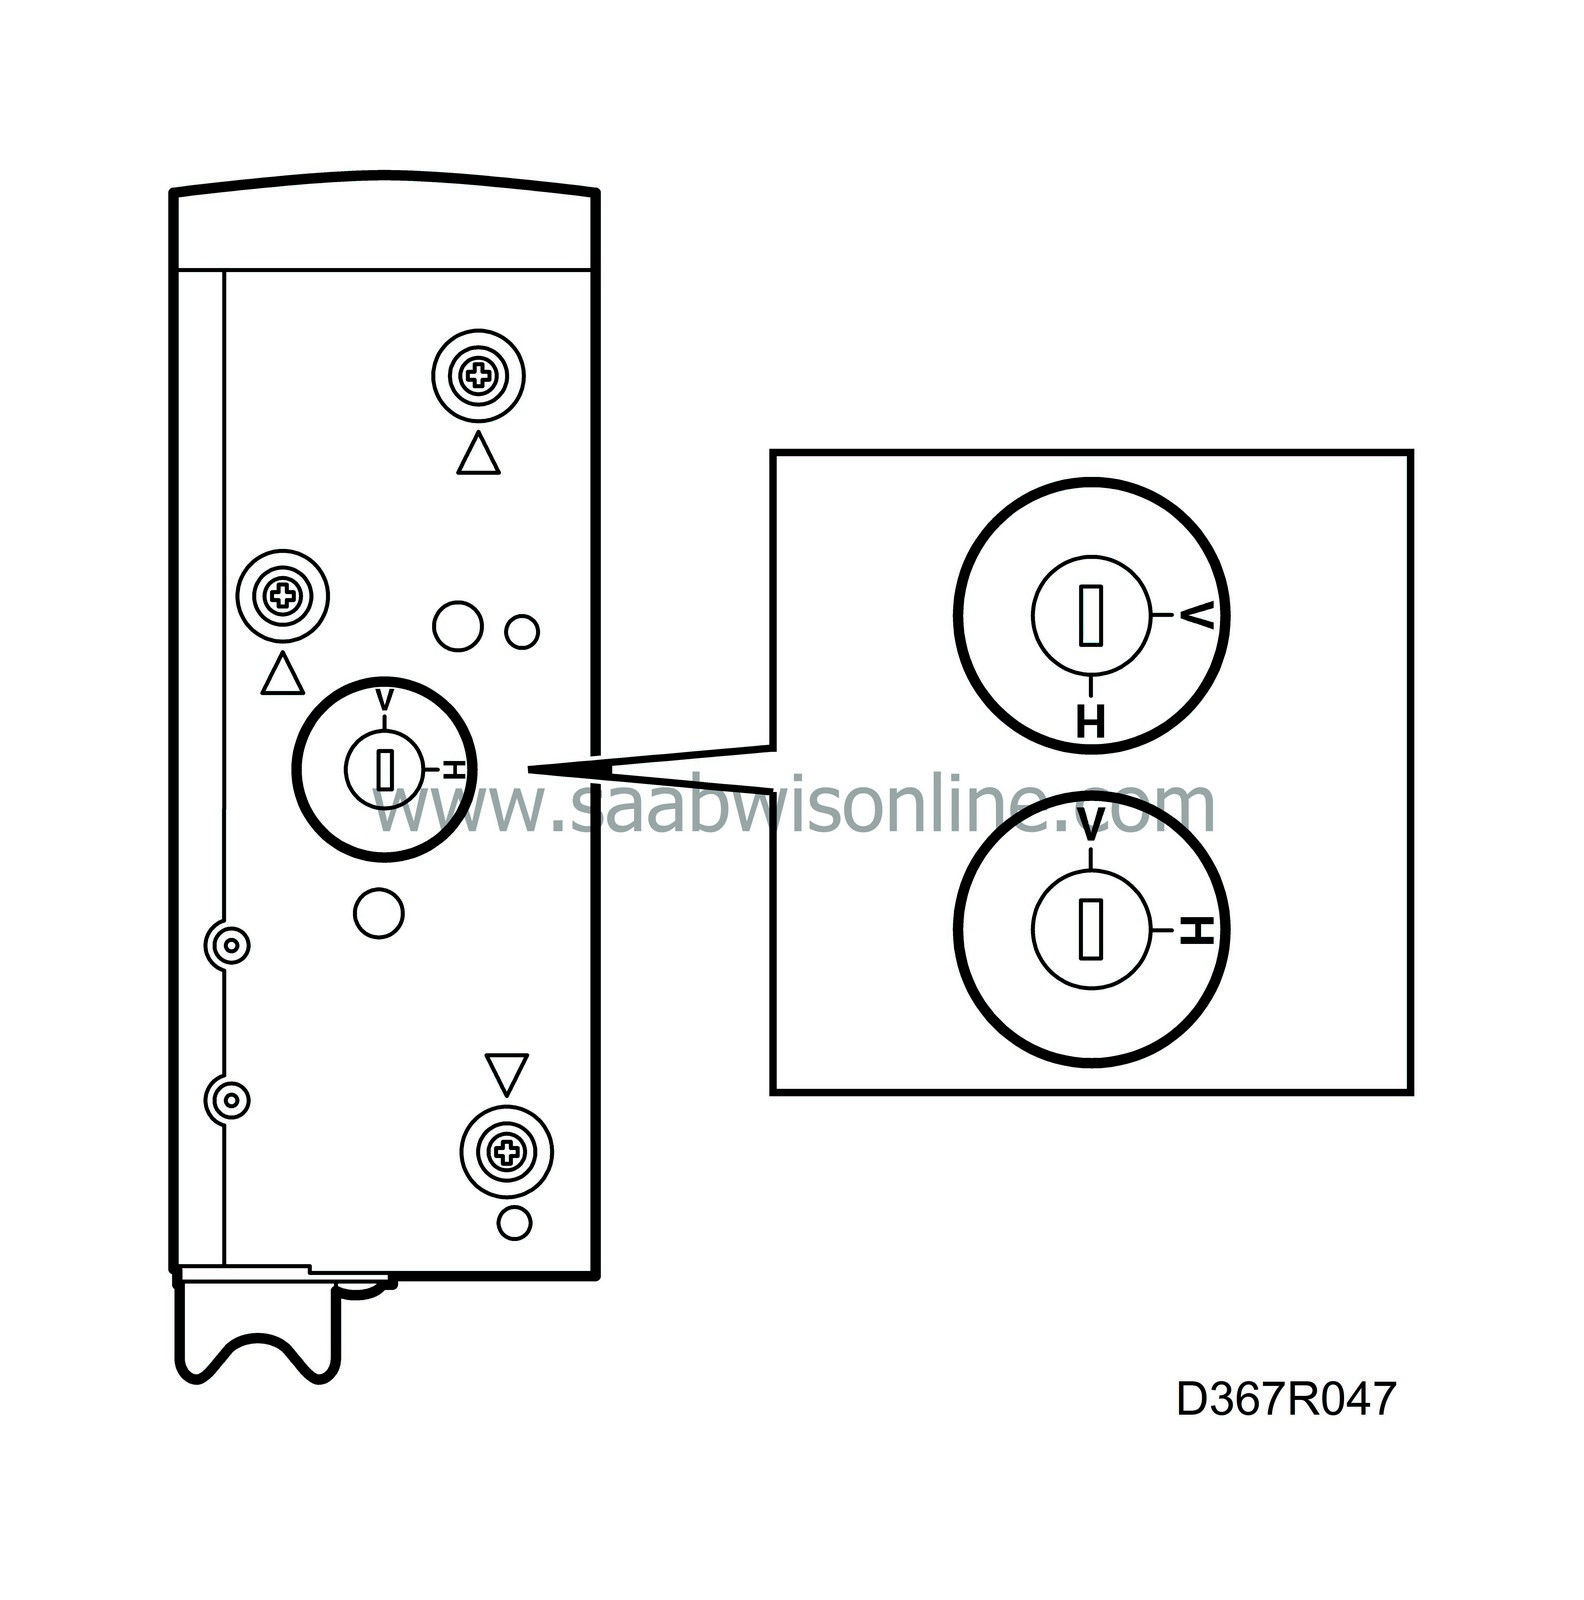
Remove the 4 transit screws (2 coloured red on each short side) from the new CD changer.
|
|
| 2. |
Install the CD changer by means of the four screws and plug in the connector.
|
||||||||||
| 3. |
With Tech 2 connected and communication established, select “
PROGRAMMING
” in the system menu.
|
|
| 4. |
Press “
ENTER
”.
|
|
| 5. |
Select “MARRIED” with the change button and press “
OK
”.
|
|
| • |
When installing a CD changer in a Saab 9-3, “
MARRIED
” should be selected.
|
| 6. |
“CDC CODE” disappears from the SID and the sound returns.
|
|
|
|||||||||||||


 Warning

