Wiring harness, airbag
| Wiring harness, airbag |
|
||||||||||
| Changing |
| Note | ||
|
If the car is fitted with a radio other than a Saab original radio, check that the customer has the radio code before you begin work. |
| 1. |
Disconnect the negative lead of the battery.
|
|
| 2. |
Remove the glovebox lid.
|
|
| 3. |
Remove the RH seat
|
|
| 4. |
Remove the floor console.
|
|
| 5. |
Remove the centre console and end plates.
|
|
| 6. |
Remove the steering wheel and dashboard.
|
|
| 7. |
Remove the main instrument unit.
|
|
| 8. |
Remove the radio.
|
|
| 9. |
Remove SID.
|
|
| 10. |
Remove the bottom of the dashboard and the knee shield on the LH side.
|
|
| 11. |
Remove the main fuse board of the dashboard.
|
|
| 12. |
Remove the heating system's duct for floor discharge on the LH side.
|
|
| 13. |
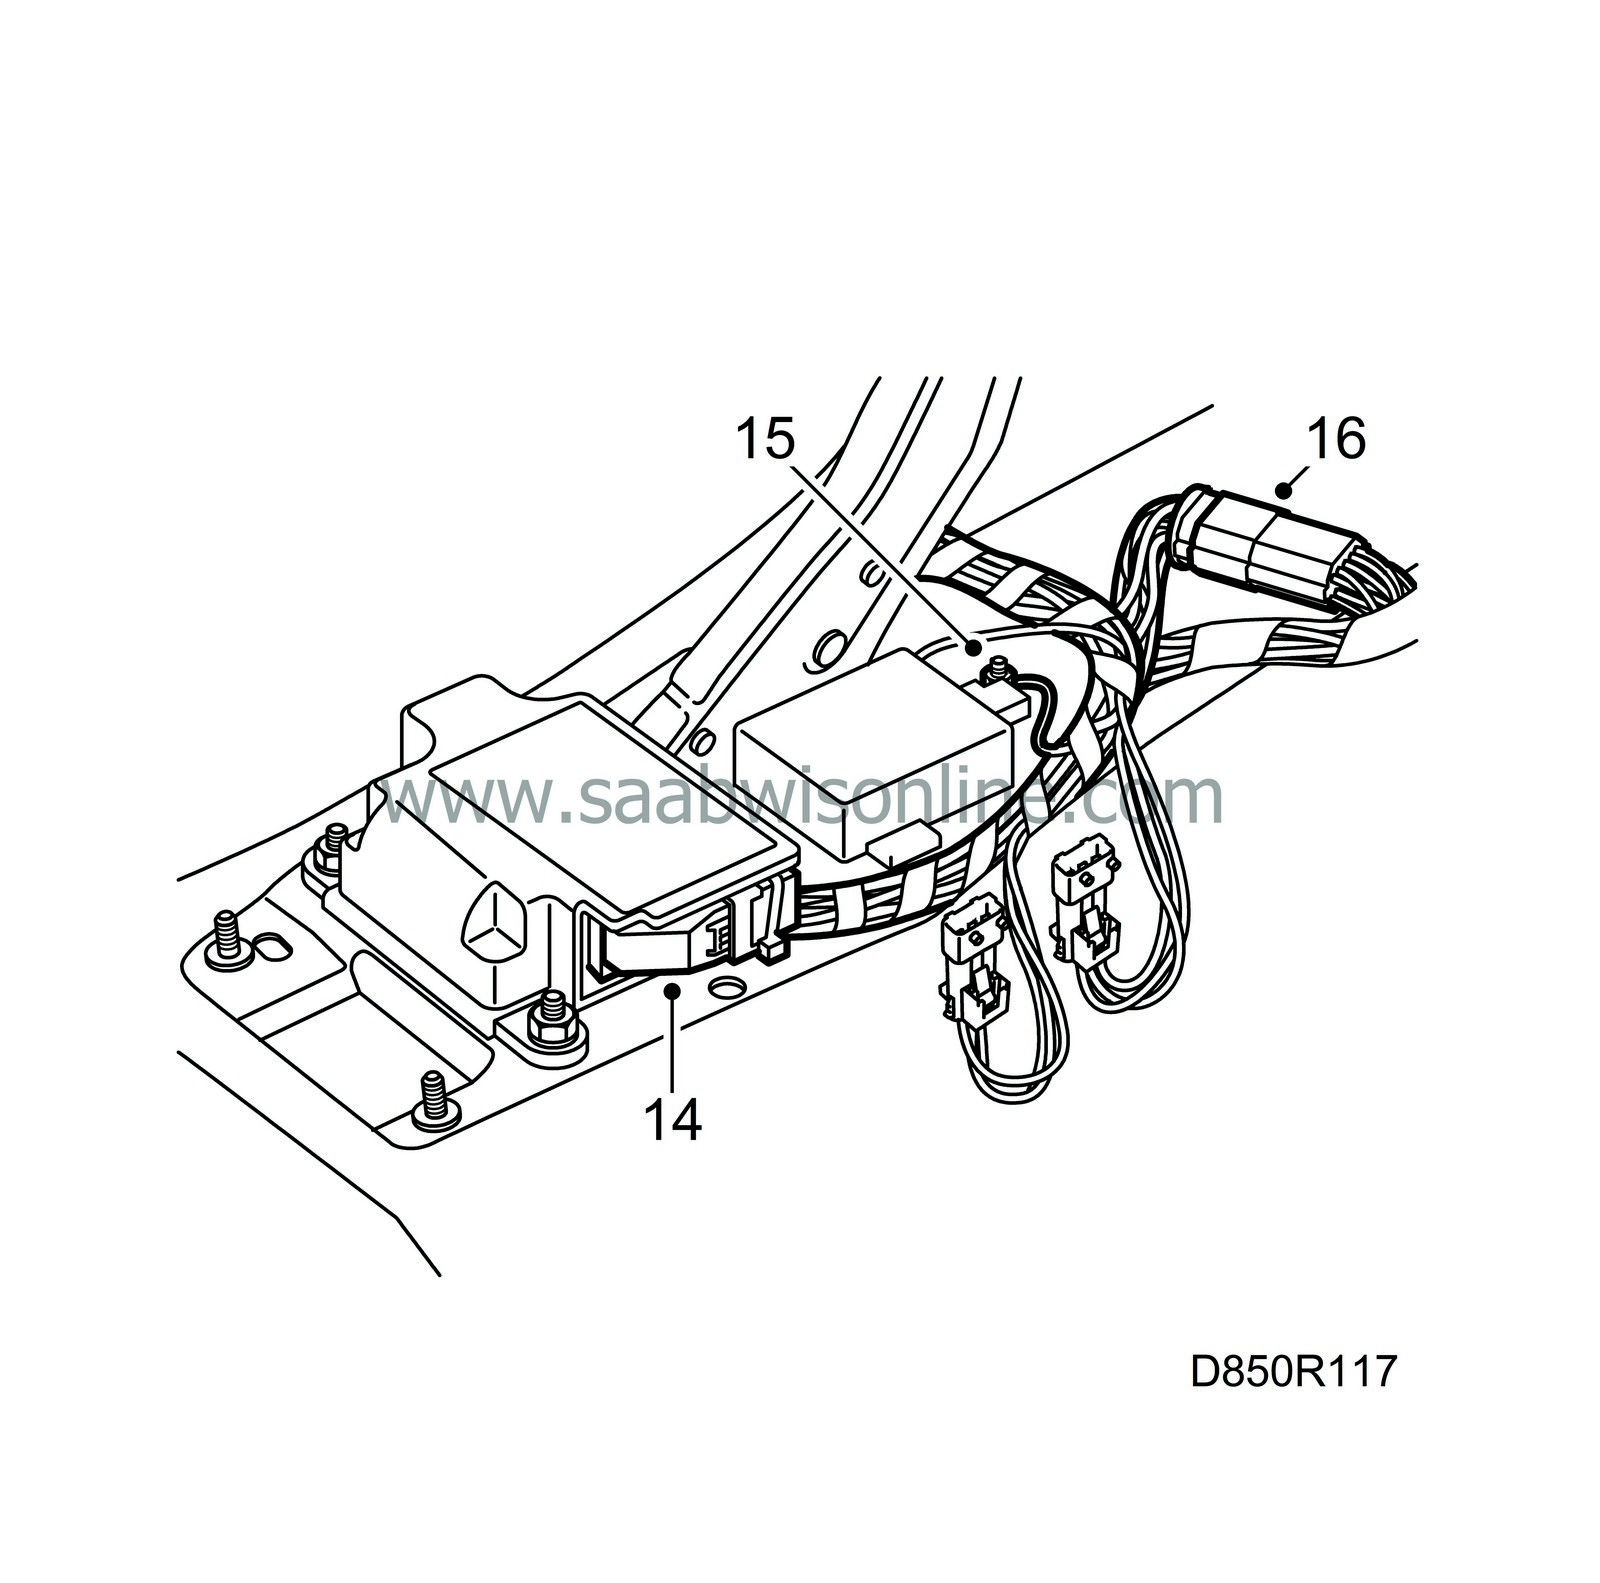
Remove the connector to the airbag control module.
|
|
| 14. |

Attach the spare parts harness connector to the airbag control module. |
|
| 15. |
Attach the spare parts harness grounding cable to grounding point G4 (airbag control module's grounding point).
|
|
| 16. |
Unplug the 16-pin connector in front of the airbag control module.
|
|
| 17. |
Prise out the green wire from pin 7 and the white wire from pin 8 of the connector.
|
|
| 18. |
Prise in the green wire in pin 7 and the white wire in pin 8 in the spare parts harness connector.
|
|
| 19. |
Connect the spare parts harness connector to the car's standard wiring harness.
|
|
| 20. |

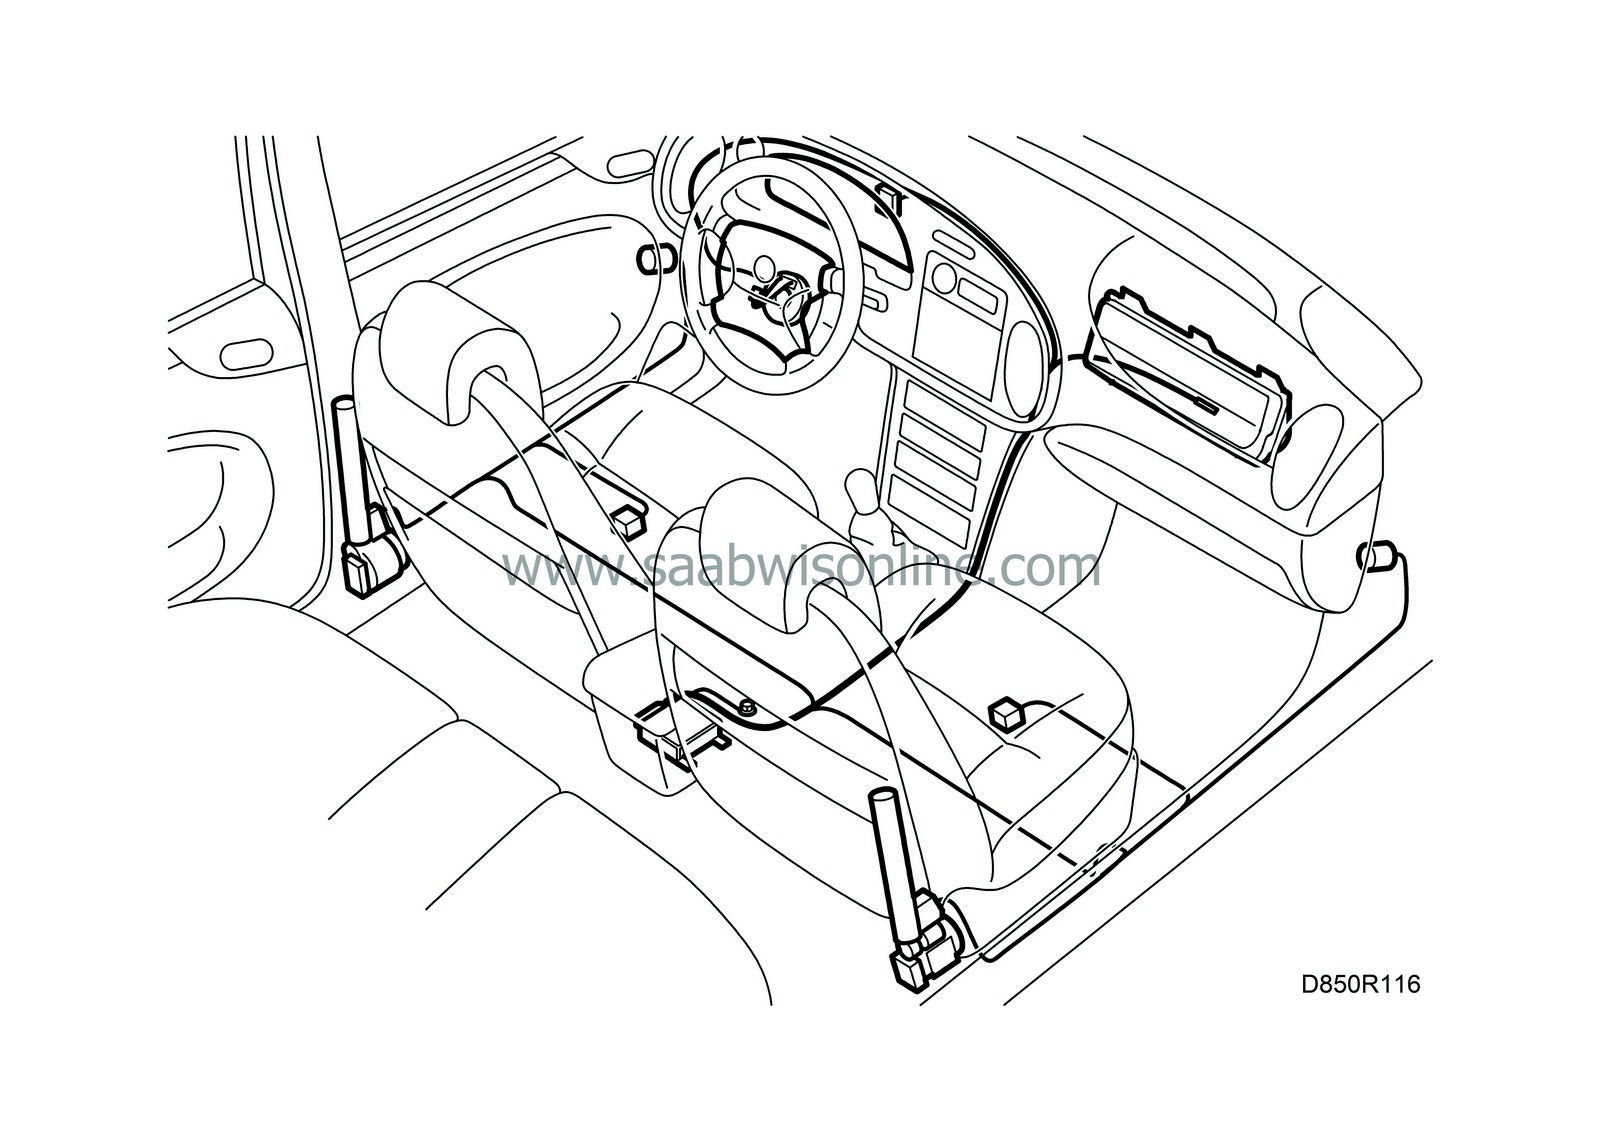
Place the spare parts harness along the standard harness in the RH side of the floor console up to behind the radio socket. |
|
| 21. |

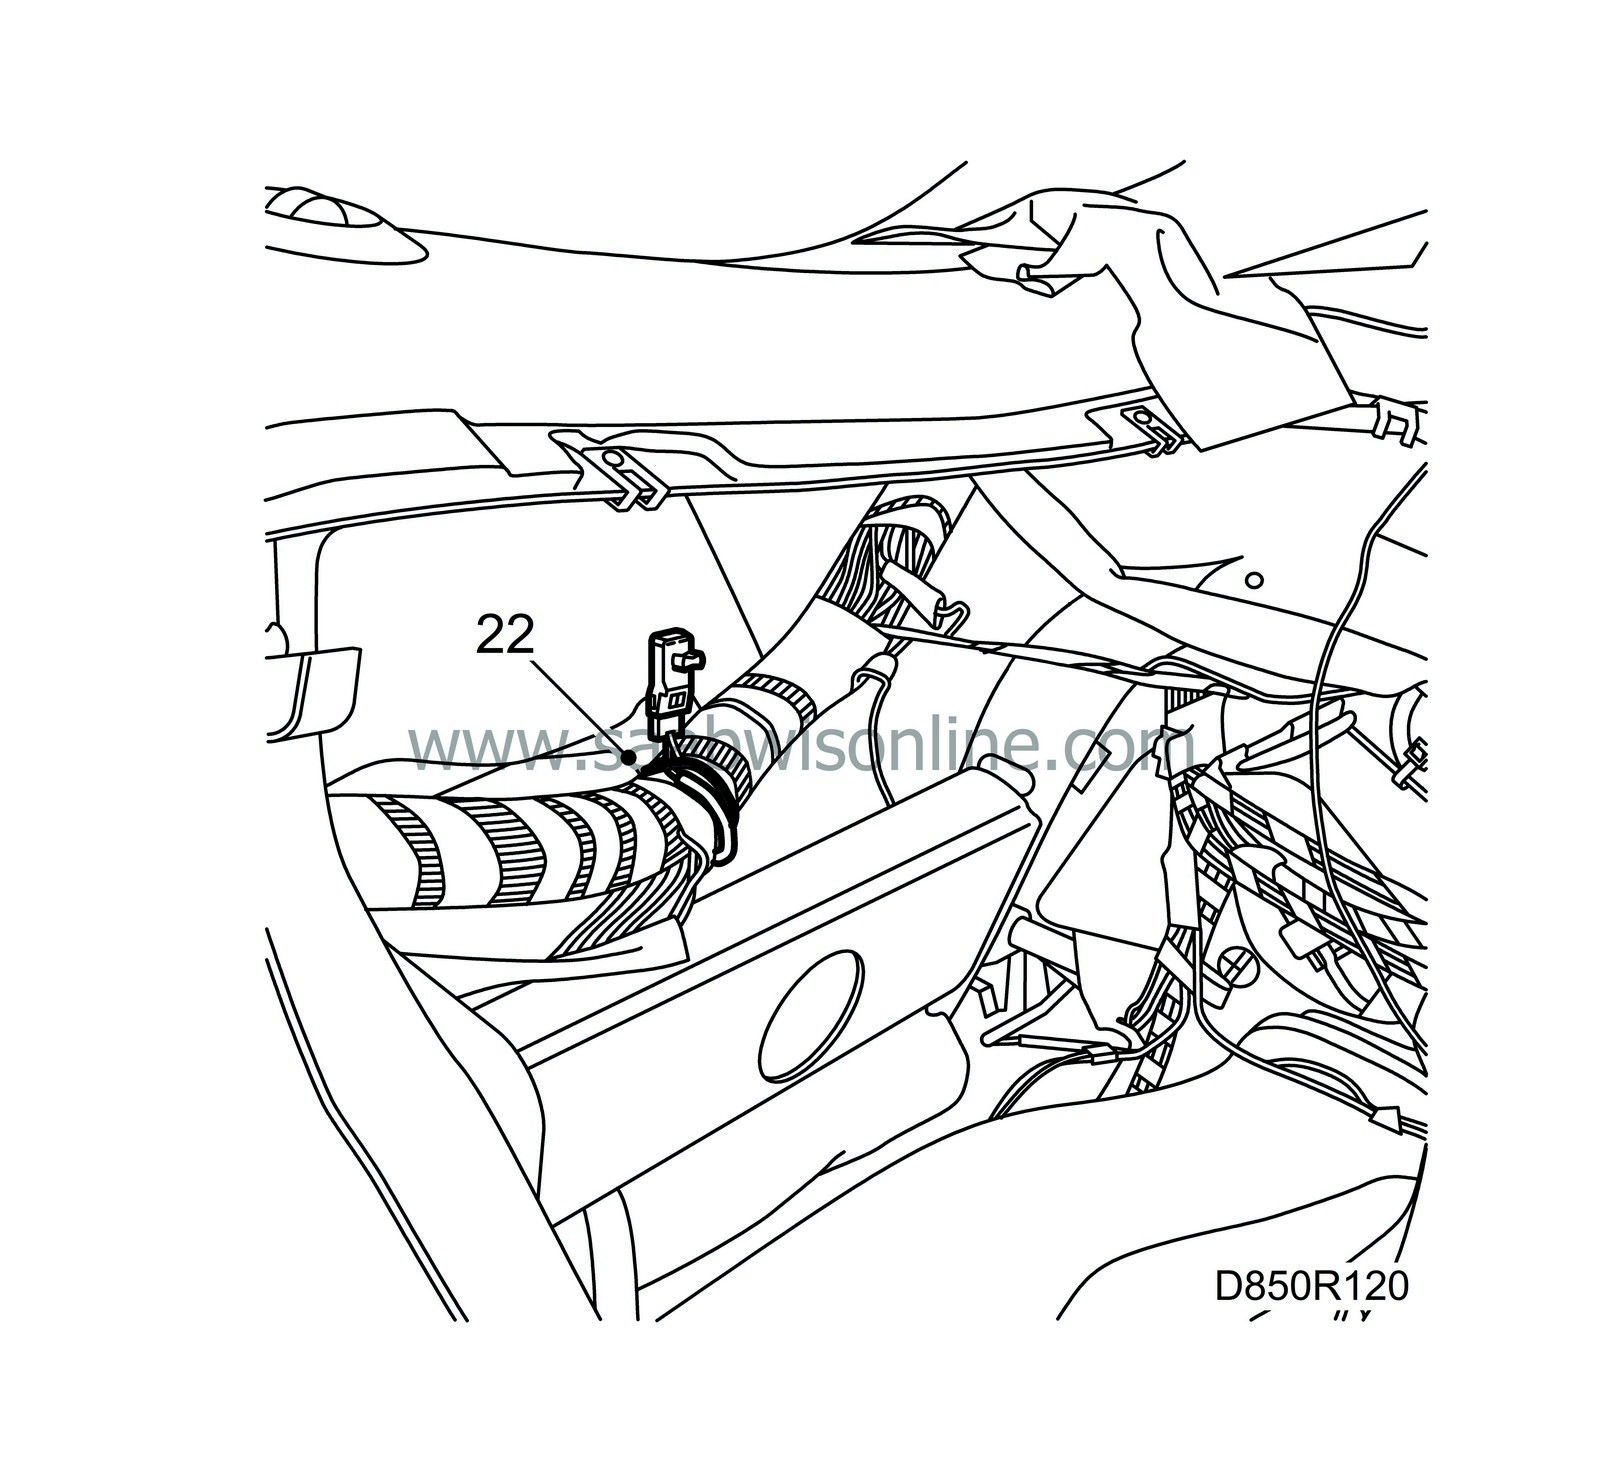
Place the harness in the cable channel at the RH support and secure it with tape. |
|
| 23. |
Place the harness along the instrument harness above the main instrument unit and then down the exterior.
|
|
| 24. |
Prise out the blue wire in pin 1 in the 20-pin connector of the main instrument unit
|
|
| 25. |
Prise in the spare parts harness' blue wire in pin 1
|
|
| 26. |

Use tape to secure the spare parts harness to the car's standard harness above and on the side of the main instrument unit |
|
| 27. |

Place the spare parts harness connector for the steering wheel connection along the car's standard harness to the steering wheel. Secure the harness with a cable tie as illustrated.
|
||||||||||
| 28. |

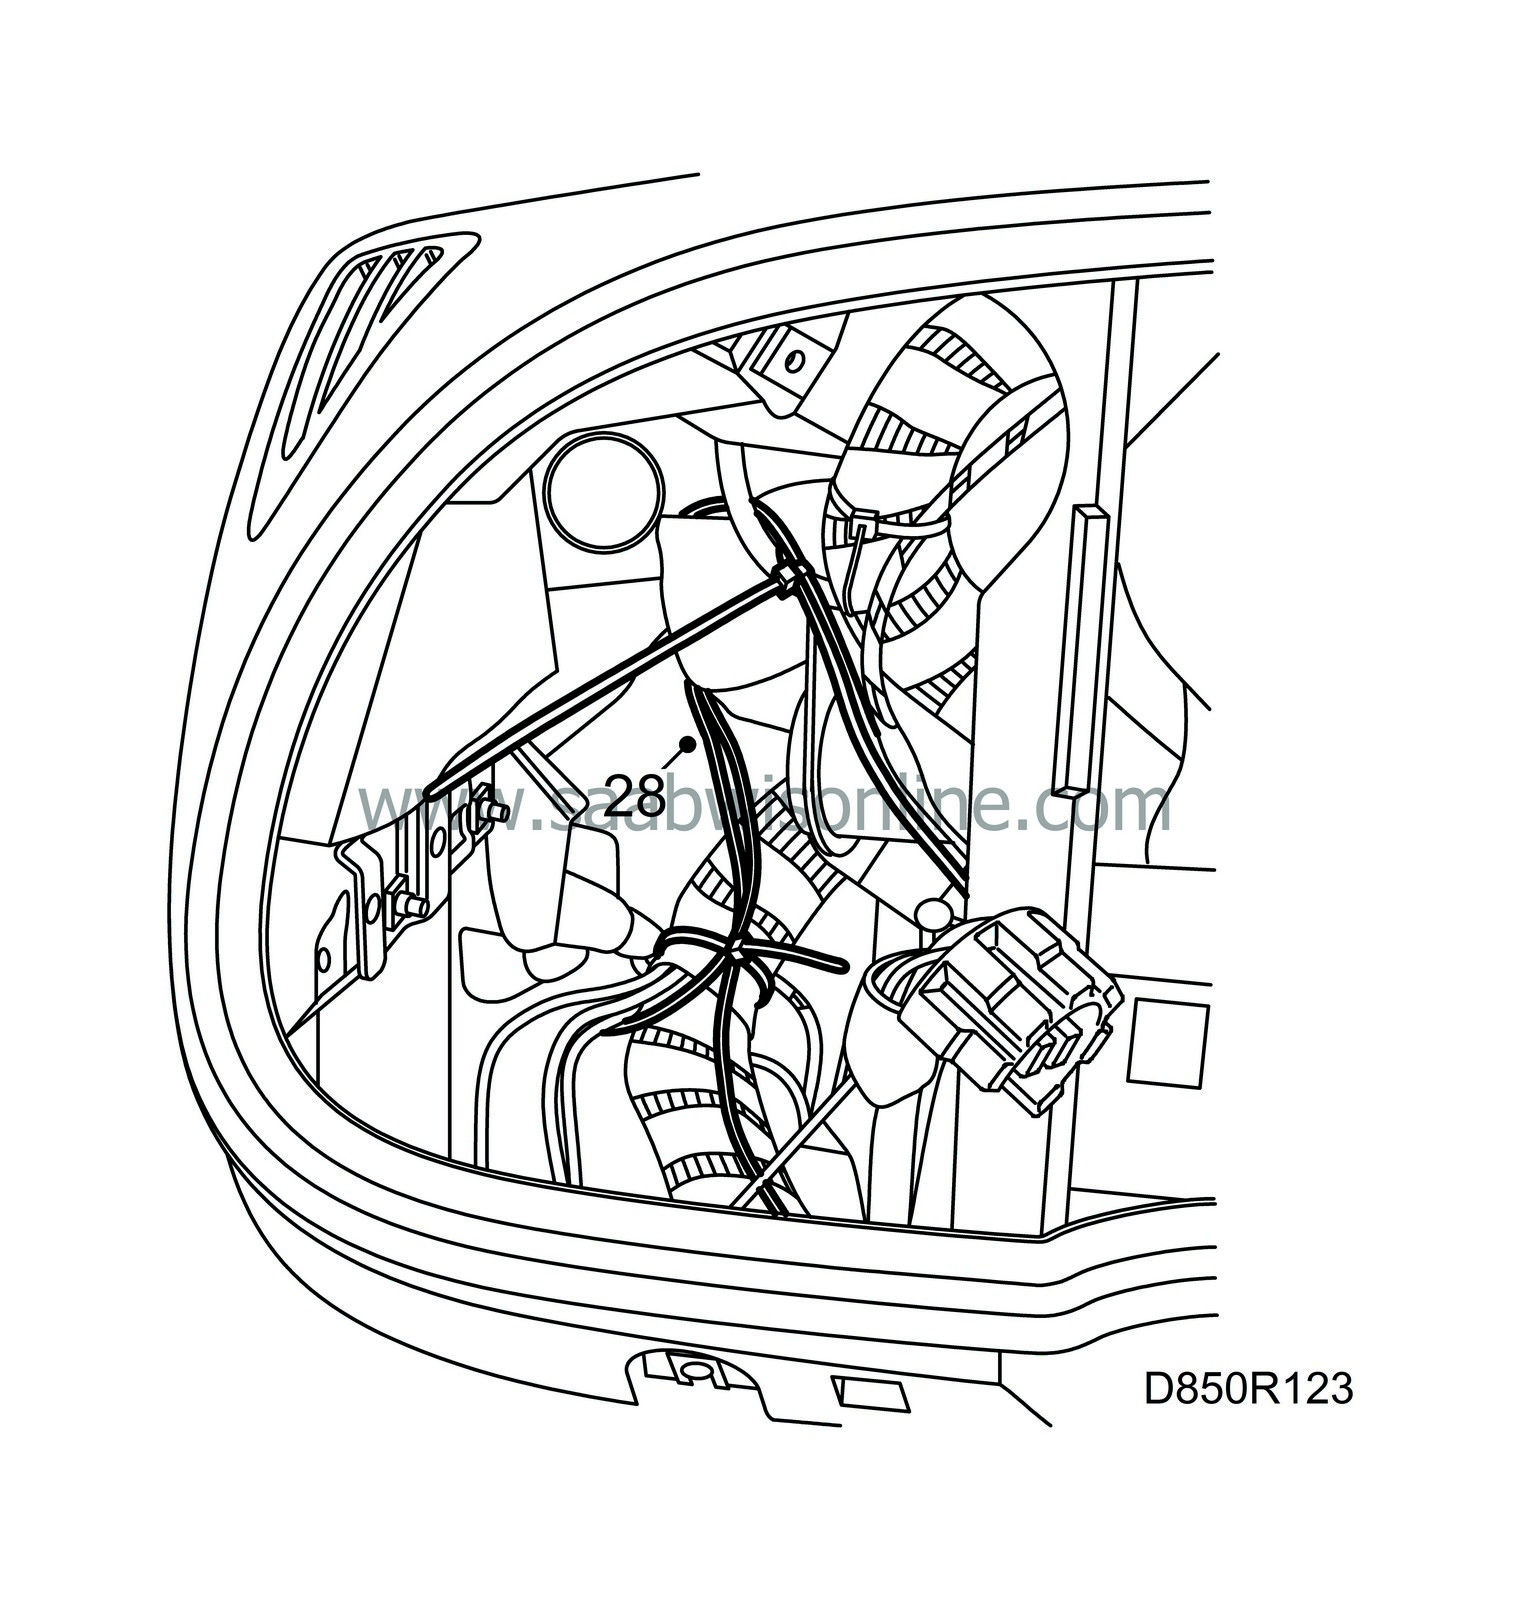
Place the remaining portion of the harness over the cable to the LH speaker behind the grounding points. |
|
| 29. |

The sleeve with the two black/white wires is pulled to the data link connector under the steering wheel. |
|
| 30. |
Prise out data link connector pin 8
|
|
| 31. |
Prise in the spare parts harness' sleeve with the black/white wires in pin 8
|
|
| 32. |

Prise out the red/blue wire from fuse 18 in the dashboard's main fuse board. |
|
| 33. |
Prise in the spare parts harness' red/blue wire in fuse 18
|
|
| 34. |
Place the remaining black/white wire behind the metal bracket down to the black 33-pin connector below the LH A-pillar.
|
|
| 35. |
Unplug the black 33-pin connector.
|
|
| 36. |
Prise out the black/white wire in pin 26.
|
|
| 37. |
Prise in the spare parts harness' black/white wire in pin 26.
|
|
| 38. |
Put the connector back together.
|
|
| 39. |
Isolate all removed pins with tape and tape them up against the wiring harness so that they do not cause rattles.
|
|
| 40. |
Cut off excess harness at the airbag control module so as to make room for the spare parts harness.
|
|
| 41. |
Fit the heating system's duct for floor discharge on the LH side.
|
|
| 42. |
Fit the dashboard's main fuse board.
|
|
| 43. |
Fit the bottom of the dashboard and the knee shield on the LH side.
|
|
| 44. |
Fit the SID and radio.
|
|
| 45. |
Fit the main instrument unit.
|
|
| 46. |
Fit the steering wheel and dashboard.
|
|
| 47. |
Fit the centre console and end plates.
|
|
| 48. |
Fit the floor console.
|
|
| 49. |
Fit the RH seat.
|
|
| 50. |
Fit the glovebox lid.
|
|
| 51. |
Connect the battery's negative lead.
|
|
| 52. |
Start the engine and check to make sure the airbag lamp does not light.
|
|
| 53. |
Erase all DTCs in SRS.
|
|
| 54. |
Set the clock and program the radio code if applicable.
|
|


 Warning


