To fit
| To fit |
| 1. |
Check that the selector lever in the car is in 3rd gear and that it is locked with
87 92 335 Locking pin
for the gear lever housing. The locking pin ring should be down in the hole.
|
|
| 2. |
Grease the spines of the primary shaft, see

|
||||||||||
| 3. |
Bleed the slave cylinder, see 4. Clutch system, Adjustment, replacement, Bleeding of slave cylinder.
|
|
| 4. |
Fit
83 95 162 Protective collar, drive shafts
in the right-hand shaft seal on the gearbox to protect the seal when the gearbox is fitted.
|
||||||||||
| 5. |
Attach lifting tool
87 92 608 Holder for single column lift
. If the lifting tool's setting has been changed since removal, it must be adjusted so that its centre is in line with the gearbox's centre and mating surface.

|
|
| 6. |
Fit the gearbox with lifting tool onto a pillar jack.
|
|||||||||
| 7. |
Push the gearbox into place until about 20 mm remains, remove
83 95 162 Protective collar, drive shafts
and push the gearbox completely into place. If necessary, turn the motor shaft to put it in place.
|
|
| 8. |
Fit the rear engine mounting on the gearbox. (new version in M-99)
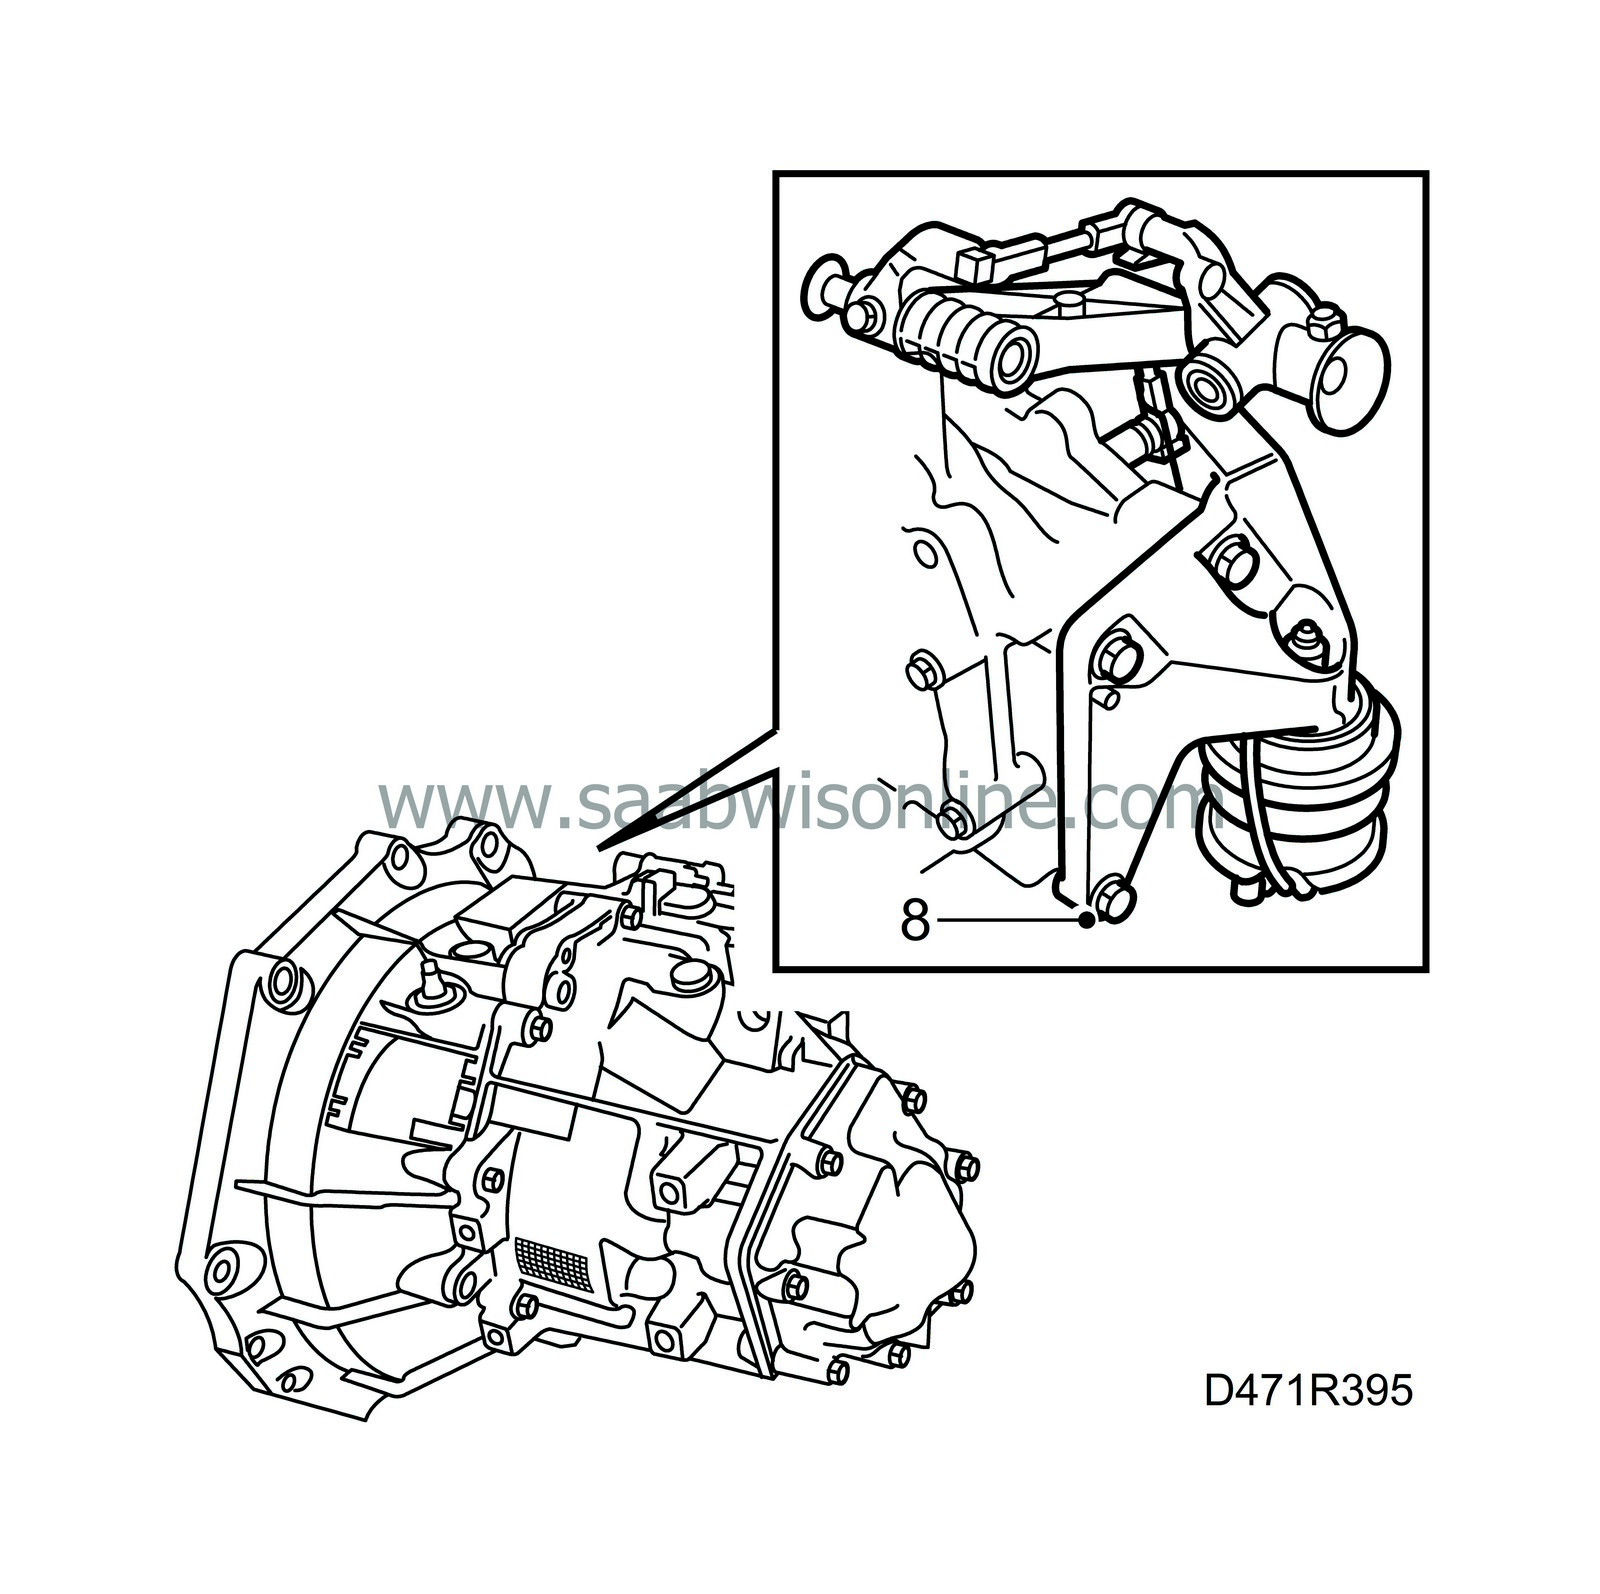
|
|
| 9. |
Tighten the bottom bolts between the engine and gearbox.
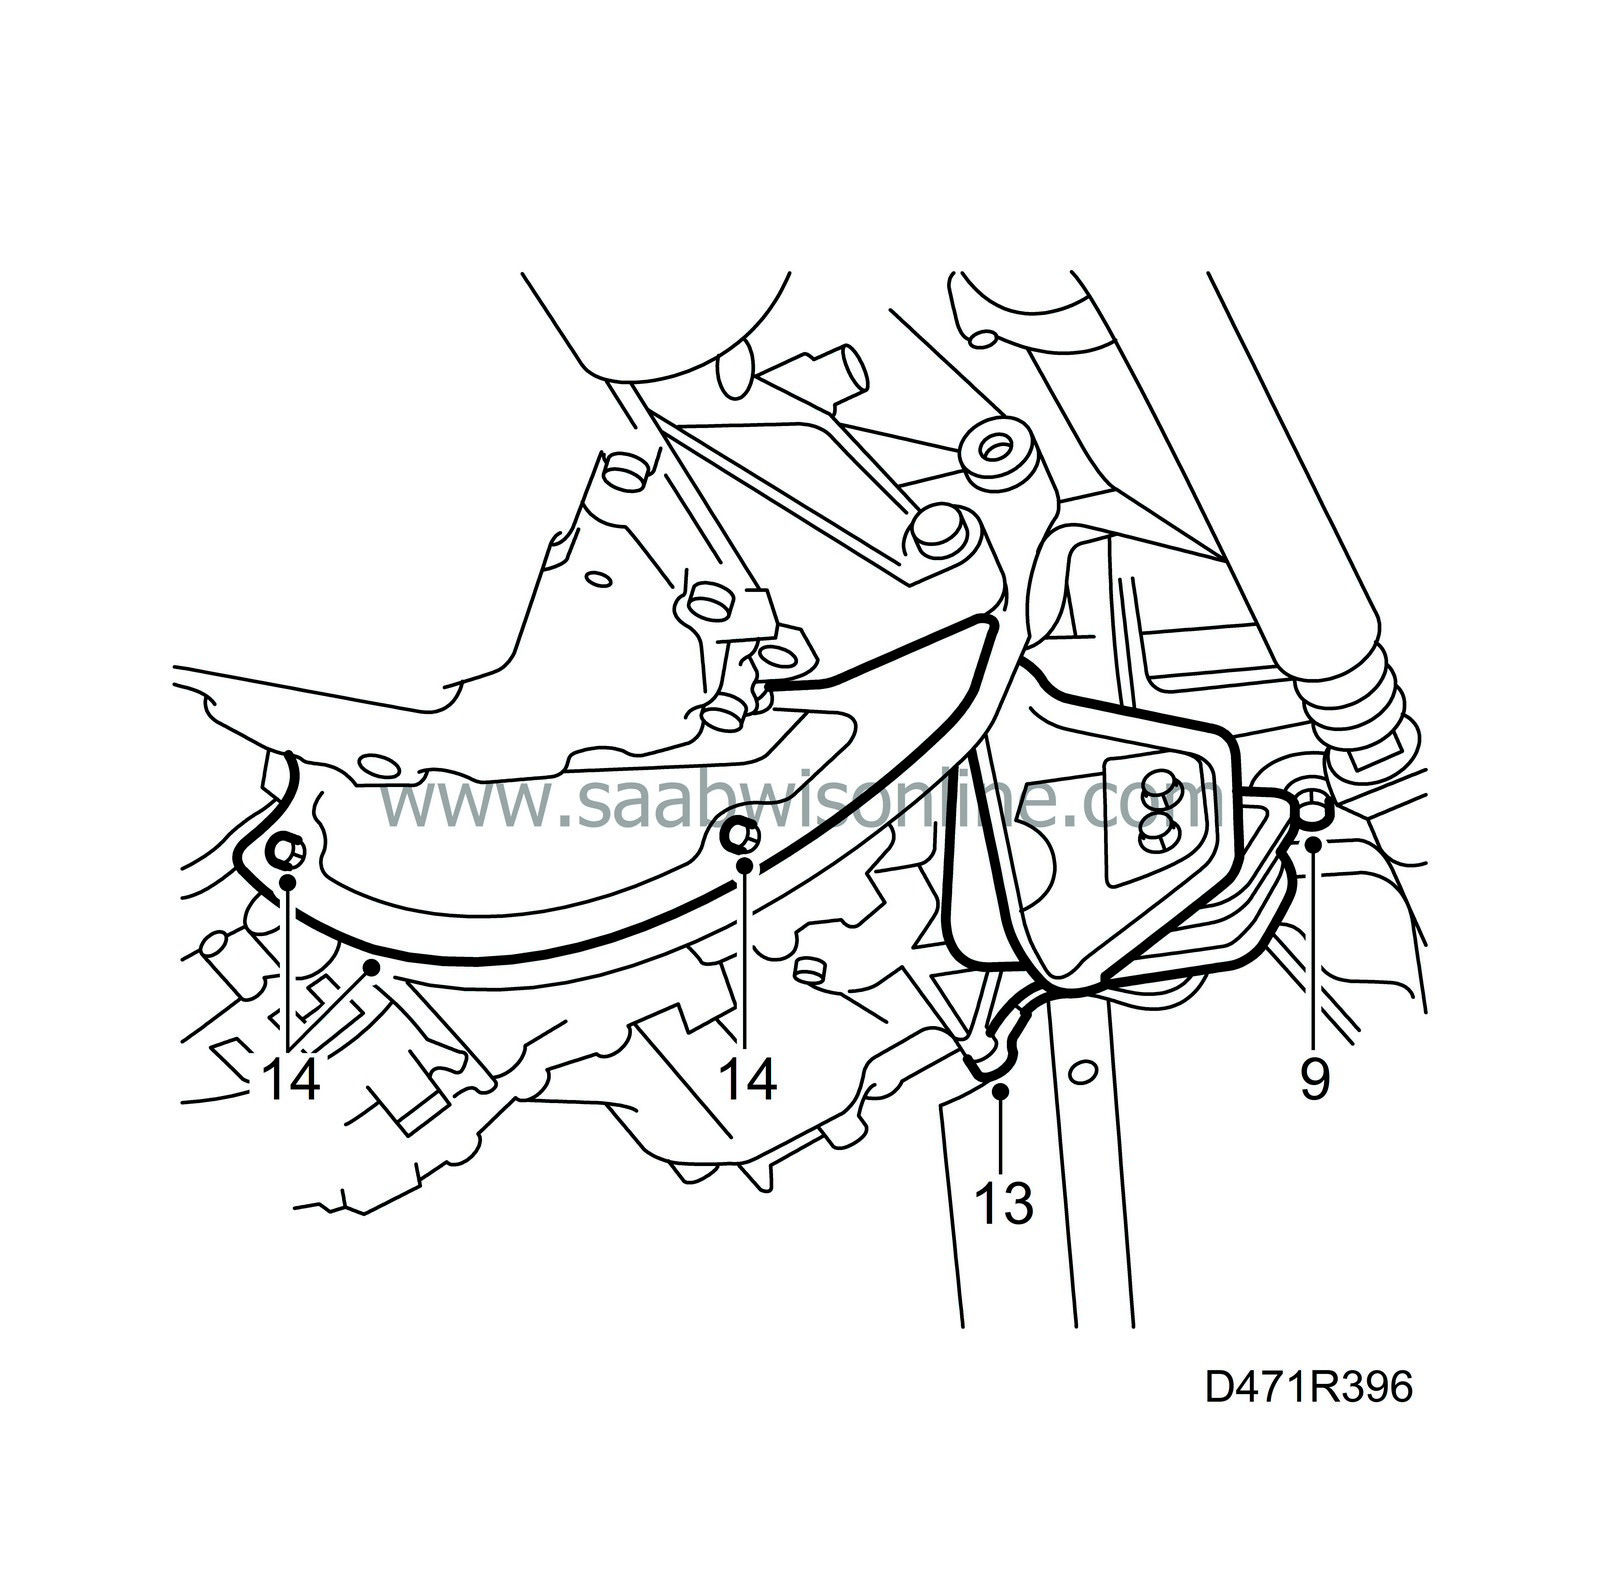
Tightening torque 70 Nm (50 lbf ft). |
|
| 10. |
Fit the left-hand engine mounting on the gearbox.
Tightening torque 40 Nm (46 lbf ft) |
|
| 11. |
Lift up the drive unit with a jack and tighten the left-hand engine mounting on the body.
Tightening torque: 62 Nm (46 lbf ft) |
|
| 12. |
Remove the lifting tool from the gearbox and remove the jack.
|
|
| 13. |
Fit the ground leads to the gearbox.
|
|
| 14. |
Put back the splash plate by the flywheel.
|
|
| 15. |
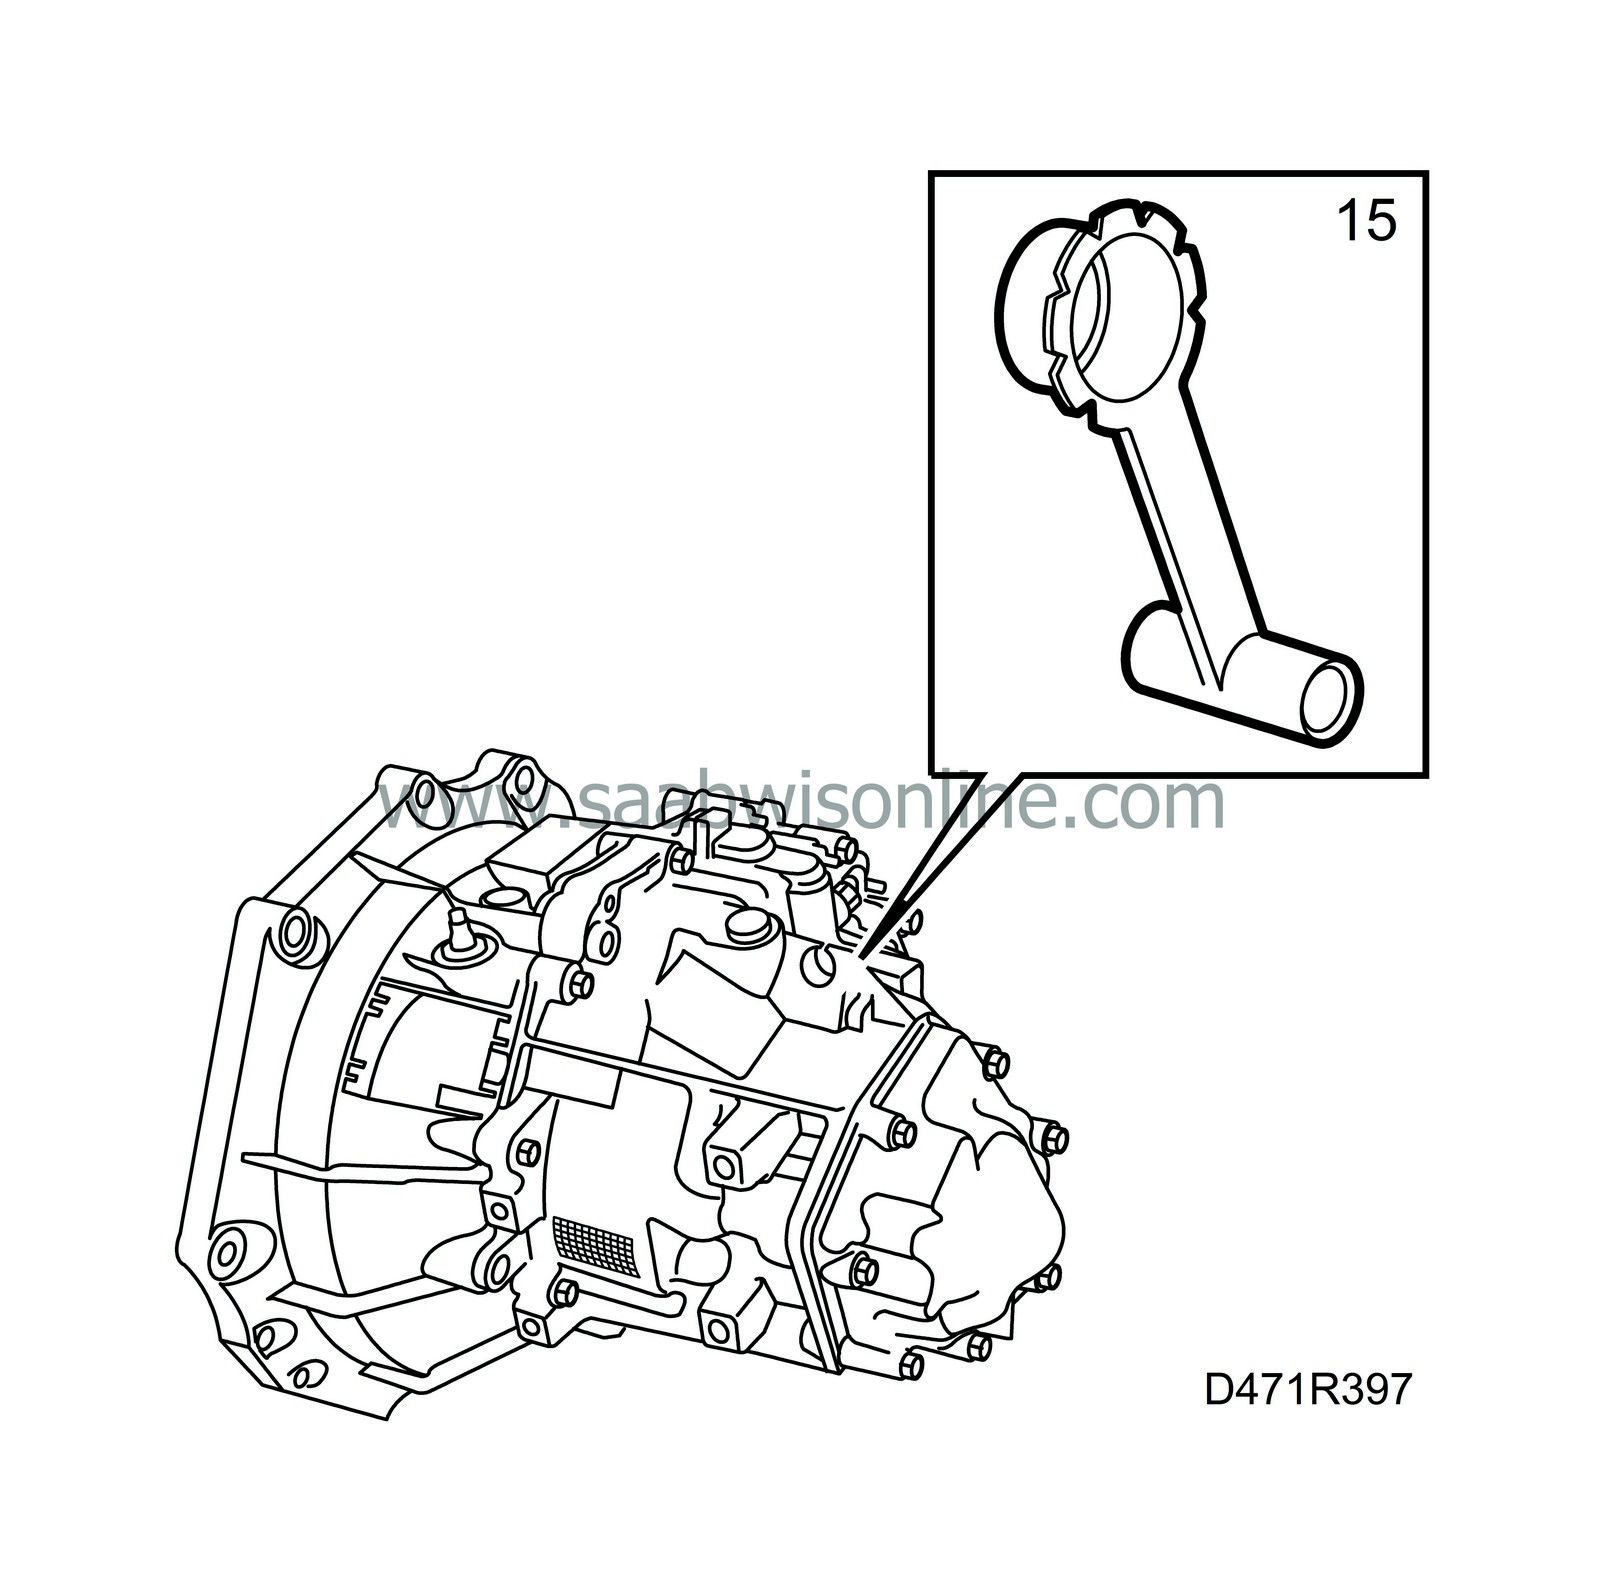
Fit
83 95 162 Protective collar, drive shafts
in the left-hand shaft seal.
|
|
| 16. |
Make sure the drive shaft is clean and then position it in the tool.
|
||||||||||
| 17. |
Insert the shaft until the locking ring snaps in place.
|
|
| 18. |
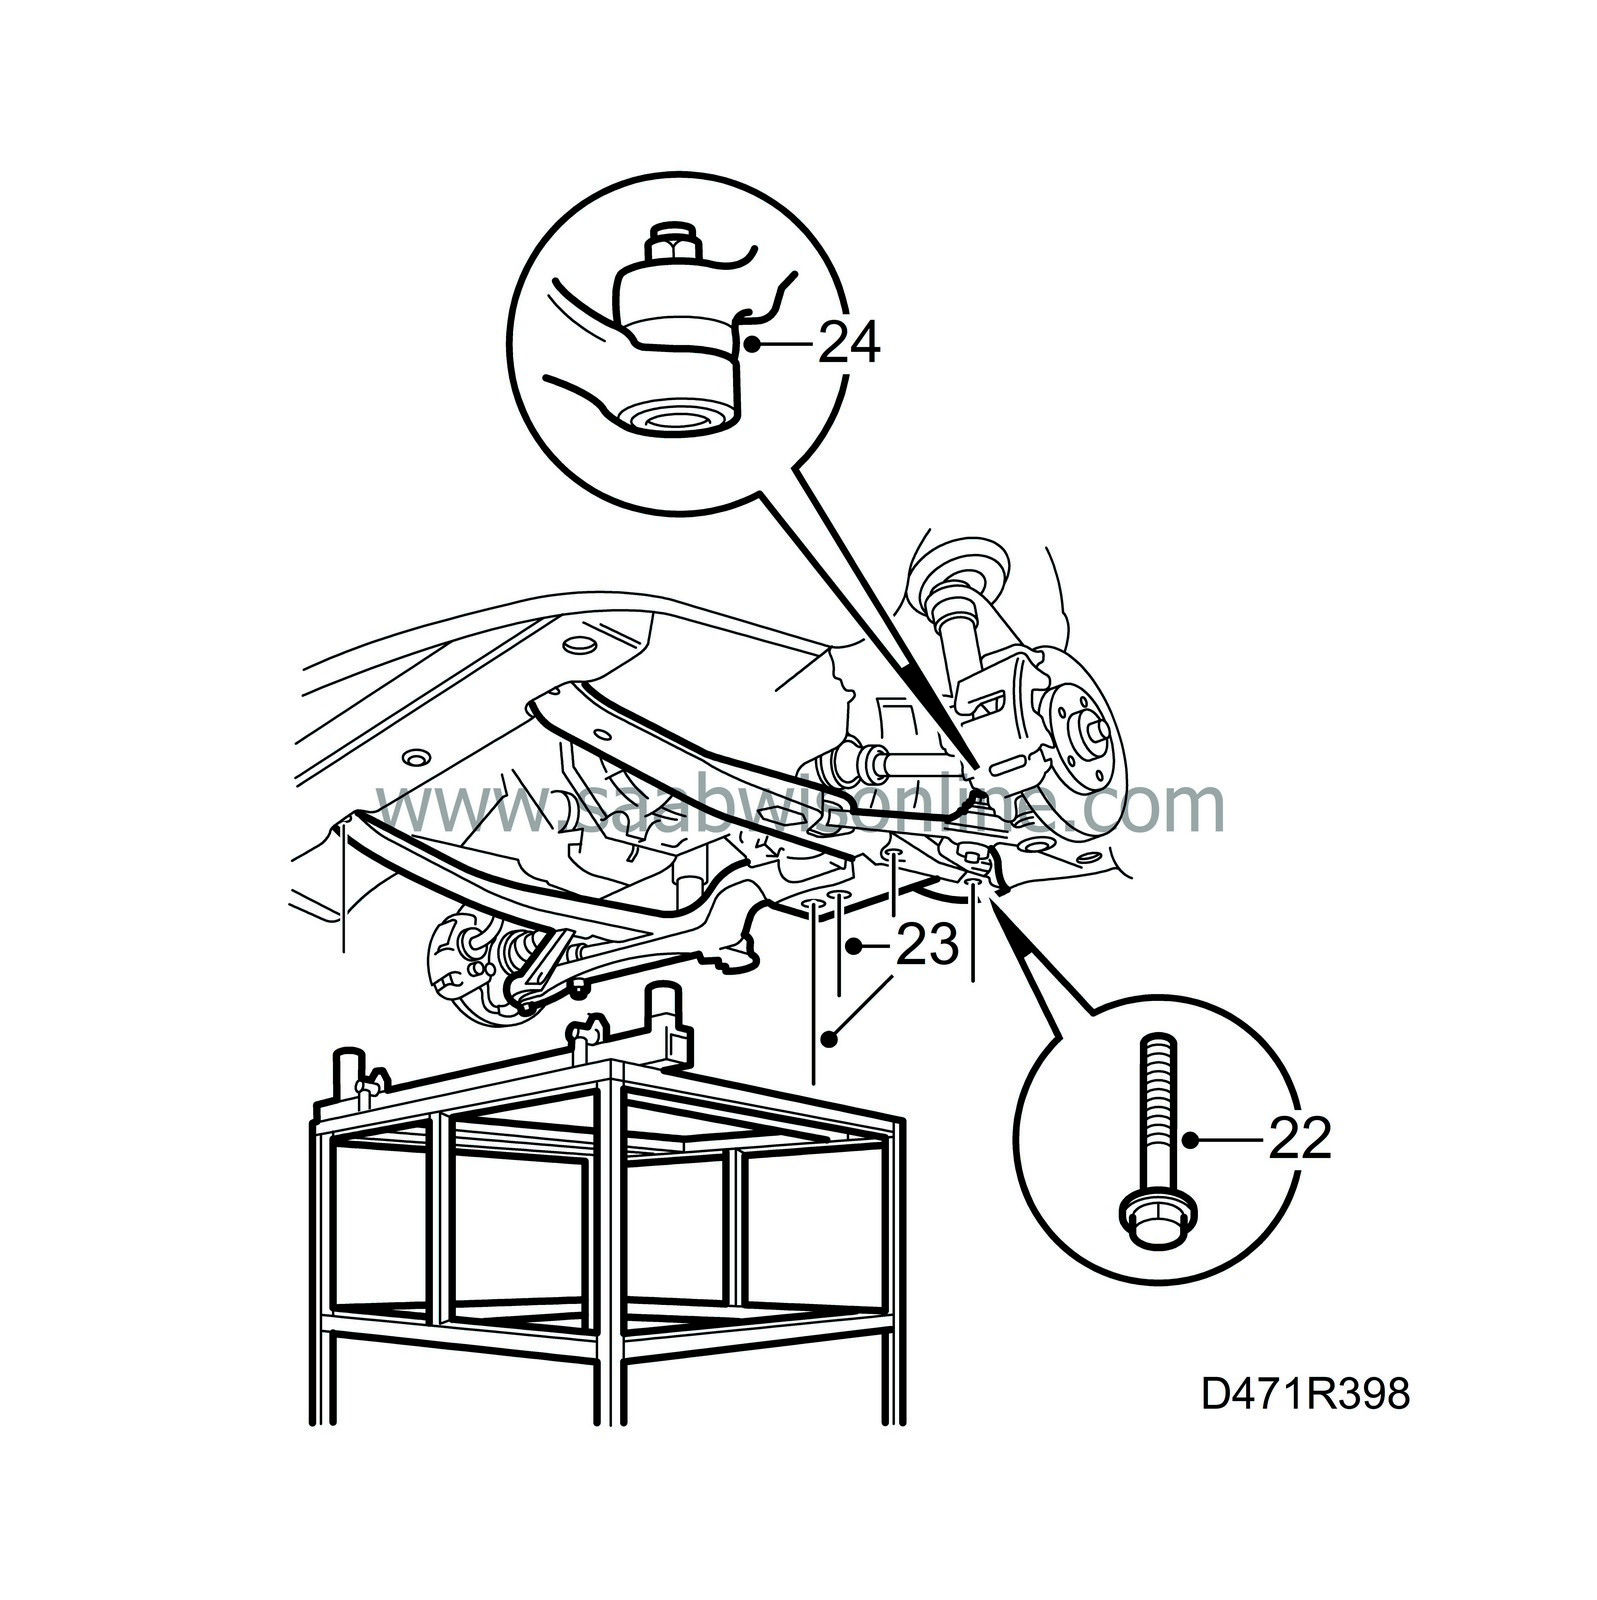
Carefully raise the subframe. Make sure the washers on the rear mountings are in place.
|
|
| 19. |
Adjust the subframe so that the screw holes correspond with the body.
|
|
| 20. |
Tighten the four corner bolts on the subframe.
Tightening torques front 115 Nm (85 lbf ft) rear 110 Nm (81 lbf ft) + 75 |
|
| 21. |
Lower the lifting trolley and move it away.
|
|
| 22. |
Tighten the remaining bolts on the subframe.
Tightening torque 190 Nm (141 lbf ft). |
|
| 23. |
Tighten the nuts on the rear engine mounting.
Tightening torque 50 Nm (37 lbf ft) |
|
| 24. |
Position the suspension arm end piece on both sides and tighten the nuts.
Tightening torque 75 Nm (55 lbf ft). |
|
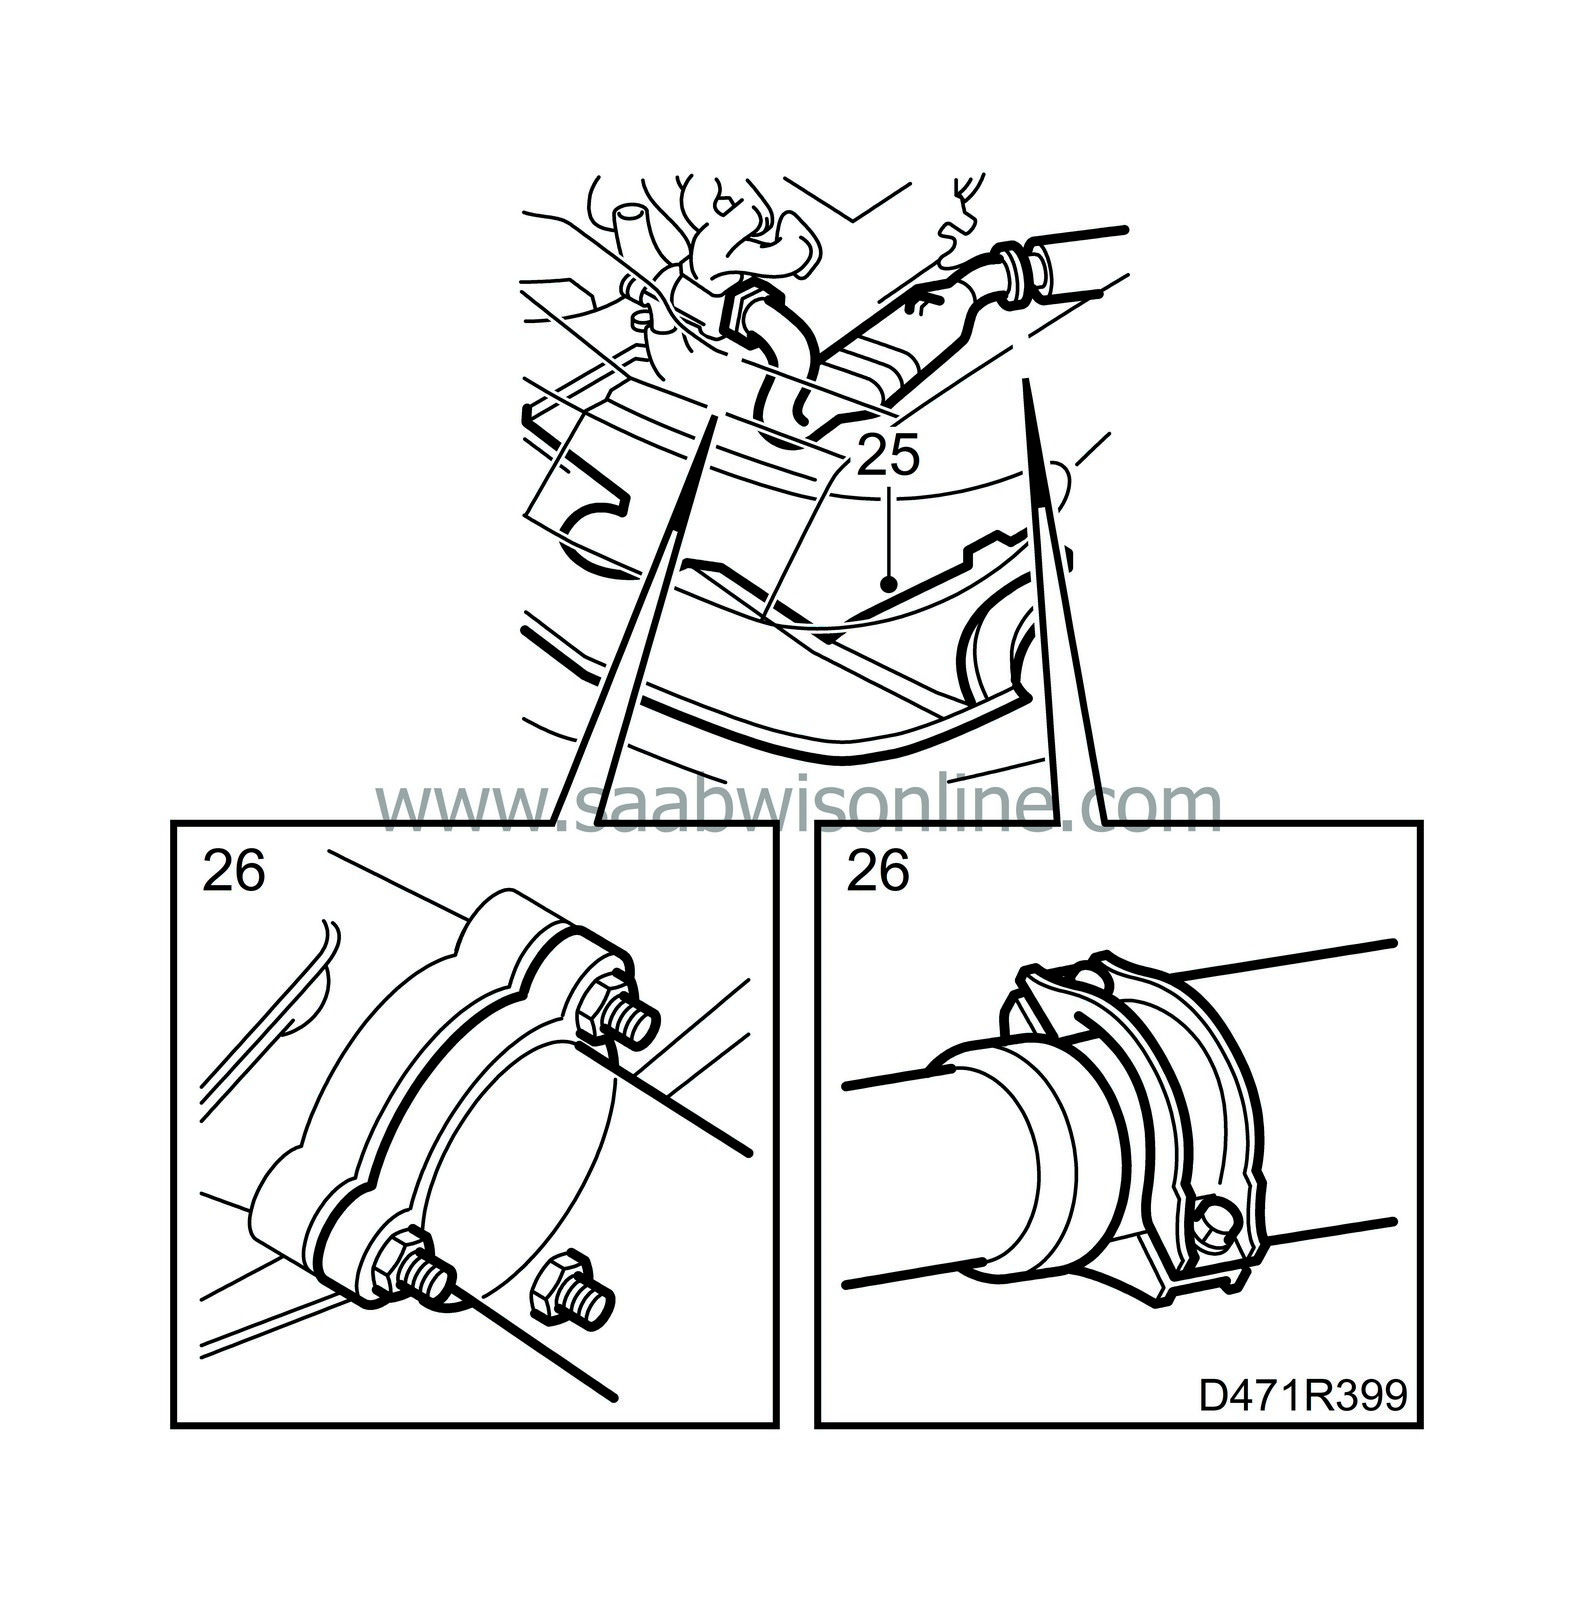
| 25. |
Put back the air shields and the cover in the right-hand wheel housing.
|
|
| 26. |
Fit the front exhaust system and put back the clamps for the oxygen sensor cable.
|
|
| 27. |
Fit the front wheels.
Tightening torque 110 Nm (81 lbf ft) Lower the car to the floor. |
|
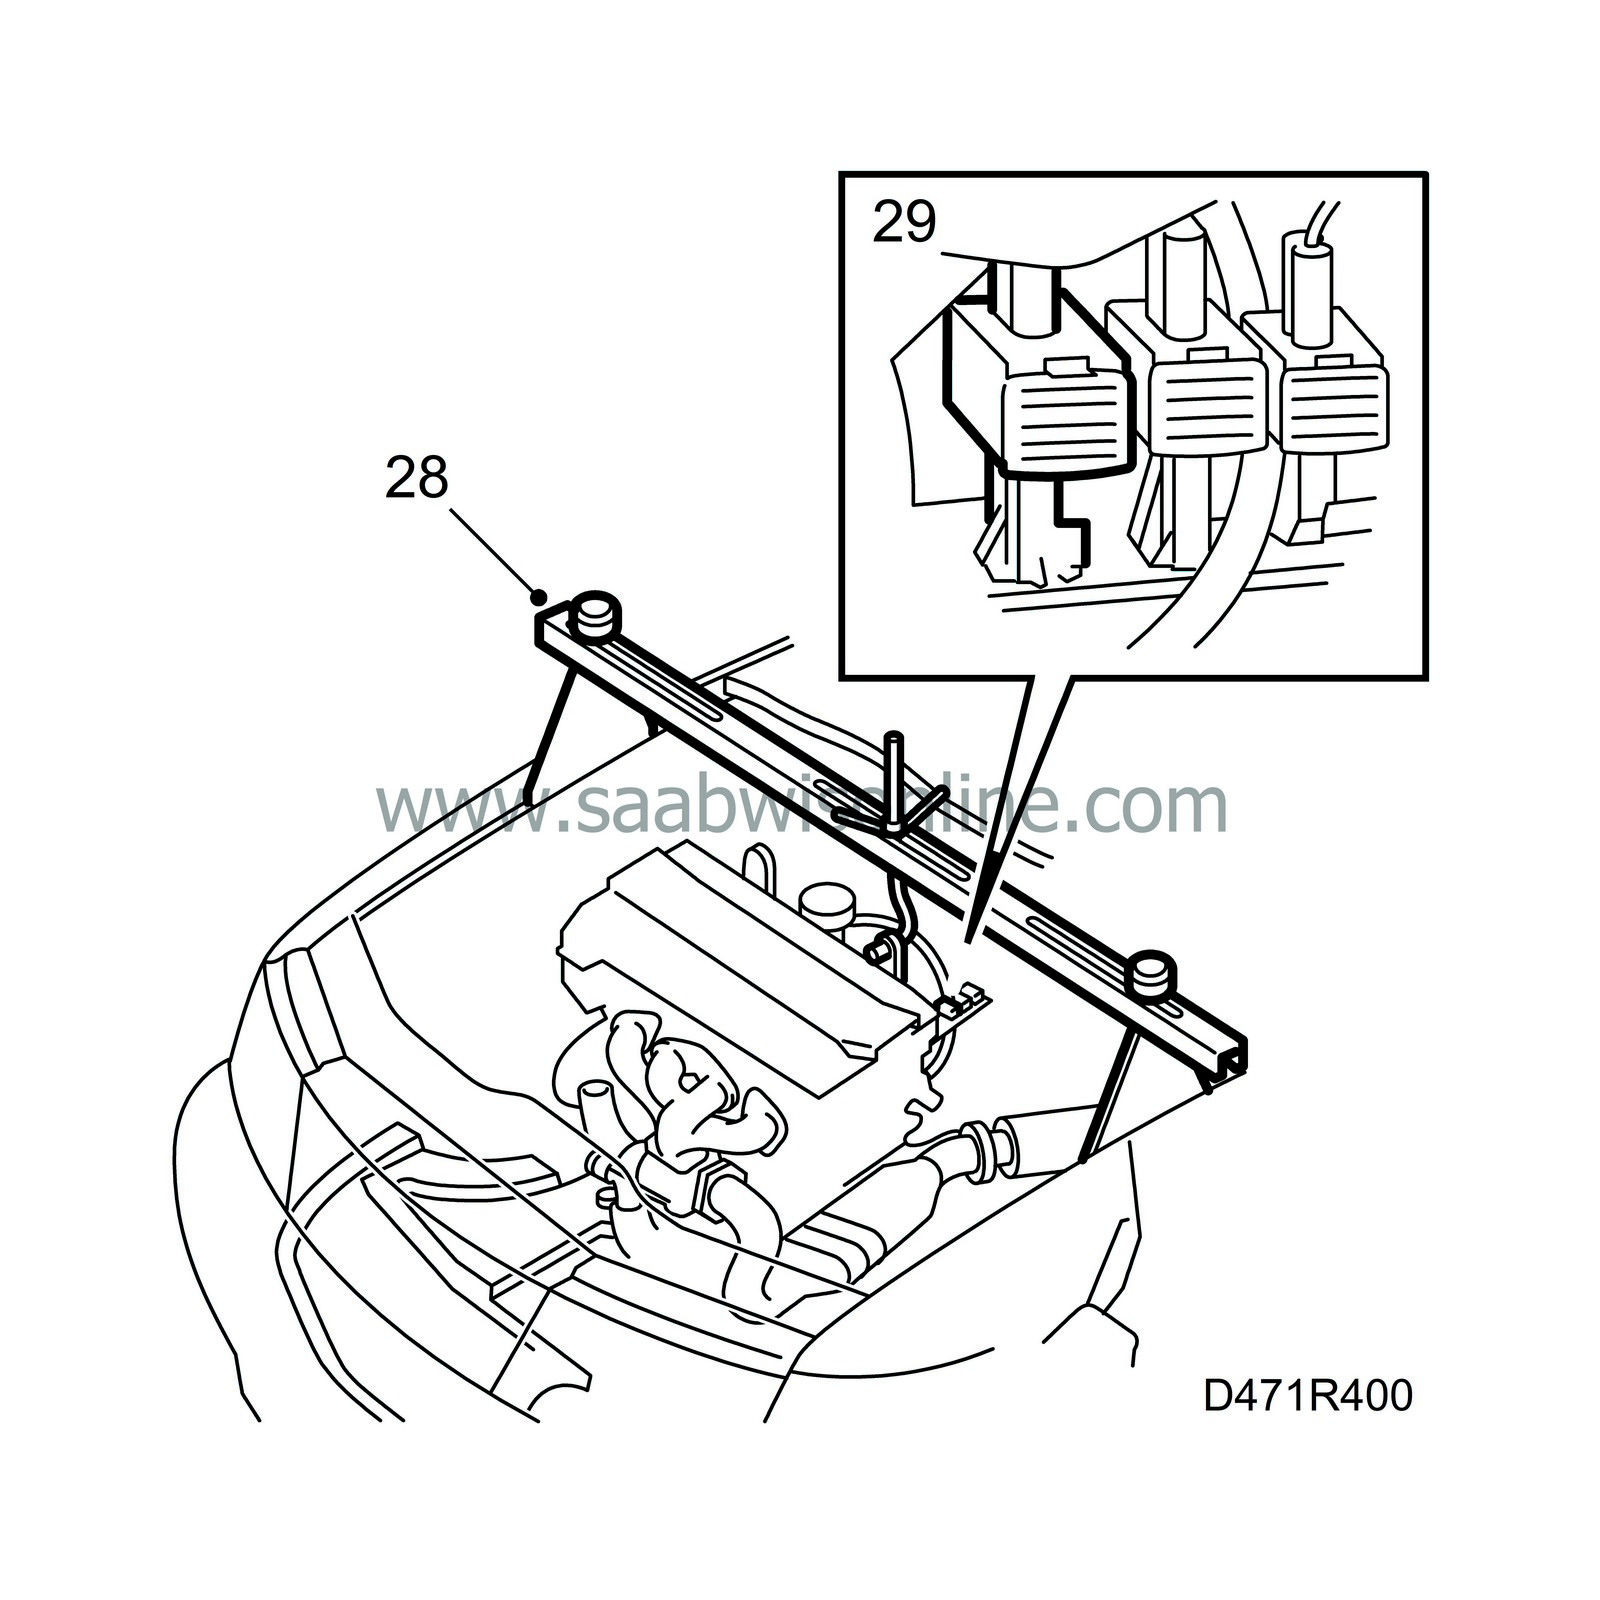
| 28. |
Remove the lifting beam and tighten the upper bolts between the engine and gearbox.
Tightening torque 70 Nm (50 lbf ft). |
|
| 29. |
Connect the oxygen sensor(s).
|
|
| 30. |
Fit the positive cable mounting on the engine.
|
|
| 31. |
Connect the lead to the reversing-light switch.

|
|
| 32. |
Connect the clutch deliver pipe to the gearbox and fir the locking clip.
|
|
| 33. |
Remove the locking pin from the gear-lever housing, engage 4th gear and insert the locking pin again.

|
|
| 34. |
Tighten the clamp on the selector rod.
Tightening torque 20 Nm (15 lbf ft). |
|
| 35. |
Put back the gear lever gaiter.
|
|
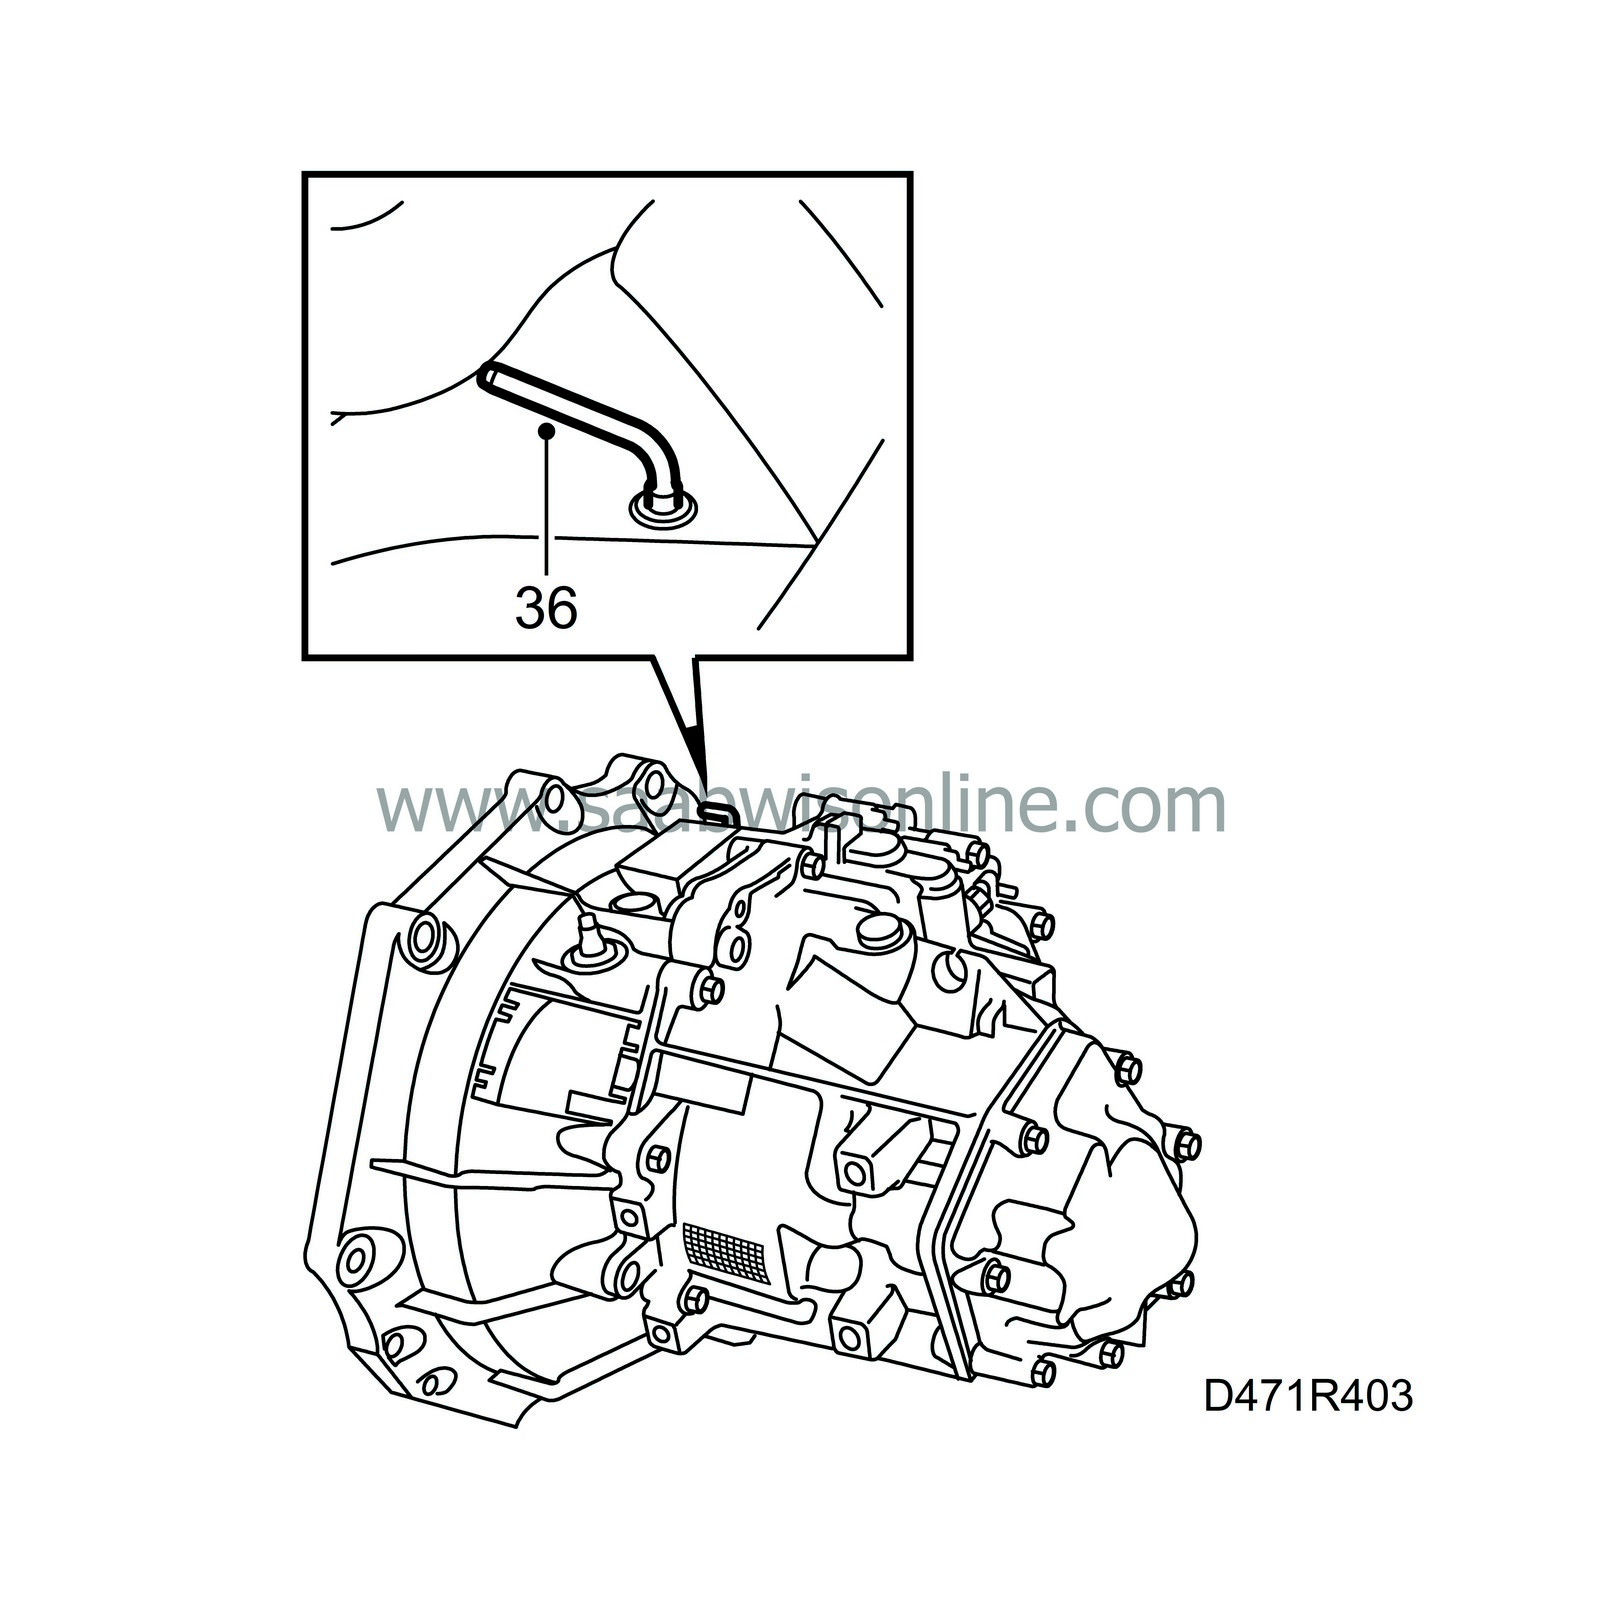
| 36. |
Take the locking pin out of the gearbox and put back the plastic plug.
|
|
| 37. |
Remove the brake bracket from the clutch pedal and bleed the clutch according to 4. Clutch system, Adjustment and replacement, Bleeding of clutch hydraulic system in car. Check that there are no system leaks.
|
|
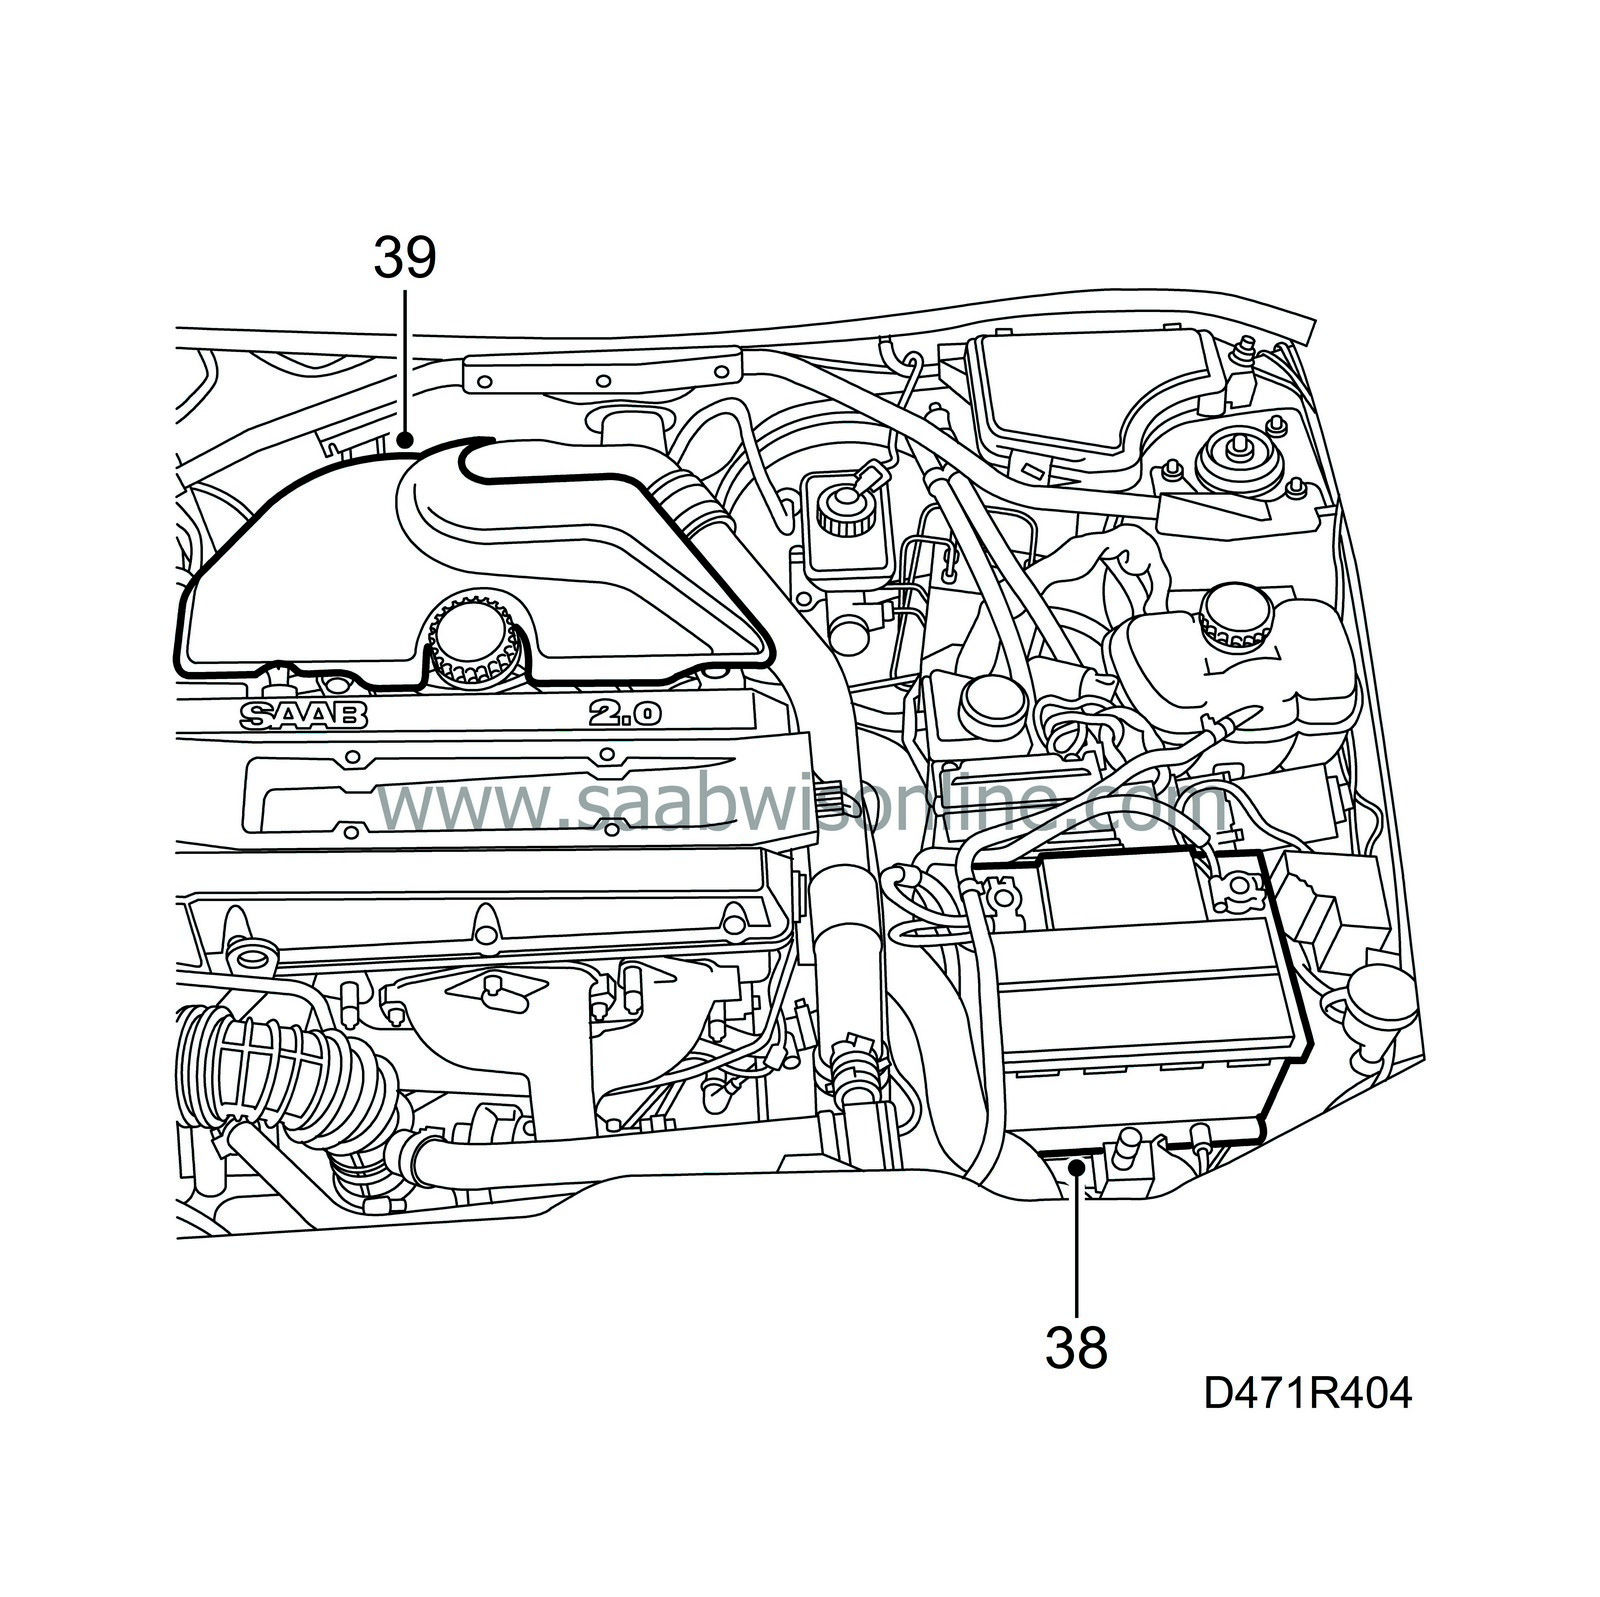
| 38. |
Fit and connect the battery.
|
|
| 39. |
Put back the cover over the engine or the resonator with hoses and the mass air flow sensor.
|
|
| 40. |
Test drive the car and shift gears. Check the position of the steering wheel when driving straight ahead on a level road. Adjust if needed as well as set the correct time on the clock and program any eventual radio code.
|
|

 Warning

