coil spring (contact roller)
|
|
coil spring (contact roller)
|
|
1.
|
Put the coil spring in place.
|
|
2.
|
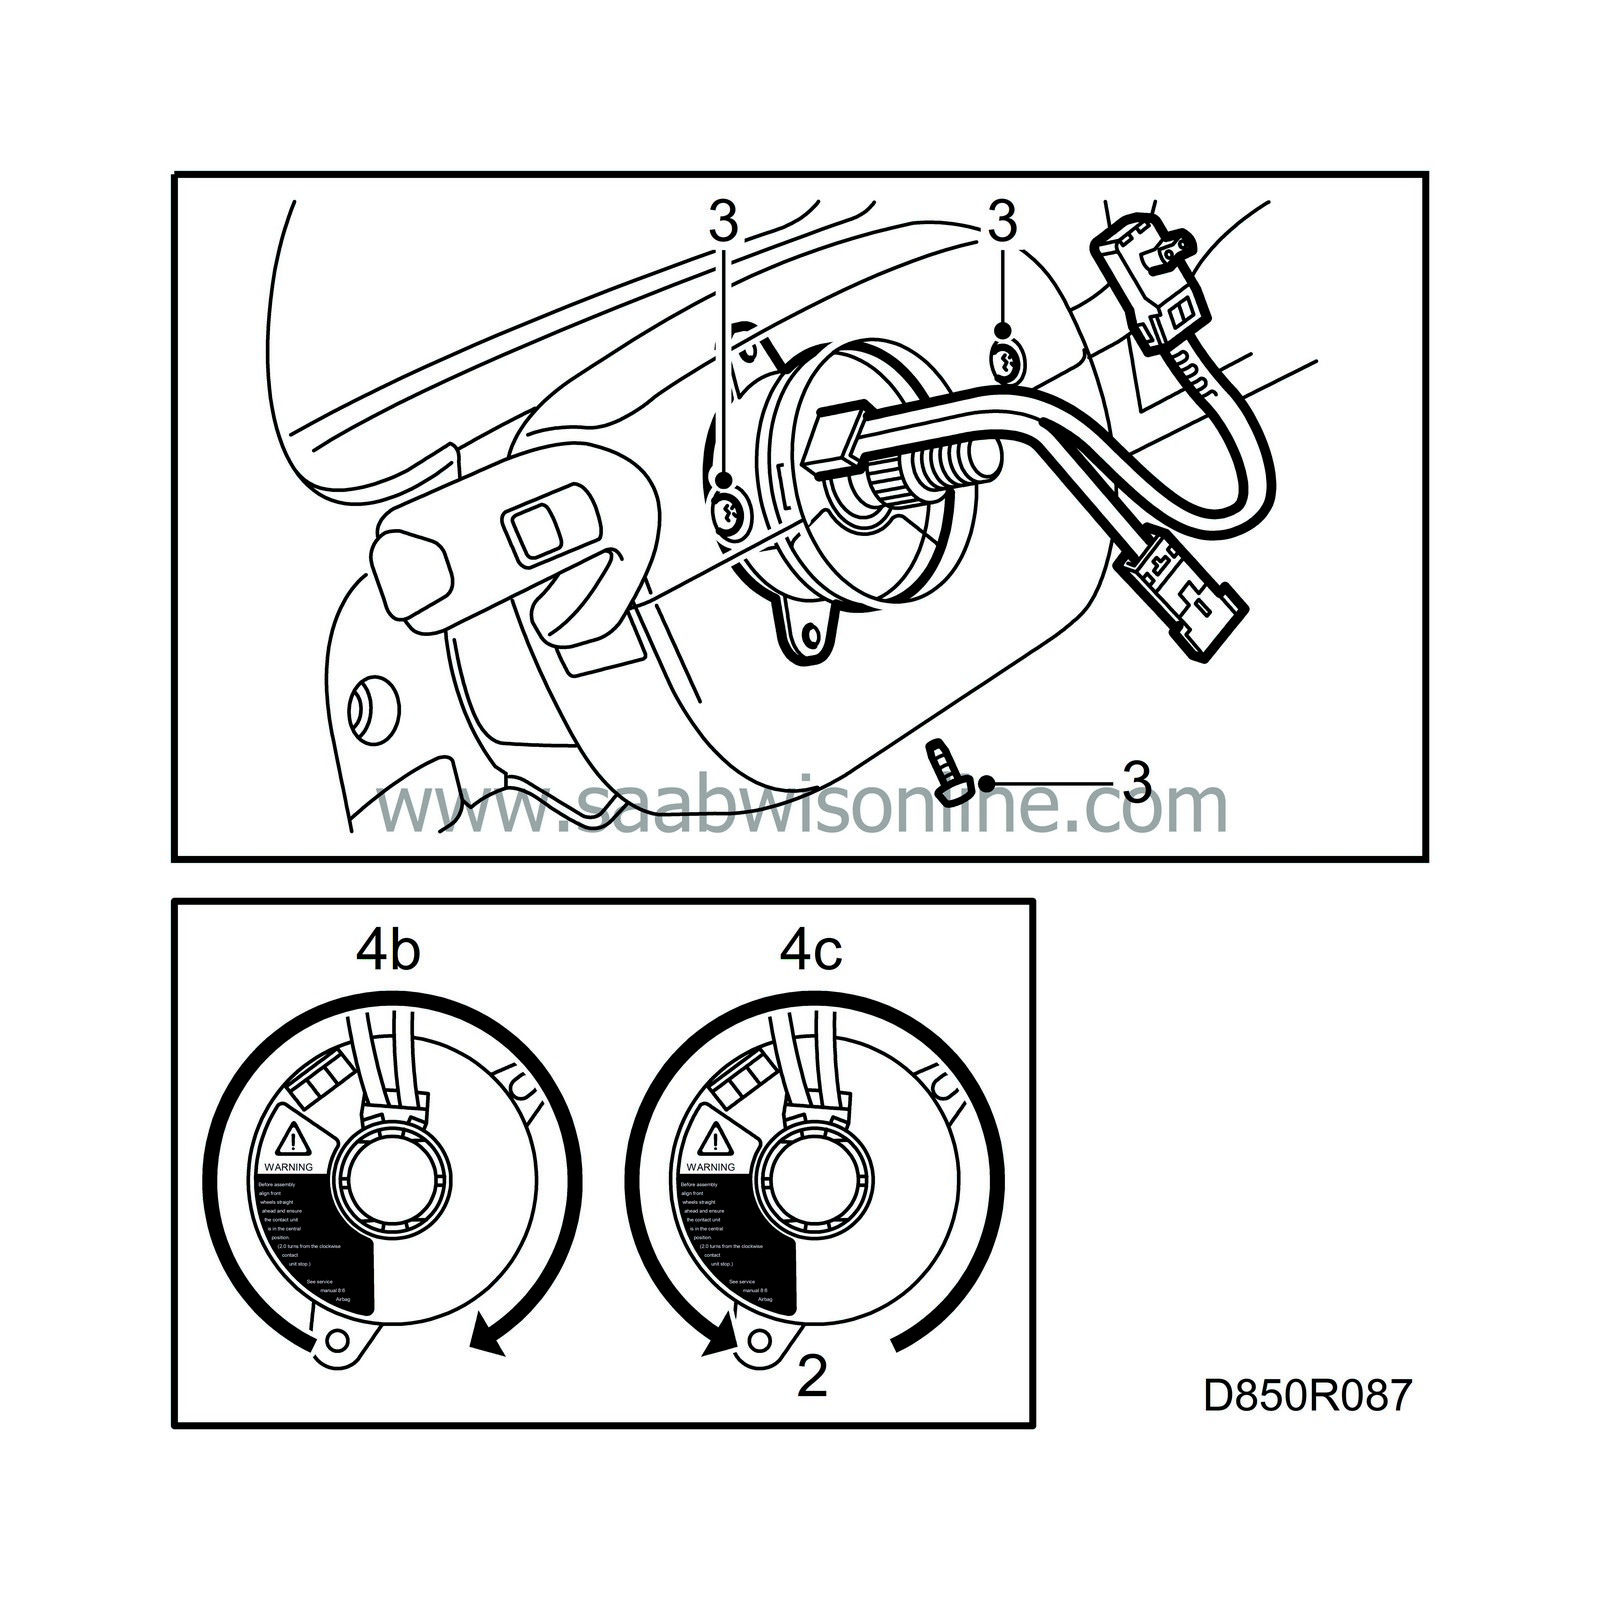
Tighten the screws securing the coil spring, 2 pcs. Plug in the connector.
 Warning
|
|
Make sure the cables are not pinched when fitting the bottom cover.
|
|
|
|
|
|
|
|
3.
|
Refit the upper and lower steering column covers, 3 screws.

|
|
4.
|
Adjust the centre position of the coil spring, as follows:
|
|
|
4.a.
|
Check that the road wheels are set straight ahead.
|
|
|
4.b.
|
Turn the coil spring
clockwise
until you feel stiff resistance.
|
|
|
4.c.
|
Turn the coil spring back 2 complete turns plus the distance that remains until the electric leads are standing straight up.
|
Note
|
|
If a new coil spring is being fitted, no adjustment to the central position is needed. The coil comes ready-set to the central position, being held there by a transport lock. Remove the transport lock before fitting the steering wheel.
|
|
|
5.
|
Check that the leads connected to the coil spring are not twisted.

|
|
6.
|
Fit the steering wheel and tighten the steering wheel centre nut.
Tightening torque: 38 Nm (28.1 lbf ft)
|
|
7.
|
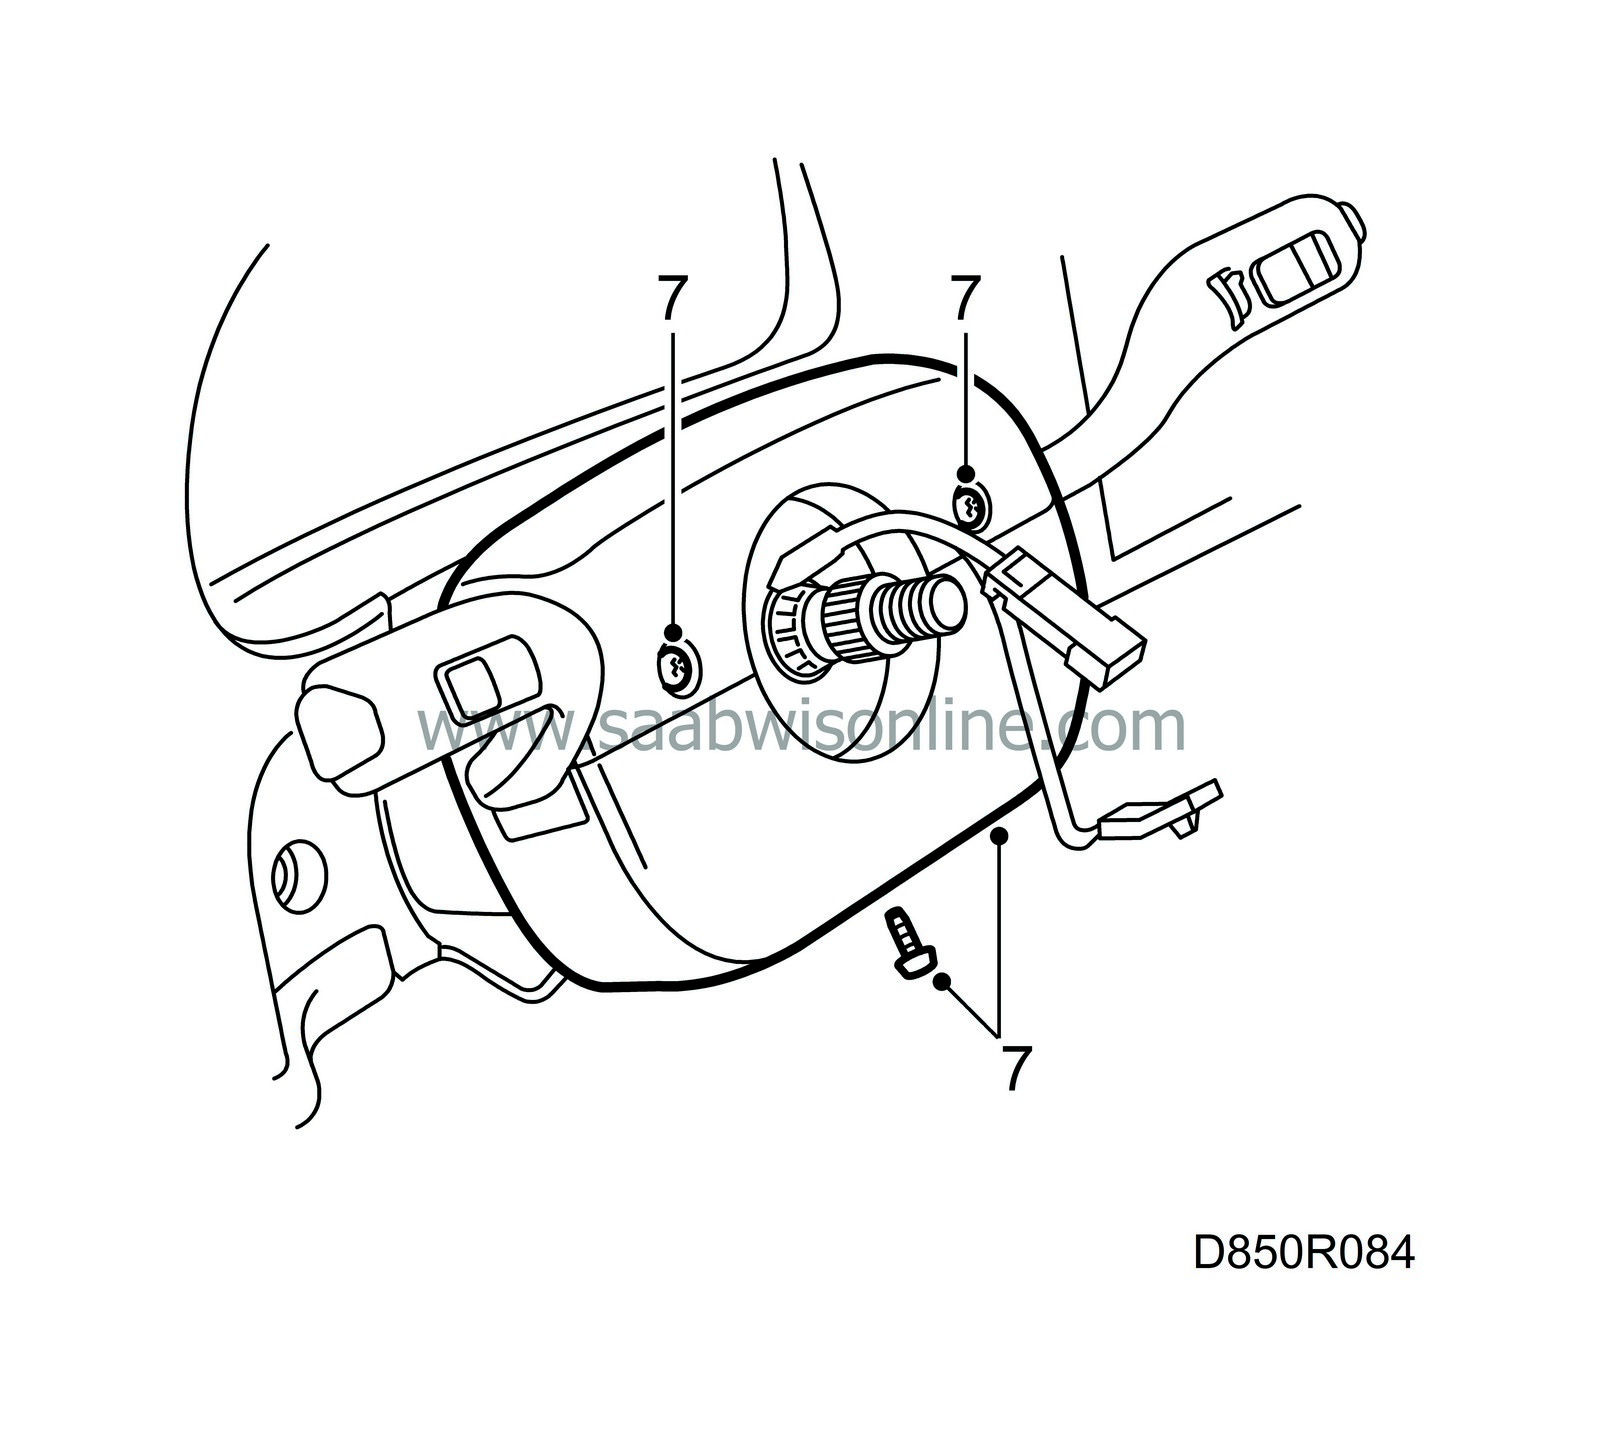
Plug in the horn connector and that of the audio system, if fitted.
|
|
8.
|
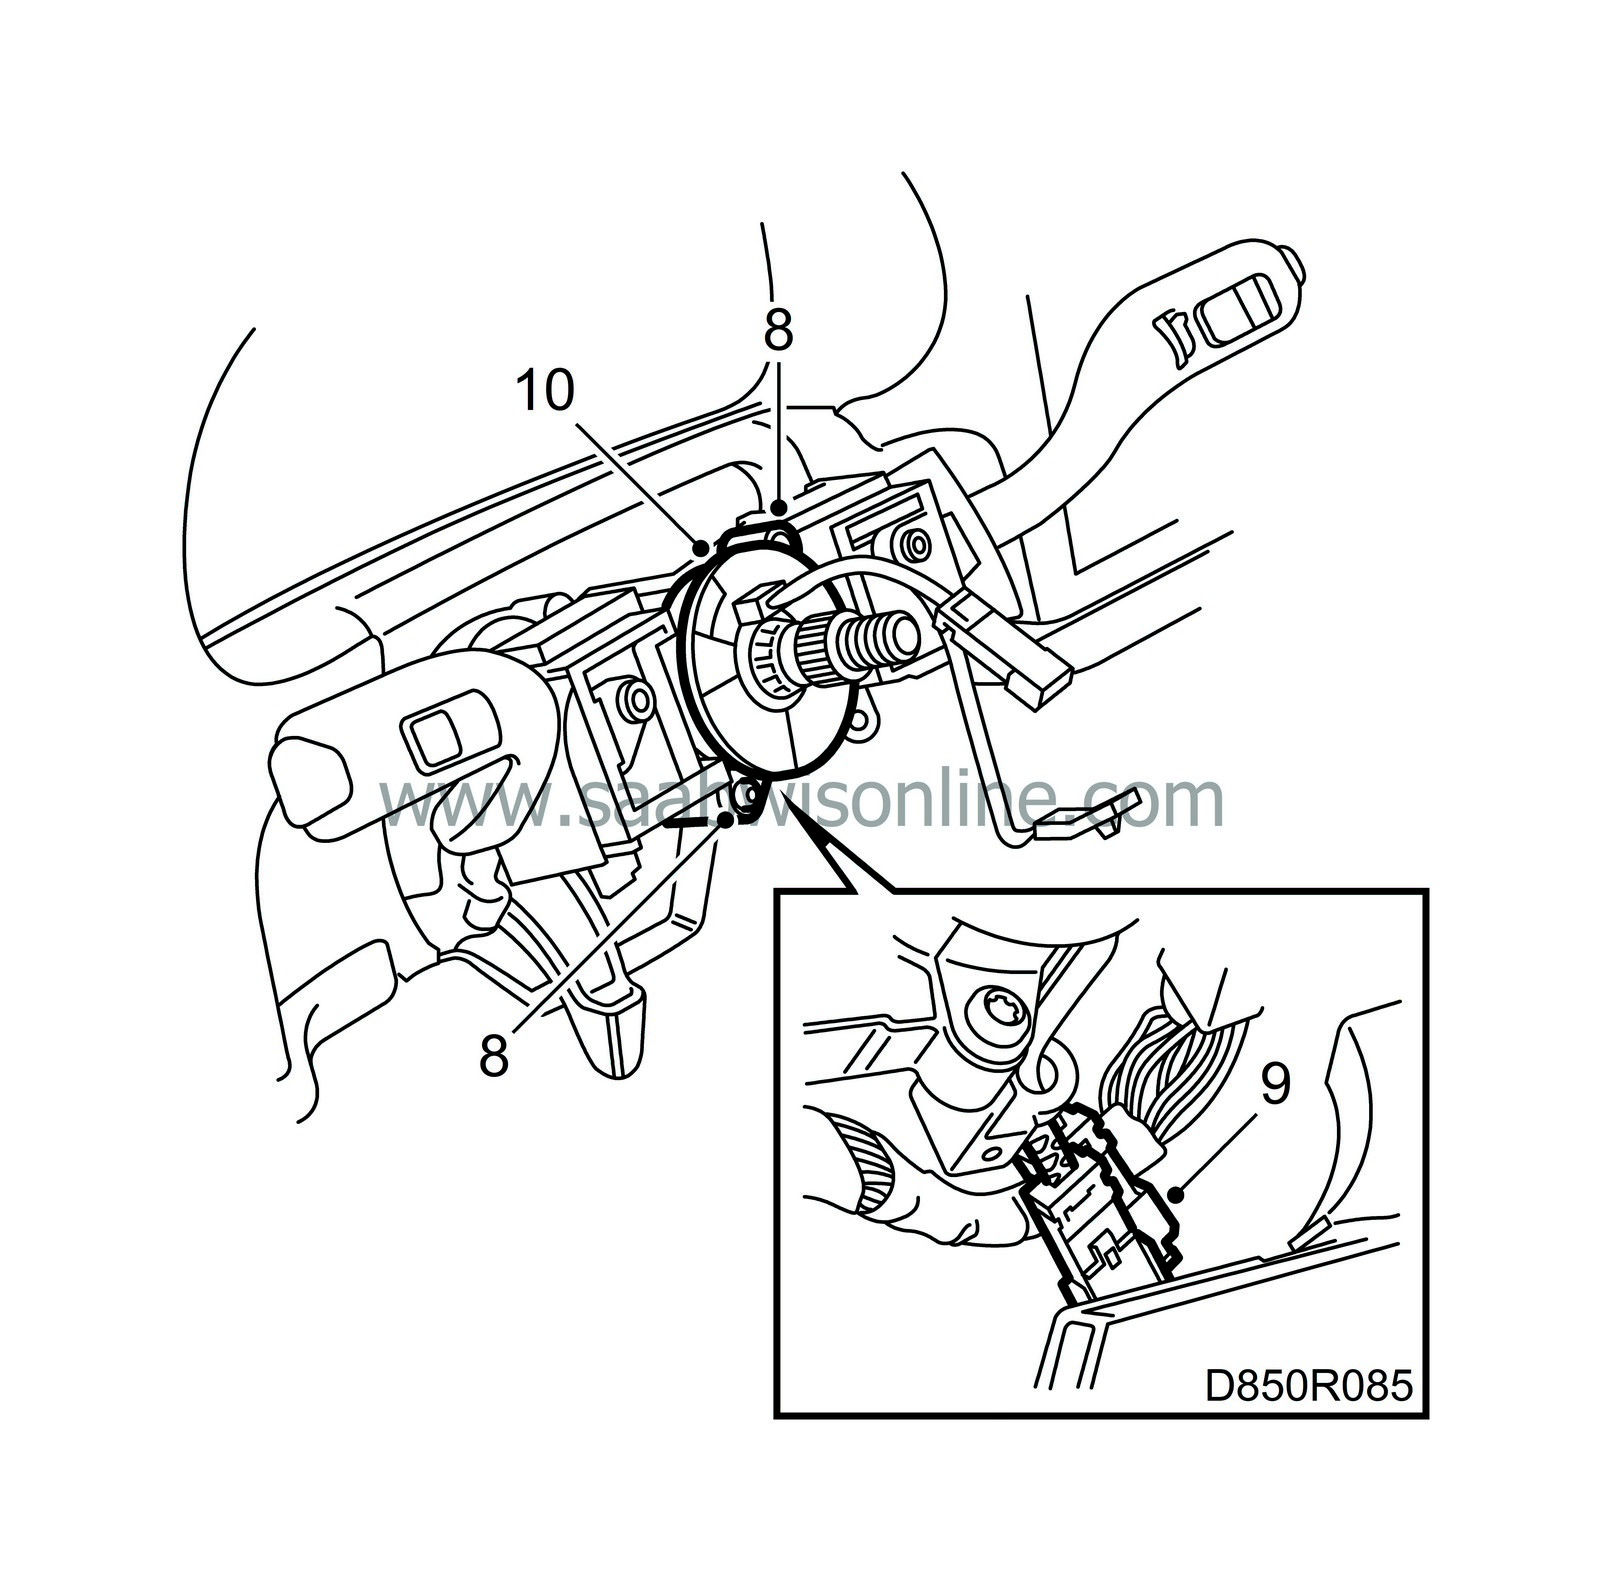
Plug in the airbag electrical connector at the rear.
|
|
9.
|
Fit the airbag in the steering wheel, 2 screws and plugs.
|
|
10.
|
Switch on the ignition and check the SRS system and control module with the diagnostic tool as follows:
Connect the diagnostic tool to the diagnostic socket under the dashboard. Clear any diagnostic trouble codes that may be present.
Turn the ignition off and on again. Wait at least 10 seconds with the ignition on.
Check whether a diagnostic trouble code is shown:
If a diagnostic trouble code is shown:
Carry out the relevant fault diagnosis as described under the respective DTC.
If no diagnostic trouble code is shown:
The installation is successful. Disconnect the diagnostic tool.
|


 Warning

