Side window, front door
| Side window, front door |
| To remove |
| 1. |
Lower the window.
|
|
| 2. |
Remove the door trim, see Service Manual, 8.2 Interior Equipment.
|
|
| 3. |
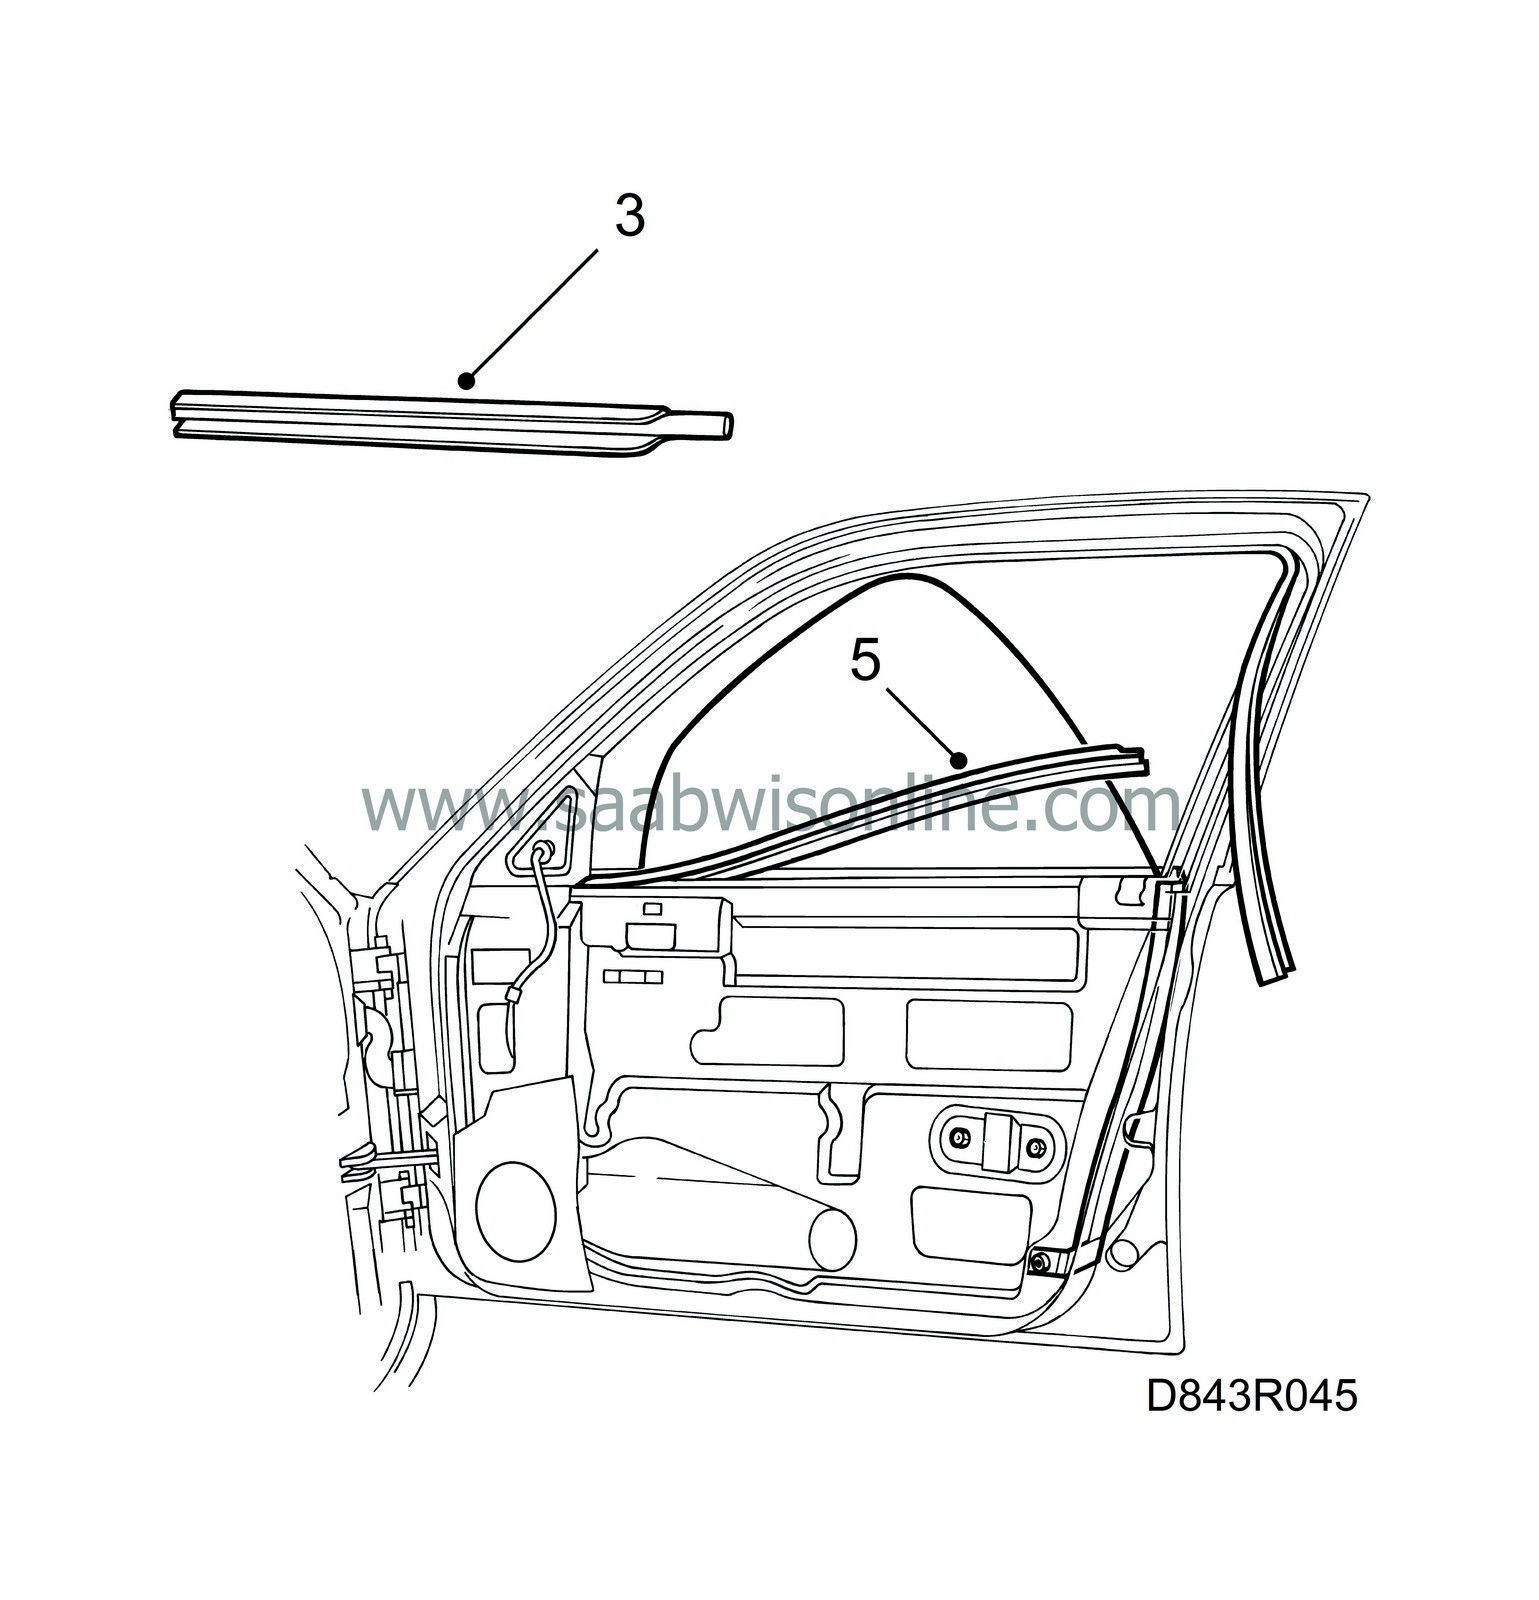
Remove the external window seal, it is fastened with clips at the rear.
|
|
| 4. |
Remove the plastic water deflector.
|
|
| 5. |
Remove the internal window seal by prying up the rear of the seal with a large flat screwdriver and pull up the seal by hand.
|
|
| 6. |
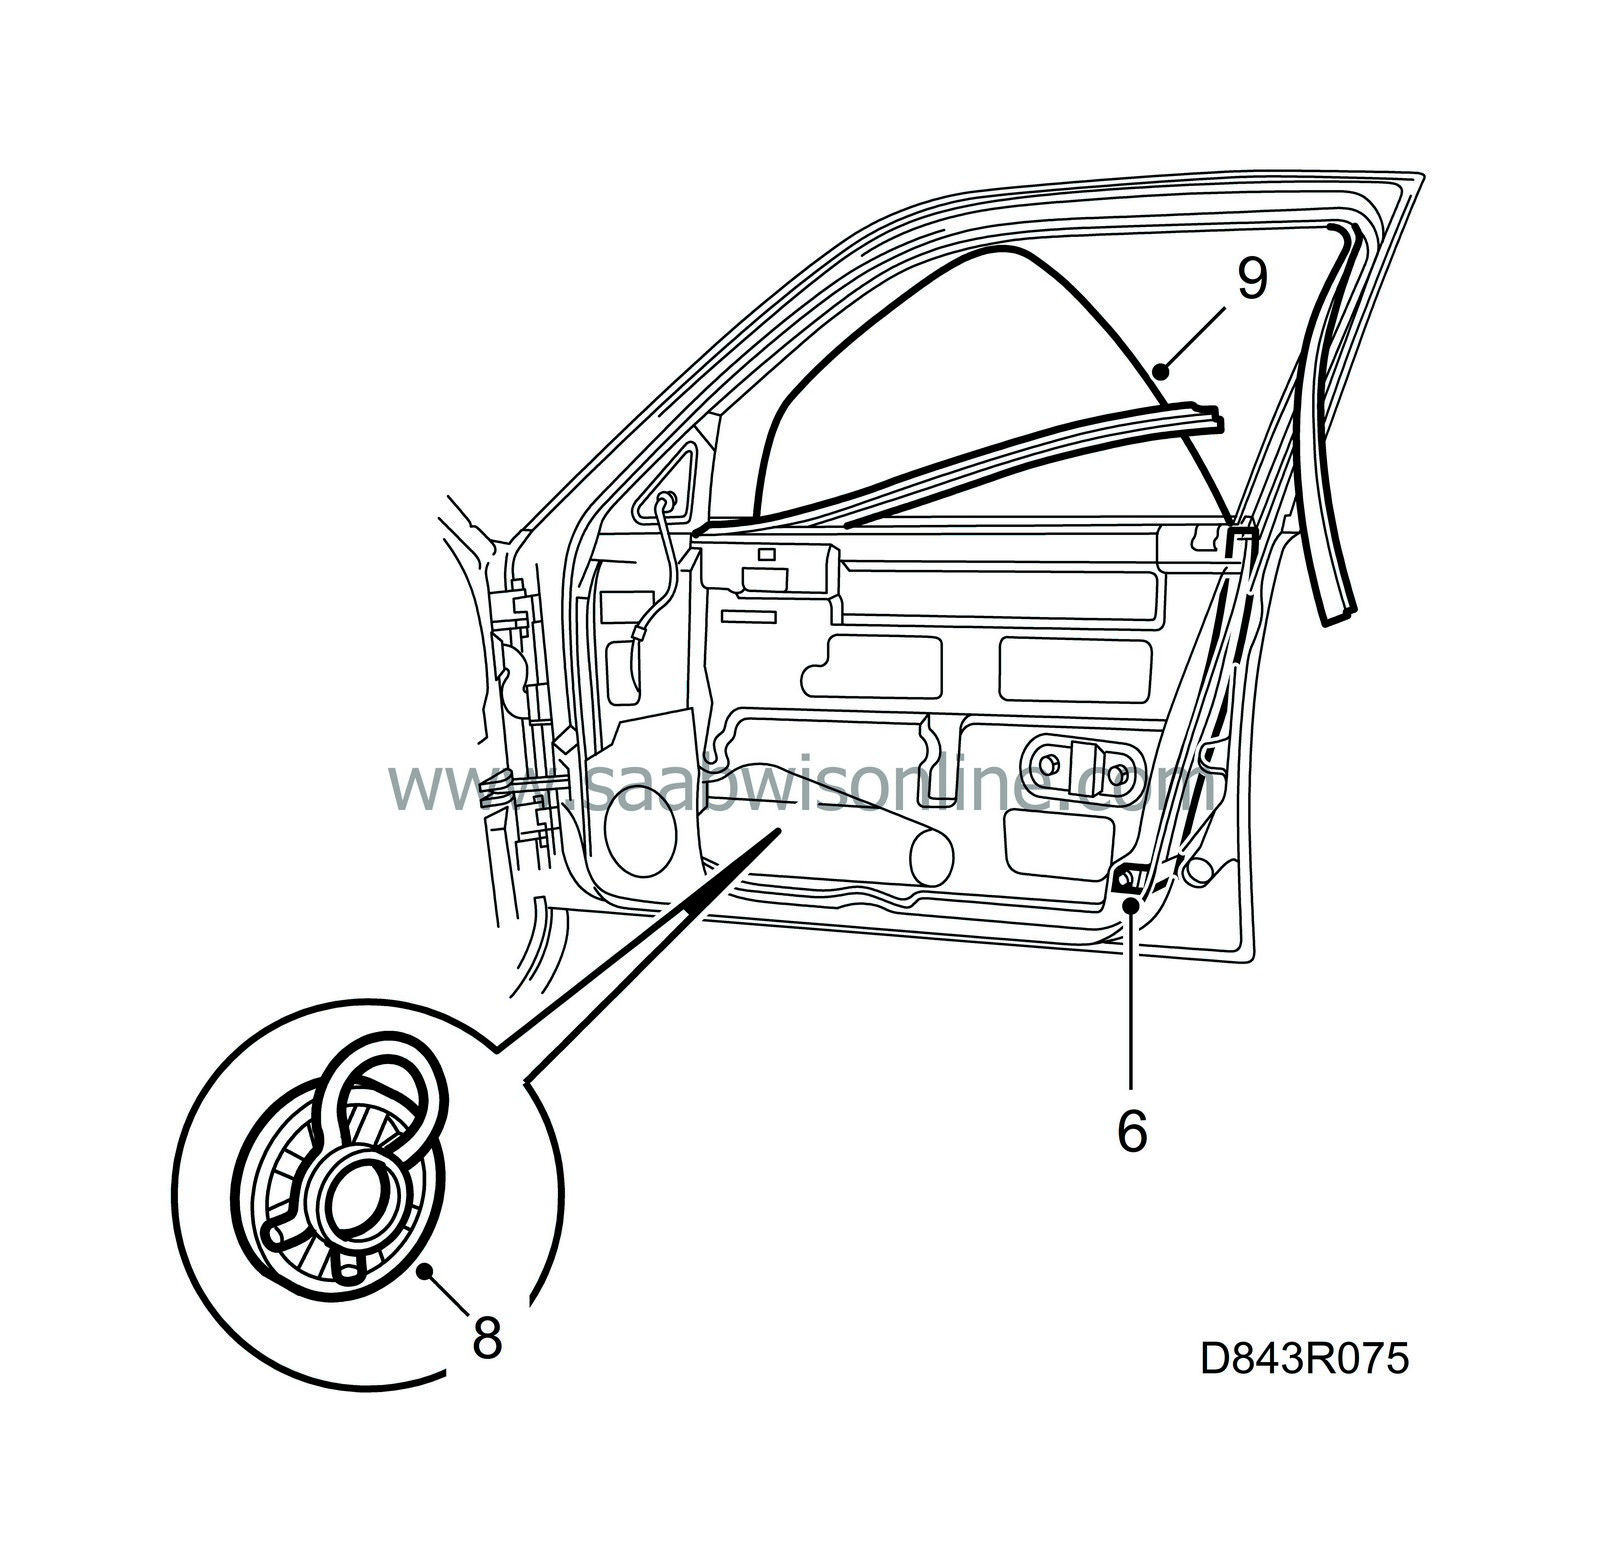
Loosen the lower edge of the rear guide channel (still hanging from the window seal).

|
|
| 7. |
Raise the window so that the window retainer is accessible through the lower opening on the inside of the door.
|
|
| 8. |
Detach the scissor-lift stay from the window mounting by removing the clips and then prising the stay loose with a large flat chisel. Prise the top edge between the stay and the rail.
Prise close to the ball to avoid deforming the rail. |
|
| 9. |
Lift out the window by tilting up the rear edge.
|
|
| To fit |

| 1. |
Fit the window glass by lifting and angling it forwards, then fit it into the front guide channel. Angle the glass towards the rear and guide it into the rear guide channel.
|
|
| 2. |
Transfer the scissor-lift stay bushes (if they are not damaged) to the new window and press on the locking clips.
|
|
| 3. |
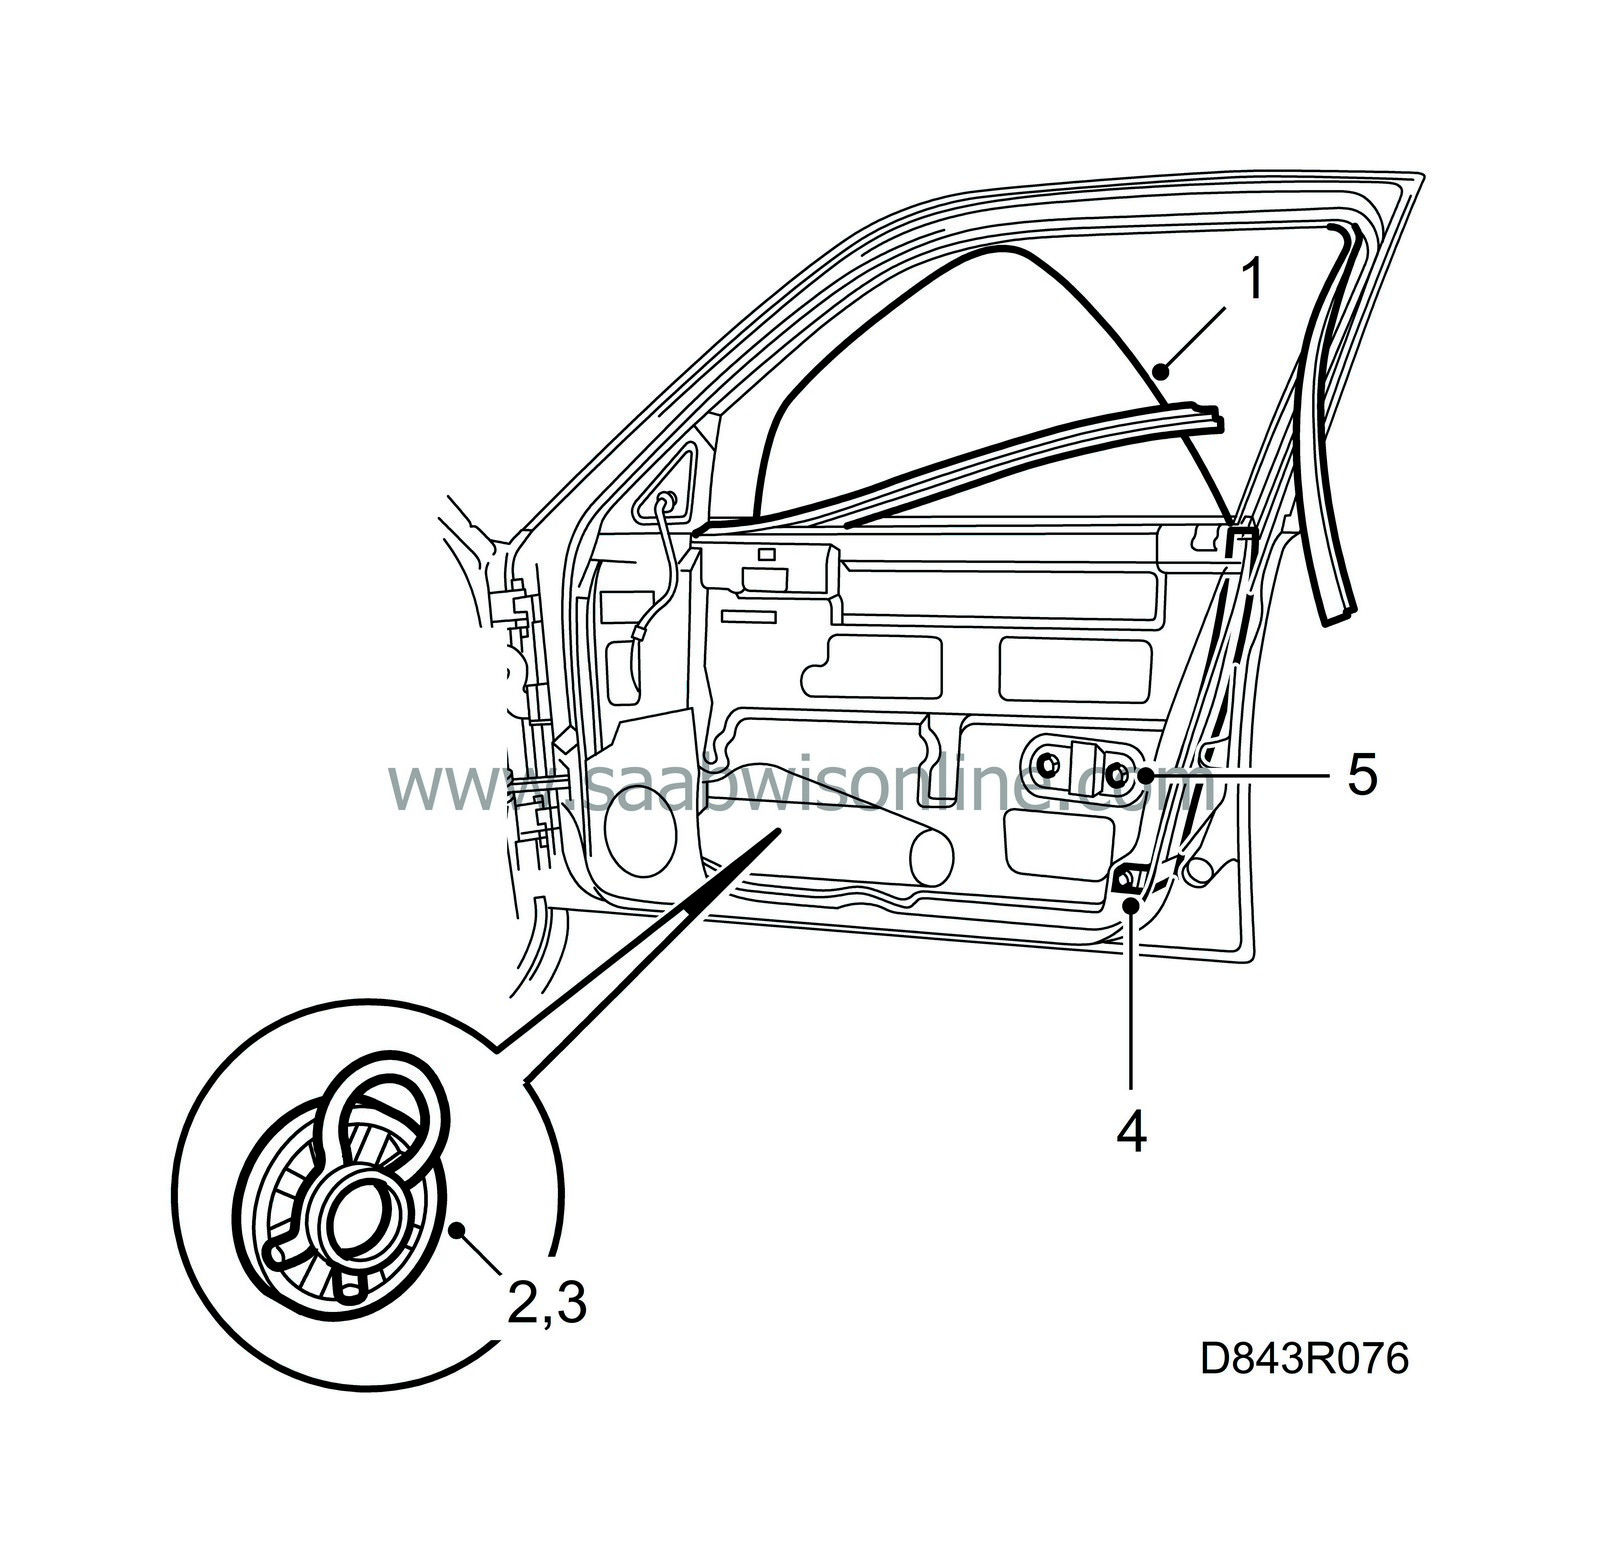
Lubricate the sliding rollers and sliding surfaces with grease (Glitmo 815). Press the scissor-lift stays into the window mounting bushes. A double-click should be heard.
|
|
| 4. |
Tighten the rear guide channel.
|
|
| 5. |
Check the position of the window glass in the frame, adjust the scissor-lift guide channel as follows:
|
|
| • |
Loosen the adjusting nut, the rearmost of the two retainer nuts for the guide channel, raise the window completely in the frame.
|
| • |
Lower the window approximately 3 cm from the closed position.
|
| • |
Press the glass rearwards in the frame by hand.
|
| • |
Check that the top of the window glass is parallel with the frame.
|
| • |
Tighten the adjusting nut.
|
| 6. |
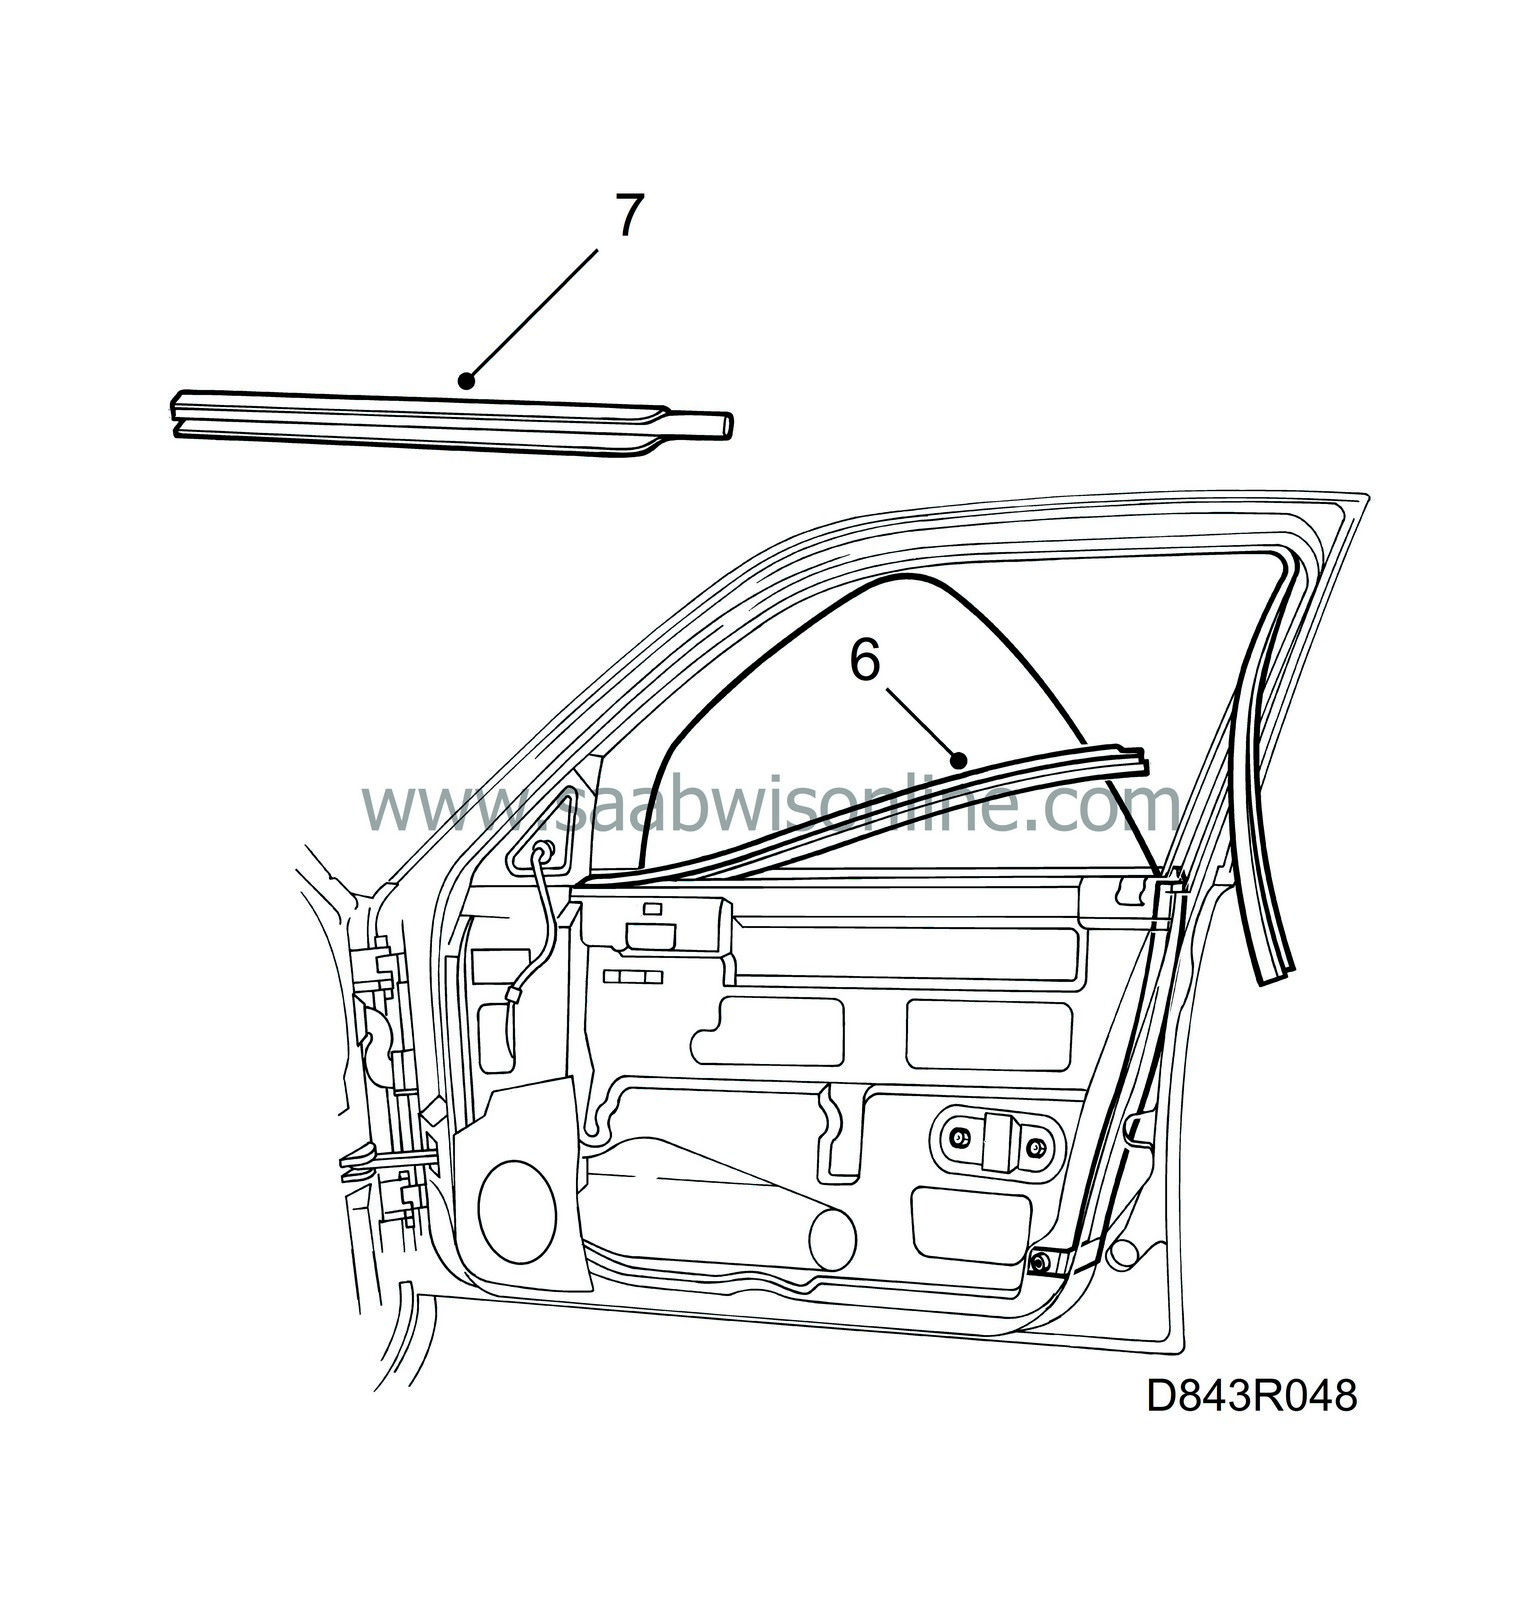
Fit the internal window seal by pressing it into position by hand.

|
|
| 7. |
Fit the external window seal.
|
|||||||
| 8. |
Fit the plastic water barrier.
|
||||||||||
| 9. |
Fit the door trim, see Service Manual, 8:2 Interior equipment.
|
|


