(850-2076) Spurious DTCs in airbag system (SRS)
|
SERVICE INFORMATION
|
|
Bulletin Nbr:
|
850-2076
|
|
Date:
...........
|
februari 1999
|
|
Market:
|
all
|
|
|
Spurious DTCs in airbag system (SRS)
|
Saab 9-3 M98-99 up to and including VIN X2027727
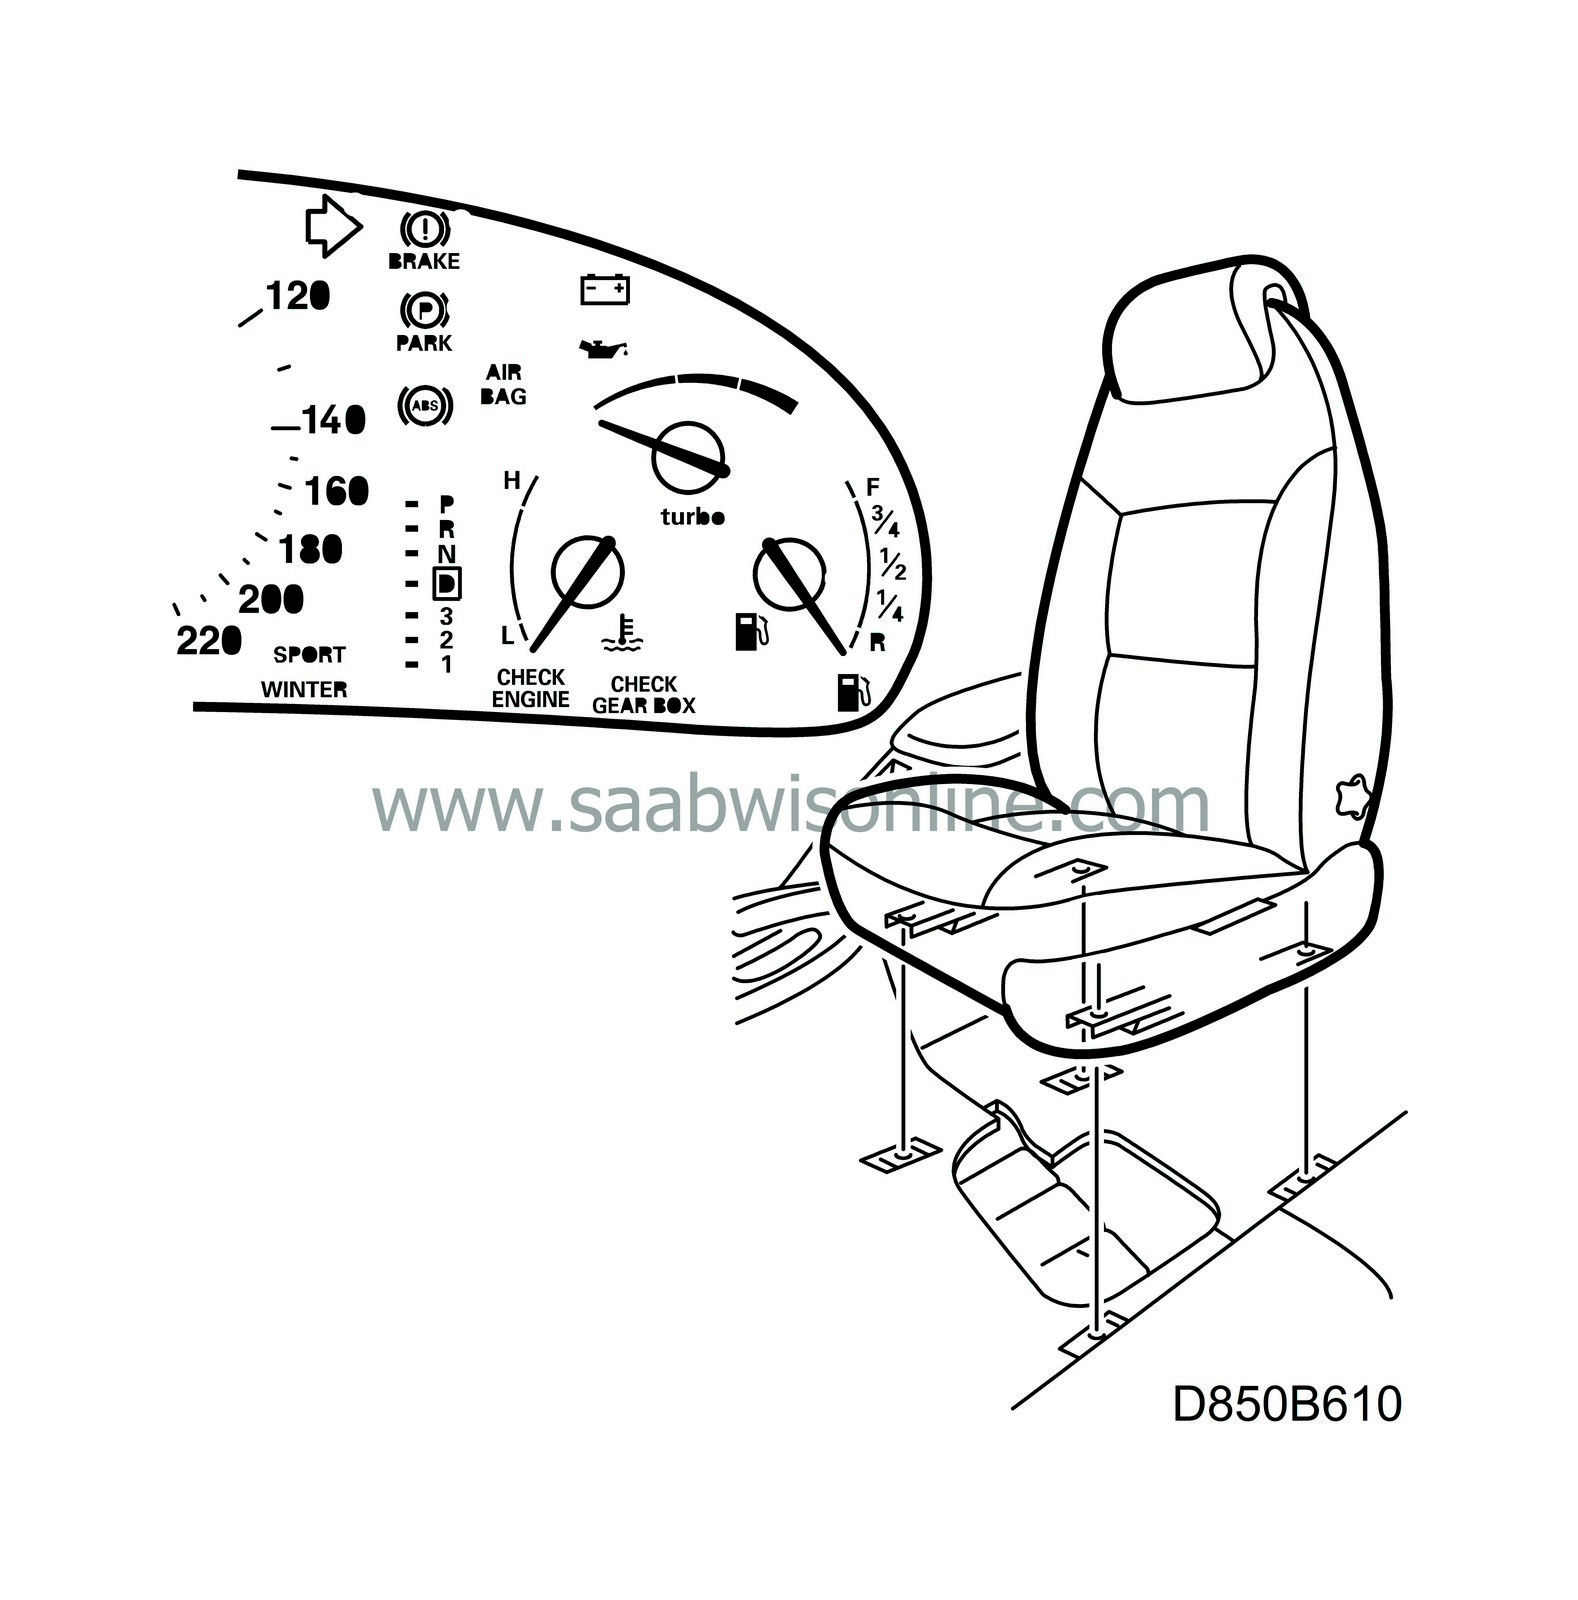
On occasions, the AIRBAG lamp may go on without there being a permanent fault in the airbag system. Investigations have shown that the cause may be insufficient crimping of cable lugs in the wiring between the control module and the seat connector. Diagnostic trouble code B2863 or B2868 will then be generated.
In the event of complaints from customers, proceed as follows.
This SI contains separate methods for LHD and RHD cars.
51 08 089 Wiring harness (CA: 30581758)
79 71 880 Cable tie, 5 pcs. (CA: 30509027)
79 84 784 Cable tie, 2 pcs. (CA: 30551667)
30 04 785 Textile tape (CA: 30559782)
85 80 151 Removal kit, connector pins
86 12 335 Reference resistor
|
1.
|
Remove the seats as described in WIS. See 8. Body / Seats / Front seat.
|
|
2.
|
Remove the centre console as described in WIS. See 8. Body / Interior equipment / Centre console.
|
|
3.
|
Remove all scuff plates.
|
|
4.
|
Remove the rear seat air vents on right and left sides.
|
|
5.
|
Lift up the carpet and support it with a wood block or similar.
|
|
6.
|
Open the cover on the cable duct.
|
|
7.
|
Cut off the cable tie by the control module and unplug the connector from the control module.

|
|
8.
|
Cut the cable tie from the cable outlet and unplug the connector.
|
|
9.
|
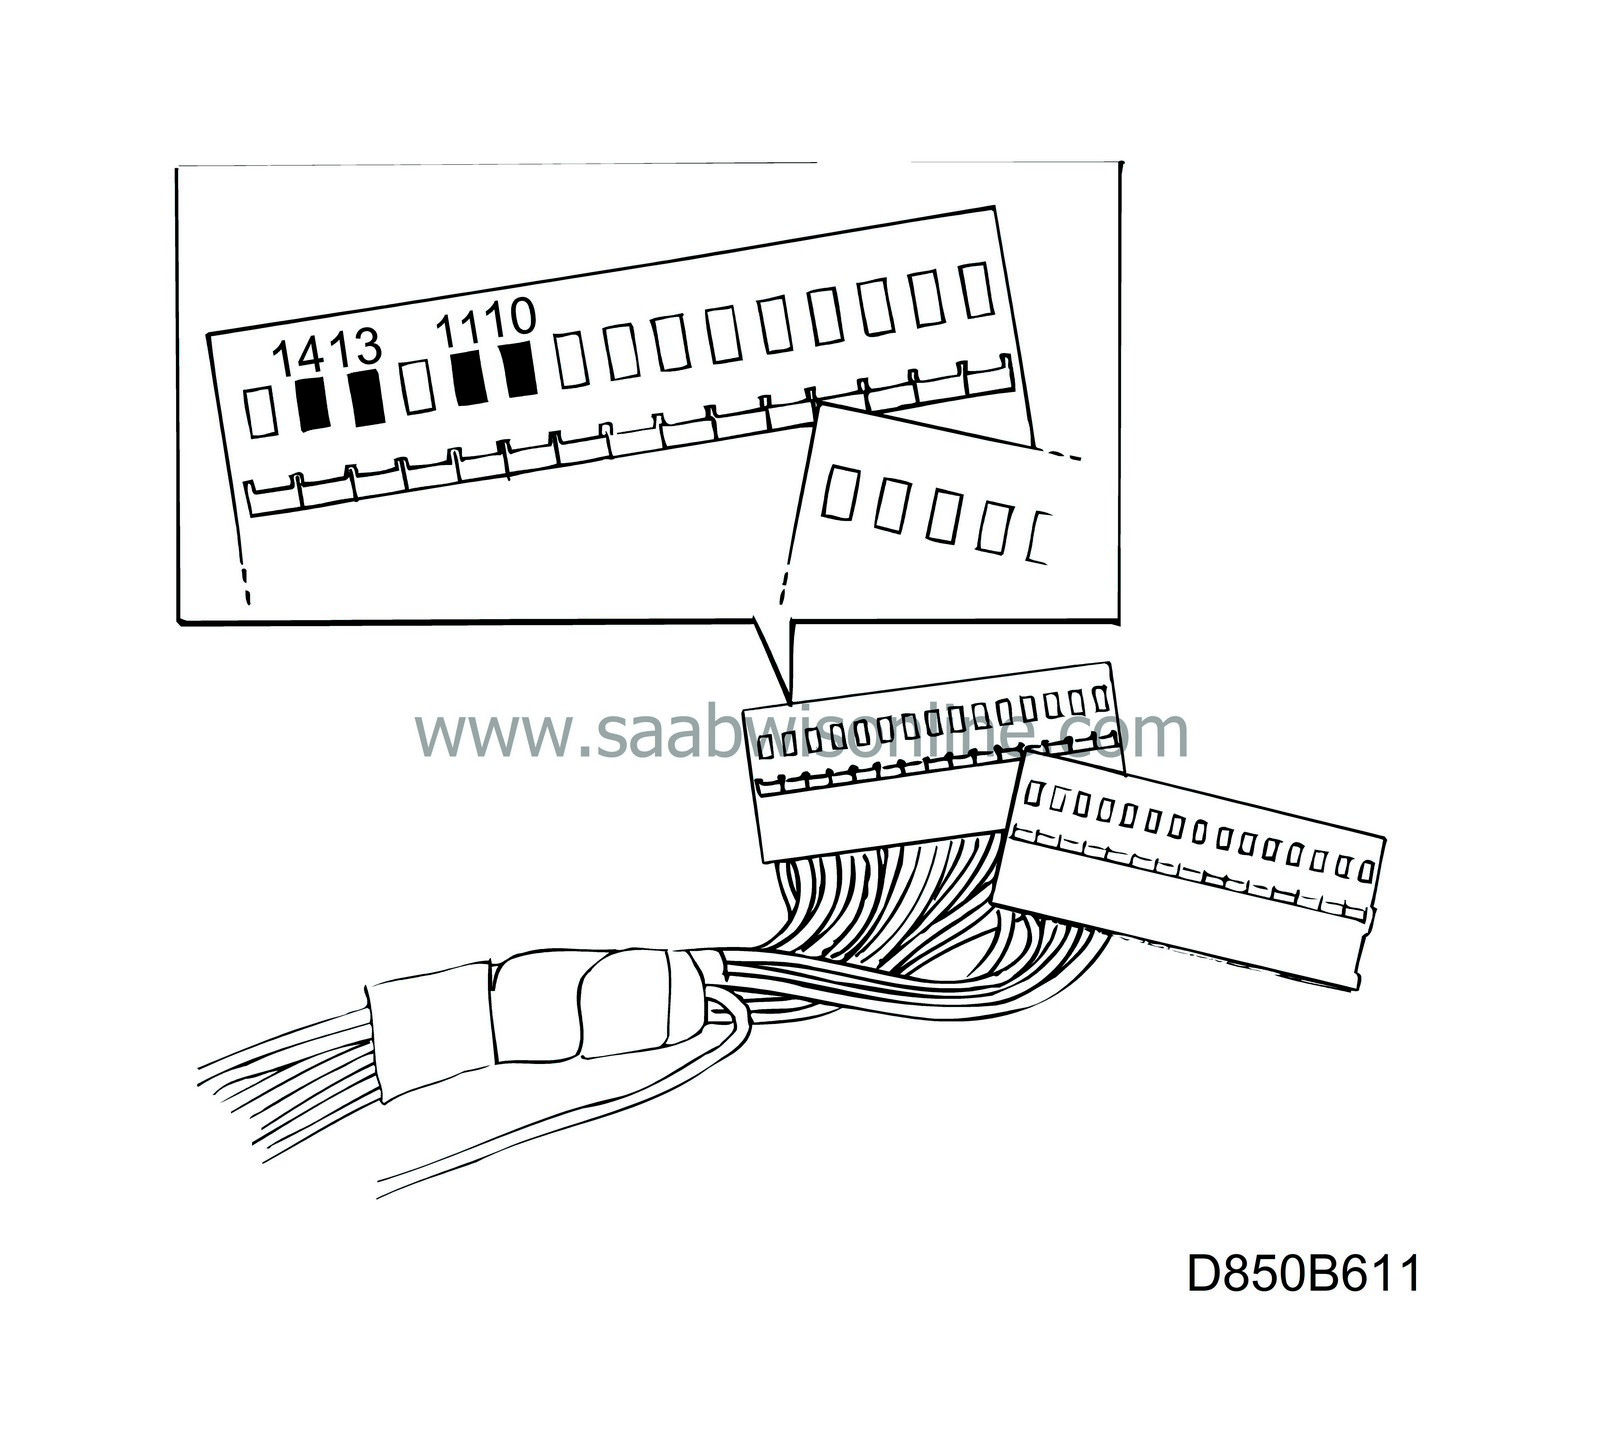
Remove the lugs from positions 10, 11, 13 and 14.
Use a small screwdriver to press away the lock tab.
|
Note
|
|
The lock tab may have to be pressed away a second time when the cable lugs are half way out of the connector.
|
|
|
10.
|
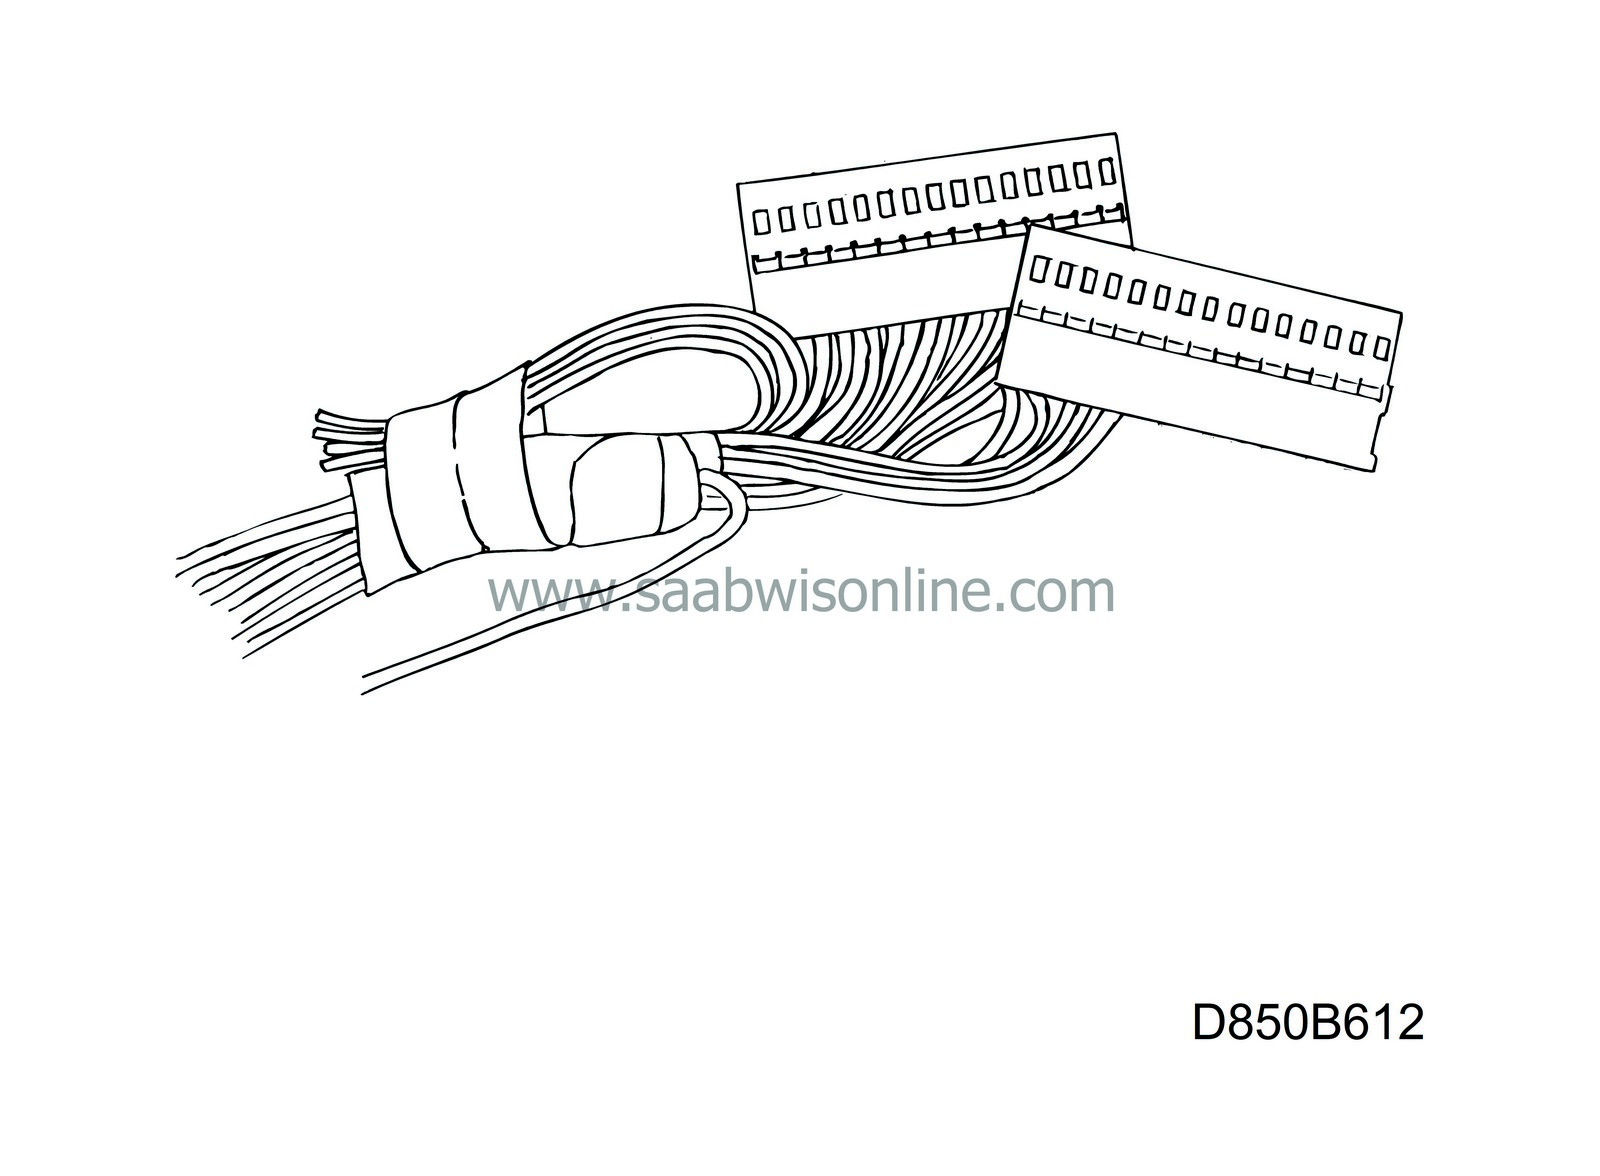
Cut off the cable lugs, fold back the end of the cables and tape them to the wiring harness. Use textile tape.

|
|
11.
|
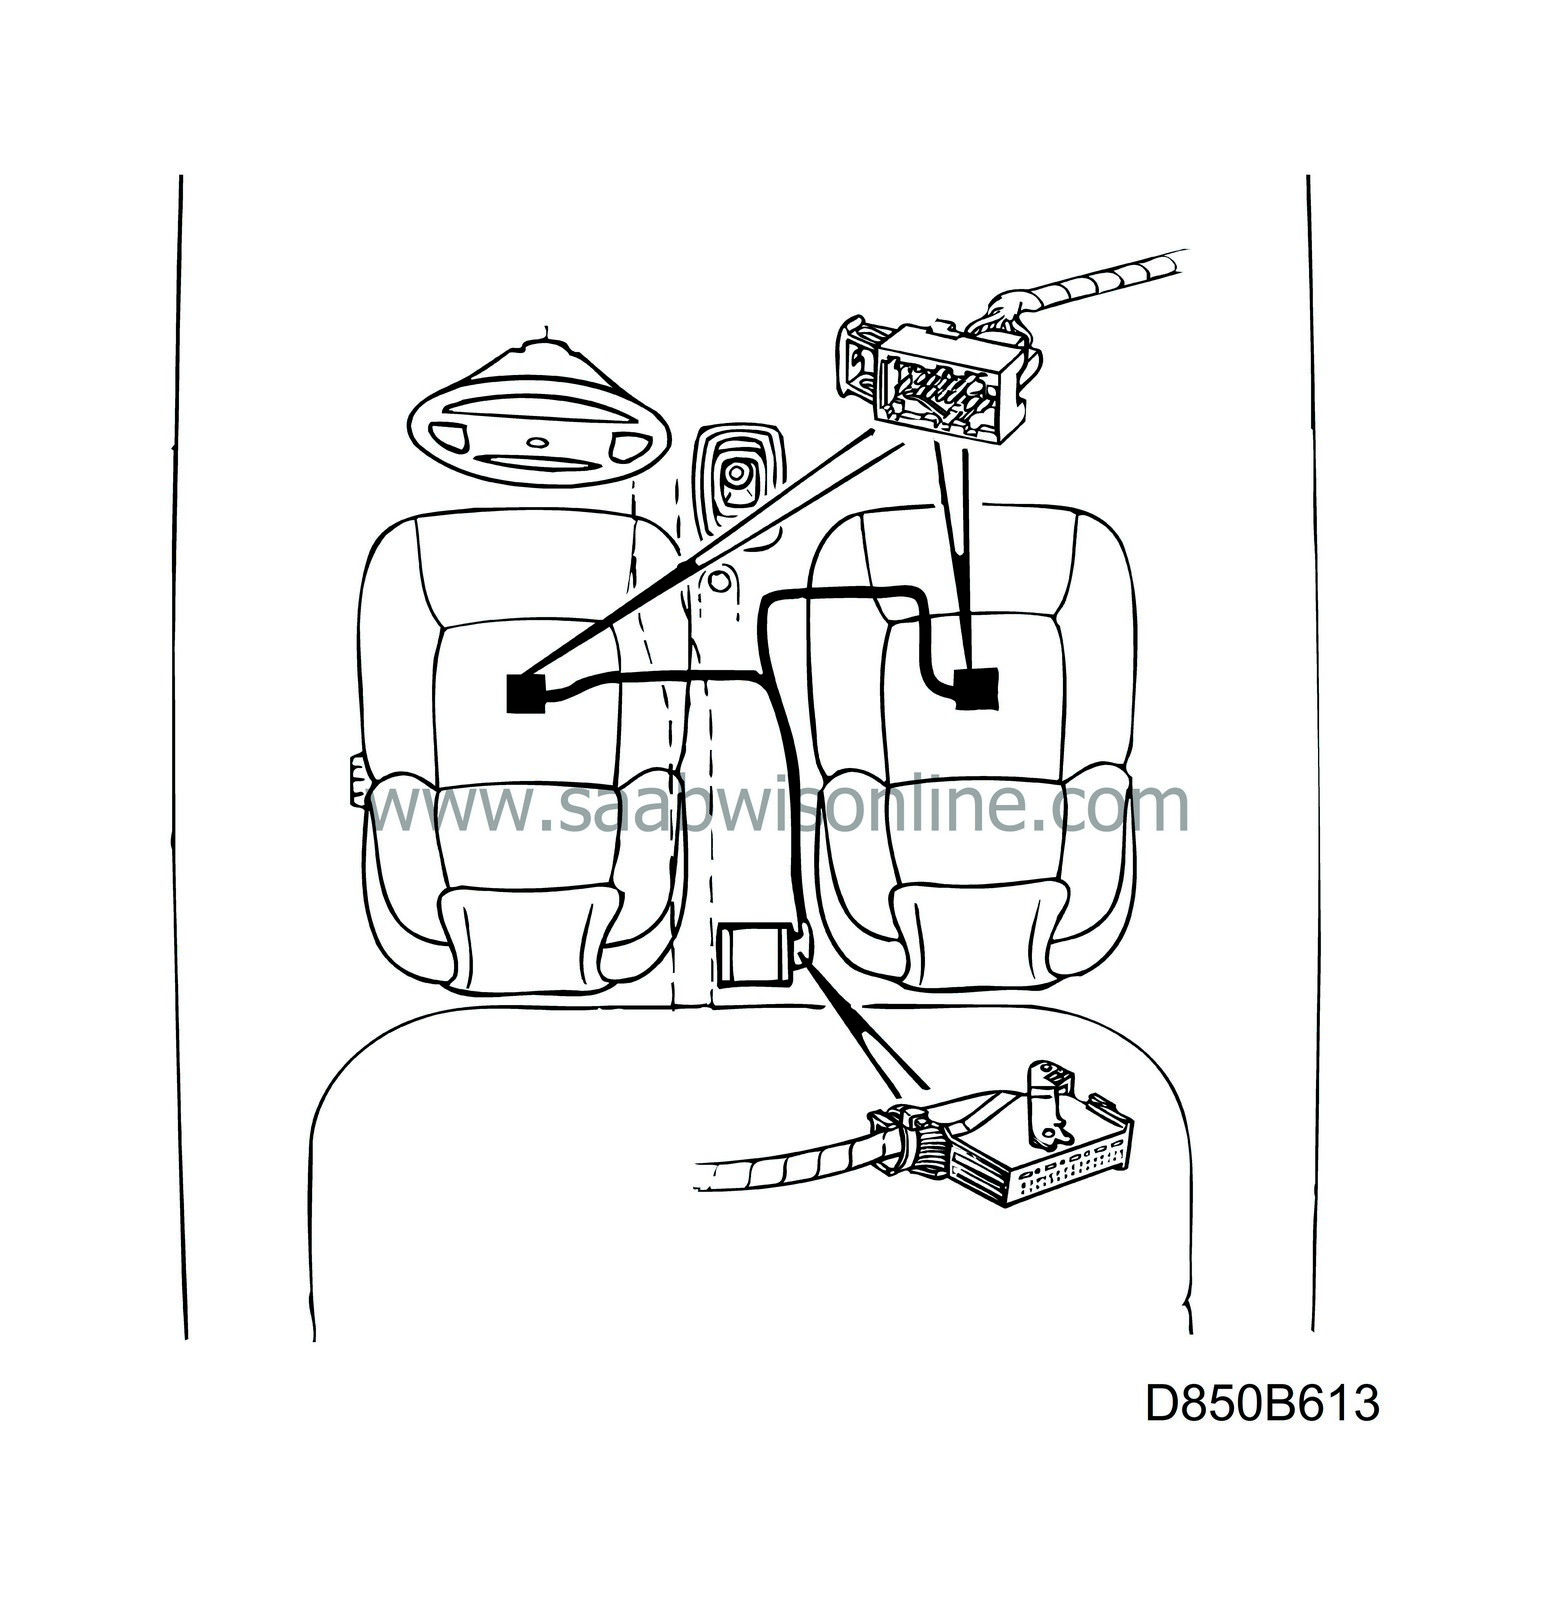
Remove the cable lugs from positions 7 and 9 in the 29-pin connector for the left-hand seat. Use special tool 85 80 151.

|
|
12.
|
Cut off the cable lugs, fold back the end of the cables and tape them to the wiring harness.
|
|
13.
|
Insert the
orange
cables in position 7 and 9 in the 29-pin connector for the
left-hand seat
.
|
|
14.
|
Tape the new wiring harness completely to the old one up to the cable duct. Place the harness in the duct and under the air duct.
|
Important
|
|
Take care not to damage the cable lugs when laying the cable.
|
|
|
Close the cover on the cable duct.
 Warning
|
|
Make sure the cables are away from any sharp edges.
|
|
|
|
|
|
|
|
15.
|
Insert the cables into the connector for the control module.

Orange cables in positions 10 and 11.
White cable in positions 13 and 14.
|
|
16.
|
Plug together the connector and fit a cable tie around the cable outlet.
|
|
17.
|
Remove the cable lugs from positions 7 and 9 in the 29-pin connector for the right-hand seat. Use special tool 85 80 151.
Cut off the cable lugs, fold back the end of the cables and tape them to the wiring harness.
|
|
18.
|
Insert the
white
cables in positions 7 and 9 in the 29-pin connector for the
right-hand seat
.

|
|
19.
|
Cut off the cable ties, 3 pcs., and tape the new wiring harness completely to the old one up to the cable duct. Start at the 29-pin connector.
|
|
20.
|
Lay the harness in the cable duct, fit a new cable tie and close the cover.
|
|
22.
|
Connect a reference resistor, part no. 86 12 335 to the driver's seat connector.
|
|
23.
|
Switch on the ignition.
|
|
24.
|
Clear DTCs in the SRS system.
|
|
25.
|
Read DTCs. A break in the circuit to the passenger seat should be indicated.
|
|
26.
|
Switch off the ignition.
|
|
27.
|
Move the reference resistor to the passenger seat.
|
|
28.
|
Switch on the ignition.
|
|
29.
|
Clear DTCs in the SRS system.
|
|
30.
|
Read DTCs. A break in the driver's seat should be indicated.
|
|
31.
|
If other DTCs have been generated; make sure that the harness is correctly connected.
|
|
32.
|
Replace the carpet. Fit the scuff plates and air vents to the rear seat.
|
|
33.
|
Fit the centre console as described in WIS. See 8. Body / Interior equipment / Centre console.
|
|
34.
|
Fit the seats as described in WIS. See 8. Body / Seats / Front seat.
|
|
35.
|
Clear DTCs and check with Tech 2 that the resistance in the SRS circuit is 2.5 ± 0.3 ohms in each seat circuit.
Disconnect Tech 2.
|
|
36.
|
Start the car and check that the AIRBAG lamp does not indicate a fault.
|
|
1.
|
Remove the seats as described in WIS. See 8. Body / Seats / Front seat.
|
|
2.
|
Remove the centre console as described in WIS. See 8. Body / Interior equipment / Centre console.
|
|
3.
|
Remove all scuff plates.

|
|
4.
|
Remove the rear seat air vents on right and left sides.
|
|
5.
|
Lift up the carpet and support it with a wood block or similar.
|
|
6.
|
Open the cover on the cable duct.
|
|
7.
|
Cut off the cable tie by the control module and unplug the connector from the control module.
|
|
8.
|
Cut the cable tie from the cable outlet and unplug the connector.
|
|
9.
|
Remove the lugs from positions 10, 11, 13 and 14.
Use a small screwdriver to press away the lock tab.
|
Note
|
|
The lock tab may have to be pressed away a second time when the cable lugs are half way out of the connector.
|
|
|
10.
|
Cut off the cable lugs, fold back the end of the cables and tape them to the wiring harness.

|
|
11.
|
Remove the cable lugs from positions 7 and 9 in the 29-pin connector for the left-hand seat. Use special tool 85 80 151.

|
|
12.
|
Cut off the cable lugs, fold back the end of the cables and tape them to the wiring harness.
|
|
13.
|
Insert the
orange
cables in position 7 and 9 in the 29-pin connector for the
left-hand seat
.
|
|
14.
|
Tape the new wiring harness completely to the old one up to the cable duct. Place the harness in the duct and under the air duct.
|
Important
|
|
Take care not to damage the cable lugs when laying the cable.
|
|
|
Close the cover on the cable duct.
 Warning
|
|
Make sure the cables are away from any sharp edges.
|
|
|
|
|
|
|
|
15.
|
Insert the cables into the connector for the control module.

Orange cables in positions 13 and 14.
White cable in positions 10 and 11.
|
|
16.
|
Plug together the connector and fit a cable tie around the cable outlet.
|
|
17.
|
Remove the cable lugs from positions 7 and 9 in the 29-pin connector for the right-hand seat. Use special tool 85 80 151.
Cut off the cable lugs, fold back the end of the cables and tape them to the wiring harness.
|
|
18.
|
Insert the
white
cables in positions 7 and 9 in the 29-pin connector for the
right-hand seat
.

|
|
19.
|
Cut off the cable ties, 3 pcs., and tape the new wiring harness completely to the old one up to the cable duct. Start at the 29-pin connector.
|
|
20.
|
Lay the harness in the cable duct, fit a new cable tie and close the cover.
|
|
22.
|
Connect a reference resistor, part no. 86 12 335 to the driver's seat connector.
|
|
23.
|
Switch on the ignition.
|
|
24.
|
Clear DTCs in the SRS system.
|
|
25.
|
Read DTCs. A break in the circuit to the passenger seat should be indicated.
|
|
26.
|
Switch off the ignition.
|
|
27.
|
Move the reference resistor to the passenger seat.
|
|
28.
|
Switch on the ignition.
|
|
29.
|
Clear DTCs in the SRS system.
|
|
30.
|
Read DTCs. A break in the driver's seat should be indicated.
|
|
31.
|
If other DTCs have been generated; make sure that the harness is correctly connected.
|
|
32.
|
Replace the carpet. Fit the scuff plates and air vents to the rear seat.
|
|
33.
|
Fit the centre console as described in WIS. See 8. Body / Interior equipment / Centre console.
|
|
34.
|
Fit the seats as described in WIS. See 8. Body / Seats / Front seat.
|
|
35.
|
Clear DTCs and check with Tech 2 that the resistance in the SRS circuit is 2.5 ± 0.3 ohms in each seat circuit.
Disconnect Tech 2.
|
|
36.
|
Start the car and check that the AIRBAG lamp does not indicate a fault.
|
|
Warranty/Time information
|
Failed Object: 37136
Fault/Reason code: 61
Location code: 09 (US=0)
Warranty Type (US): 01
Repair/Action code: 01
Labour Operation (US): 37136
Time: 1.6
(CA: N1731 1.6 hrs)


 Warning

