Rattling from inside the first bow and latch handle difficult to operate
Symptom: Rattling from inside the first bow and latch handle difficult to operate
| Rattling from inside the first bow and latch handle difficult to operate |
Fault symptoms
Rattling from inside the first bow and latch handle difficult to operateCars affected. X7024103
| Procedure 1 |
Use
| • |
51 81 995 Rubber bush
|
|
| • |
51 82 001 Spring clip
|
|
| • |
(16) 30 08 075 Adhesive
|
|
| • |
(16) 30 20 476 Lubricating grease, Molycote 33
|
|
| 1. |
Manoeuvre the soft top to its lowered position (open). Leave the soft top cover in raised position.

|
|
| 2. |
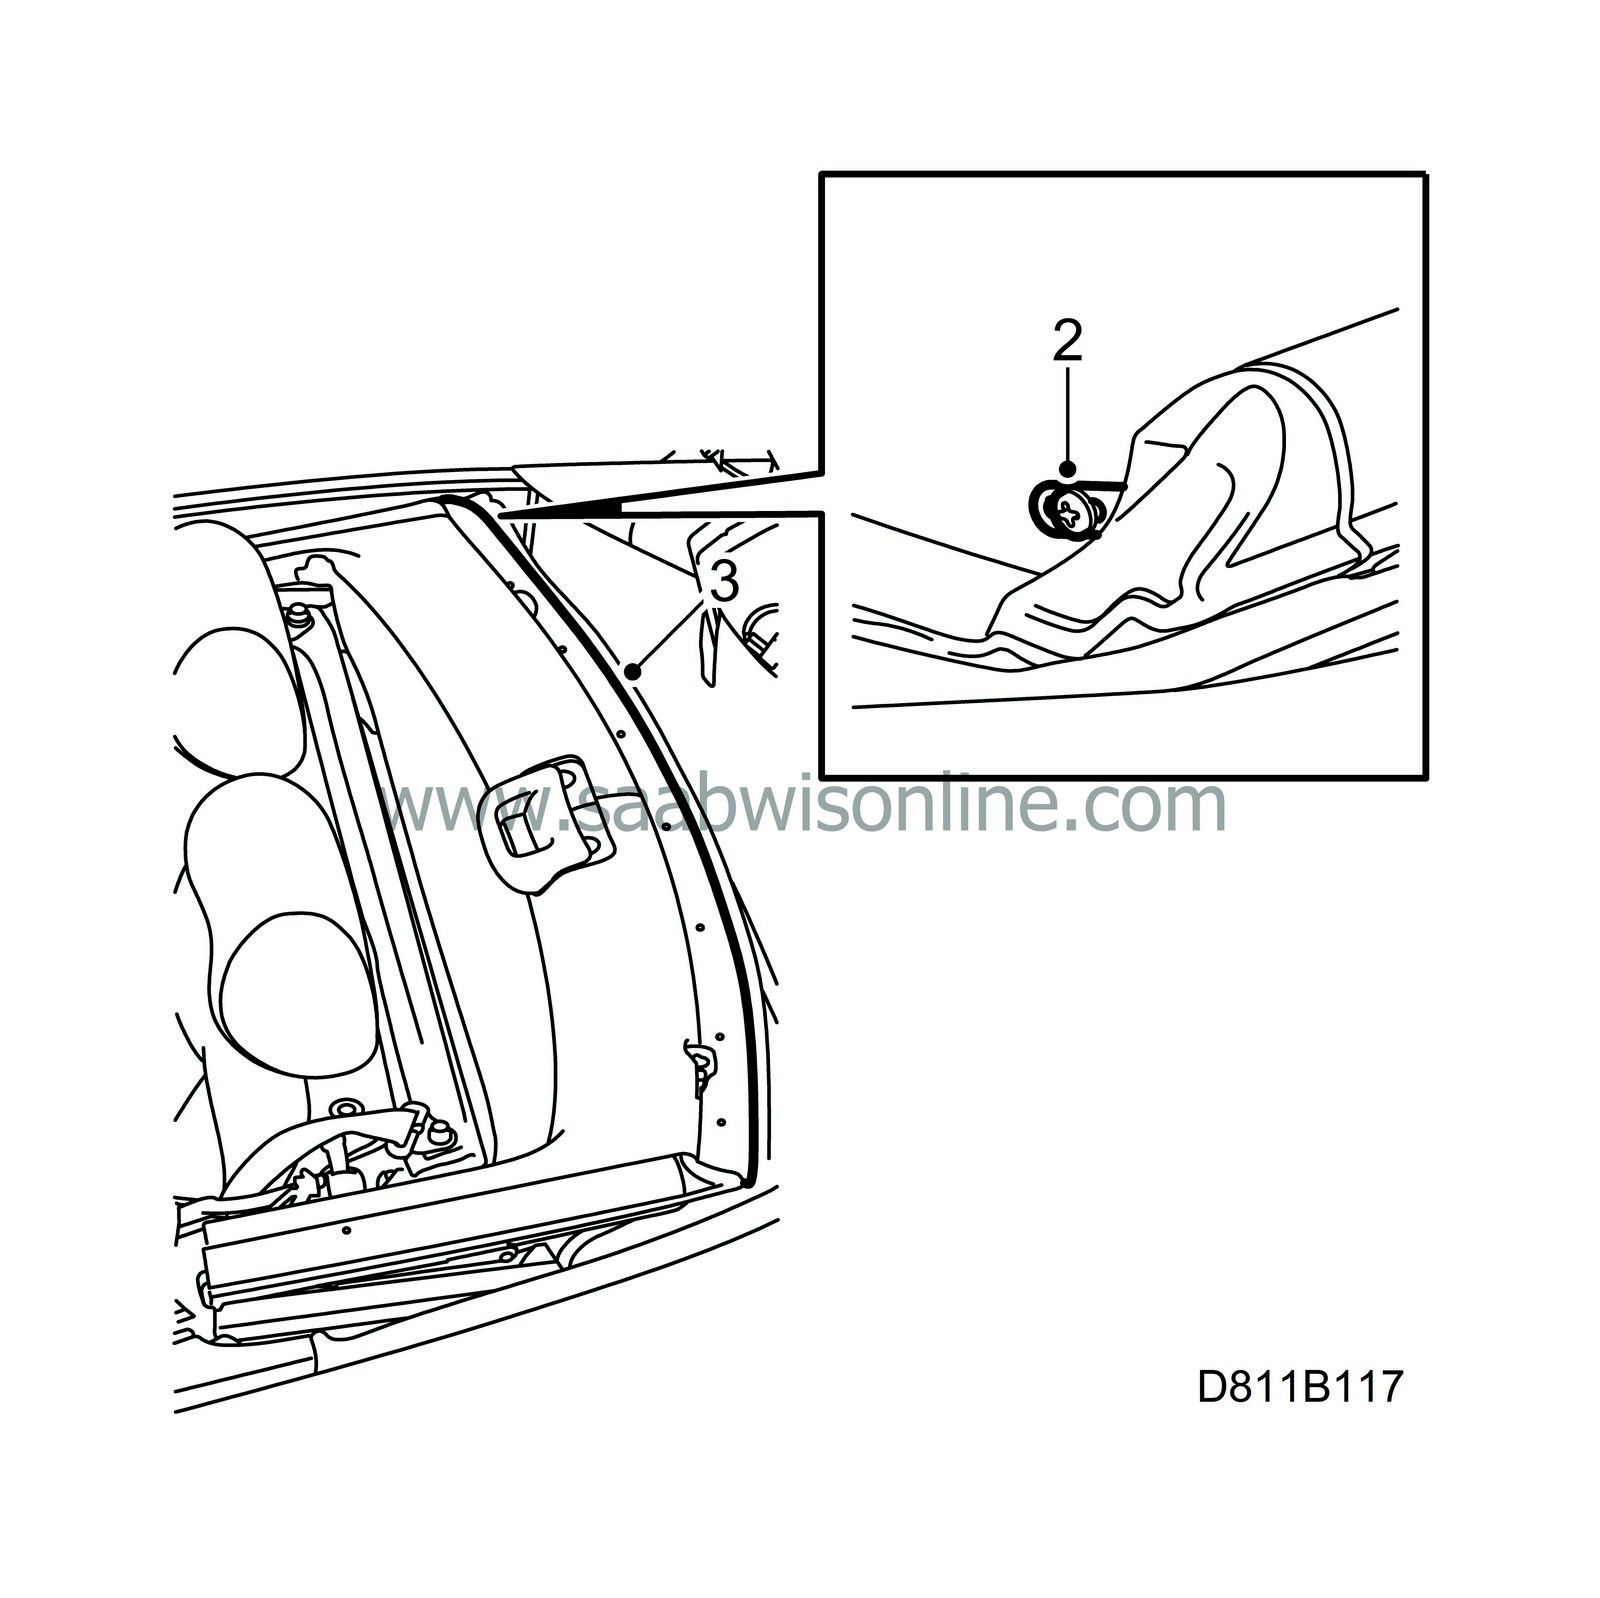
Remove the front seal adjusting screws.

|
|
| 3. |
Remove the retainer strip from the front edge of the first bow (9 screws).
|
|
| 5. |
Remove the cover fastened with two clips on the front rail. Cut off the cable tie securing the cover. Lift up the control handle 90° and remove the left-hand cover first.

|
|
| 6. |
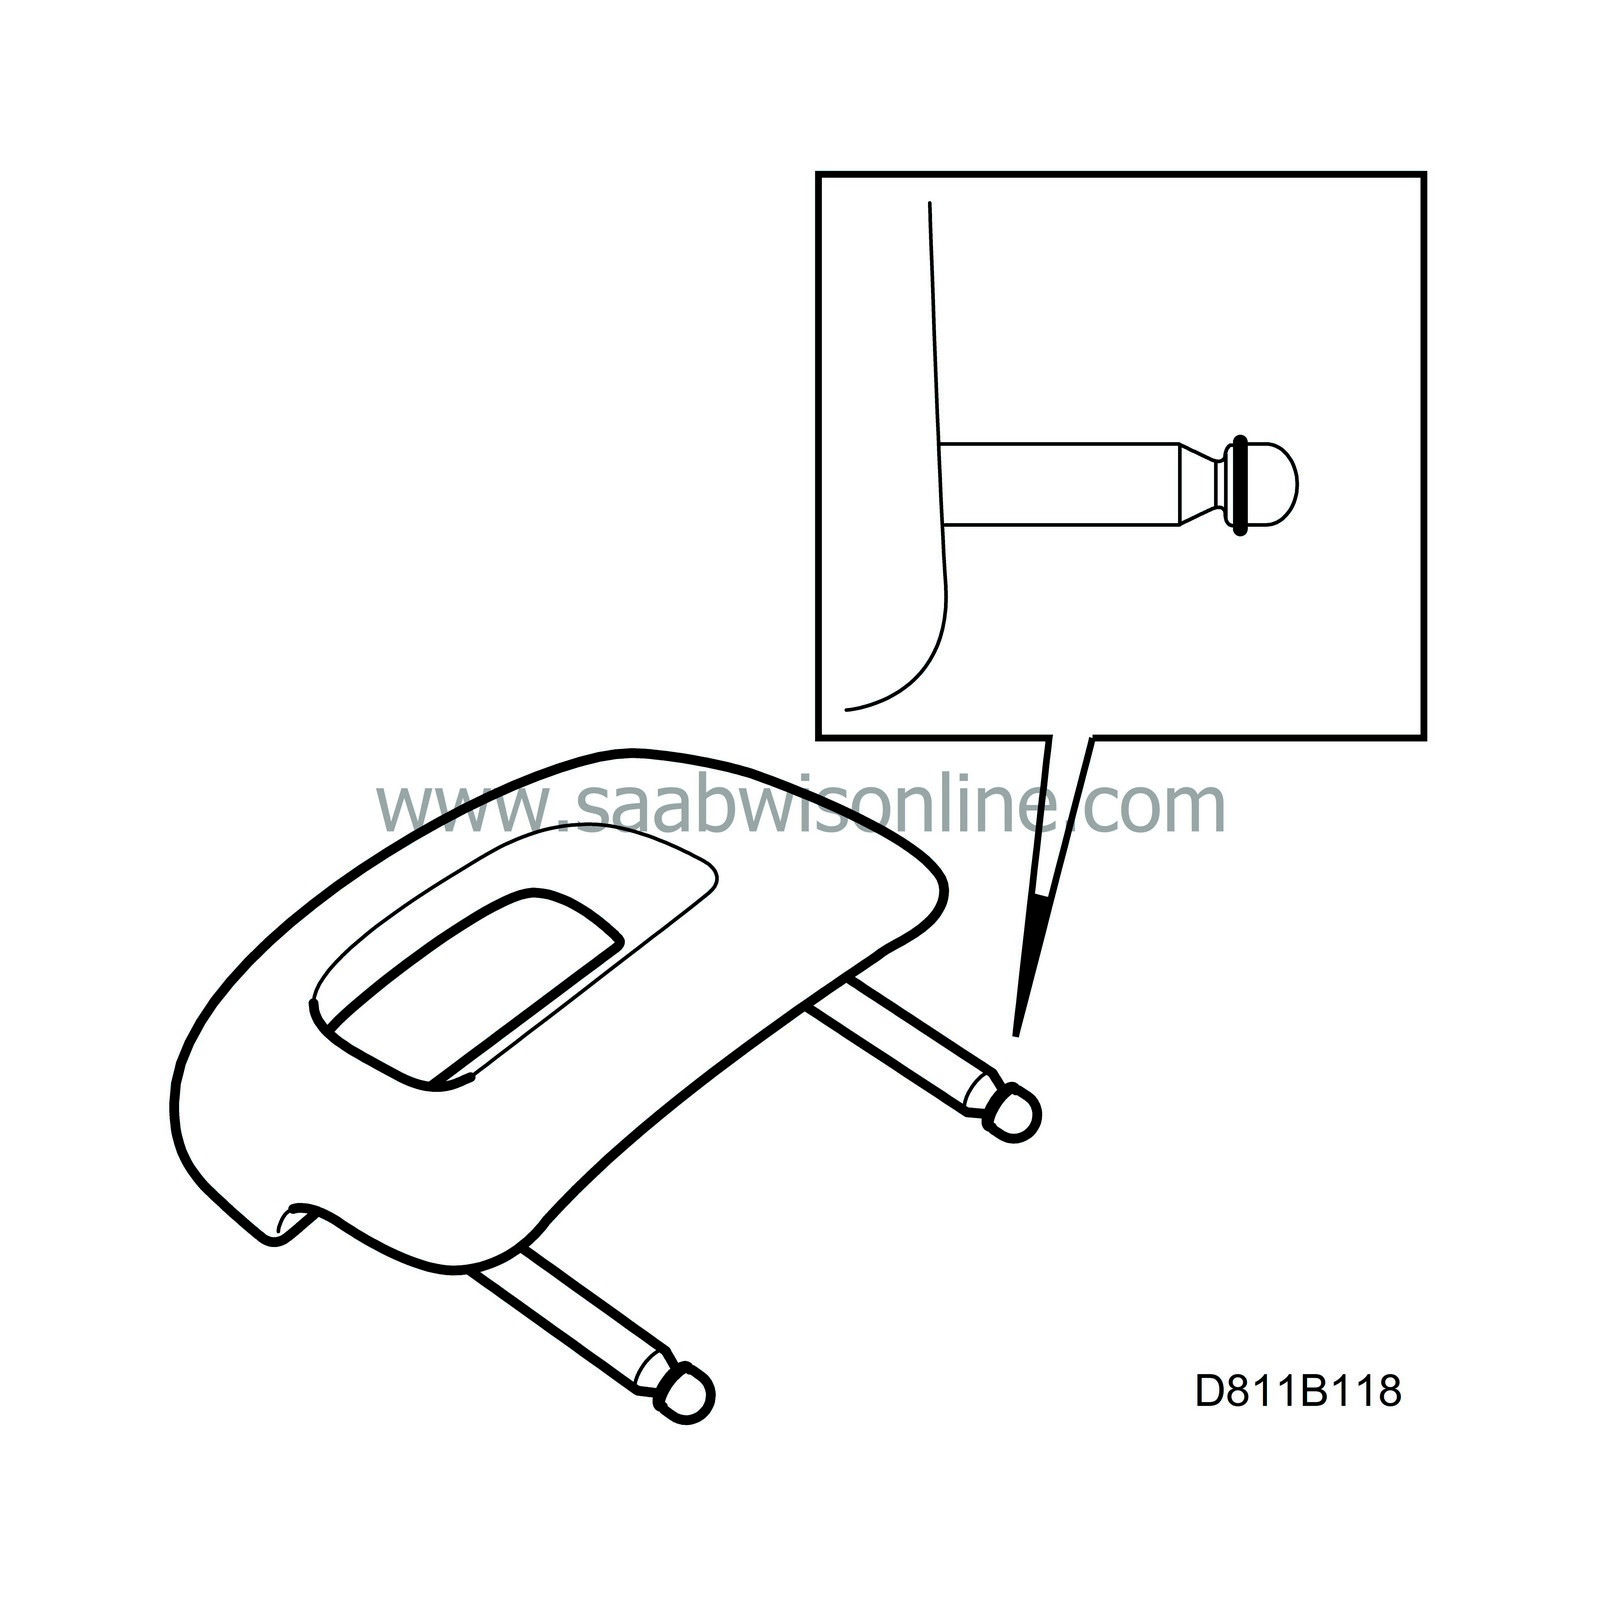
Remove the O-rings from the grooves in the handle shanks and throw them away.

|
|||||||
| 7. |
Apply one drop of adhesive to the two rubber bushes.
|
|
| 9. |
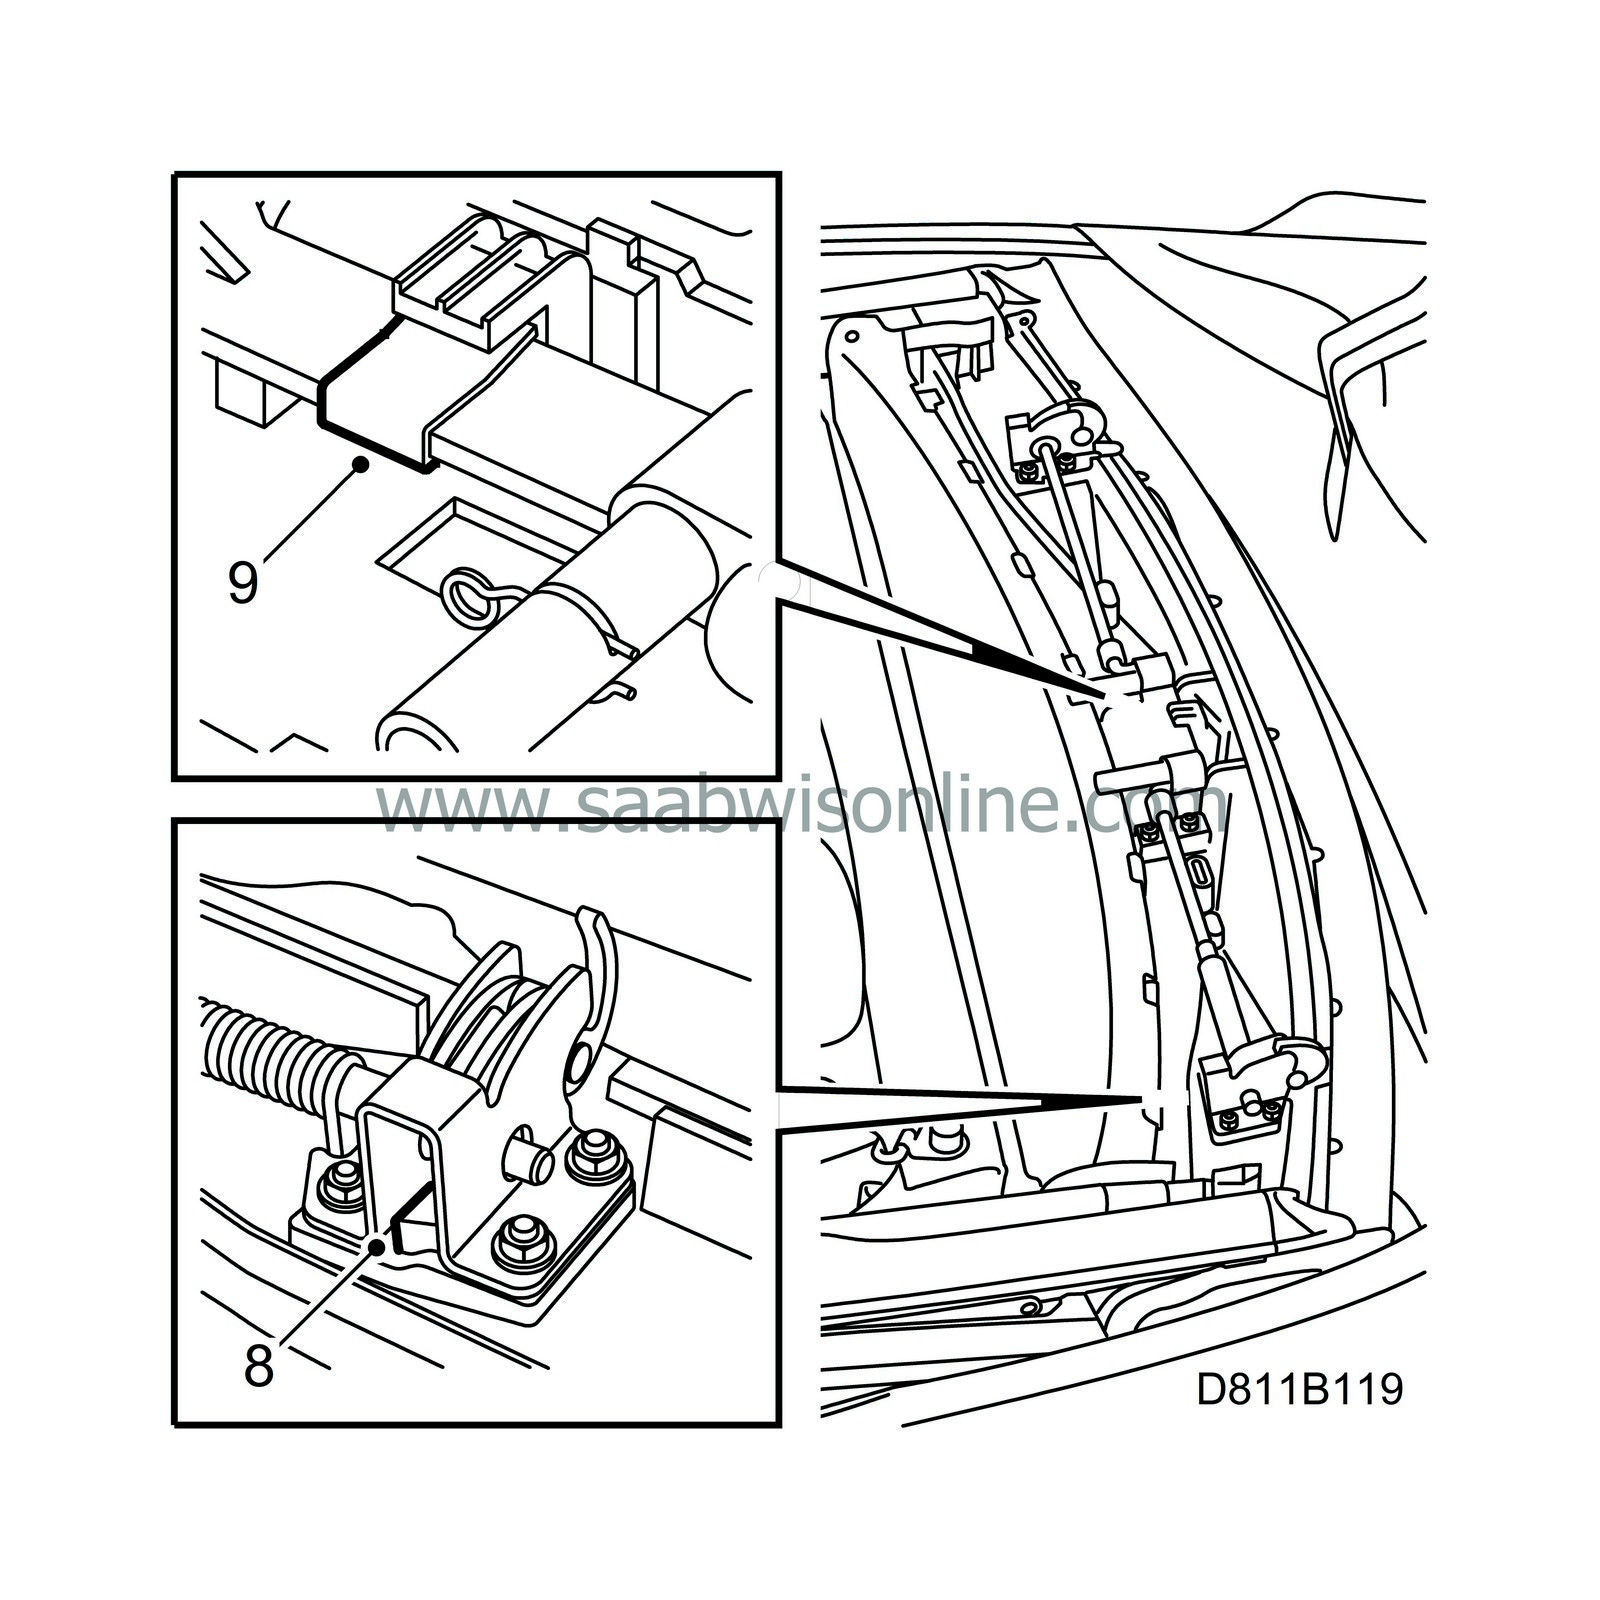
Fold back the cloth and replace the clip on the handle with the spring clip.
|
|
| 10. |
Fit the cover on the first bow. Lift up the control handle 90° and fit the right-hand cover first. Fit a cable tie. Make sure the front seal adjuster mounting is not lying under the covers.

|
|
| 11. |
Apply grease to the handle shanks and fit the handle. Remove the rag protecting the headlining.
|
|
| 12. |
Fit the retaining strip on the front of the first bow (9 screws), do not use the two long screws intended for the seal adjustment.
|
||||||||||
| 13. |
Screw in the two screws for the front seals.
|
|
| 14. |
Check the seal against the windshield (windscreen) frame and adjust as necessary.
|
|
| 15. |
Connect the diagnostics tool and clear any diagnostic trouble codes.
|
|
| 16. |
Road test the car on an uneven surface in order to check if the rattling noise has stopped. If the noise has not disappeared, perform “Procedure 2“.
|
|
| Procedure 2 |
| • |
48 52 836 Shim
|
|
| 1. |
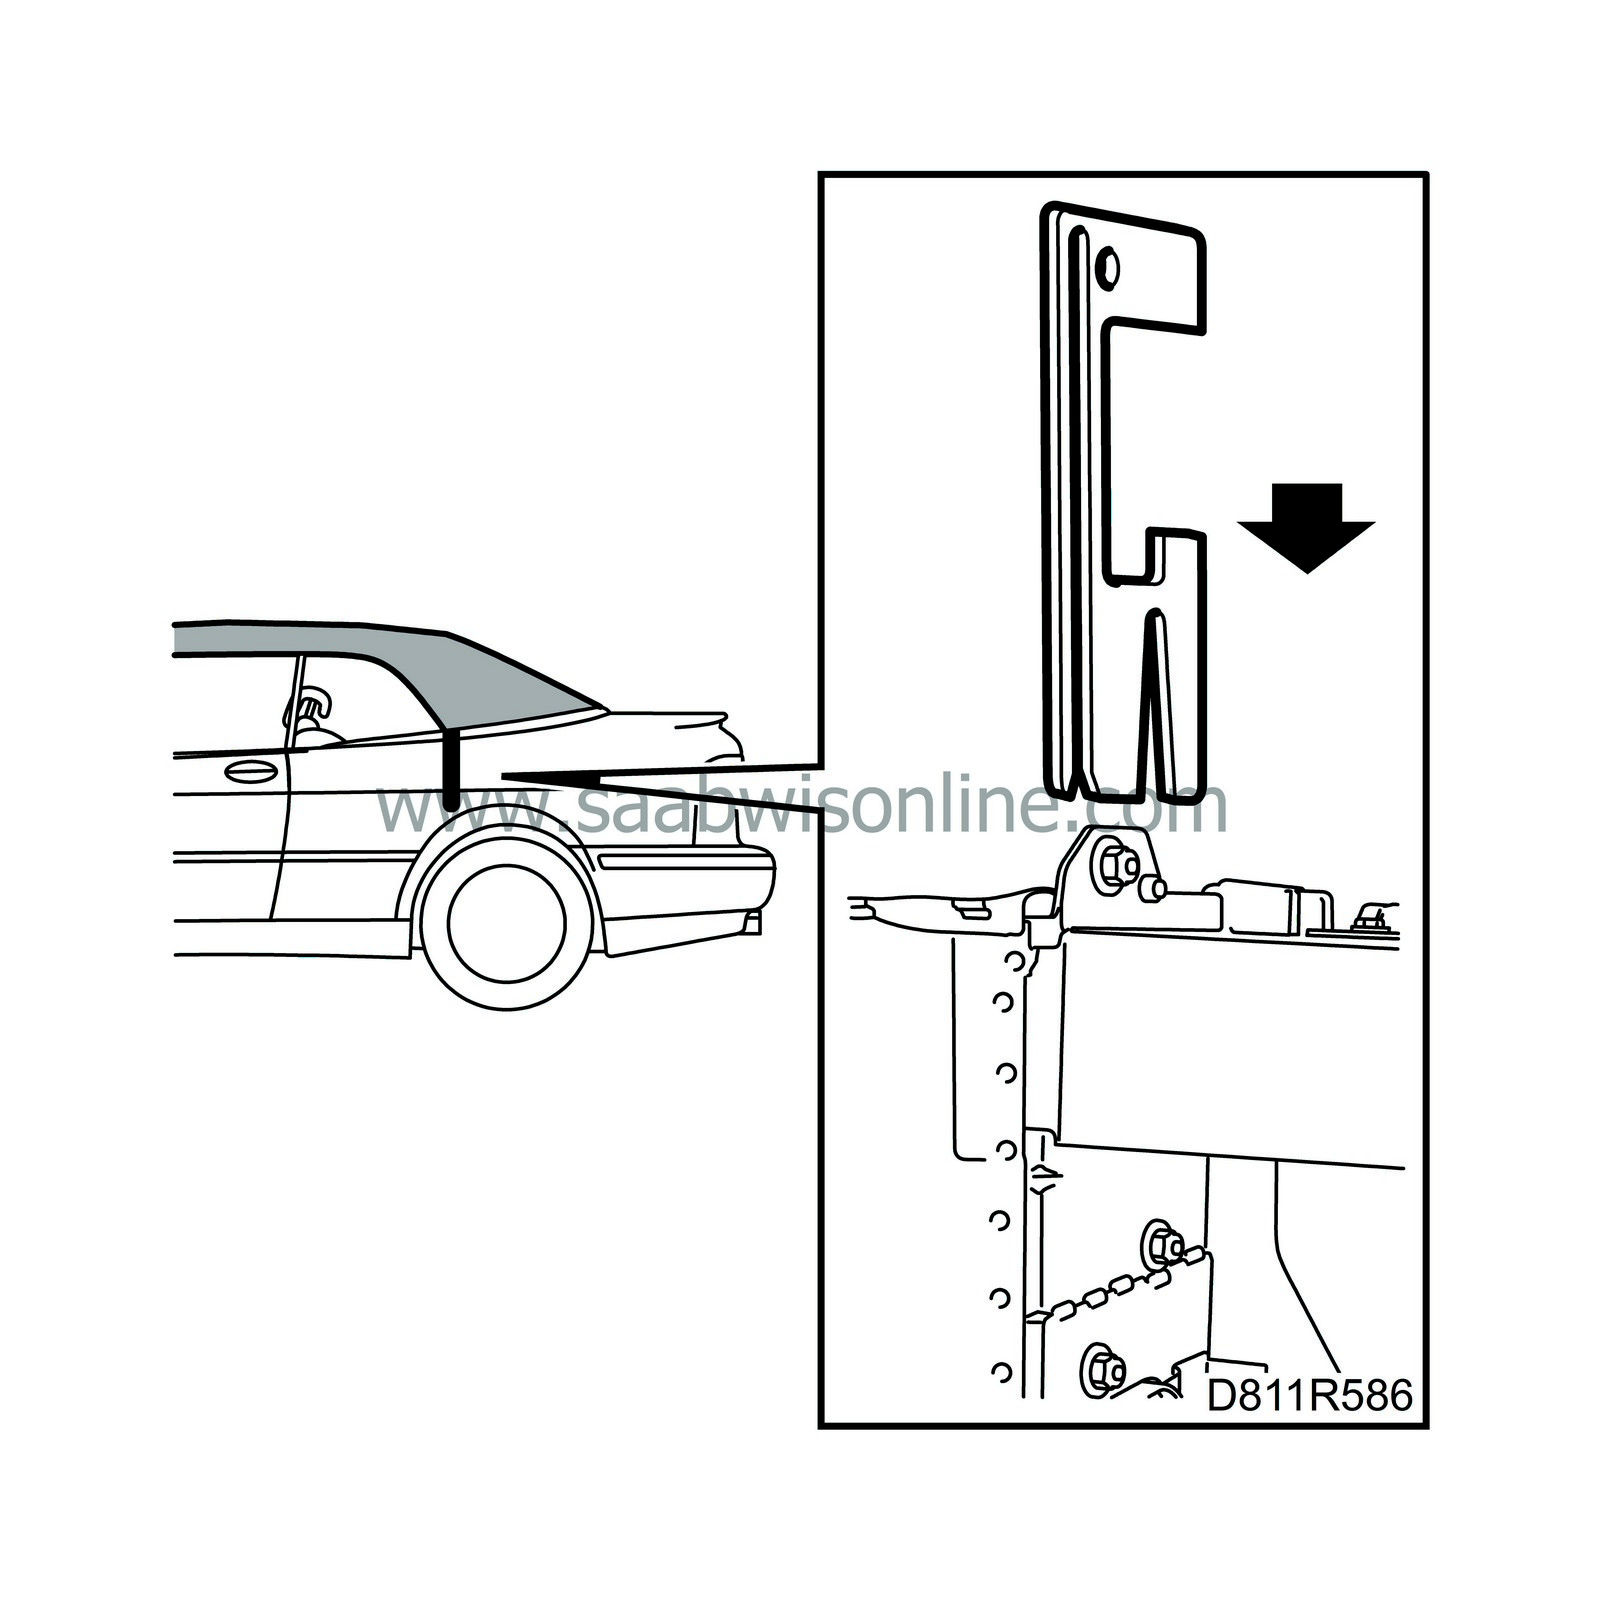
Follow the instructions
Adjusting the soft top
thoroughly and make sure that the dimensions between the special tool and the first bow are correct.
|
|
| 2. |
Add shims to the right and left-hand sides if necessary, part no. 48 52 836.

|
|
| 3. |
Check that the soft top is not too far from the inner windshield (windscreen) frame.
|
|
| 4. |
After adjusting, perform another road test on an uneven surface and make sure the rattling has ceased.
|
|


