Lock fitting/switch windscreen crossmember
|
|
Lock fitting/switch windscreen crossmember
|
The following describes removal of the microswitch on the left side. The right microswitch is removed using the same method.
|
2.
|
Remove the sun visor and the visor support.

|
|
3.
|
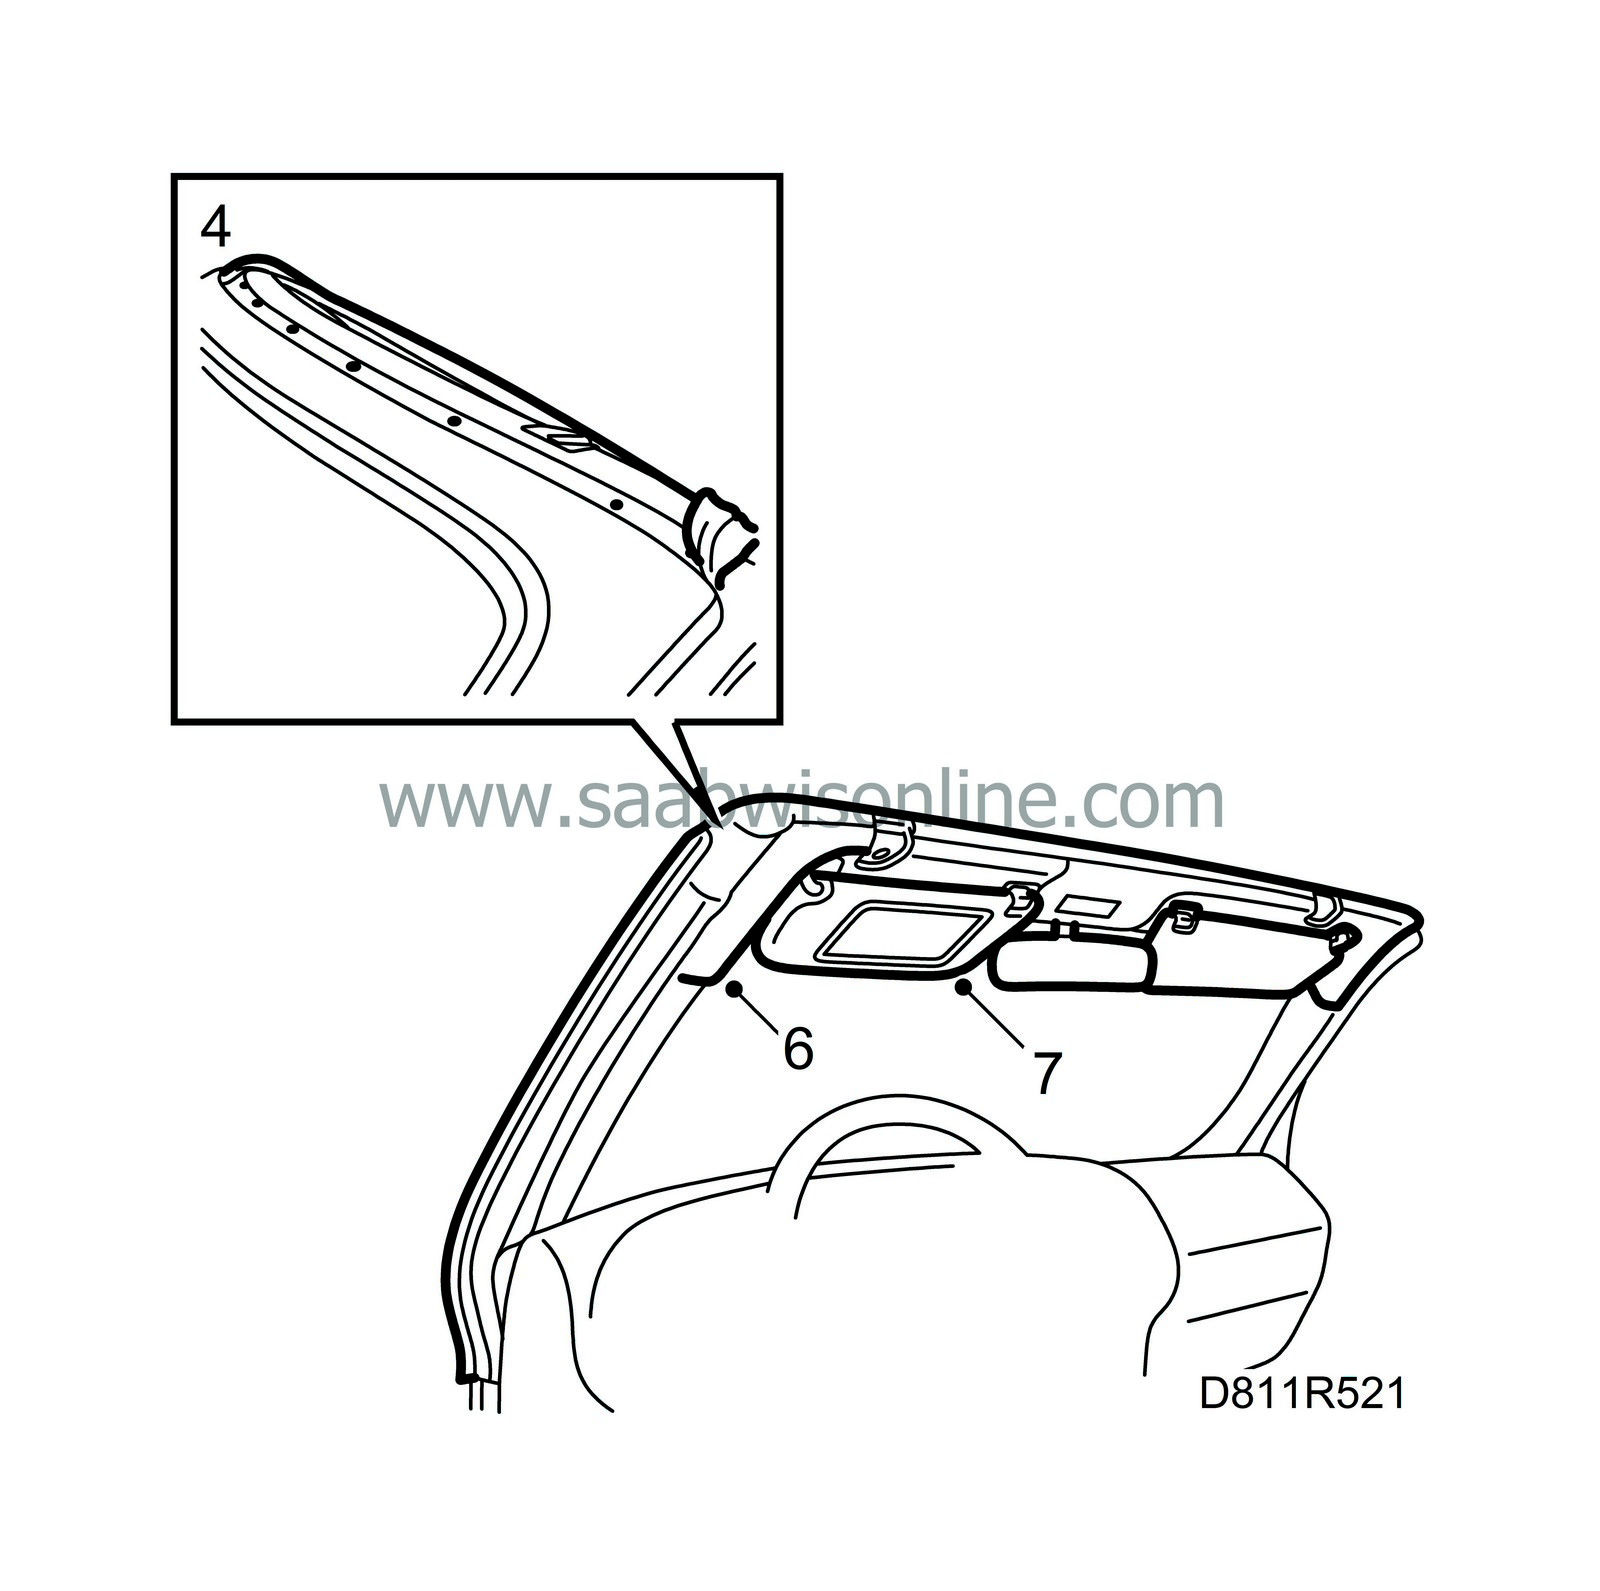
Loosen the windscreen frame seal so that the bolts securing the top part of the windscreen moulding can be accessed.
|
|
5.
|
Slightly pull down the windscreen frame moulding and
|
|
6.
|
Remove the bolts that secure the lock fitting.
|
|
7.
|
Unplug the connector and remove the lock fitting.
|
|
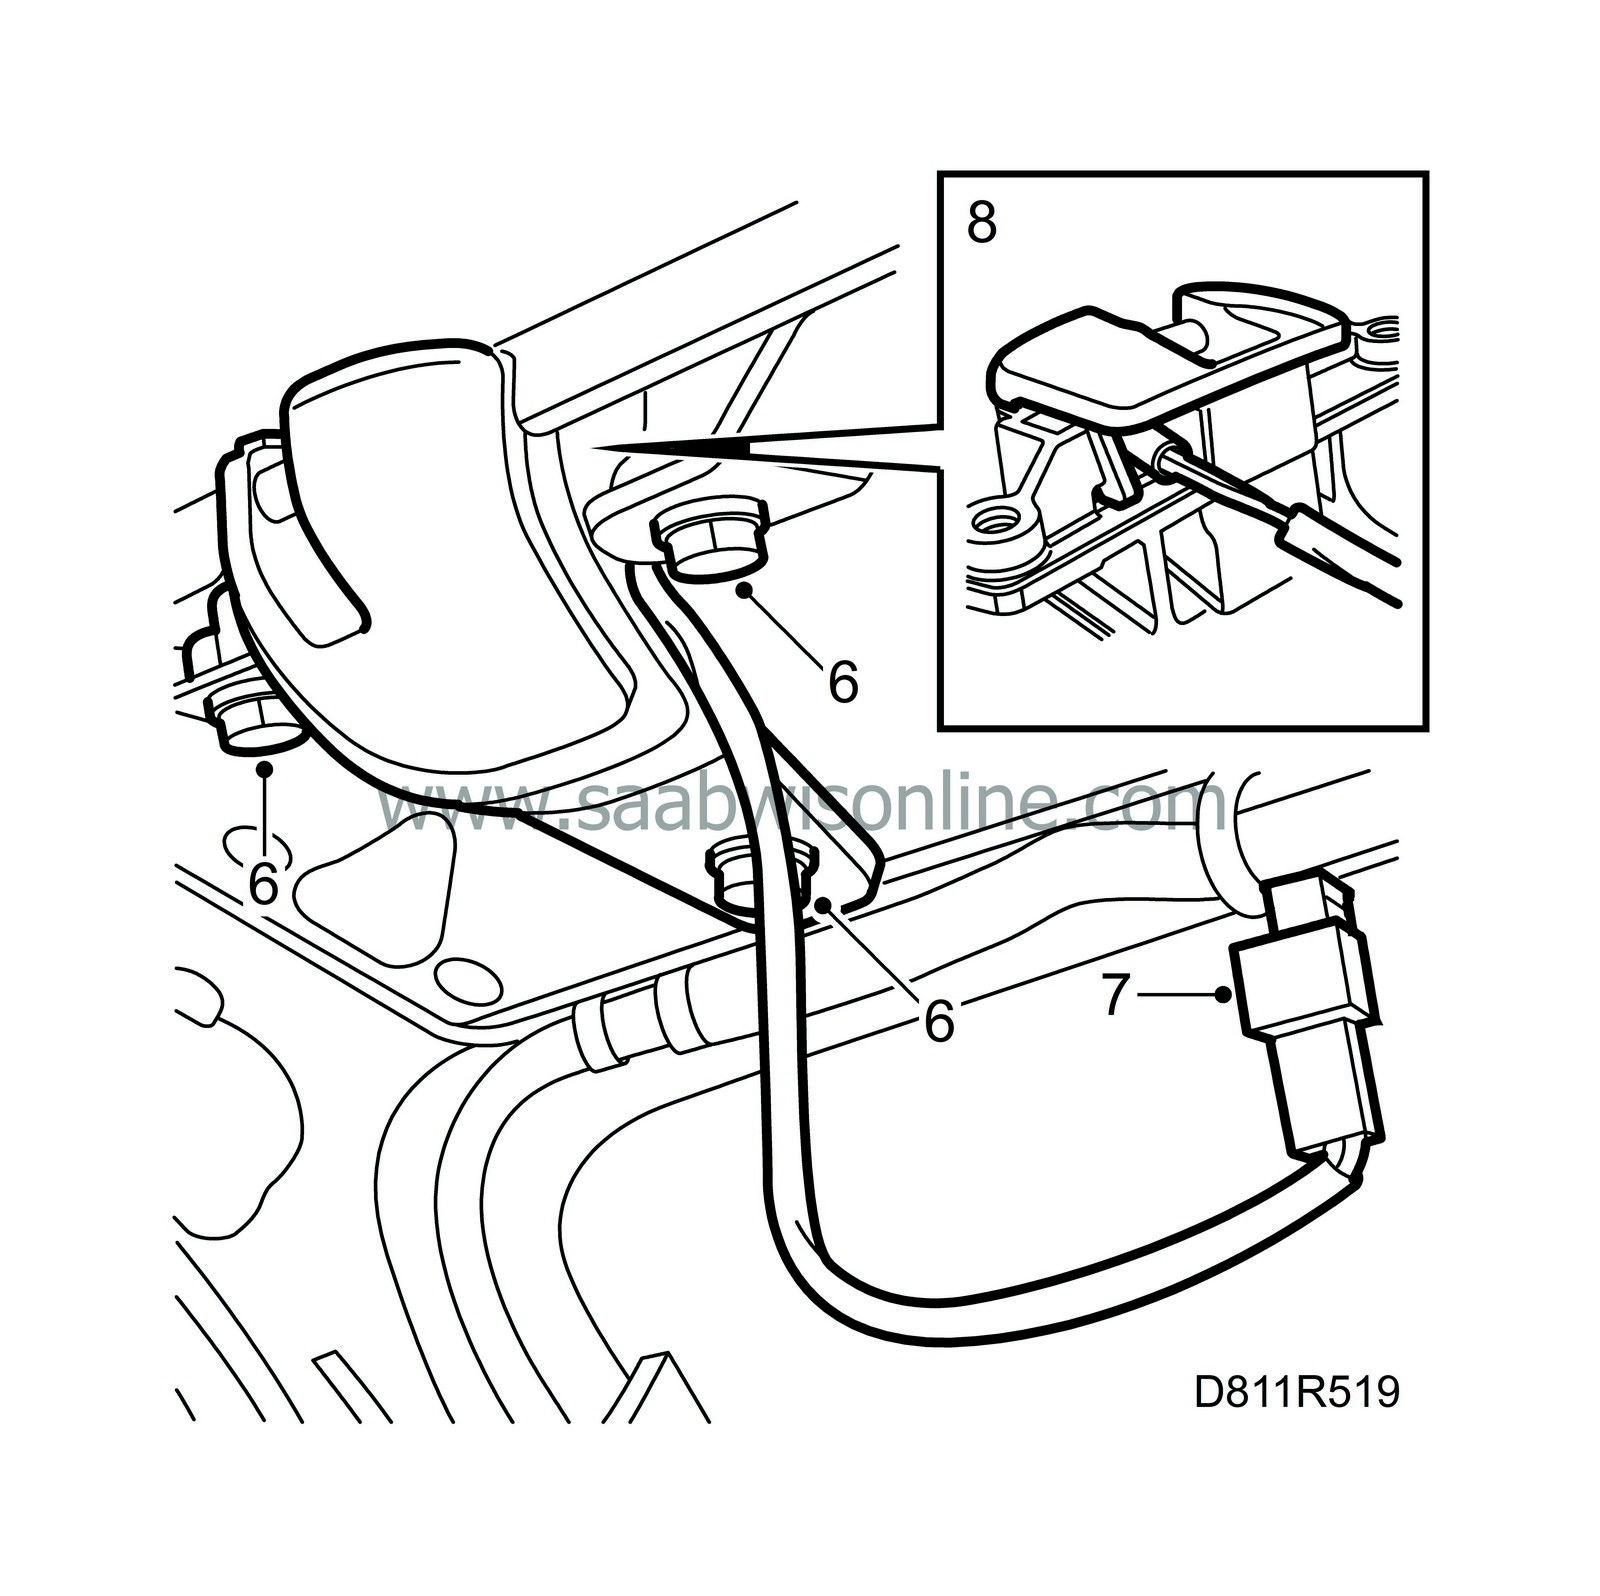
8.
|
Bend out the clips and pull out the switch.
|

|
1.
|
Fit the switch in the lock fitting and bend back the clips.
|
|
2.
|
Fit the lock fitting on the windscreen frame and tighten the bolts.
|
|
3.
|
Plug in the connector.
|
|
4.
|
Fit the upper part of the windscreen frame moulding and then tighten the bolts.
|
|
6.
|
Fit the lower part of the windscreen frame moulding.
|
|
7.
|
Refit the sun visor and the support.
|
|
8.
|
Connect the diagnostics tool and erase any diagnostic trouble code.
|


