Soft top
| Soft top |
| Removing |
| 1. |
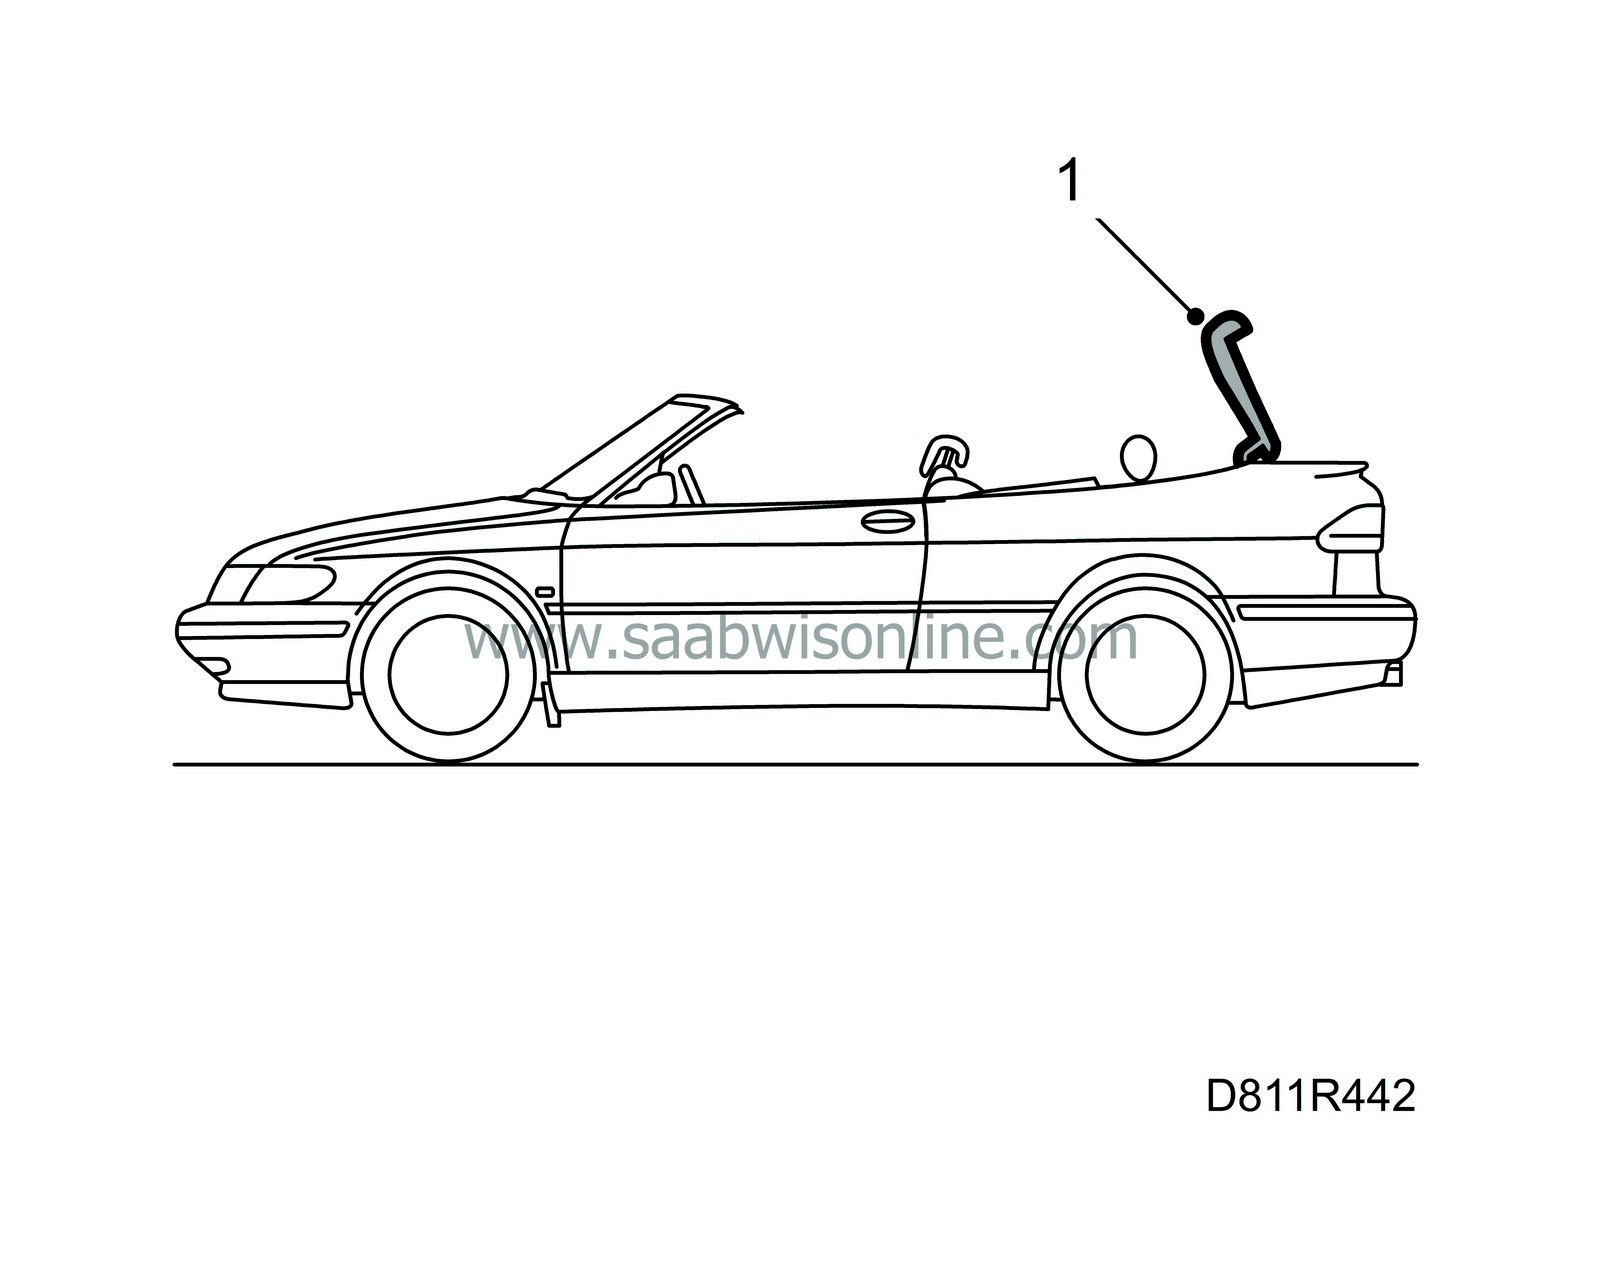
Lower the soft top and position the soft top cover straight up.

|
|
| 2. |
Remove the side trim. See
Removing
.

|
|
| 3. |
Remove the relay holders and put them down.
|
|
| 4. |
Close the soft top with the soft top cover and the fifth bow up.

|
|
| 5. |
Remove the clips securing the cylinders to the soft top mechanism. Remove the clips that secure the pushrods to the soft top mechanism.
|
|
| 6. |
Remove the pins and remove the cylinders from the soft top mechanism. Lay the cylinders against the soft top storage.
|
|
| 7. |
Protect the cylinders with a rag and lower (open) the soft top by hand. At the same time, check that the soft top mechanism does not hook onto the cylinders.
|
|
| 8. |
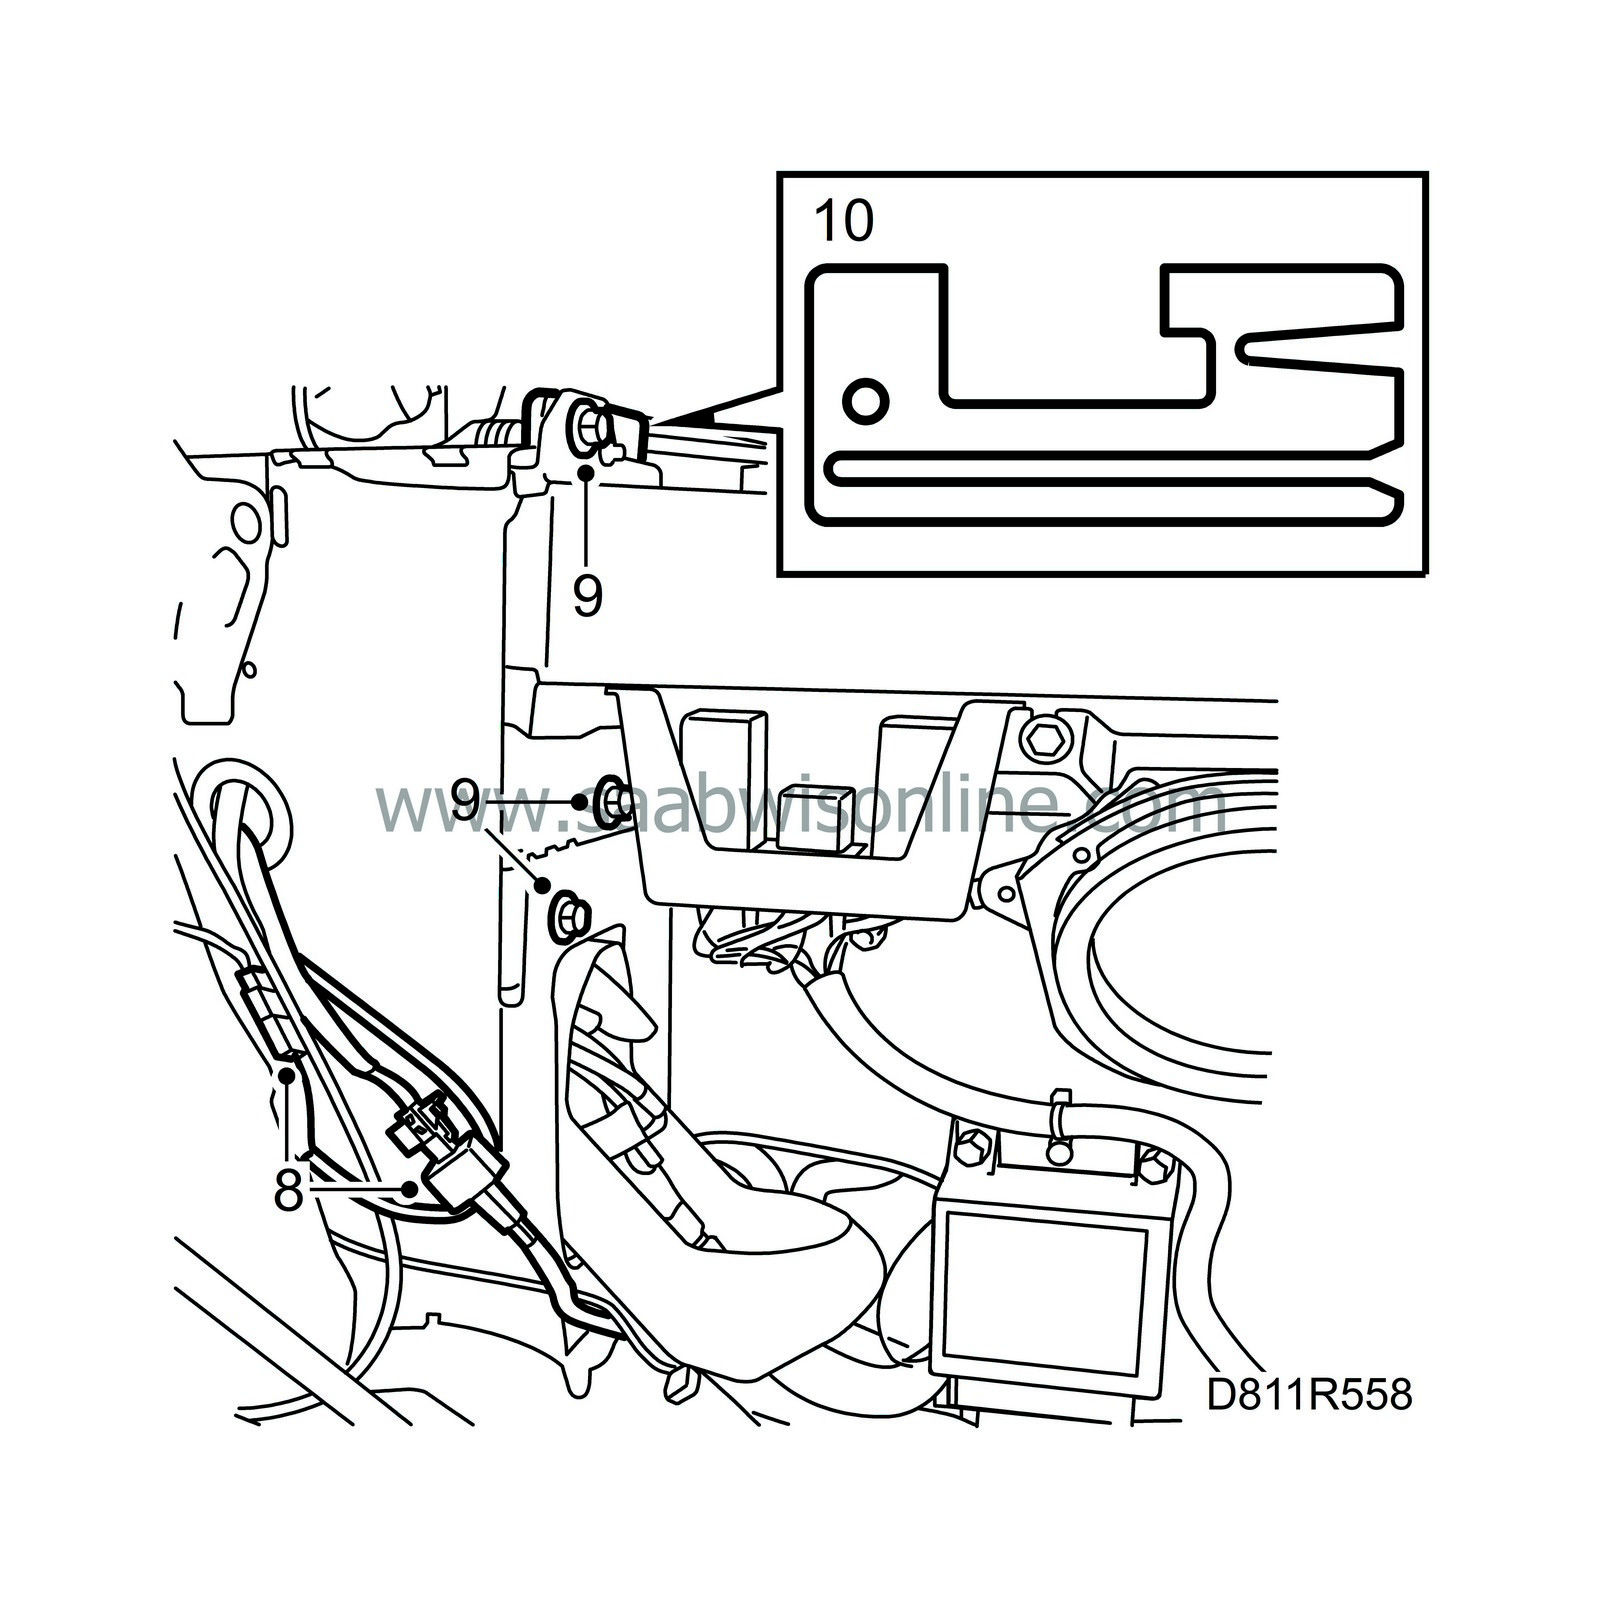
Unplug the electric connections.

|
|
| 9. |
Remove the nuts securing the soft top.
|
||||||||||
| 10. |
Lift up the soft top together with another person and pull out the electric leads. Note the number of shims on the right and left sides. The shims must be refitted the same when assembling.
|
|
| Fitting |
| Important | ||
|
Position some protection over the sides of the soft top cover. |
||
| 1. |
Fit the soft top. Guide it into position using the guide pins.

|
|
| 2. |
Insert the electric leads.
|
|
| 3. |
Fit the shims.
|
|
| 4. |
Fit the nuts and tighten them.
Tightening torque 28 Nm (20.7 lbf ft) |
|
| 5. |
Plug in the connectors and fixate the electric leads. Fit the relay holders.
|
|
| 7. |
Fit the pin so that the deep groove ends up in the space for the lock. Then move the clip into the groove in the soft top mechanism and pin.
|
|
| 8. |
Fit the piston rods at respective position in the soft top mechanism and press in the pin as well as the lock with the clip.
|
|
| 9. |
Check the fit and the profile of the soft top. See
Adjusting the soft top
.
|
|
| 10. |
Refit the side trim. See
Fitting
.
|
|
| 11. |
Connect the diagnostics tool and erase any diagnostic trouble code.
|
|


