Wiring harness, hydraulic unit
| Wiring harness, hydraulic unit |
| Removing |
| 1. |
Operate the hood to the open position to increase the light and make working easier.

If the soft top cannot be operated, proceed as follows: |
|||||||
| 1.a. |
Release the rear seat backrest and fold it forward.
|
| 1.b. |
Remove the cover on the emergency opening valve and open the valve about one half turn
(A)
.
|
| 1.c. |
Unlatch the soft top from the windscreen frame.
|
| 1.d. |
Activate the fifth bow latch to UNLATCH using the diagnostic tool and raise the fifth bow.
|
| 1.e. |
Insert the wheel bolt tool through the opening in the right-hand luggage compartment trim and attach it in the drive mechanism link arm
(B)
.
|
| 1.f. |
Unlatch the soft top cover by pulling back on the tool until the soft top cover is lifted a few centimetres
(C)
.
|
| 1.g. |
Remove the tool, close the boot lid and open the soft top cover.
|
| 1.h. |
Open the hood carefully.
|
|||||||||
| 1.i. |
Close the soft top cover.
|
| 2. |
Release the rear seat backrest and fold it forward.
|
|
| 3. |
Remove the cover on the hydraulic unit.

|
|
| 4. |
Fold back the luggage compartment mat and remove the bolts securing the hydraulic unit.
|
|
| 5. |
Lift up the hydraulic unit and unplug the connector.
|
|
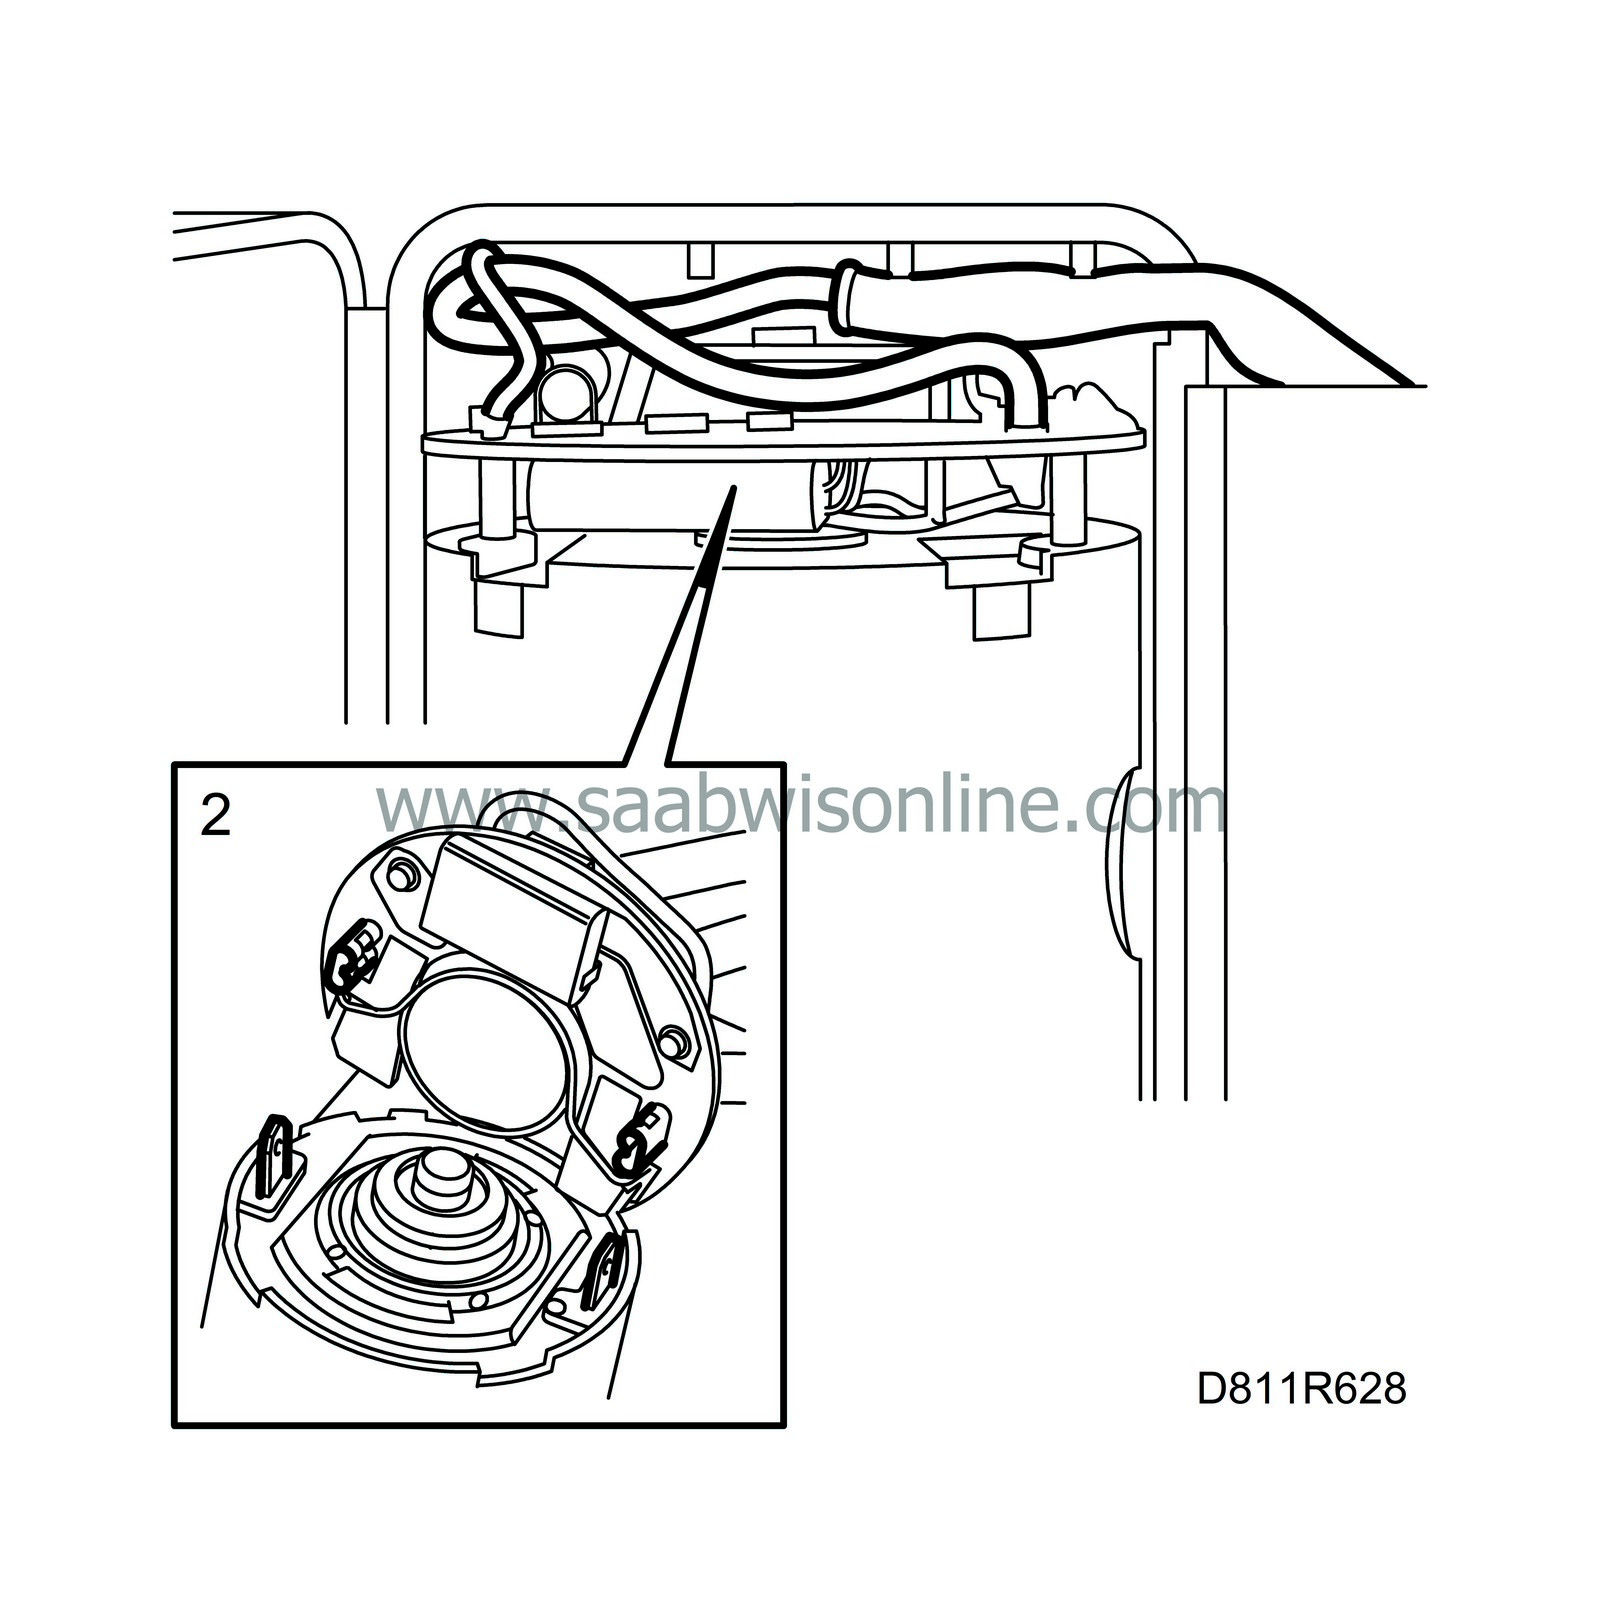
| 6. |
Press out the locking pins in the plastic rivets.
|
|
| 7. |
Remove the relay holder, taking care not to damage the hydraulic hoses.
|
|
| 8. |
Remove the attachment bracket from the hydraulic unit.

|
|||||||||
| 9. |
Remove the cable tie securing the hoses.
|
|
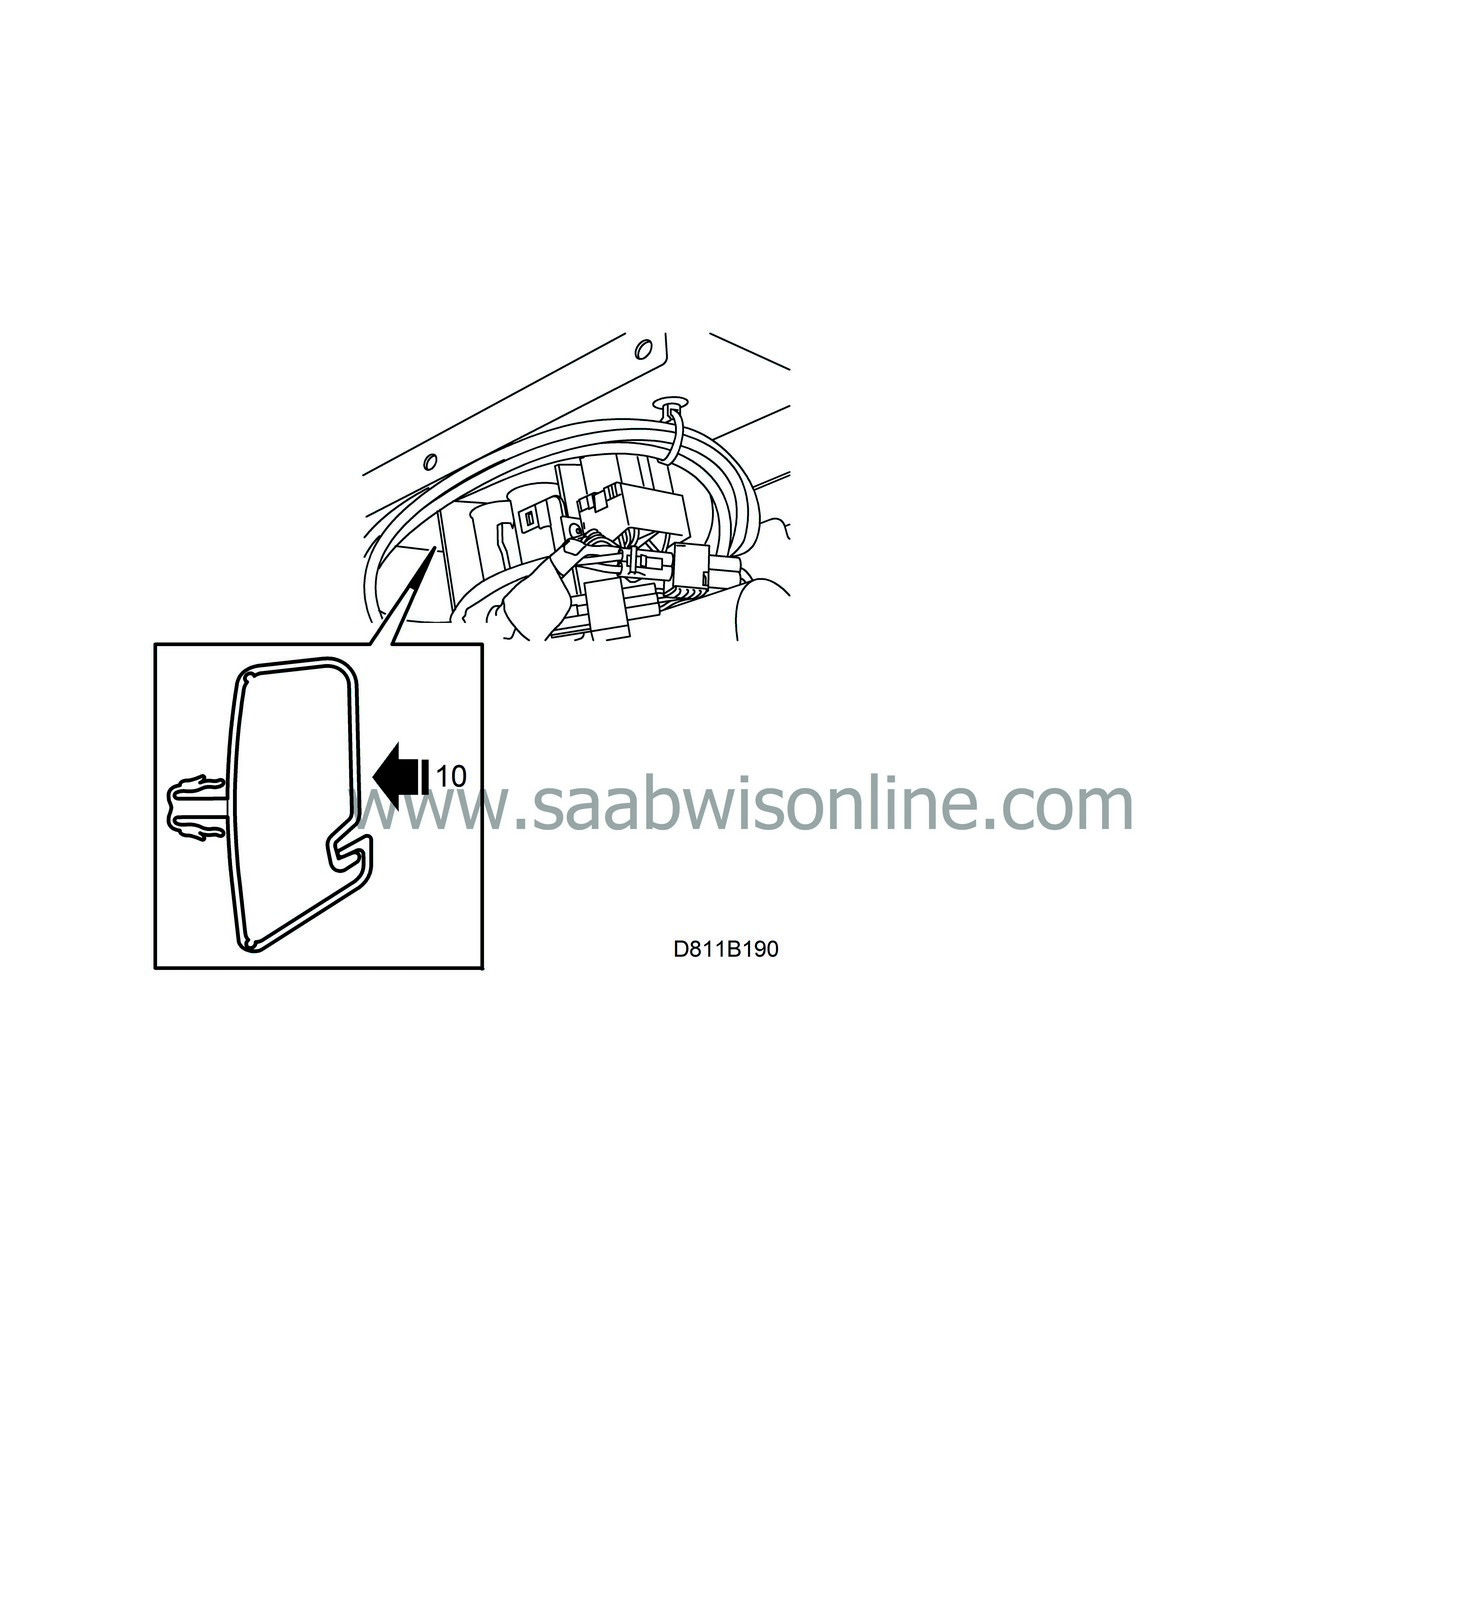
| 10. |
Open the plastic clamps protecting the hoses by pressing in the edges slightly.

|
|
| 11. |
Unplug the 4 hydraulic valve connectors.

|
|||||||
| 12. |
Lift up the hydraulic unit.
|
|
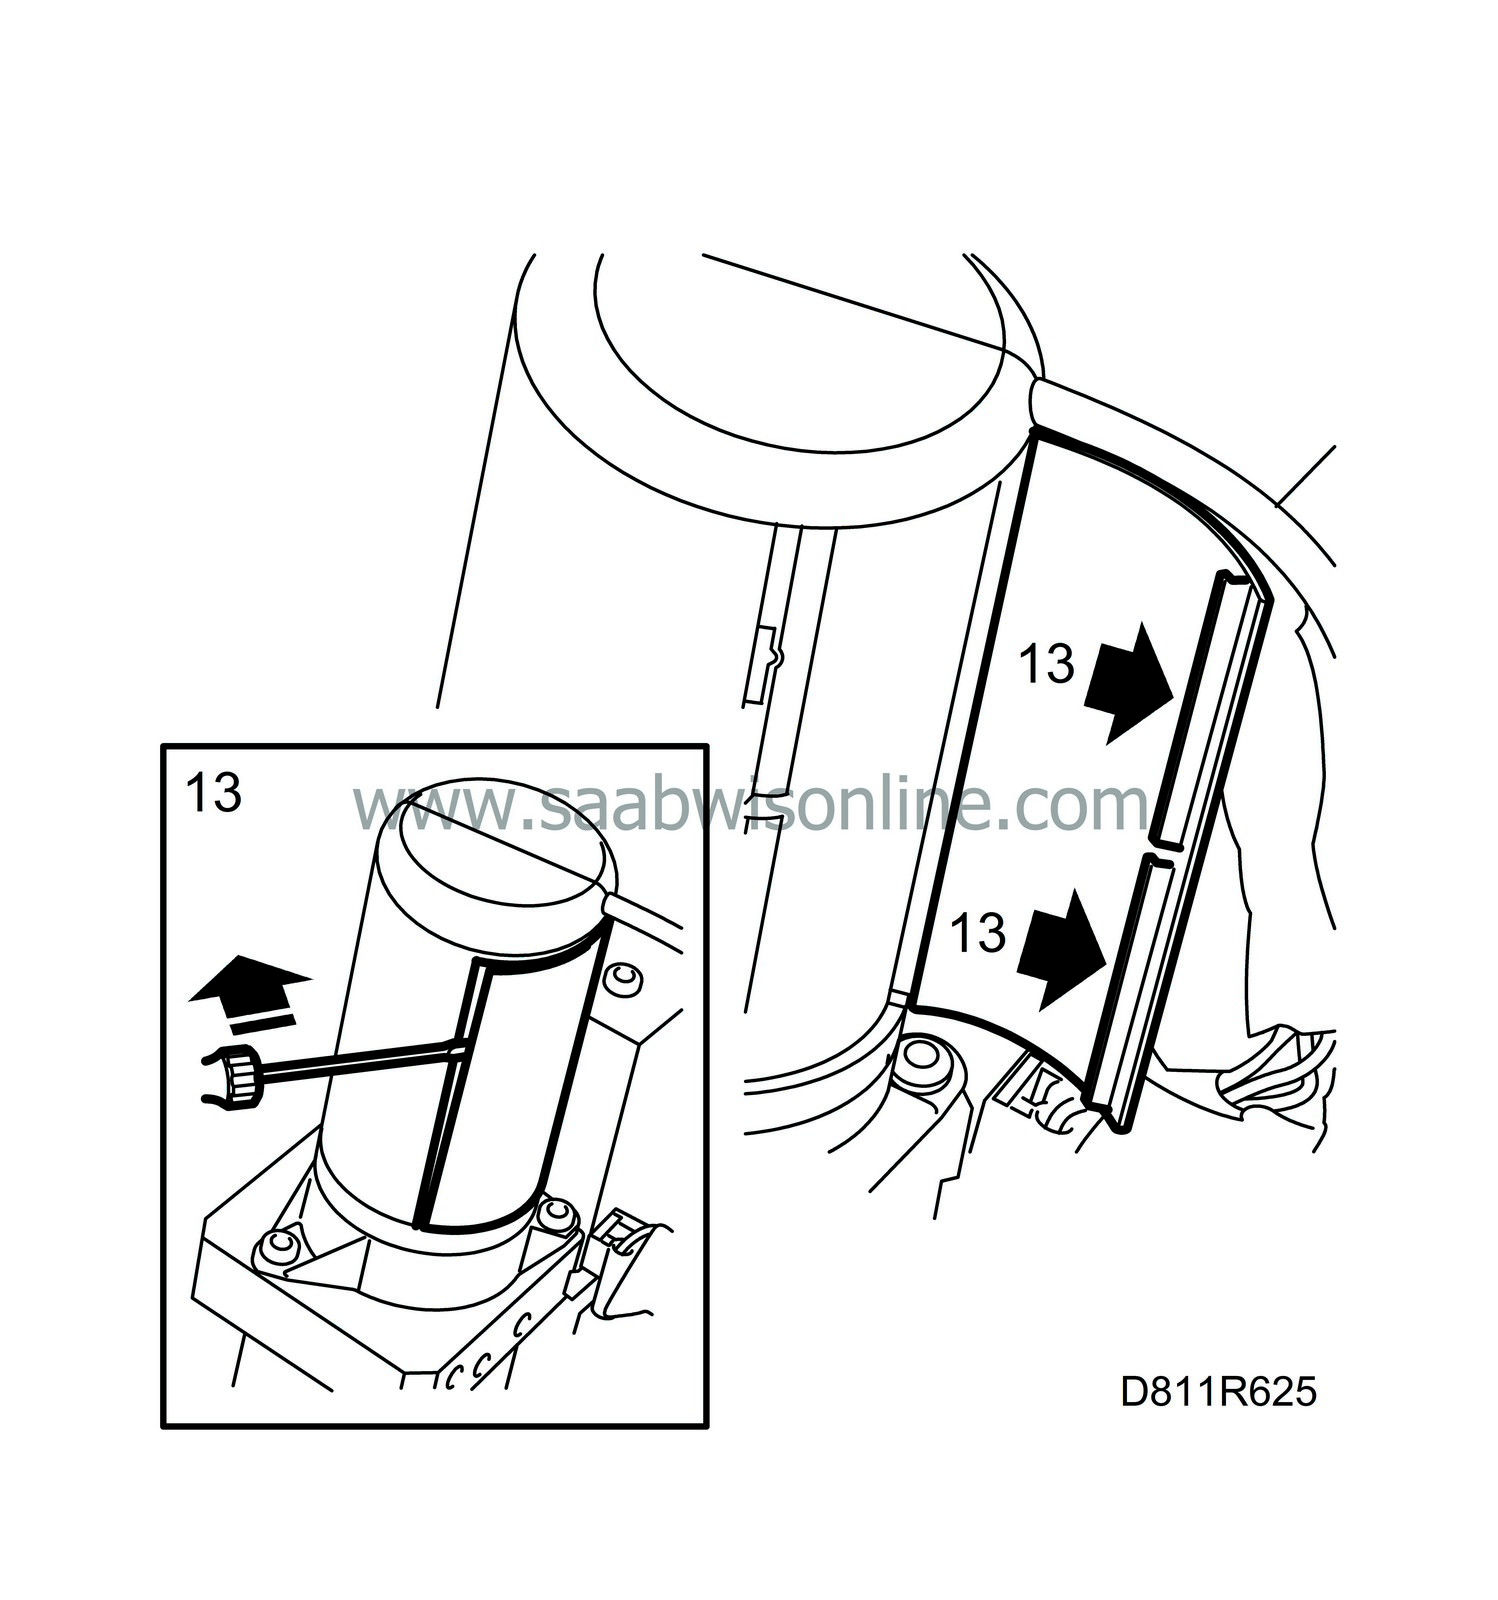
| 13. |
Open the plastic cover using a screwdriver. Remove the plastic cover from the electric motor.

|
|
| 14. |
Remove the coupling bridge from the electric motor.

|
|||||||
| 15. |
Undo the entire connector.
|
|
| 16. |
Detach the cables by undoing the clips with a screwdriver.

|
|
| 17. |
Remove the relays from the relay holder.
|
|
| Fitting |
| 1. |
Fit the relays to the cables.
|
|
| 3. |
Fit the plastic electric motor cover. The plastic cover can be fitted in one position only. Check that the leads to the electric motor are positioned correctly. Take care not to damage the coupling bridge and the leads.

|
|
| 4. |
Plug in the hydraulic unit connector.
|
|
| 5. |
Fit the connector to the hydraulic valves, taking care not to damage the contacts.

|
|
| 6. |
Mount the electric connectors on the hydraulic unit brackets, the two-pin connector above the six-pin connector, see illustration.

|
|
| 7. |
Fit the hydraulic unit attachment bracket.

|
|
| 8. |
Fit the cable ties and plastic clamps securing the hoses.
|
|
| 9. |
Fit the relay holder to the hydraulic unit. Use new plastic rivets if necessary.

|
|
| 10. |
Plug in the connector to the unit.
|
|
| 11. |
Fit the hydraulic unit to the torsion box.
|
|
| 12. |
Replace the luggage compartment mat and refit the cover.
|
||||||||||
| 13. |
Connect the diagnostic tool to the car and clear any DTCs that are present. See
Tech 2 menu structure
|
|
| 14. |
Operate the soft top for 5 complete cycles. Checks its function and any DTCs.
|
|
| 15. |
Raise the rear seat backrest.
|
|

 Warning


