General welding technique
|
|
General welding technique
|
This section gives a general description of welding technique and thermoforming followed by examples of repairs on a number of plastic components.
There are a number of general systematic procedures that in principle should always be performed when welding thermoplastic.
|
1.
|
Always start by cleaning off dirt and oil from the component with lukewarm water and a mild detergent. A high-pressure water jet can be used on bumpers and similar components. It is important that gravel and other particles do not soil the area to be welded. Finally, wash the area for joins with Teroson FL cleaner.
|
|
2.
|
Identify the plastic in the component. Look first for the marking, e.g. >PP/EPDM<. See
 or
or

|
|
3.
|
If a crack in the goods is being repaired, drill a diameter 3.5 mm hole at each end.
|
|
4.
|
Set the hand welder to the correct working temperature.
|
Important
|
|
It is essential that the welding pistol has the correct working temperature to correspond with the type of plastic. See

|
|
|
|
|
5.
|
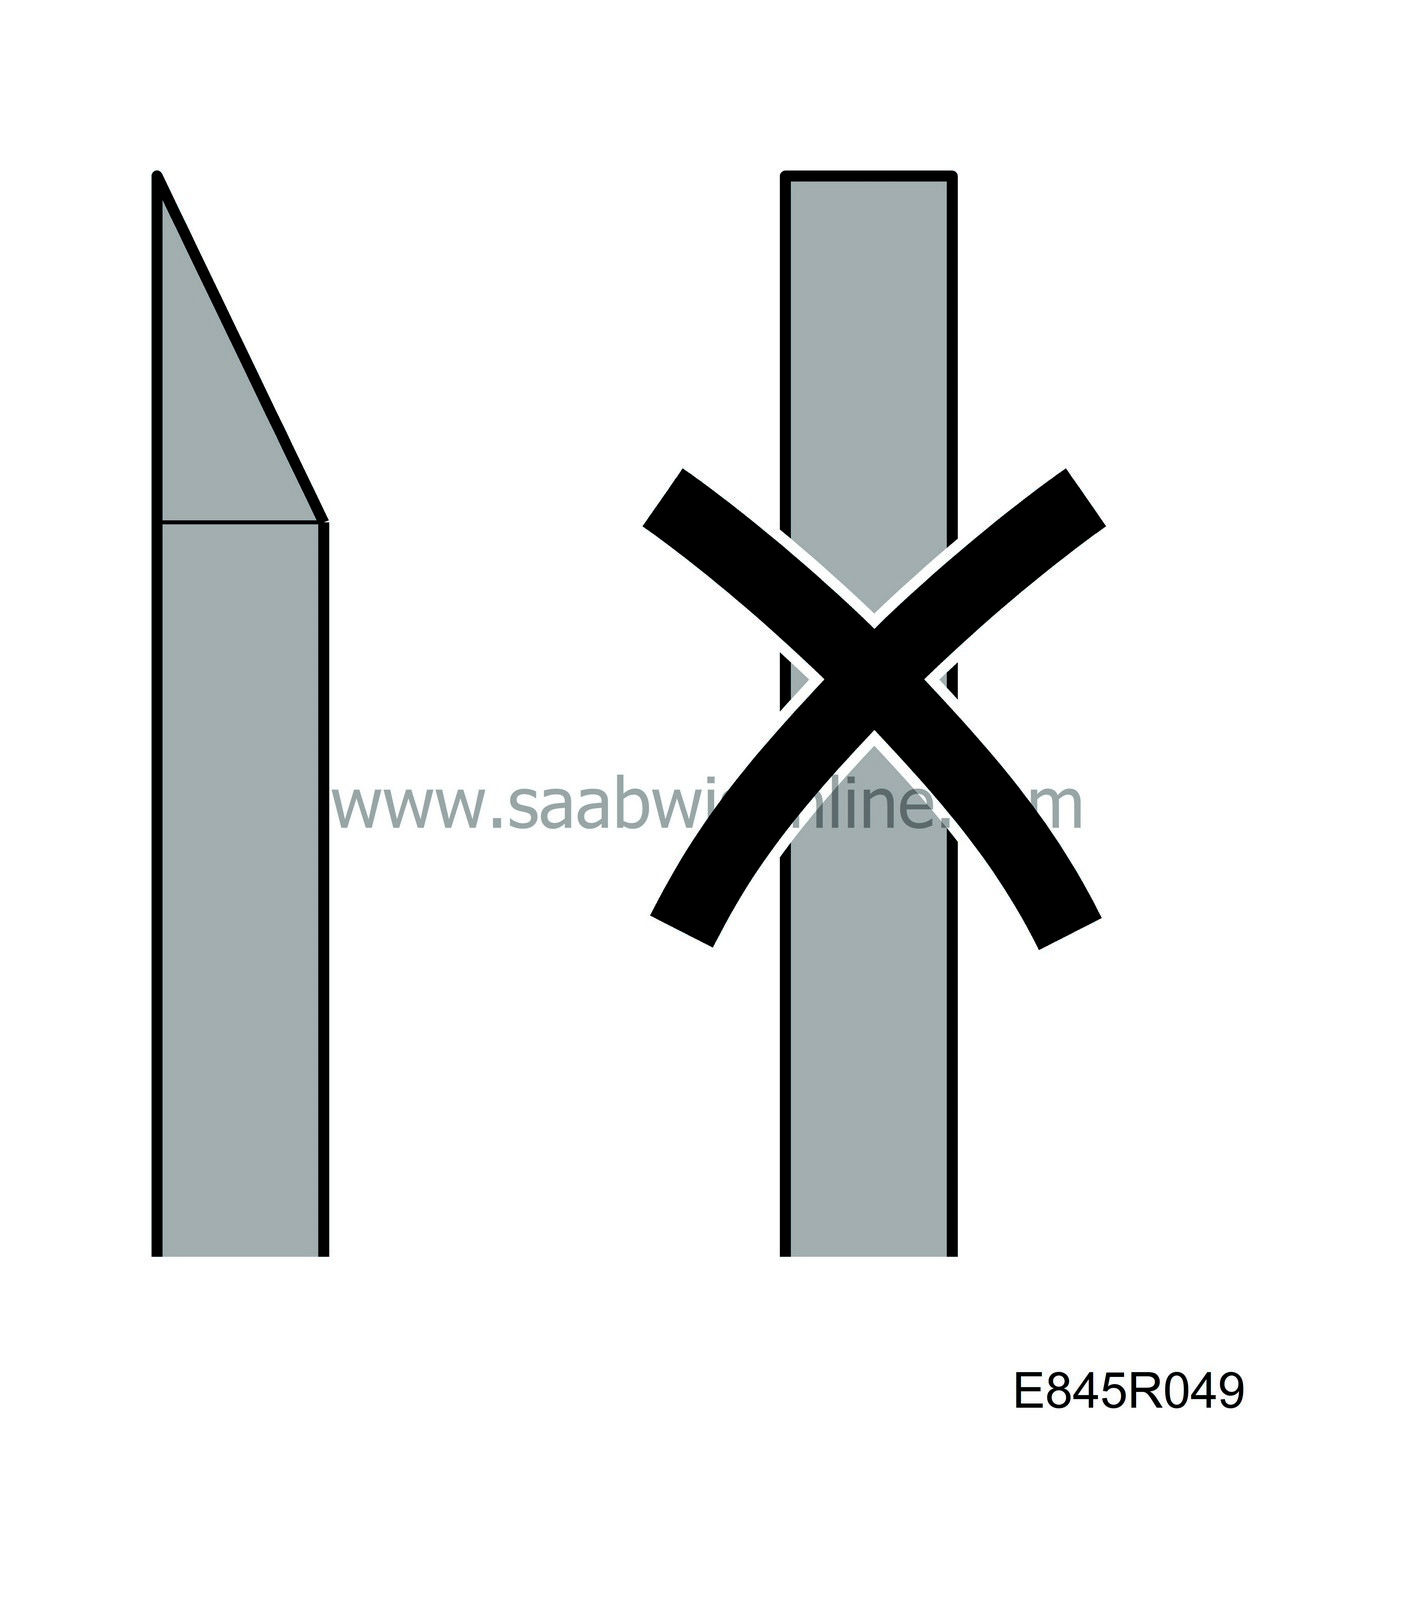
Adjust the welding rod with a knife so that it is narrower at the end at which the weld is to be started. It will then melt easier and assist in making the join. When welding with the profile tip, keep the base flat on the component being repaired and feed the welding rod by hand through the rod feeder.

|
|
6.
|
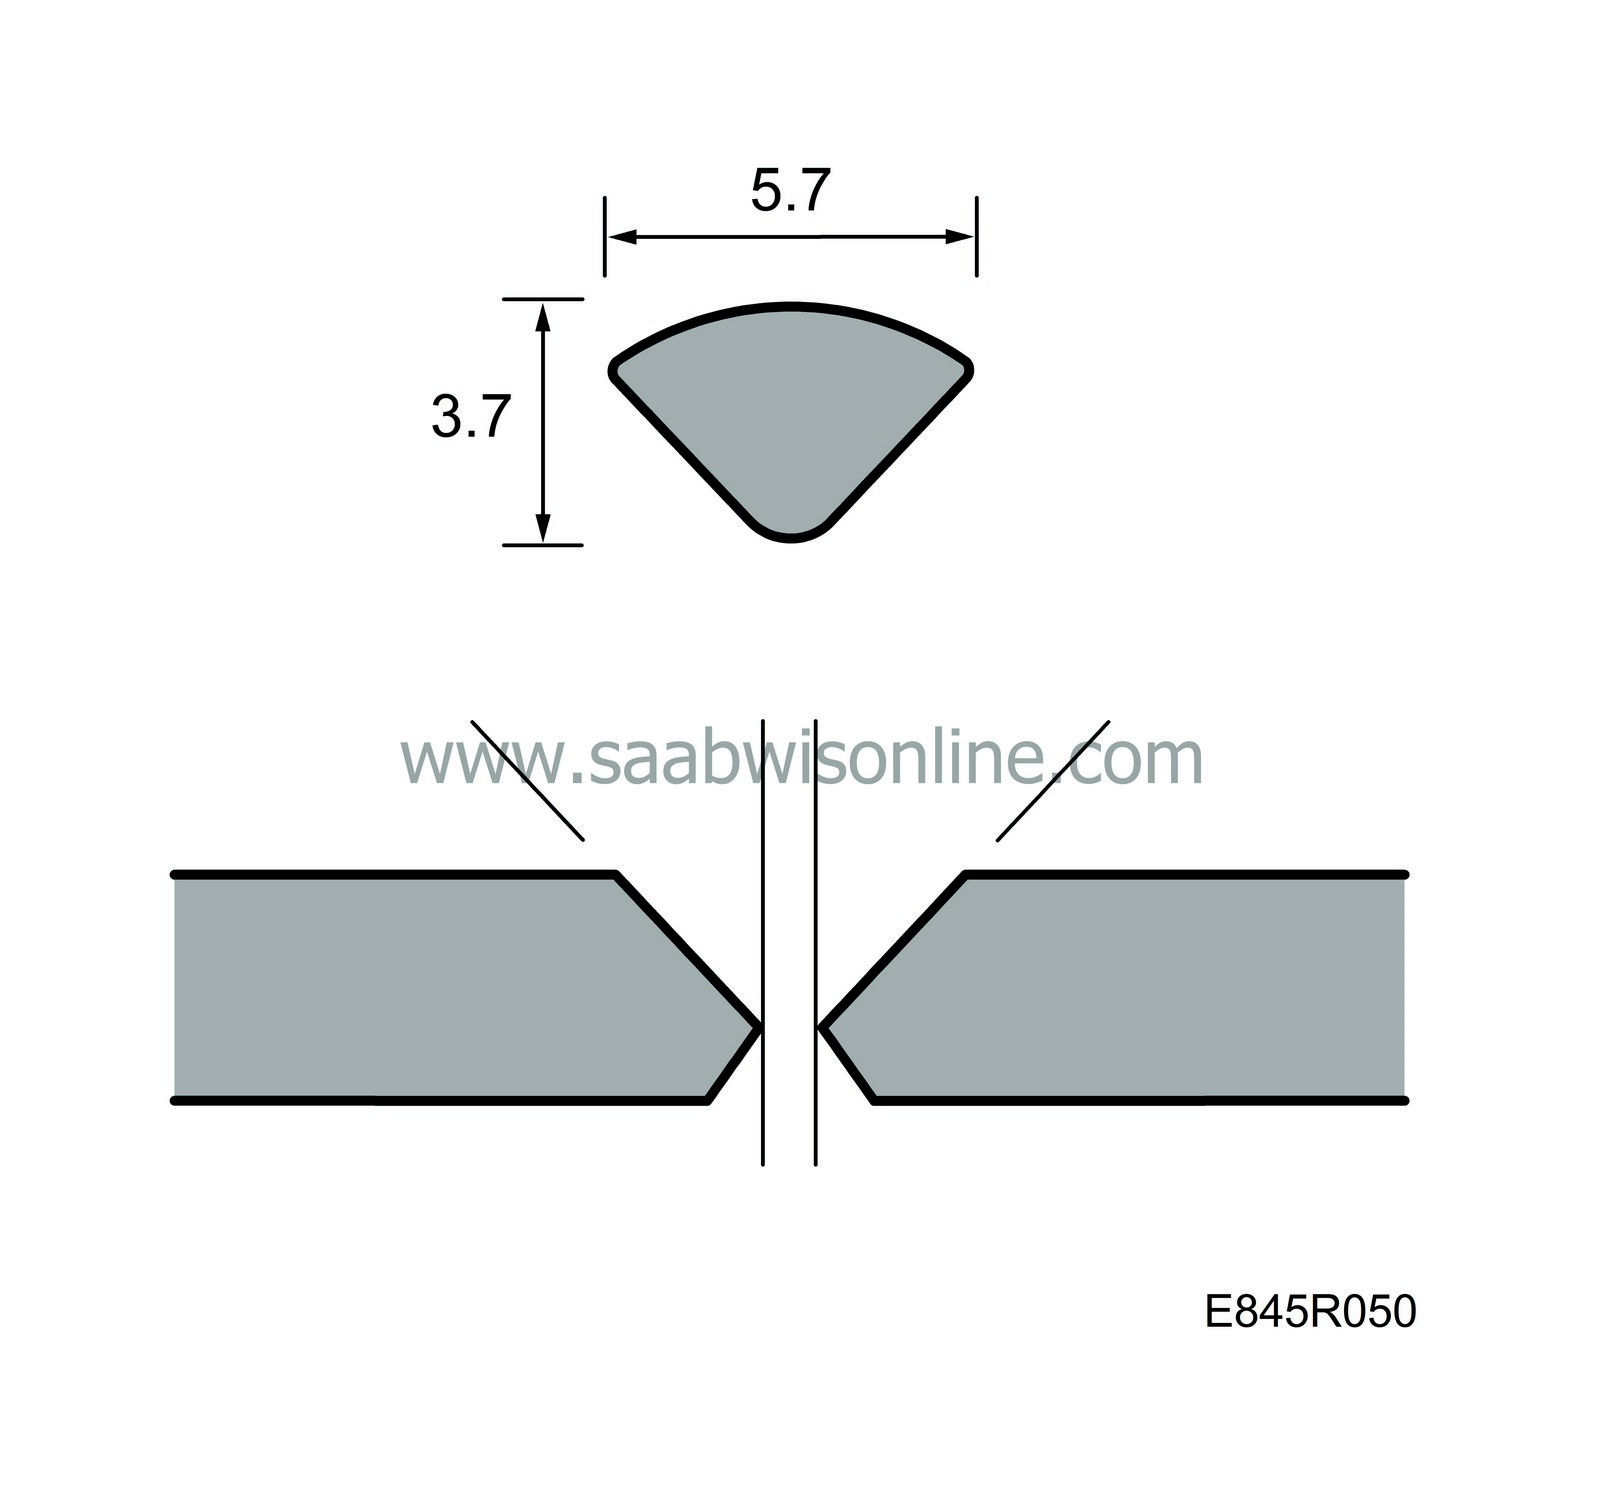
If the material is thicker than the welding wire, i.e. just under 4 mm, a 90° V-joint must be machined on the back of the damaged area. Machine at low speed to prevent overheating the damaged area, which will result in a weak repair even if the actual welding is performed correctly. Then, weld the damaged area/crack with welding wire on the back of the damaged area.

All finishing work must be done with low-speed tools (grinder, etc.).
|
|
7.
|
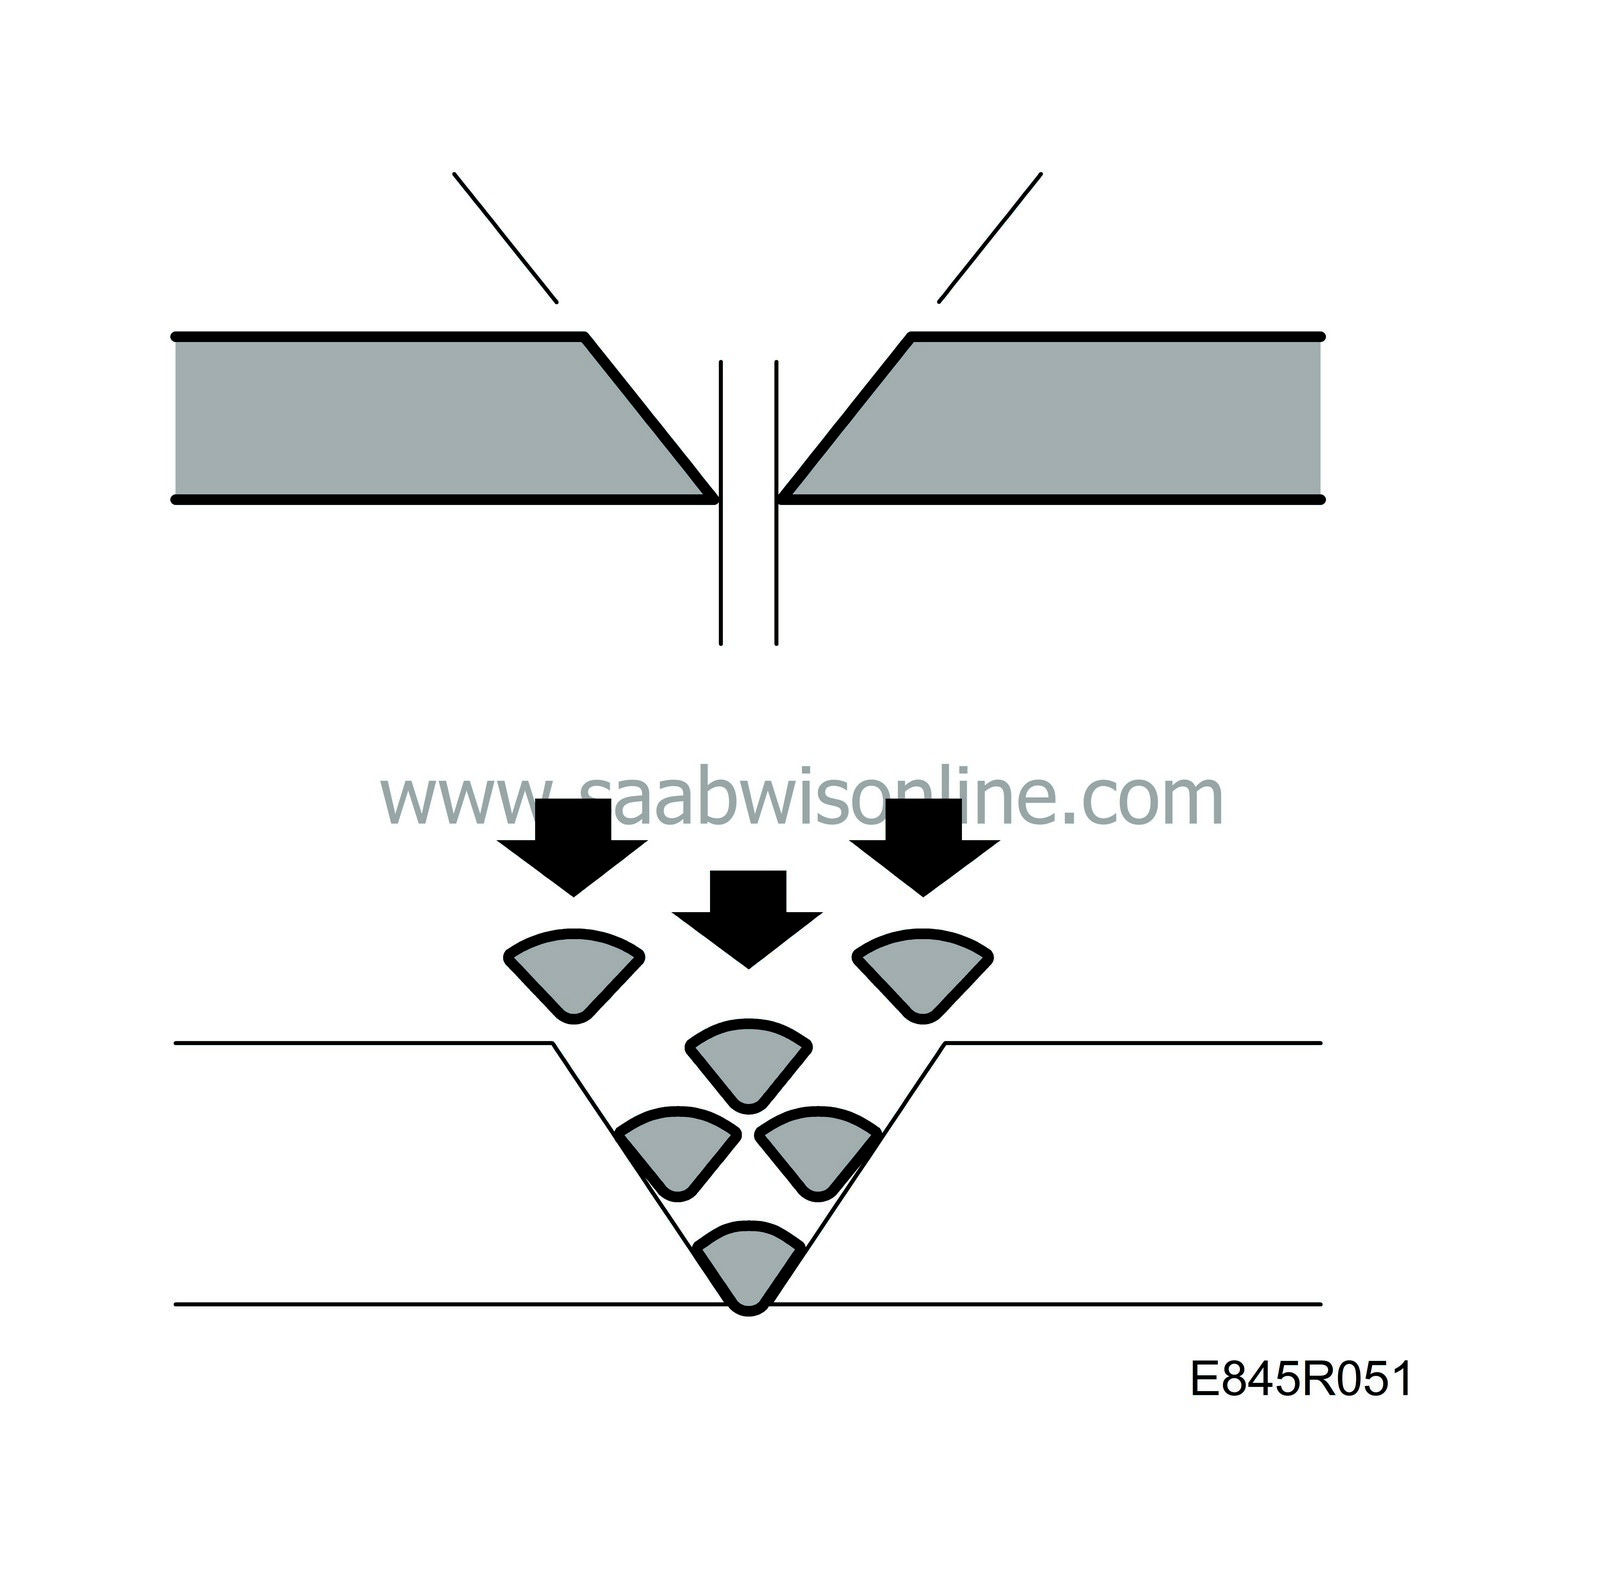
If the material is thinner (max. 3.5 mm), the plastic components/cracks can be tacked together from the rear and then welded with welding rod. A reinforcing weld can be inserted if necessary. Welding from the “rear” cannot be carried out on some components, e.g. the washer fluid reservoir, why a V-groove must be milled from the outside and filled with welding rod, in several layers if necessary.

|
|
8.
|
Machine a similar 90° V-joint on the front/outside.
|
|
9.
|
Sand off any paint around the damage/crack.
|
|
10.
|
Make sure the welding temperature of the welder is set correctly.
|
|
11.
|
Weld the front/outside with welding rod.
|
|
12.
|
Allow the welded area to cool.
|
|
13.
|
Sand off excess material from the welded area.
|
|
14.
|
Restoring the component's finish now commences.
|
Important
|
|
It is essential that the correct temperature is set on the welding pistol. If the temperature is to high, the material will lose its strength and become brittle and the join will easily crack. See also

|
|
|
|
Tip: It usually easier to weld plastic rather than metal sheet but the two techniques are somewhat different. Therefore, before commencing work on a customer's car, try welding a few joins on plastic components that have been discarded.
Always use the profile tip whenever the form of the component and the nature of the damage allow. It will simplify the work significantly and often results in a better-looking weld.
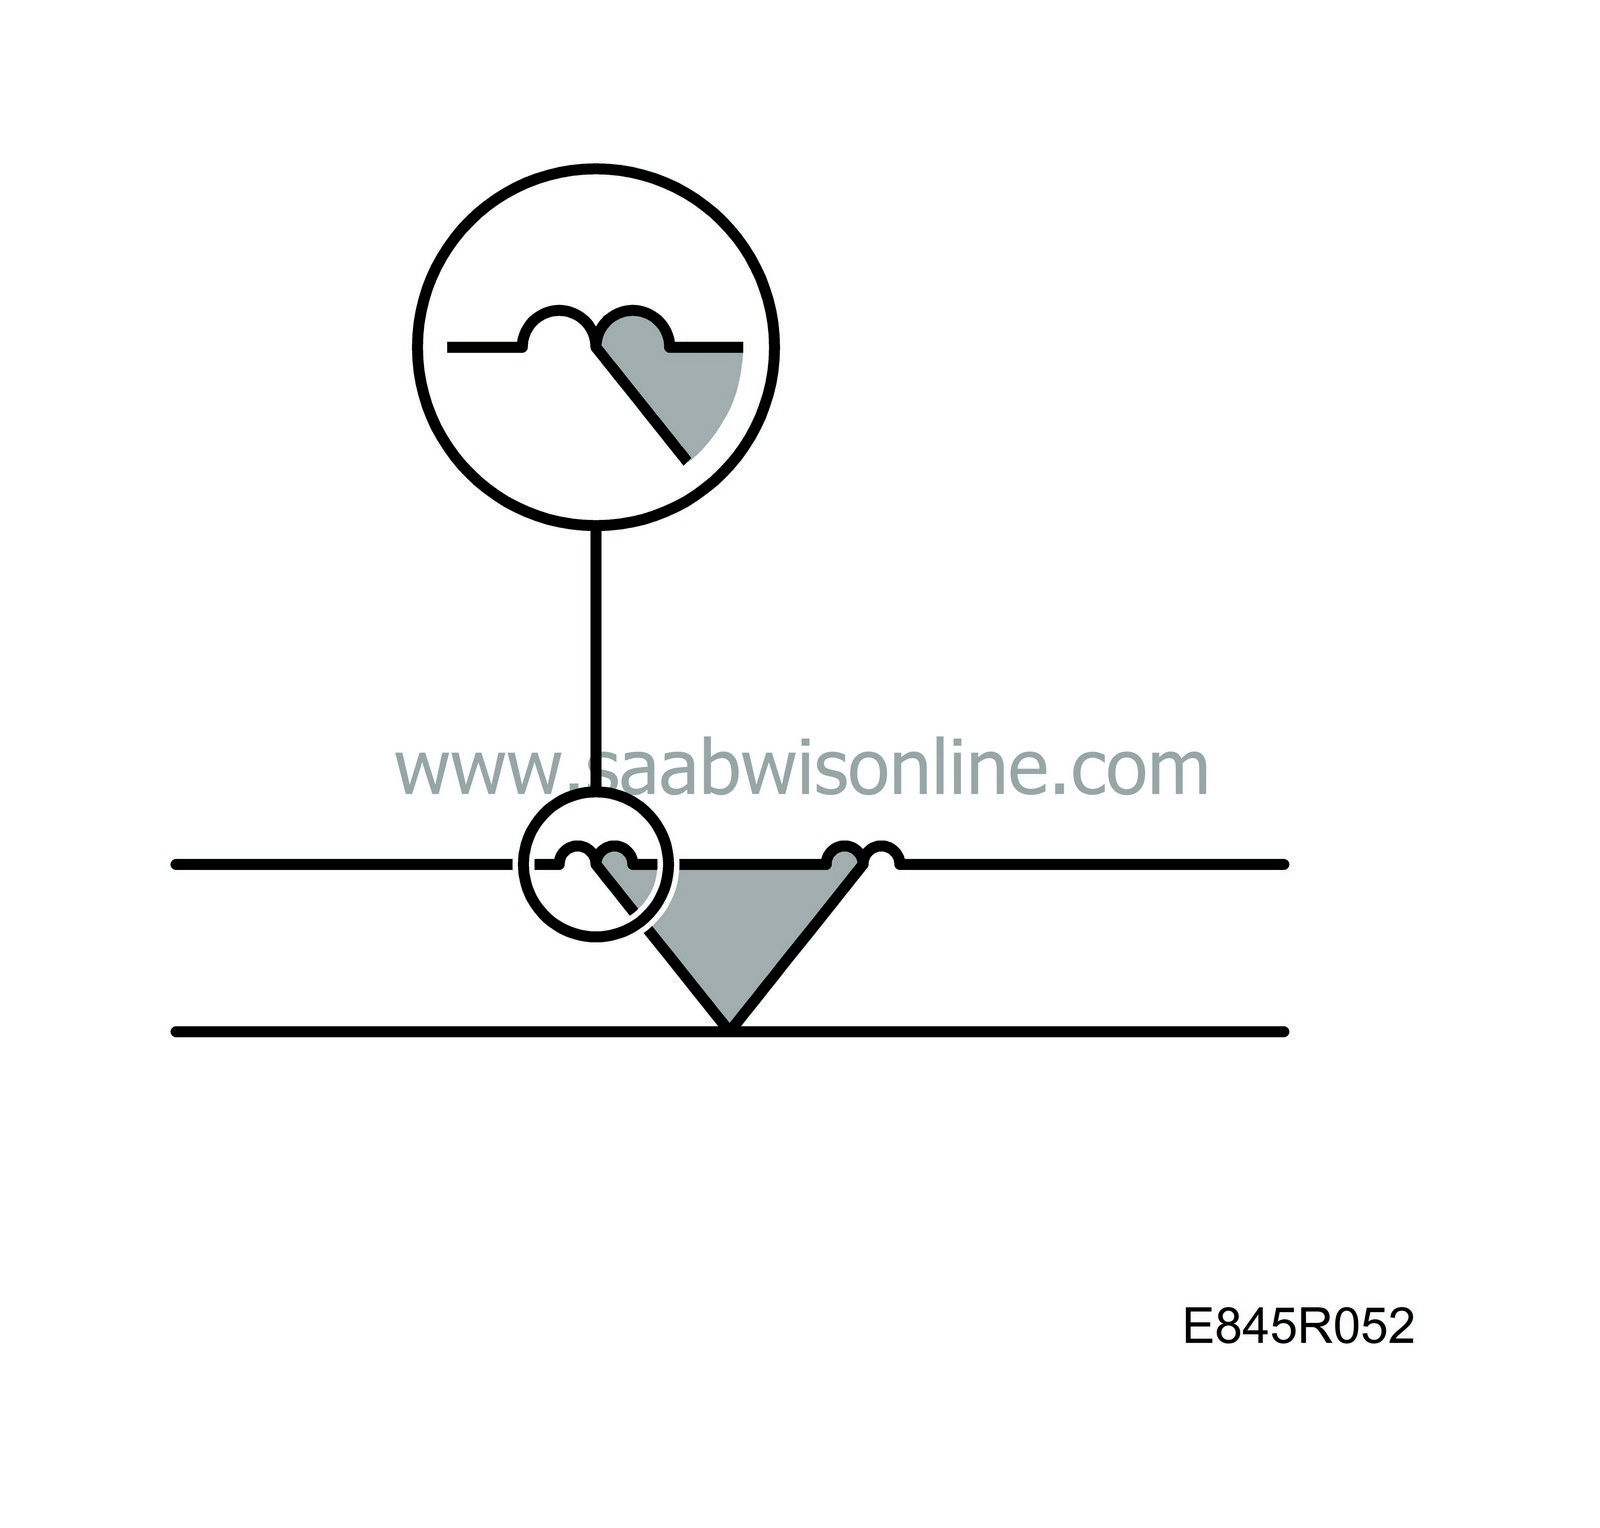
To ensure that the weld has bonded properly, carry out a visual inspection. On each side of the welding rod along the welded join, two narrow grooves should appear: These appear as small “waves” of molten plastic. The outer wave is from the repaired component and the inner form the welding rod. See the illustration.

 or
or


