Basic setting of the pressure regulator, turbo
| Basic setting of the pressure regulator, turbo |
| Checking and adjusting |
| Note | ||
|
The vacuum box push rod is set at the factory and as a rule should not be altered. |
| 1. |
Disconnect the vacuum unit push rod from the control arm. Measure the movement of the arm between the end positions (bottom position against stop screw). Use vernier calipers. The movement should be 9 - 12 mm.
|
|
| 2. |
If the measurement is correct, refit the push rod to the control arm.
|
|
| 3. |
Remove the vacuum hose from the pressure regulator.

|
|
| 4. |
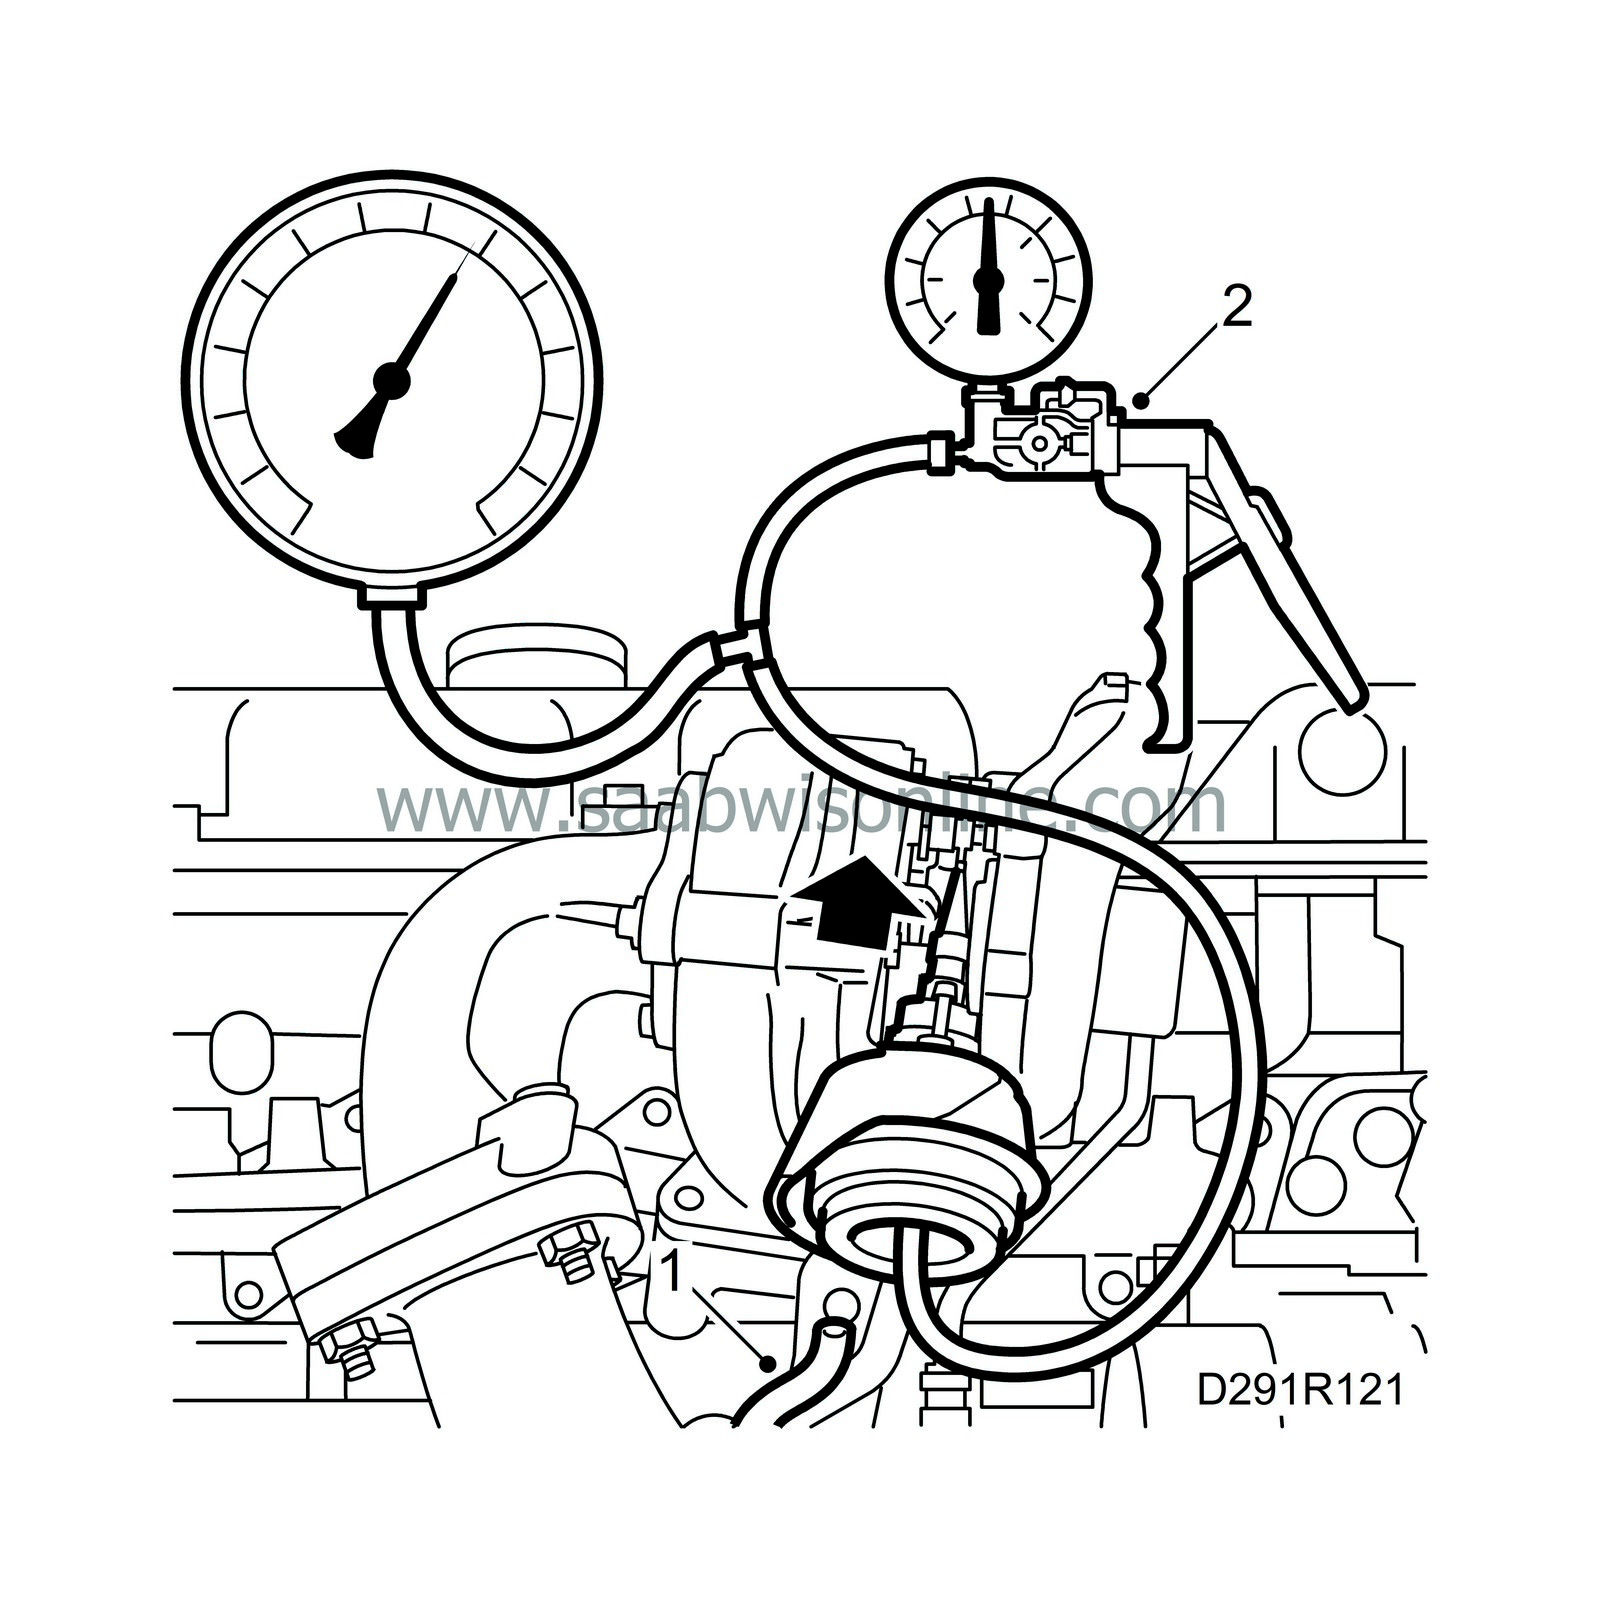
Connect
30 14 883 Pressure/vacuum pump
and using a T-piece connect
83 93 514 Charge pressure gauge
.
|
|
| 6. |
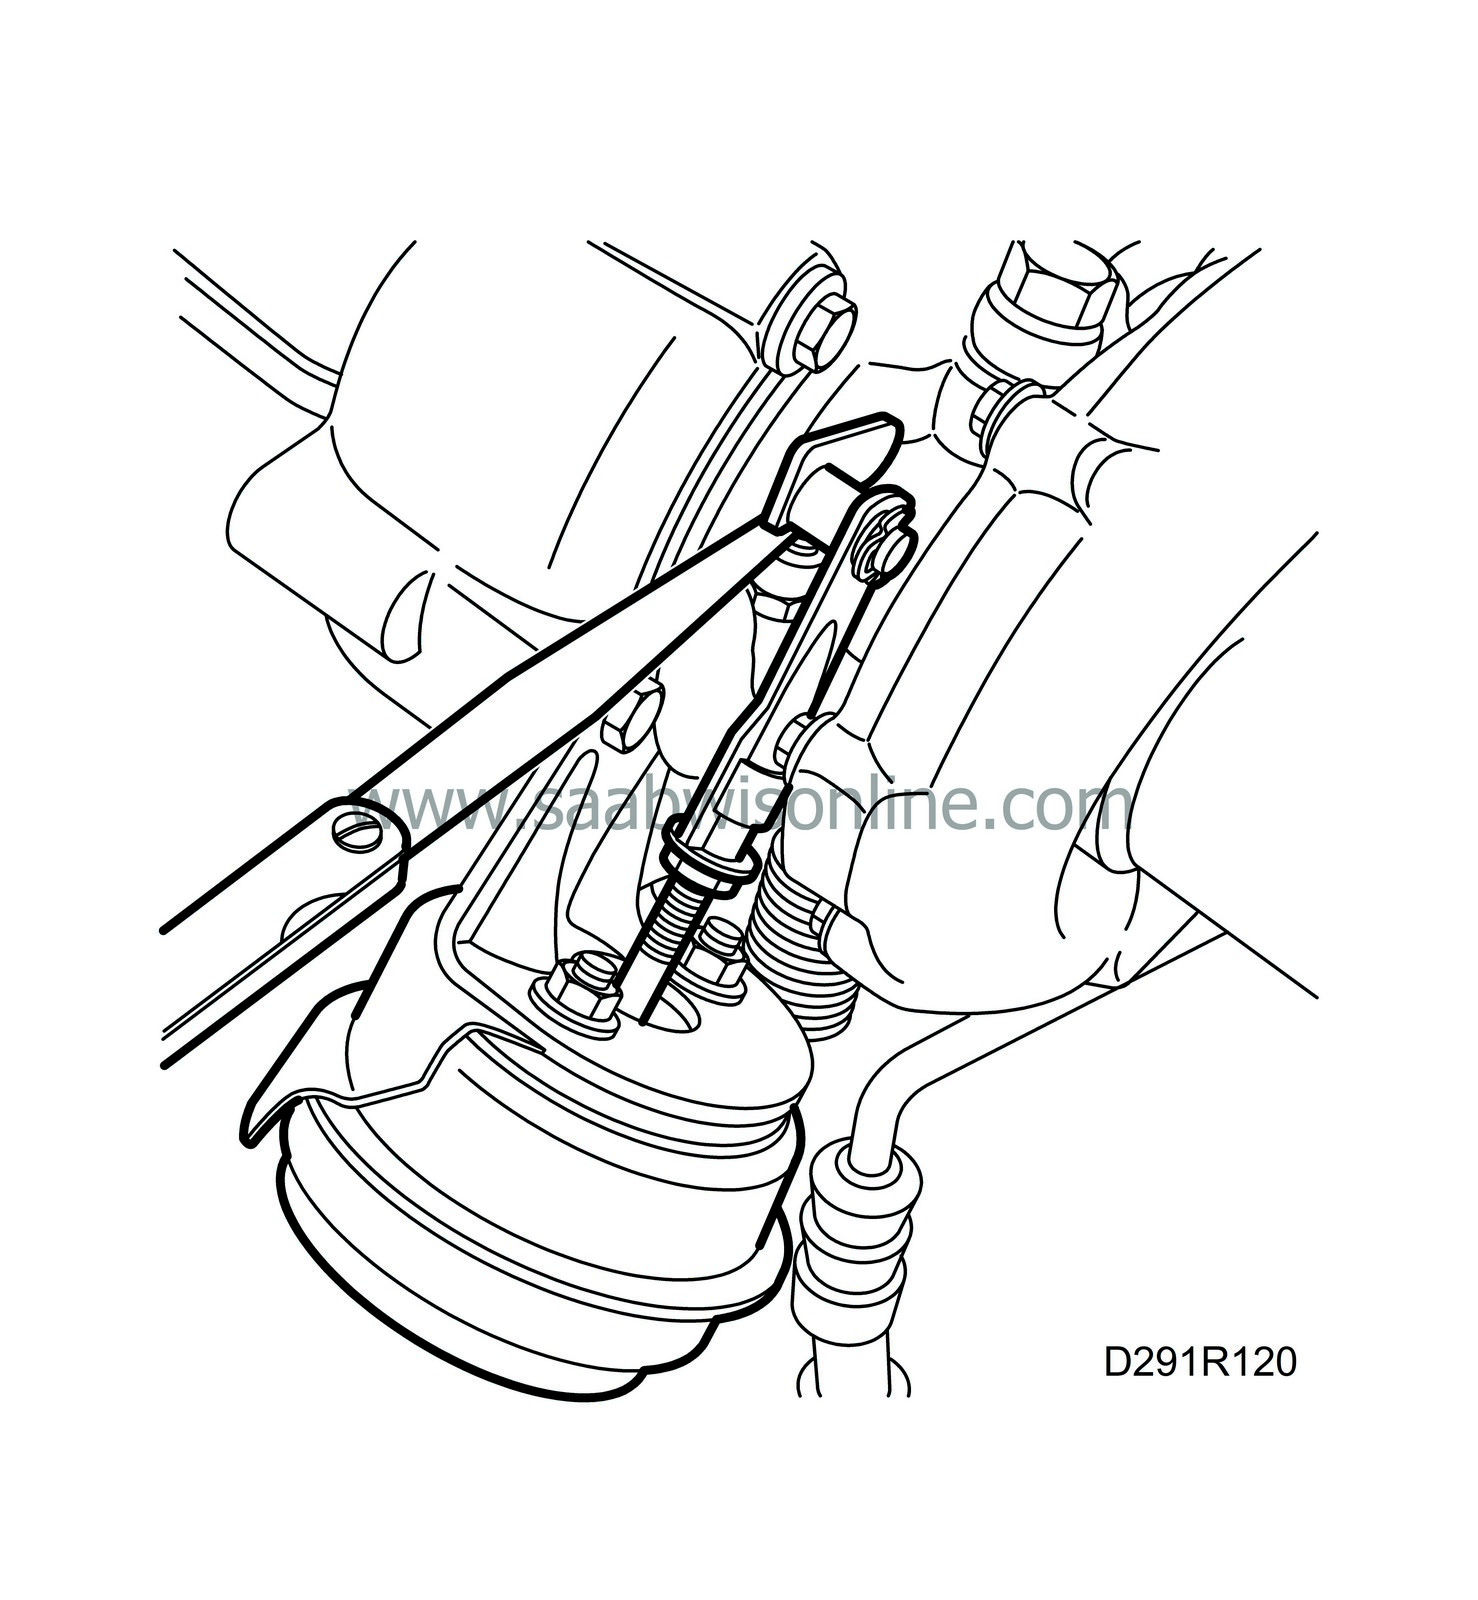
If adjustment is required, release the vacuum and release the lock nut on the diaphragm unit rod. Hold with pliers so that the rod does not turn, otherwise the diaphragm can be damaged.
|
|
| 7. |
Restore a vacuum of -0.55 ±0.02 bar and insert the feeler gauge between the control arm and the stop screw. Adjust the nut marked so that the feeler gauge can just be inserted. Ensure that the vacuum is maintained during adjustment.
|
|
| 8. |
Release the vacuum and tighten the lock nut, holding the diaphragm unit rod with pliers.
|
|
| 9. |
Check that the adjustment is correct by restoring the vacuum of -0.55 ±0.02 bar. Measure with a feeler gauge.
|
|
| 10. |
Create a vacuum of -0.58 ±0.02 bar. The control arm should now touch to the stop screw.
|
|
| 11. |
Remove the tool and connect the vacuum hose.
|
|
| Checking |
| 1. |
Remove the vacuum hose from the pressure regulator.

|
|
| 2. |
Connect
30 14 883 Pressure/vacuum pump
and using a T-piece connect
83 93 514 Charge pressure gauge
.
|
|
| 3. |
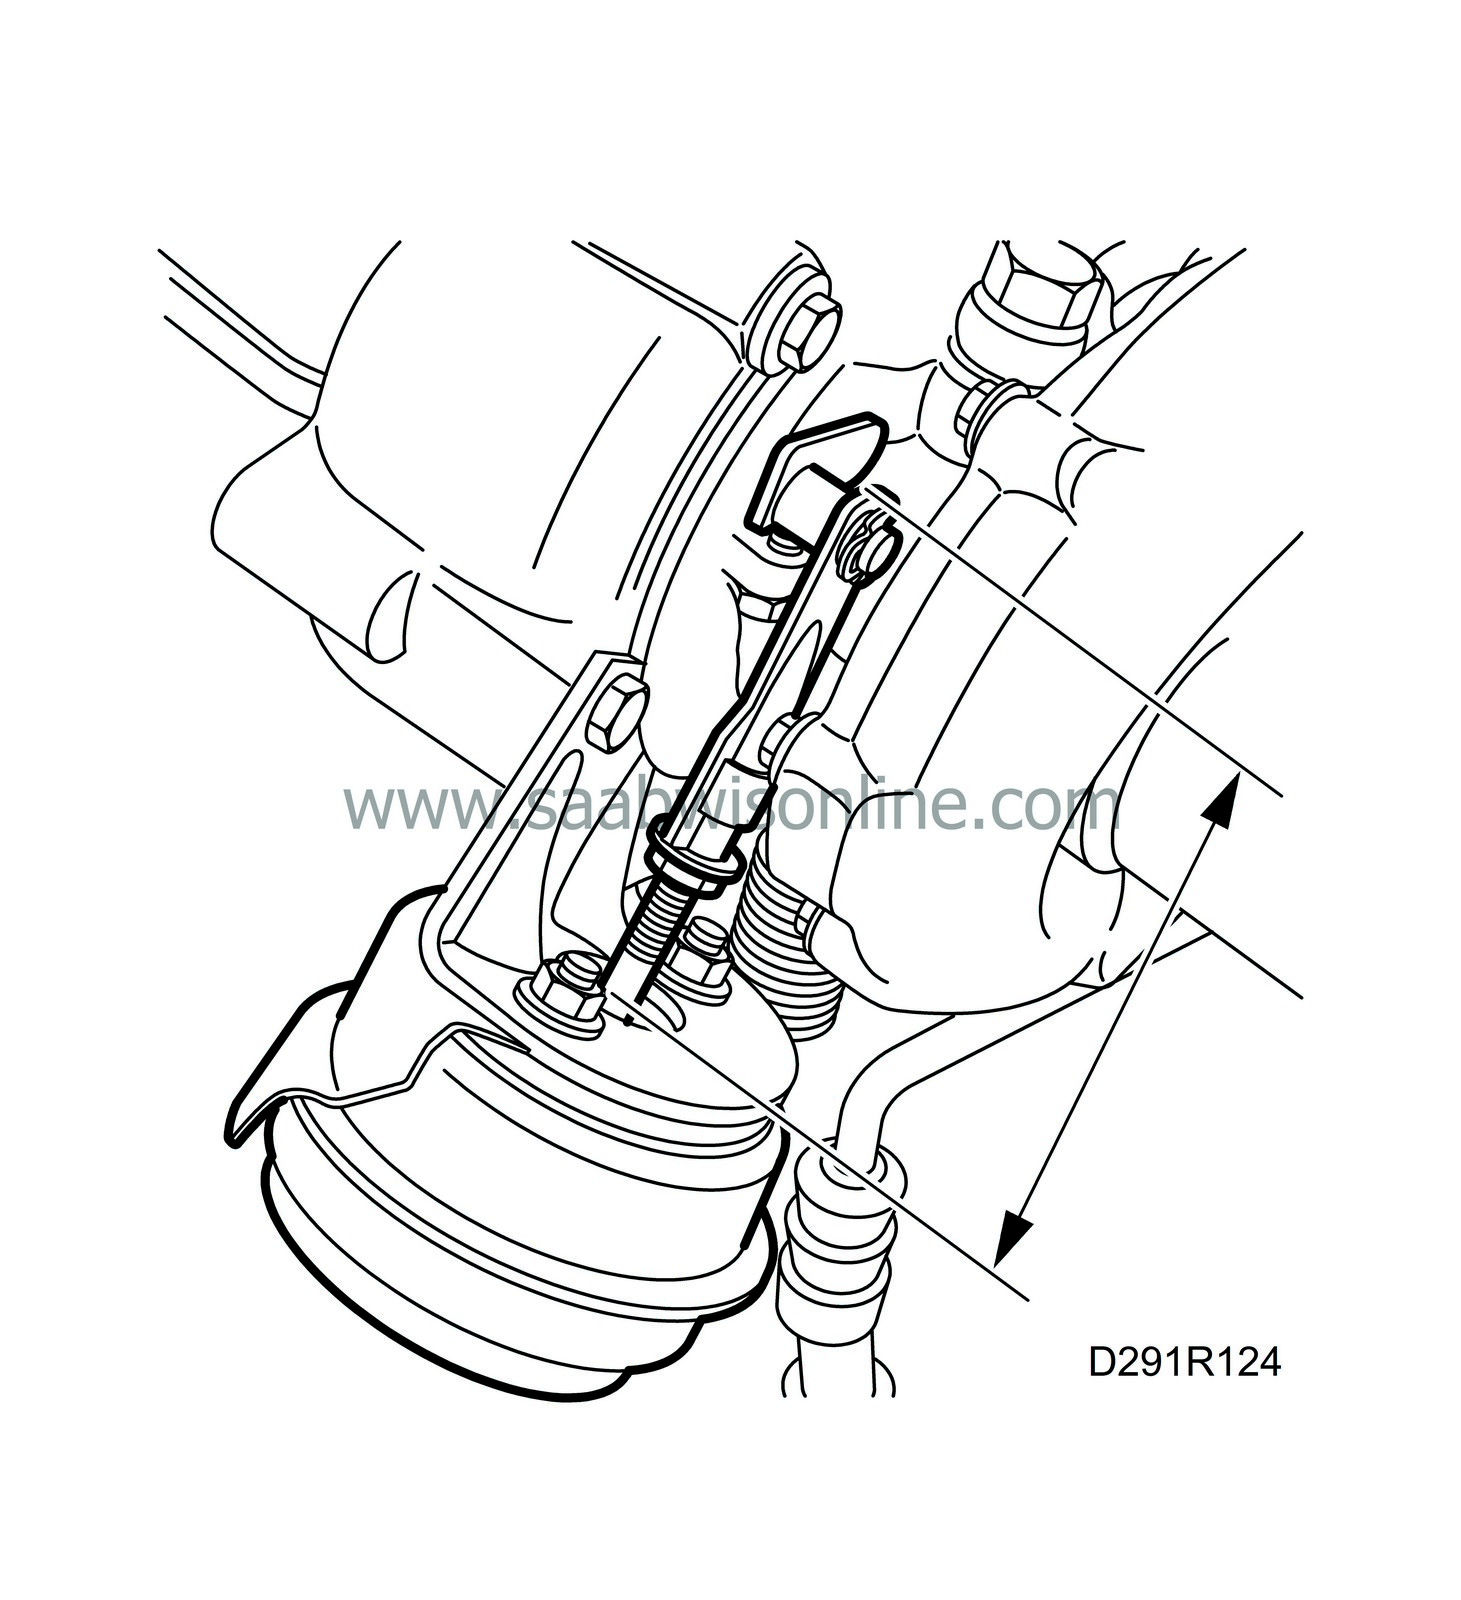
Measure the distance between the vacuum unit and the upper part of the pull rod using vernier calipers as shown.

|
|
| 4. |
Create a vacuum of -0.20 bar. Measure with calipers again. The difference between the measurements (travel) should be 0.5 - 3.5 mm.
|
|
| 5. |
Create a vacuum of -0.56 bar and measure in the same way as before. The difference between the first and second measurement should be 9 - 12 mm.
|
|
| 6. |
Remove the tool and connect the vacuum hose.
|
|


