Adjusting the soft top
| Adjusting the soft top |
| A Vertical and fore-and-aft adjustment |
If needed, adjust fore-and-aft with adjuster shims between the soft top mechanism and the body by the mechanism mounting to the C-pillar. Use 1 mm shims. Maximum allowed adjustment is 0 - 8 shims. Nominal is 4 shims. Note that a different number of shims can be used on the left and right side.
| 1. |
Remove the side upholstery on both sides.
|
|
| 2. |
Operate the soft top so that it is raised (closed) and the fifth bow as well as the soft top cover are raised (open). Do not lock the soft top to the windscreen frame but shut off the ignition to release the hydraulic pressure.
|
|
| 3. |
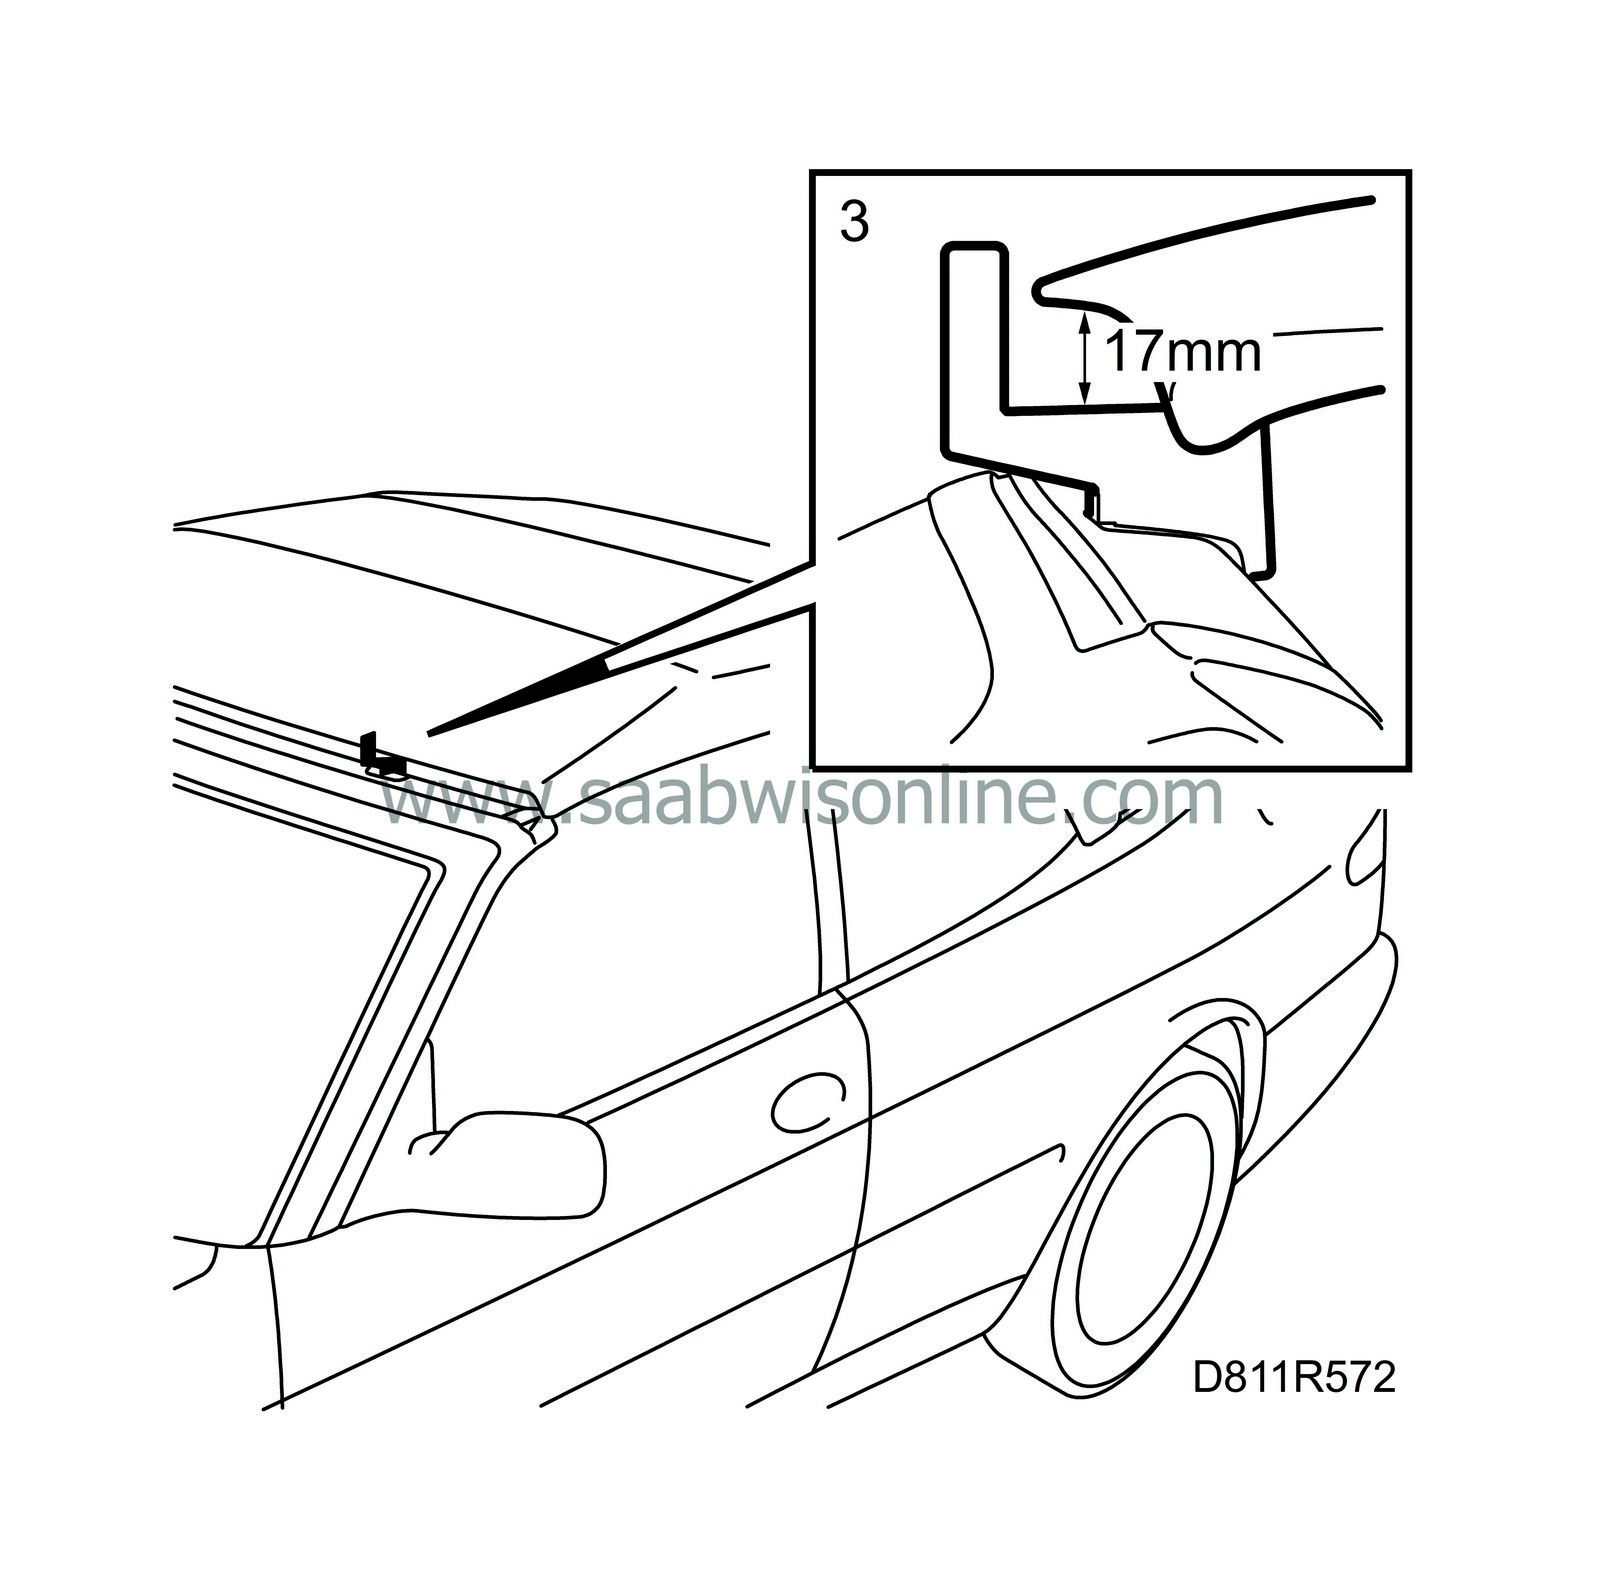
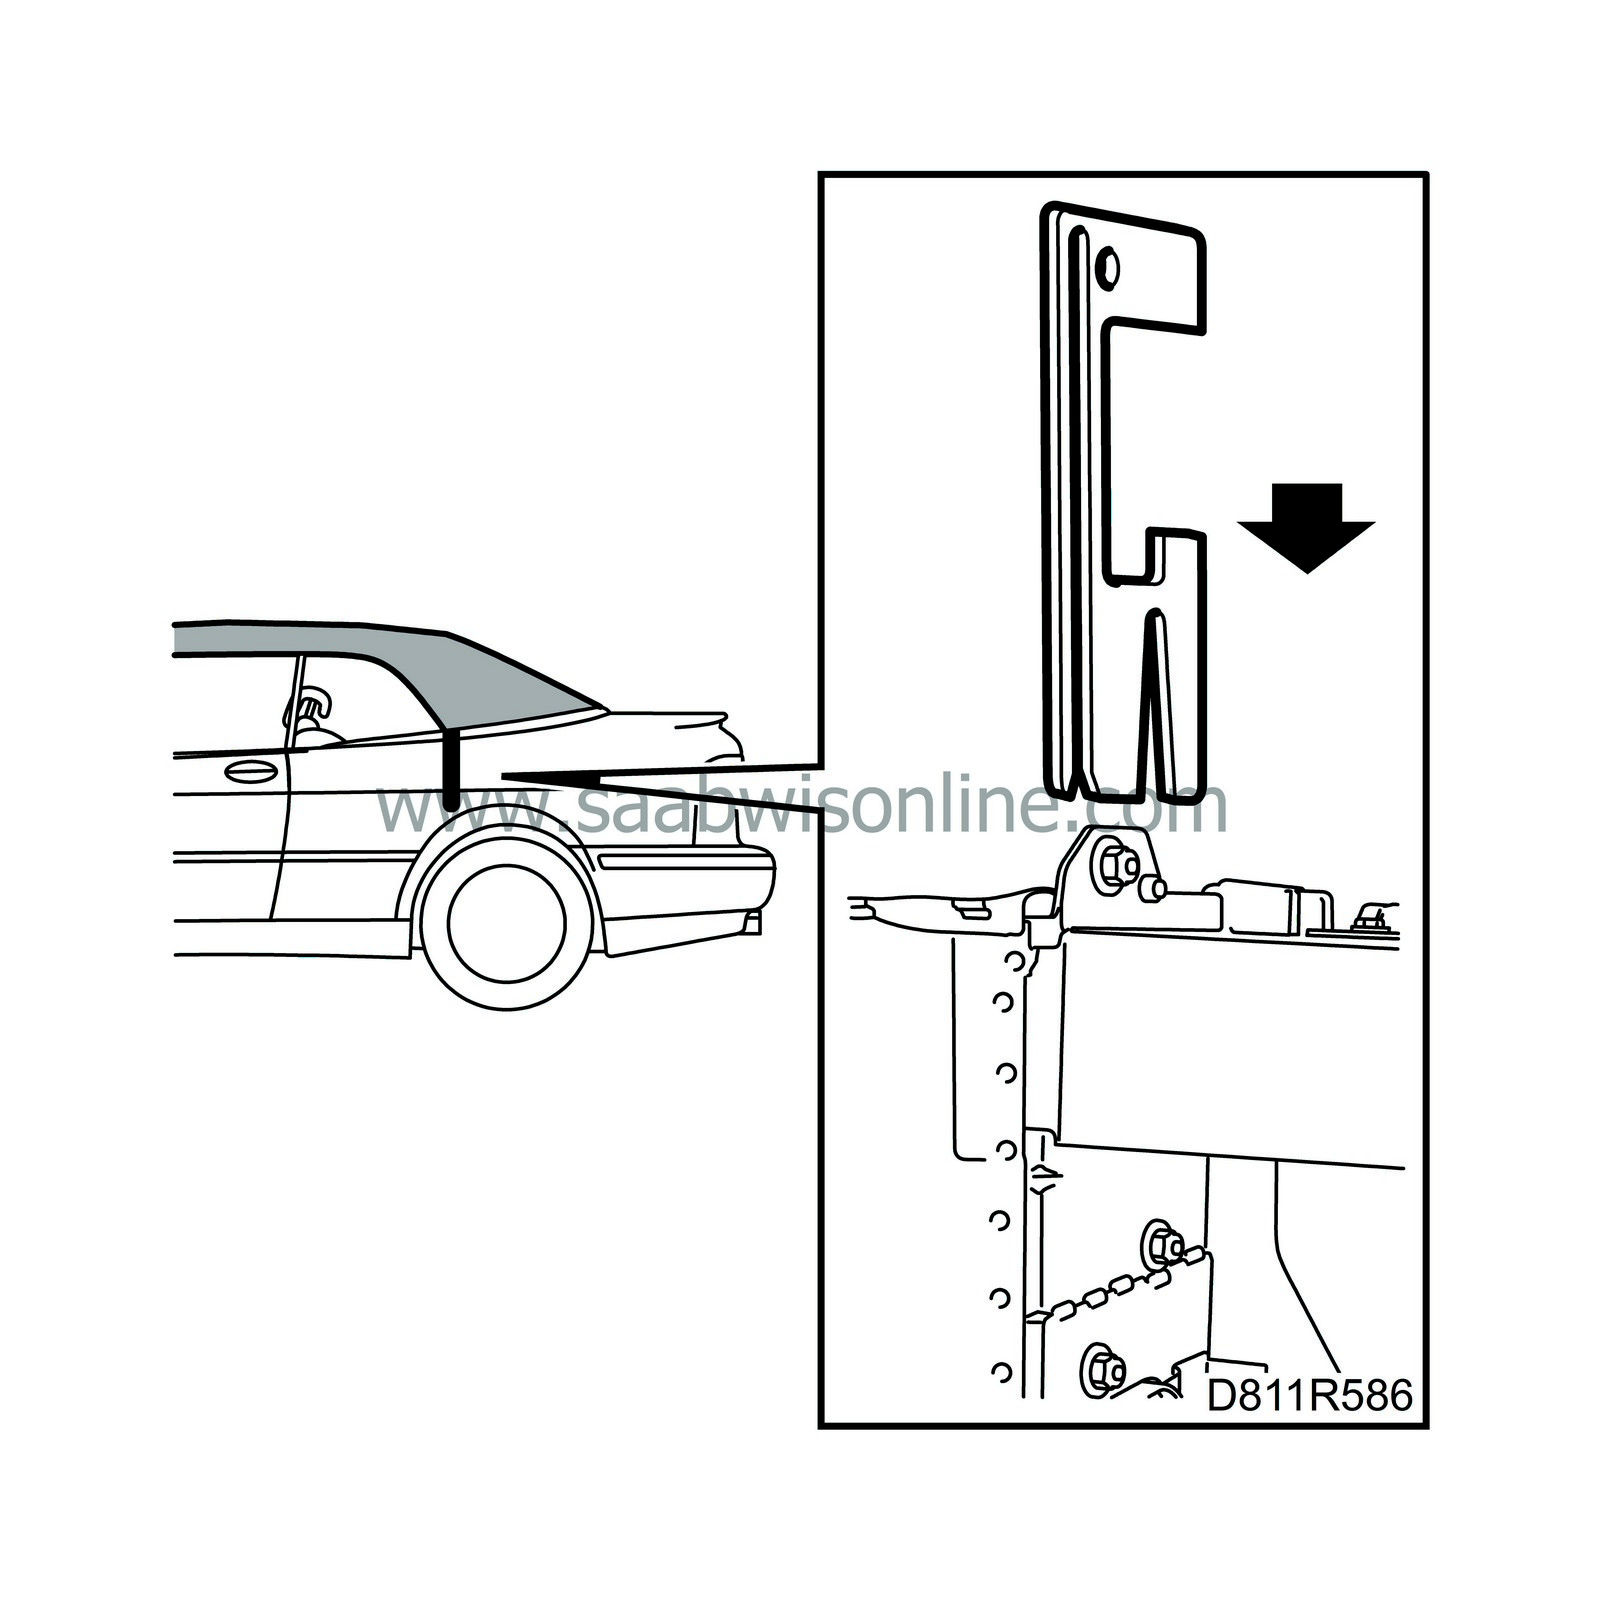
Position special tool
Soft top support
in the latch fitting as shown in the illustration. Measure the distance between the tool and first bow. The distance must be 17 mm on the left-hand and right-hand sides.

|
|
| 4. |
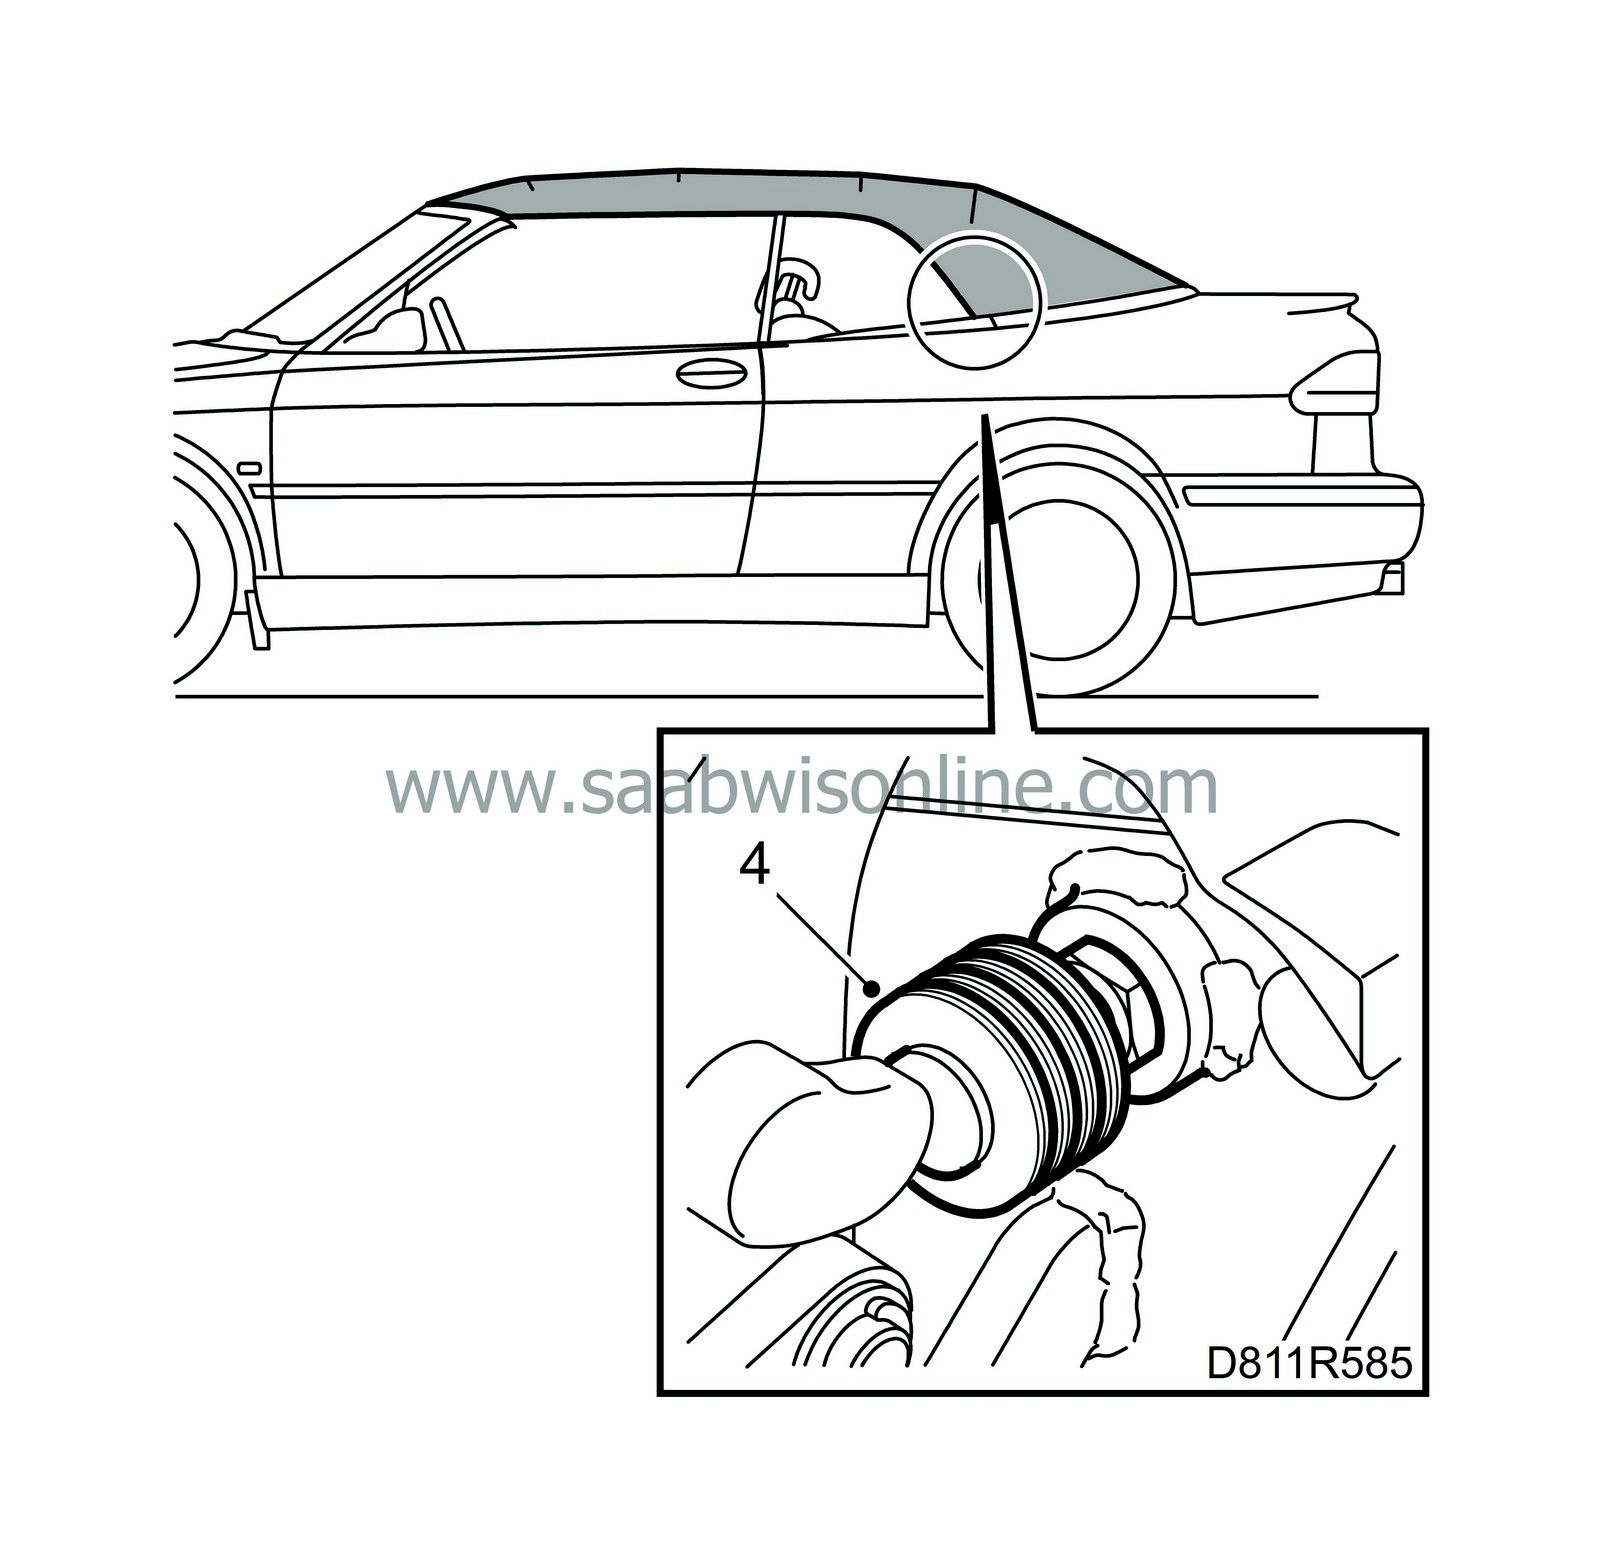
Adjust by loosening the lock nut and then turning the stop out (soft top moves upwards) or in (soft top moves downwards).

|
|
| 5. |
Check the measurement.
|
|
| 6. |
Measure and note the values for the length of the soft top. Measure from the outer edge of the tool to the front edge of the first bow. The distance must be 21-25 mm.

|
|
| 7. |
Loosen the nuts that secure the soft top mechanism to the body.

|
|
| 8. |
The stops must be removed to fit the shims. Note the number of turns when the stops are removed so that they can be refitted in the same position.
|
|
| 9. |
Adjust the soft top by increasing or decreasing the number of shims between the soft top mechanism and the body. Use 1 mm shims.
|
|
| 10. |
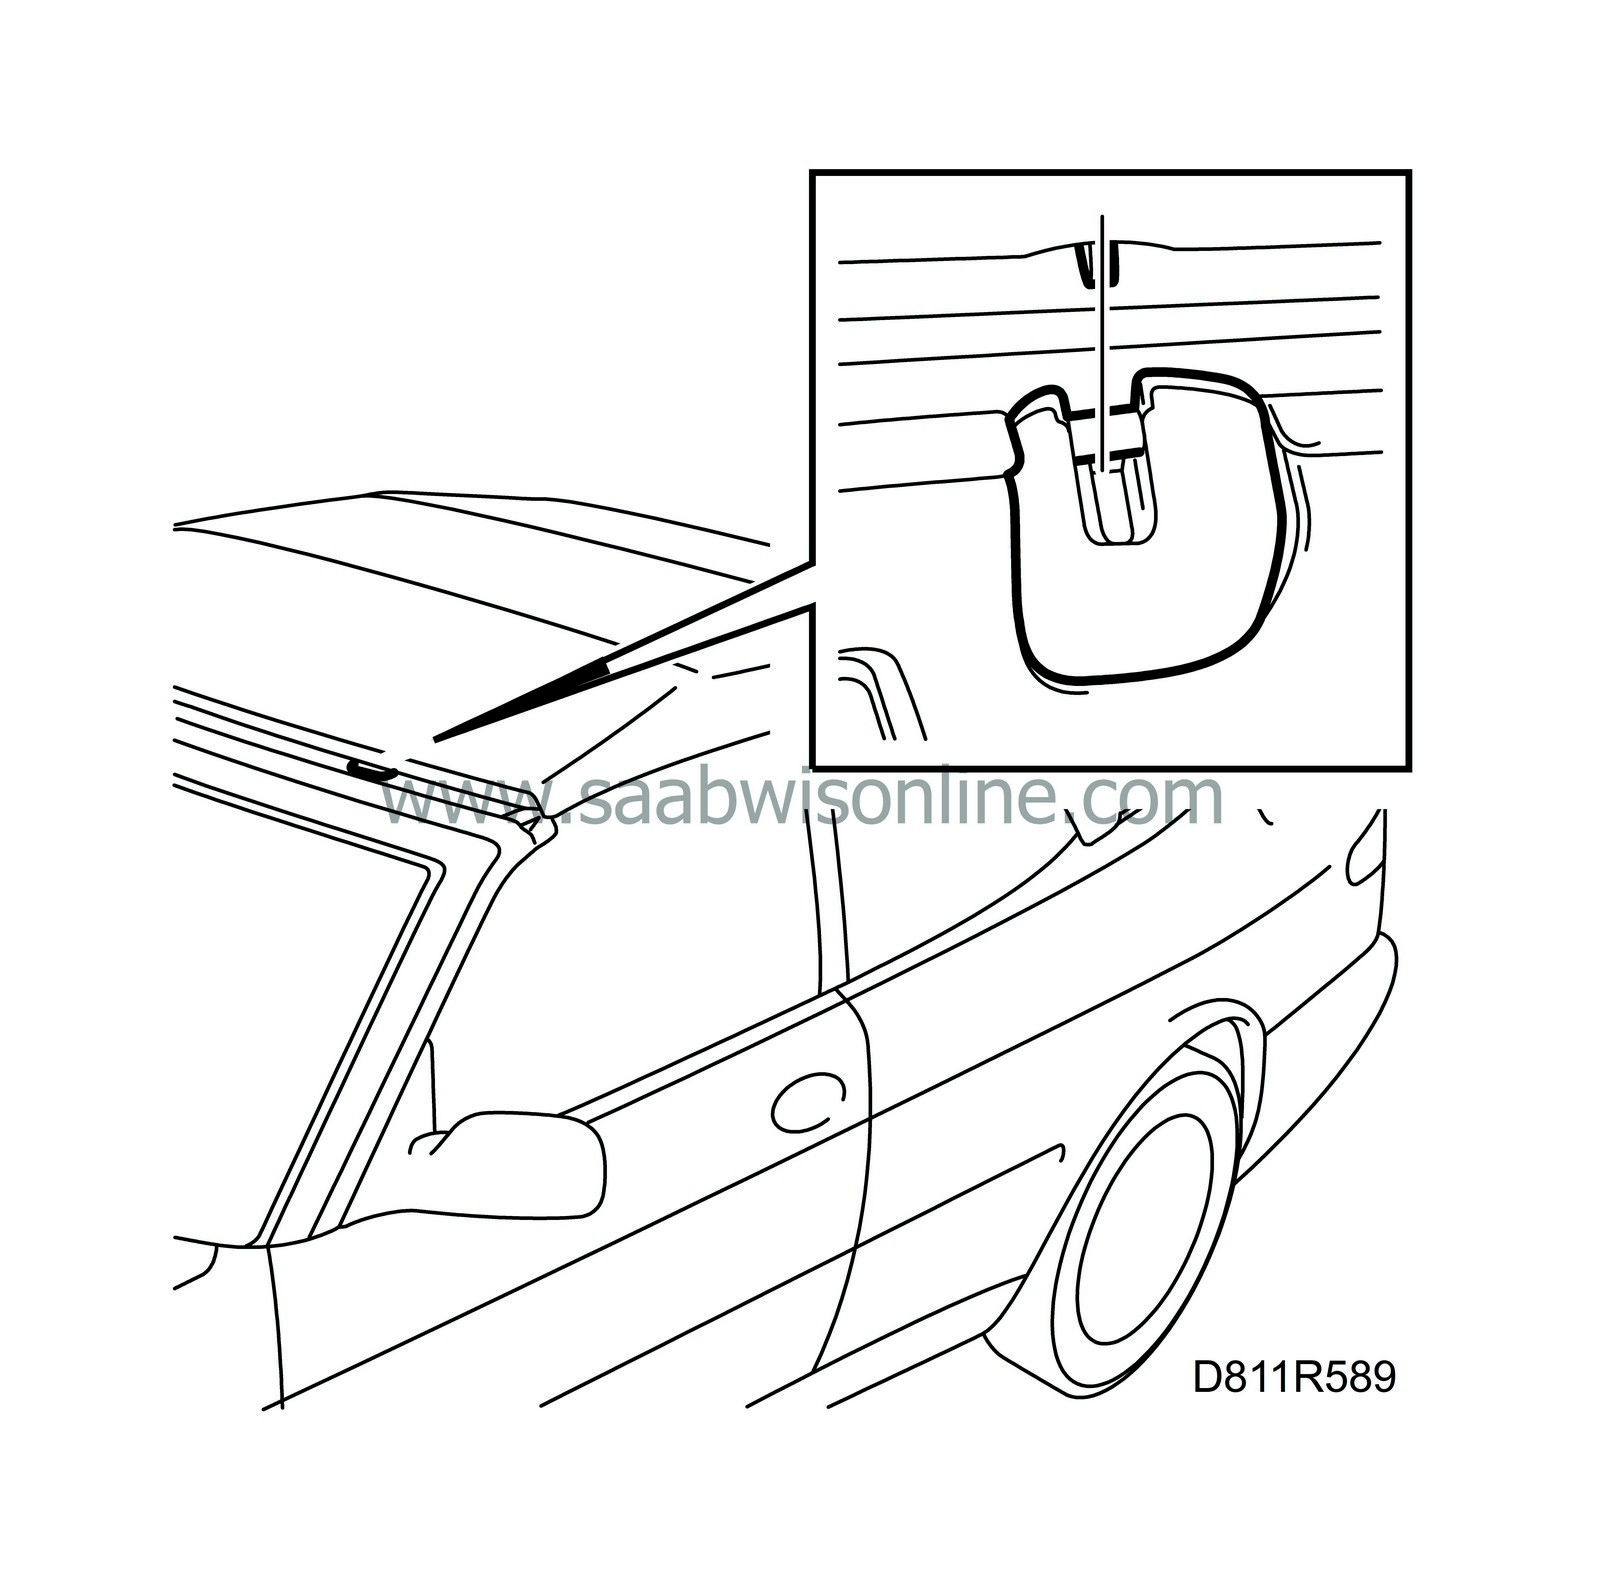
Check that the lock hook on the left side is directly lined up with the middle of the lock fitting.

Example: |
|
| 10.a. |
If the lock hook is left of the lock fitting middle:
Fit additional shims on the right side. |
| 10.b. |
If the lock hook is right of the lock fitting middle:
Fit additional shims on the left side. |
| 11. |
Turn back the stops to the noted position when removing.
|
|
| 12. |
Tighten the nuts.
Tightening torque : 28 Nm (20.7 lbf ft) |
|
| 13. |
Check height position again.
|
|
| 14. |
Refit the side upholstery.
|
|
| B Soft top edge |
The soft top side edge in relation to the door window and the rear side window is adjusted with a bolt in the hinge between the front rail and middle rail.
| 1. |
Operate the soft top with the ROOF button so that it is half raised with the soft top cover pointing straight up. Fit the soft top support, special tool (16) 82 93 144 so that the soft top does not fall down when the hydraulic pressure is released. Door windows and side windows must be lowered.
|
|
| 2. |
Turn in the adjusting screw in the first rail.

|
|
| 3. |
Turn out the adjusting screw so that it just touches the stop.
|
|
| 4. |
Close the soft top completely and lock it to the windscreen frame.
|
|
| 5. |
Check the distance between the adjusting screw and the stop with a piece of paper. It must not be possible to insert the paper between the screw and the stop
|
|
| 6. |
Check the soft top edge at the door window and rear side window on both sides. When correctly adjusted, there must be no angle between the front rail and the middle rail. Both rails must form a continuous line that runs along the door window and the rear side window.
|
||||||||||
| 7. |
Connect the diagnostics tool, erase any diagnostic trouble codes.
|
|


