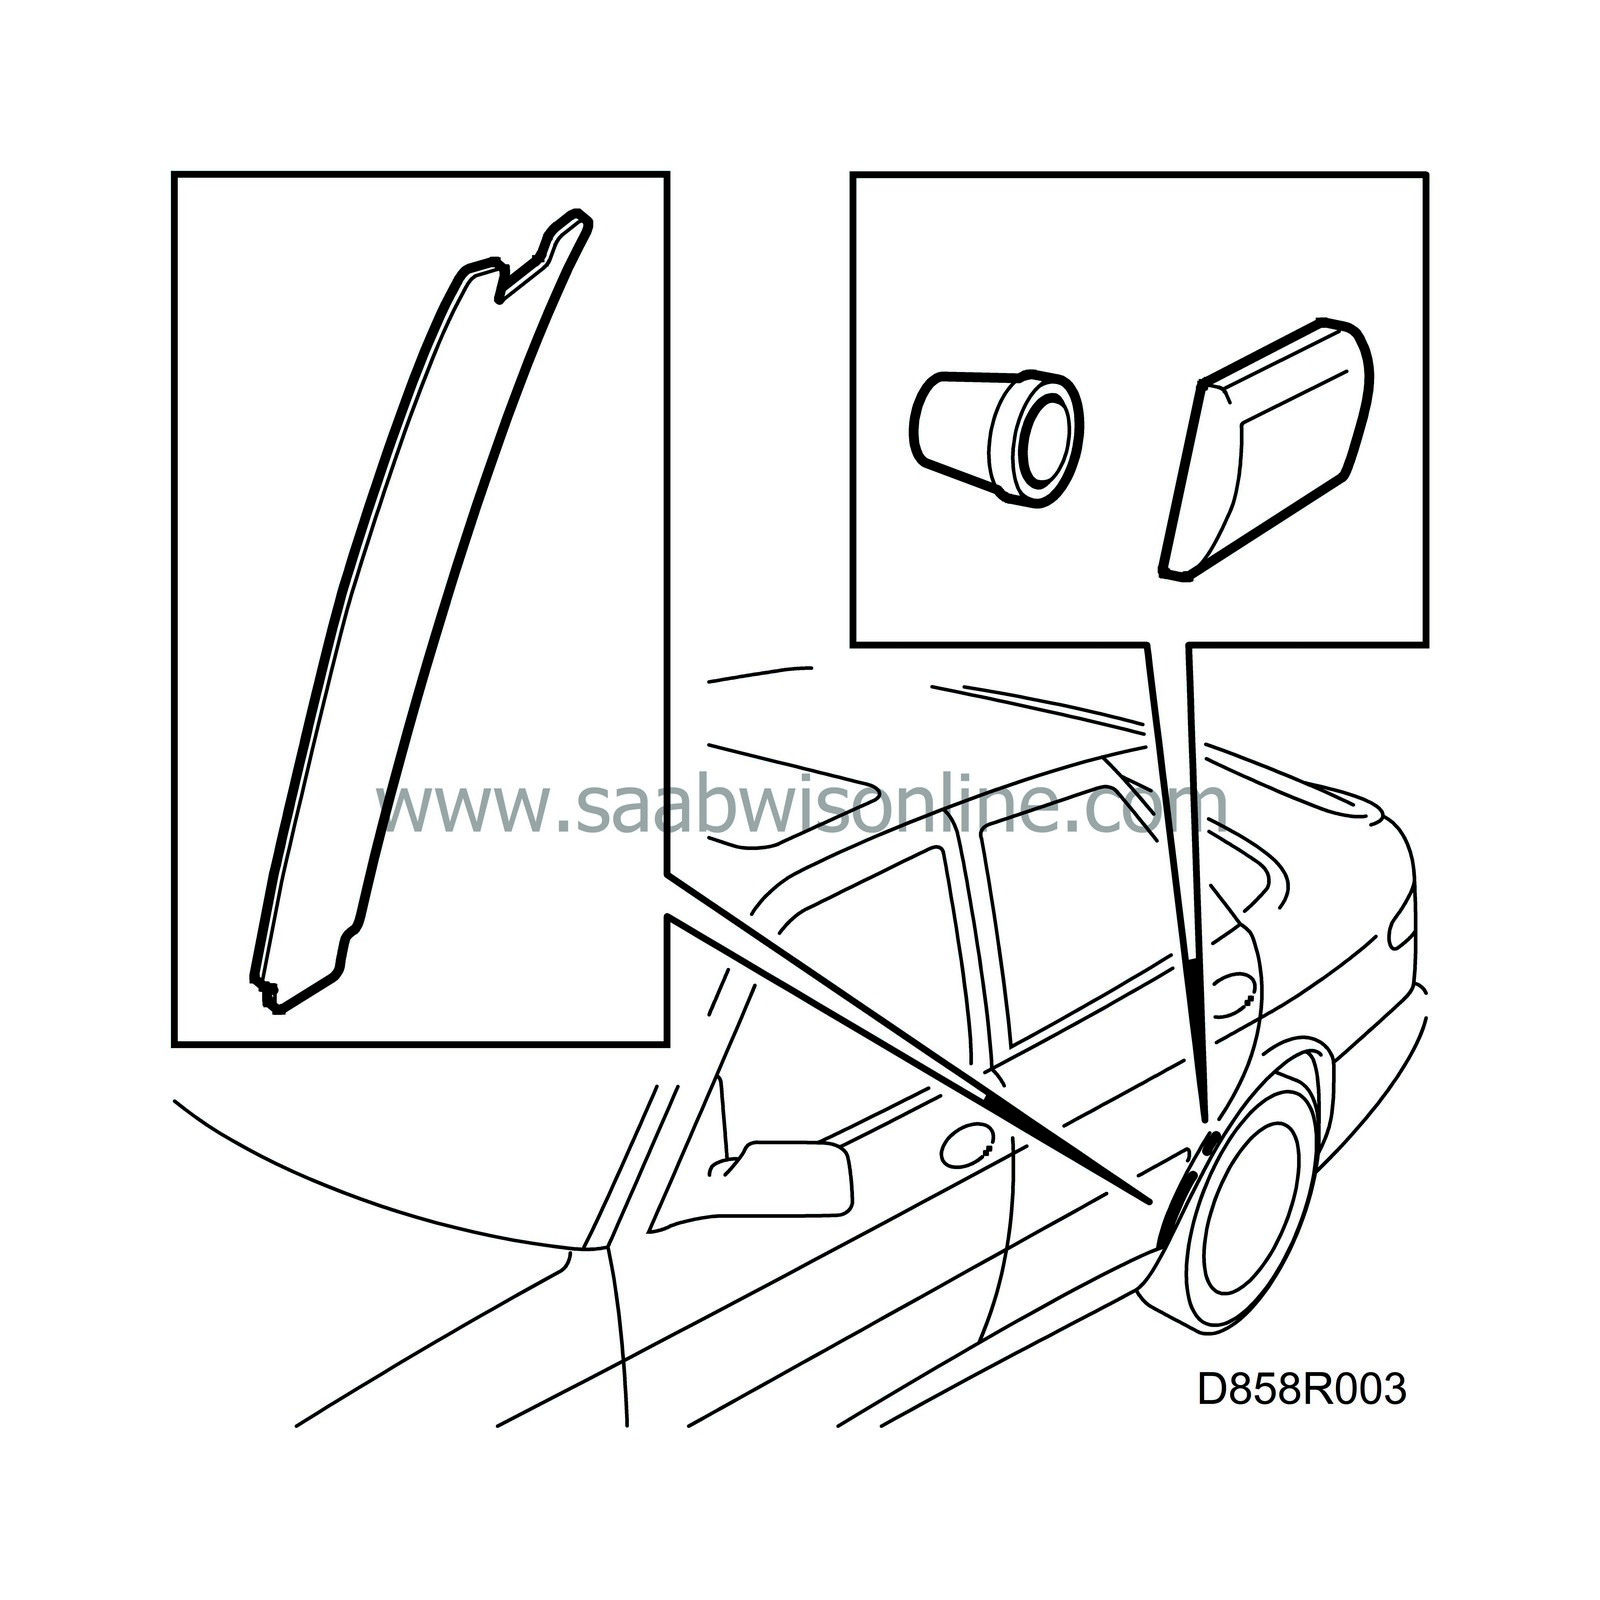
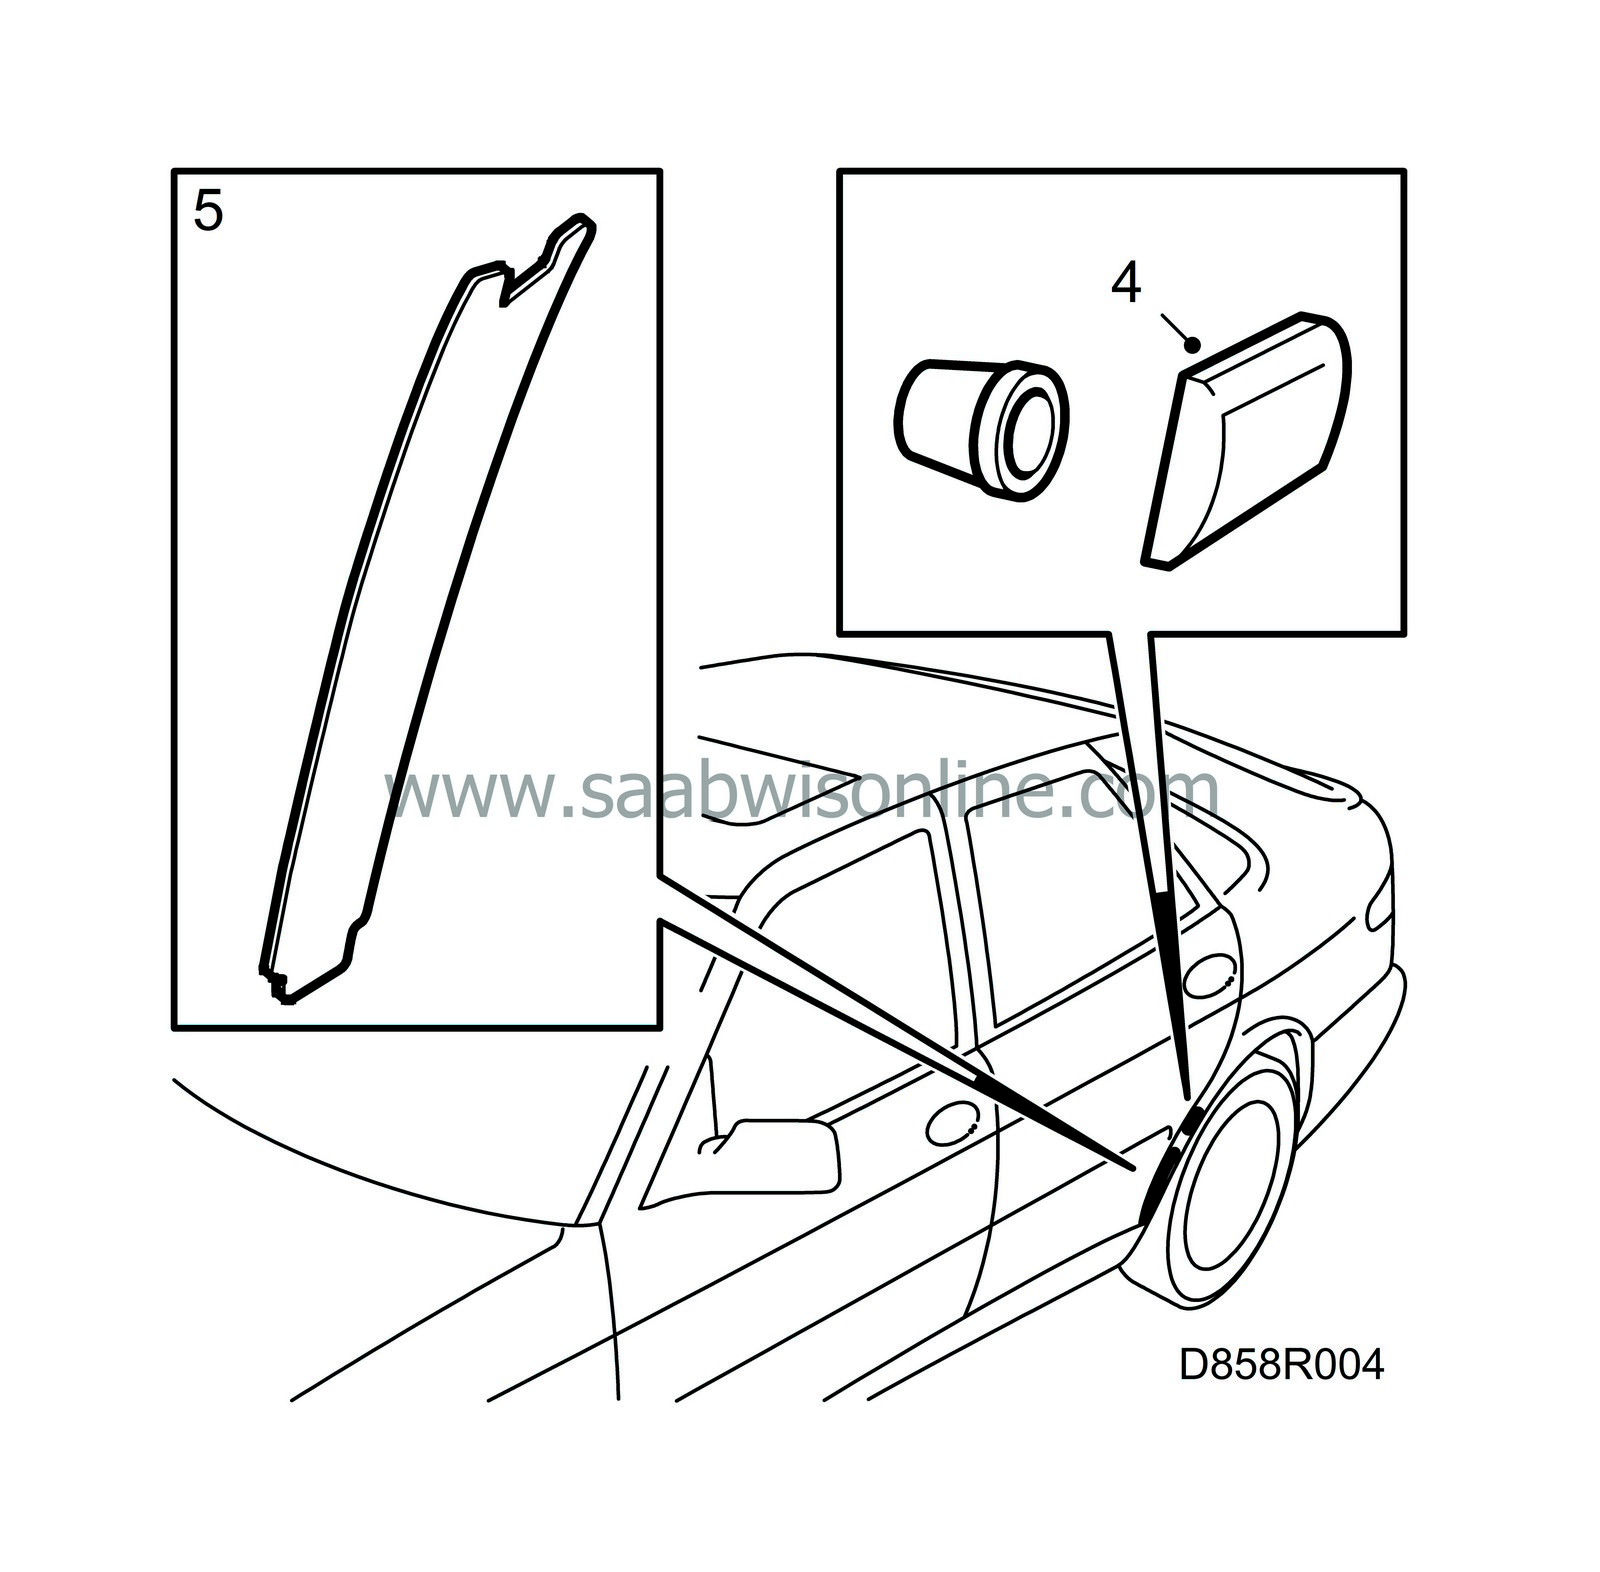
Stone damage tape, 5D
| Stone damage tape, 5D |
| Removing |
| 1. |
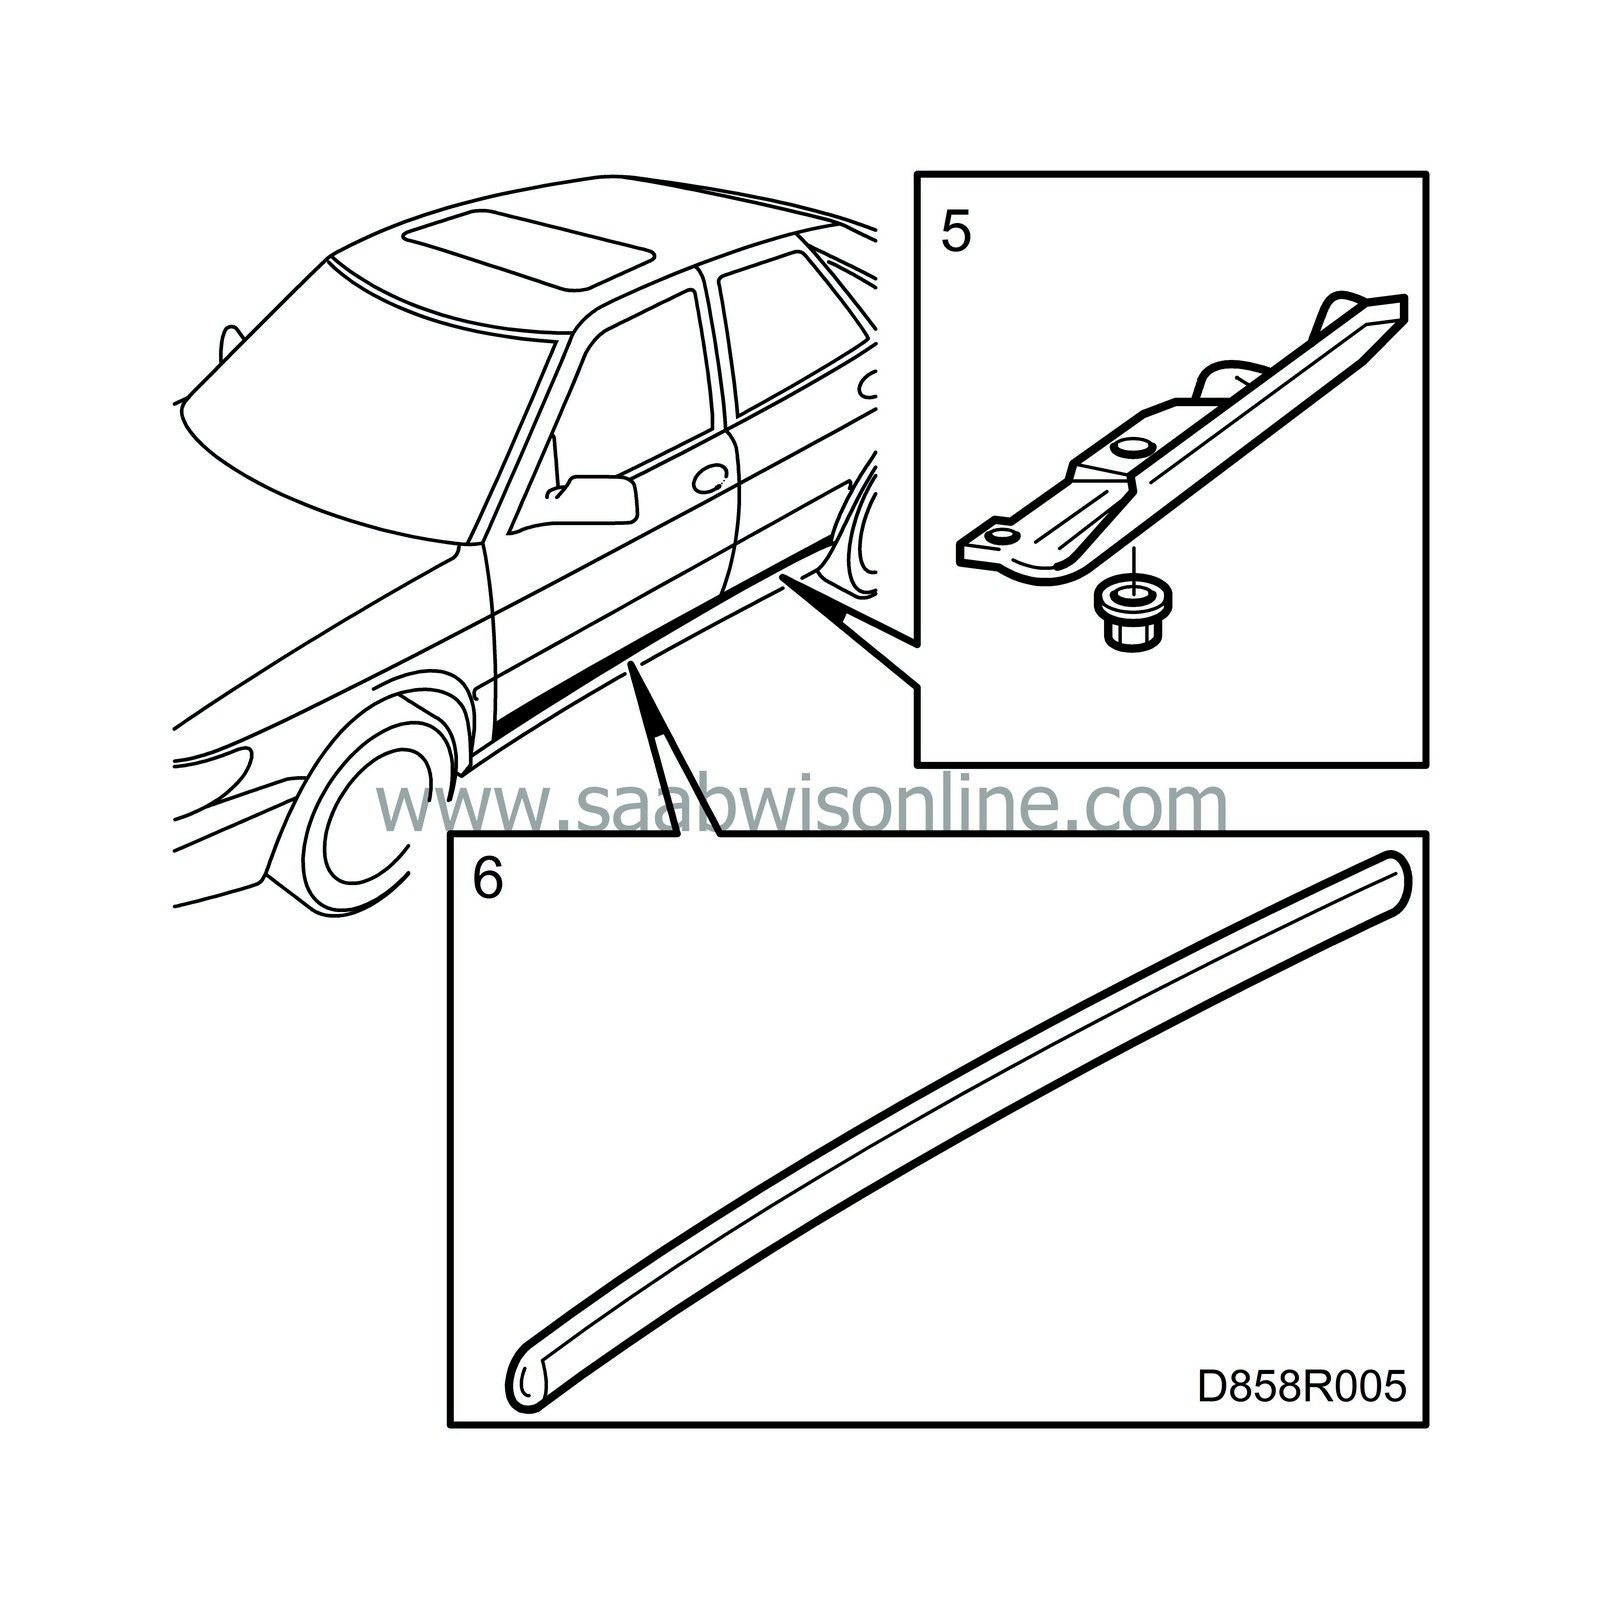
Remove the sill scuff plate.

|
|
| 2. |
Remove the plastic nuts securing the rear sill scuff plate.
|
|
| 3. |
Loosen the scuff plate from the weld screws and remove it.
|
|
| 4. |
Heat with a hot-air gun so that the double-sided tape releases and remove the trim moulding.

|
|
| 5. |
Warm up the stone damage tape with the hot-air gun.
|
|
| 6. |
Pull off the tape.
|
|
| Fitting |

| Important | ||
|
In order to achieve the best result, it is important to keep the stone damage tape and body clean during the work. |
||
| 1. |
Clean the paintwork with benzene or similar.
|
|
| 2. |
Remove the protective film from the tape and spray water on the back of the tape.
|
|
| 3. |
Fit the tape as follows:
|
|
| • |
Fit the tape in position starting at the lower front corner. Then follow along the edge of the wheel housing, working upwards.
|
| • |
Press out the water lengthwise towards the corners. Make sure that all air bubbles are removed. Use a rubber spatula or similar.
|
||||||||||
| 4. |
Fit the trim moulding as follows:
|
|
| • |
Remove the old double-sided tape.
|
| • |
Thoroughly clean the decorative moulding and body.
|
| • |
Fit new double-sided tape on the trim moulding.
|
| • |
Press the trim moulding into the plastic bushings in the body.
|
| 5. |
Refit the sill scuff plate by fitting it under the front scuff plate and then fit it over the weld screws. Fit the plastic nuts by pressing them into position.

|
|
| 6. |
Refit the sill scuff plate.
|
|


