Checking crankshaft clearances
|
|
Checking crankshaft clearances
|
|
1.
|
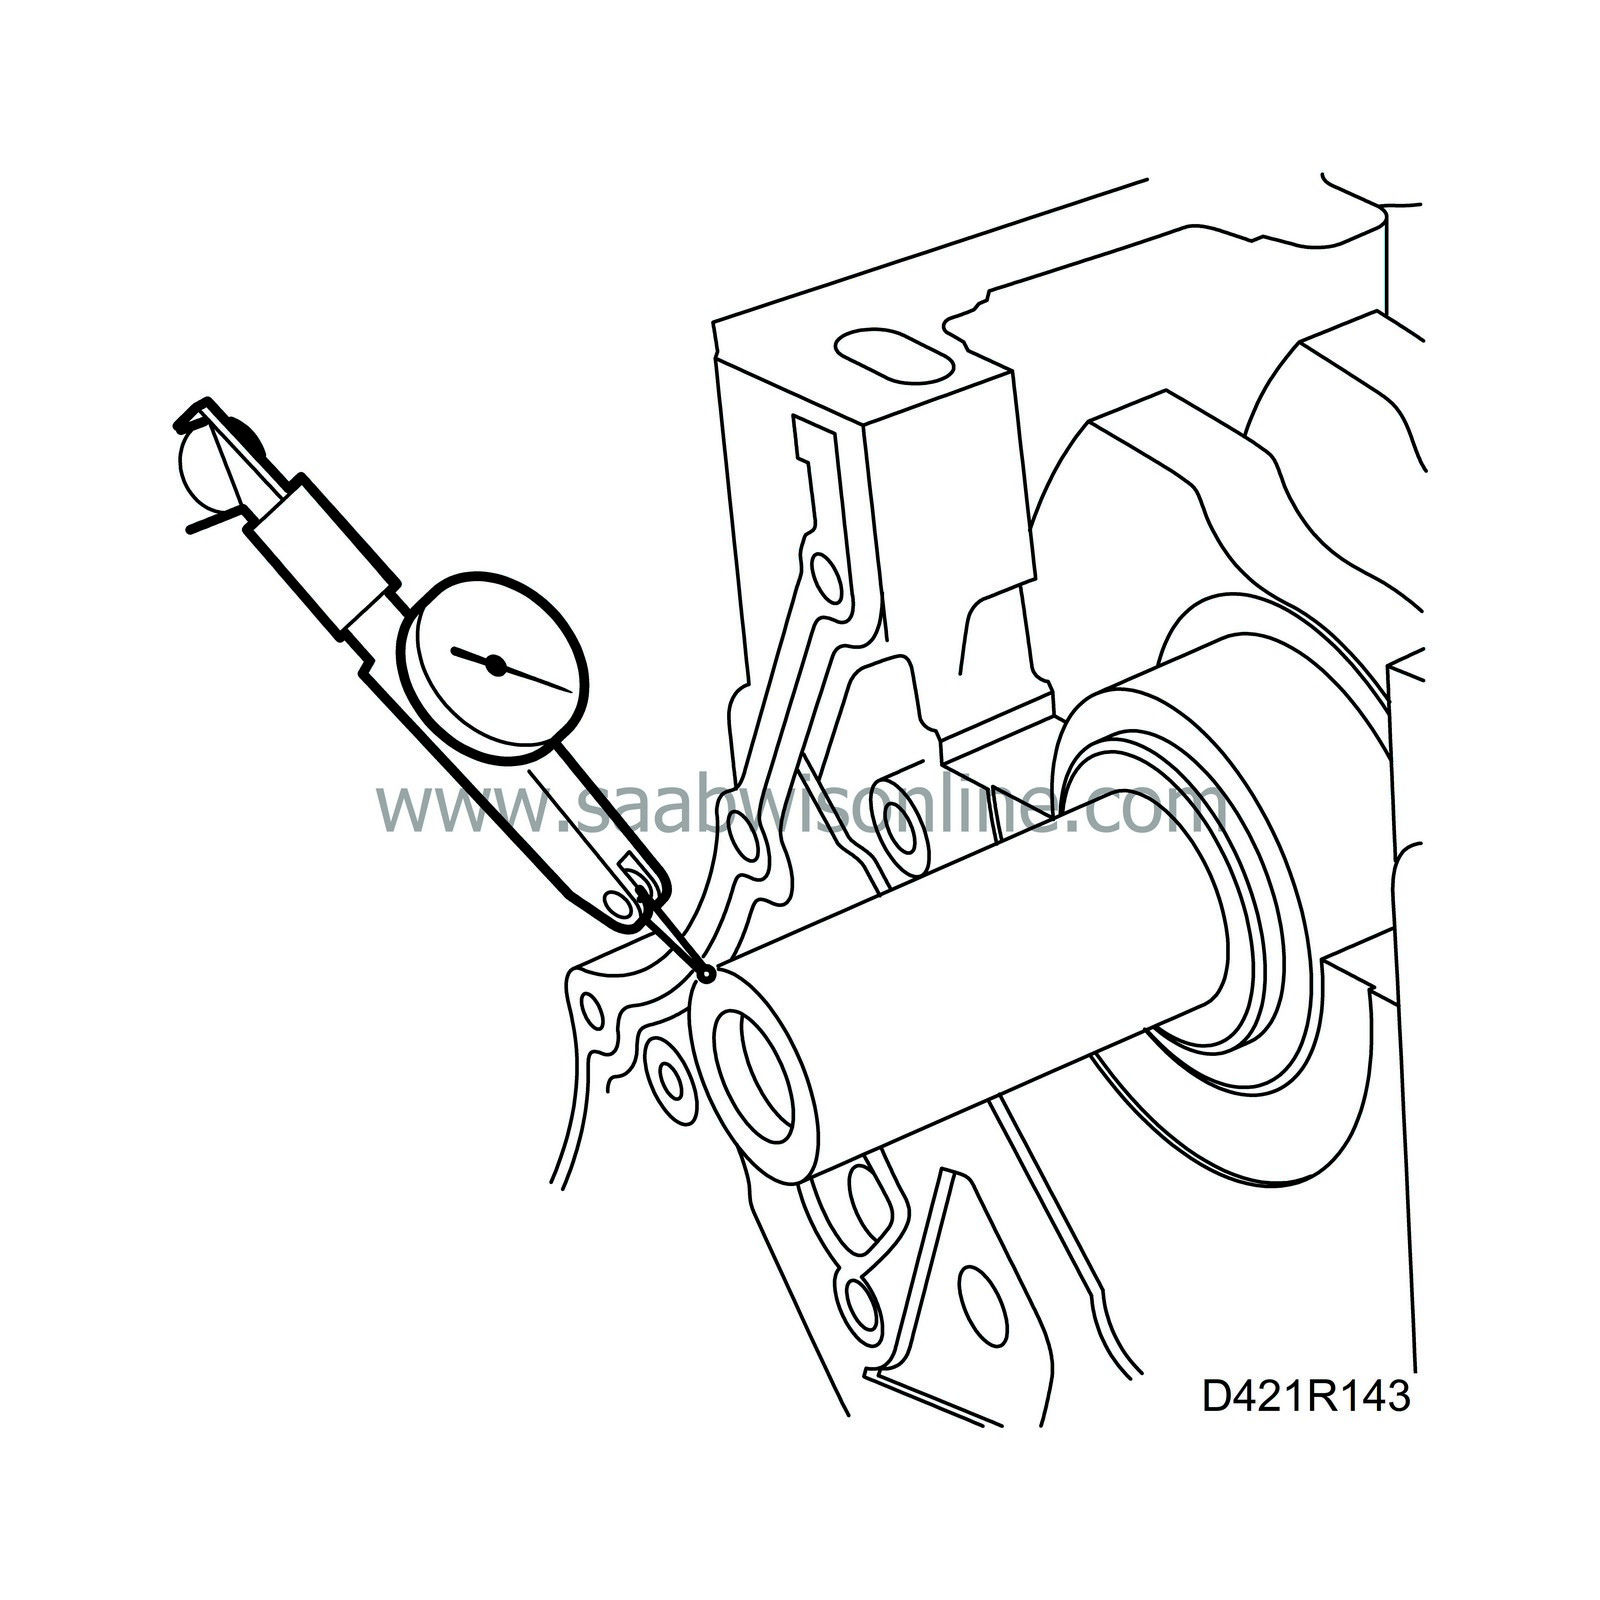
Place dial indicator 87 92 194 with stand 87 90 727 on the cylinder block with the indicator feeler pin against one end of the crankshaft.
|
|
2.
|
Move the crankshaft axially and measure the play.
|
|
3.
|
Compare the reading with the specifications, see

|
|
4.
|
Remove the dial indicator.
|
|
1.
|
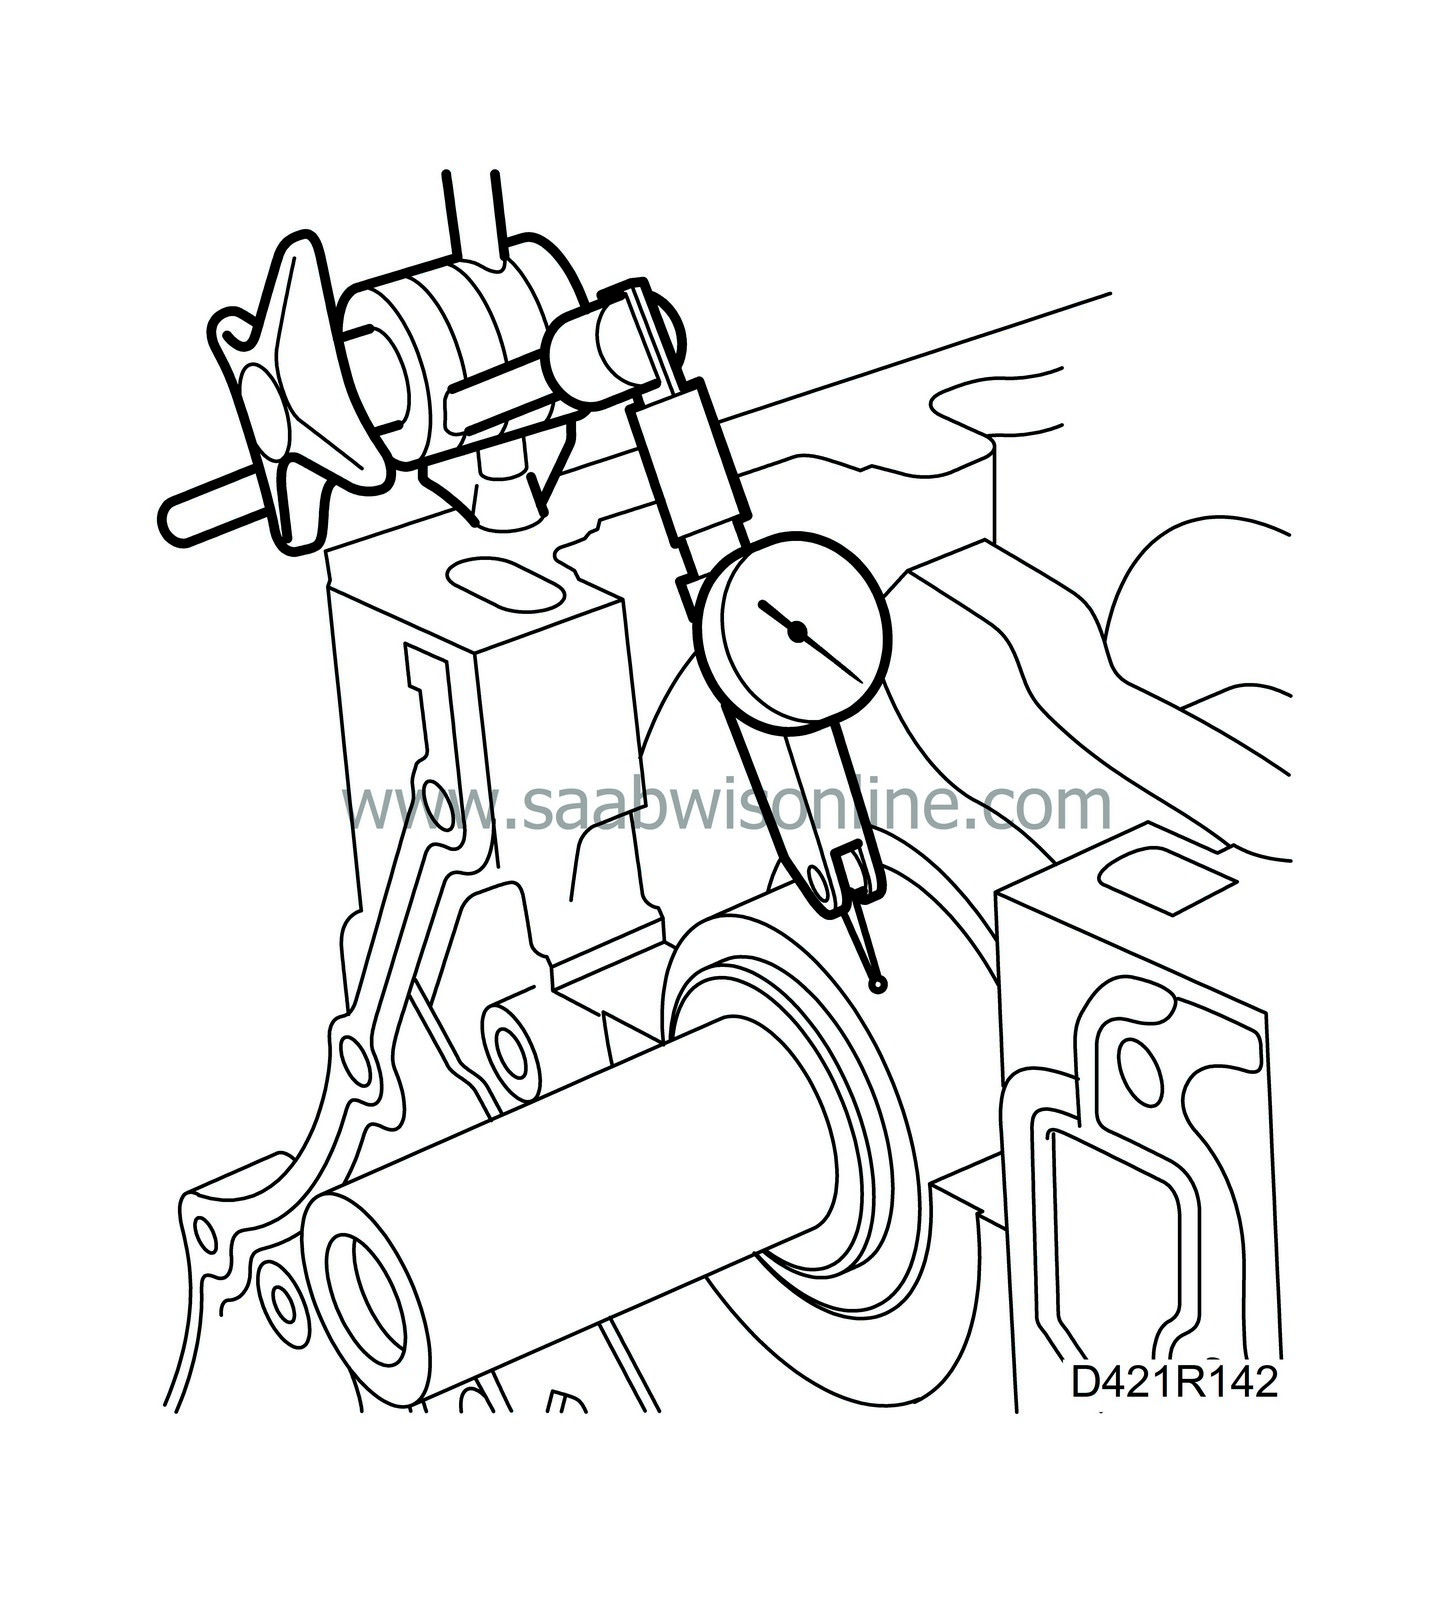
Place dial indicator 87 92 194 with stand 87 90 727 on the cylinder block with the indicator feeler pin against a main bearing journal.
|
|
2.
|
Hold up the balancer shaft chain and rotate the crankshaft at an even speed.
|
|
3.
|
Compare the reading with the specifications, see

|
|
4.
|
Remove the dial indicator.
|

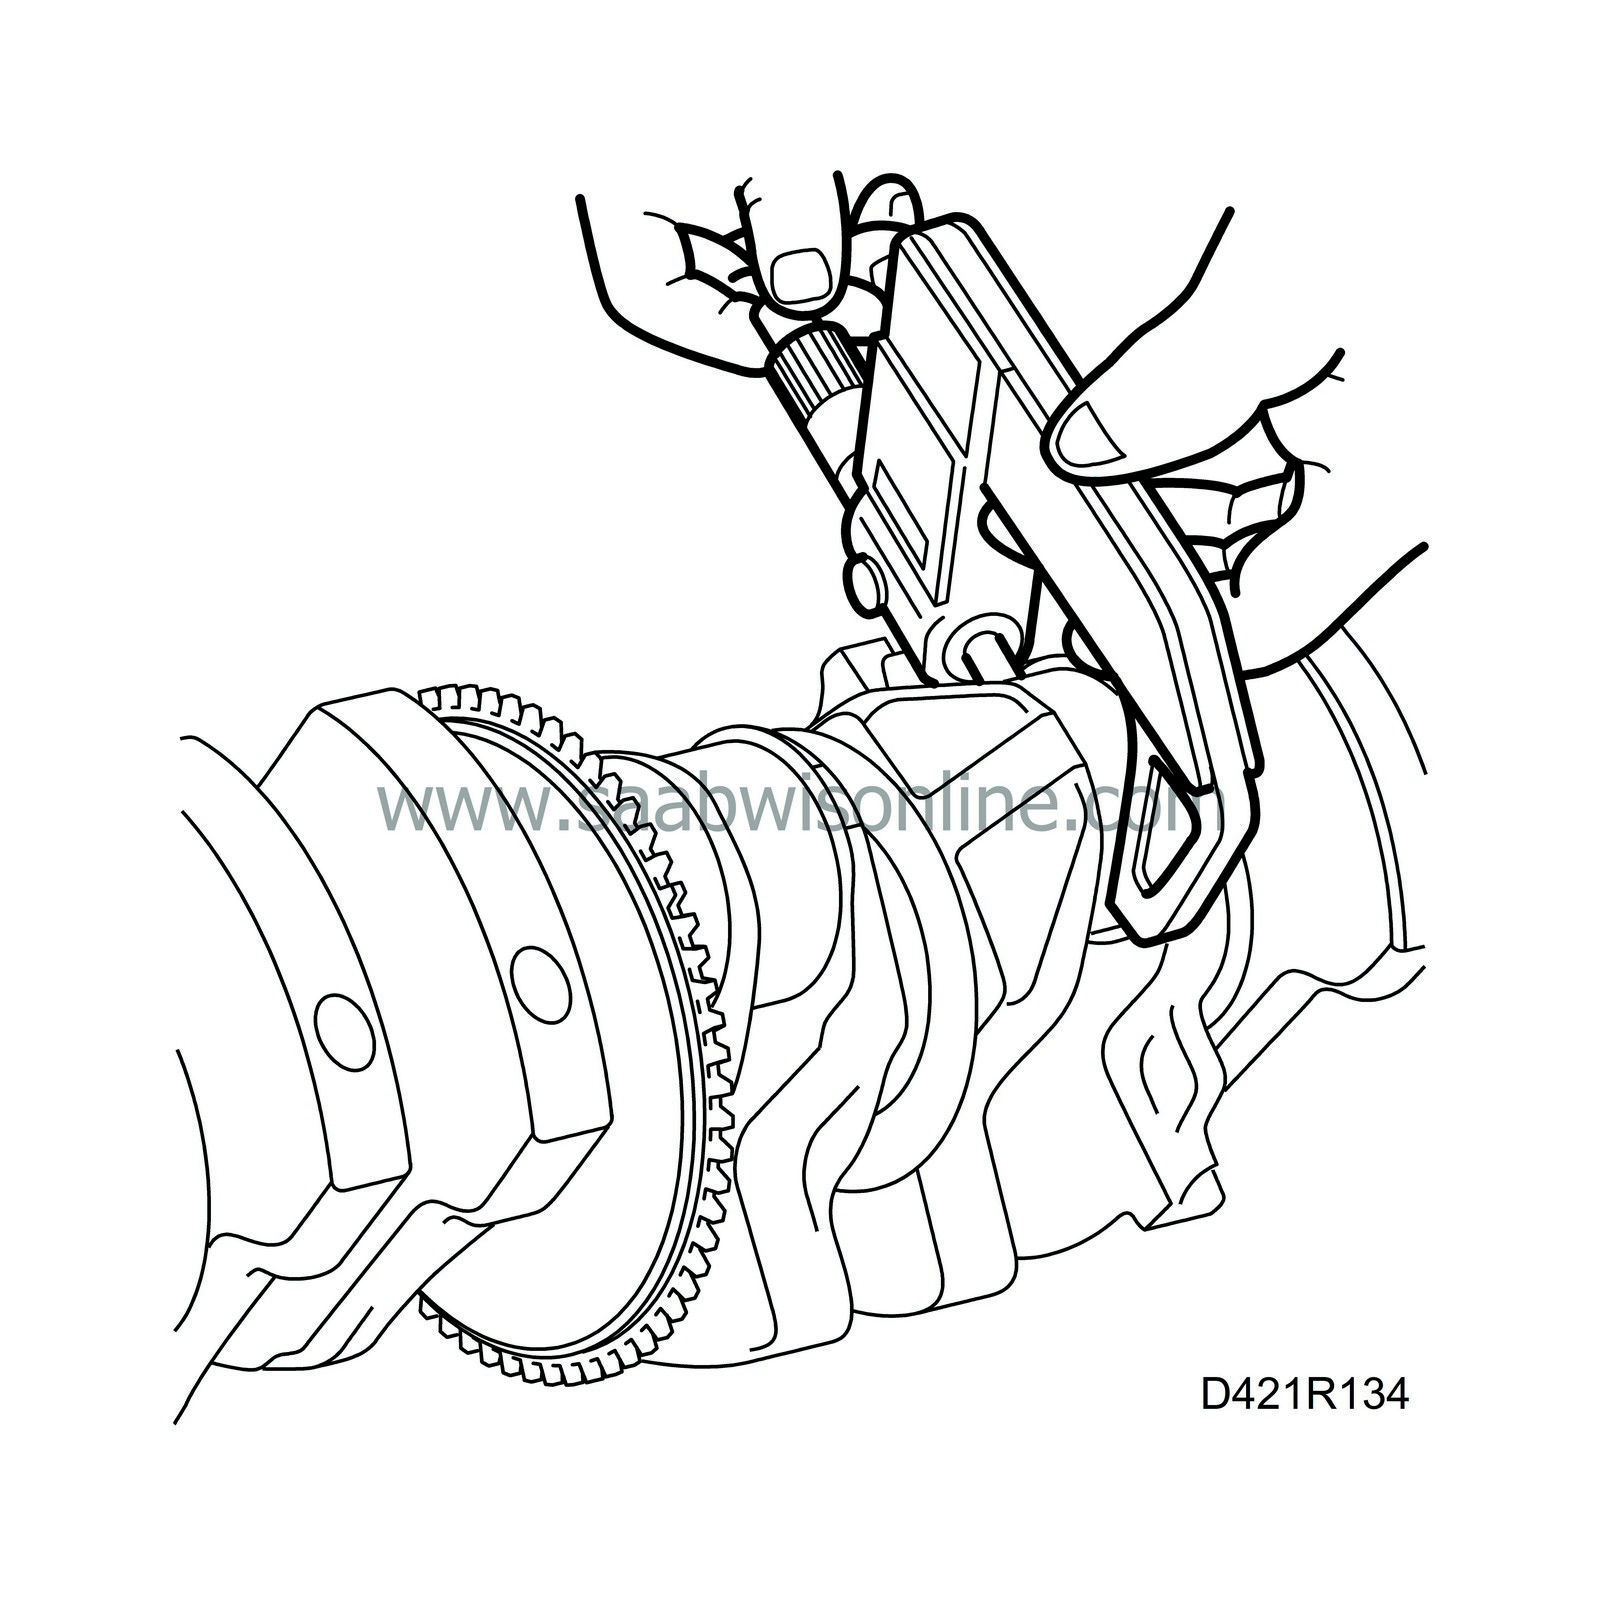
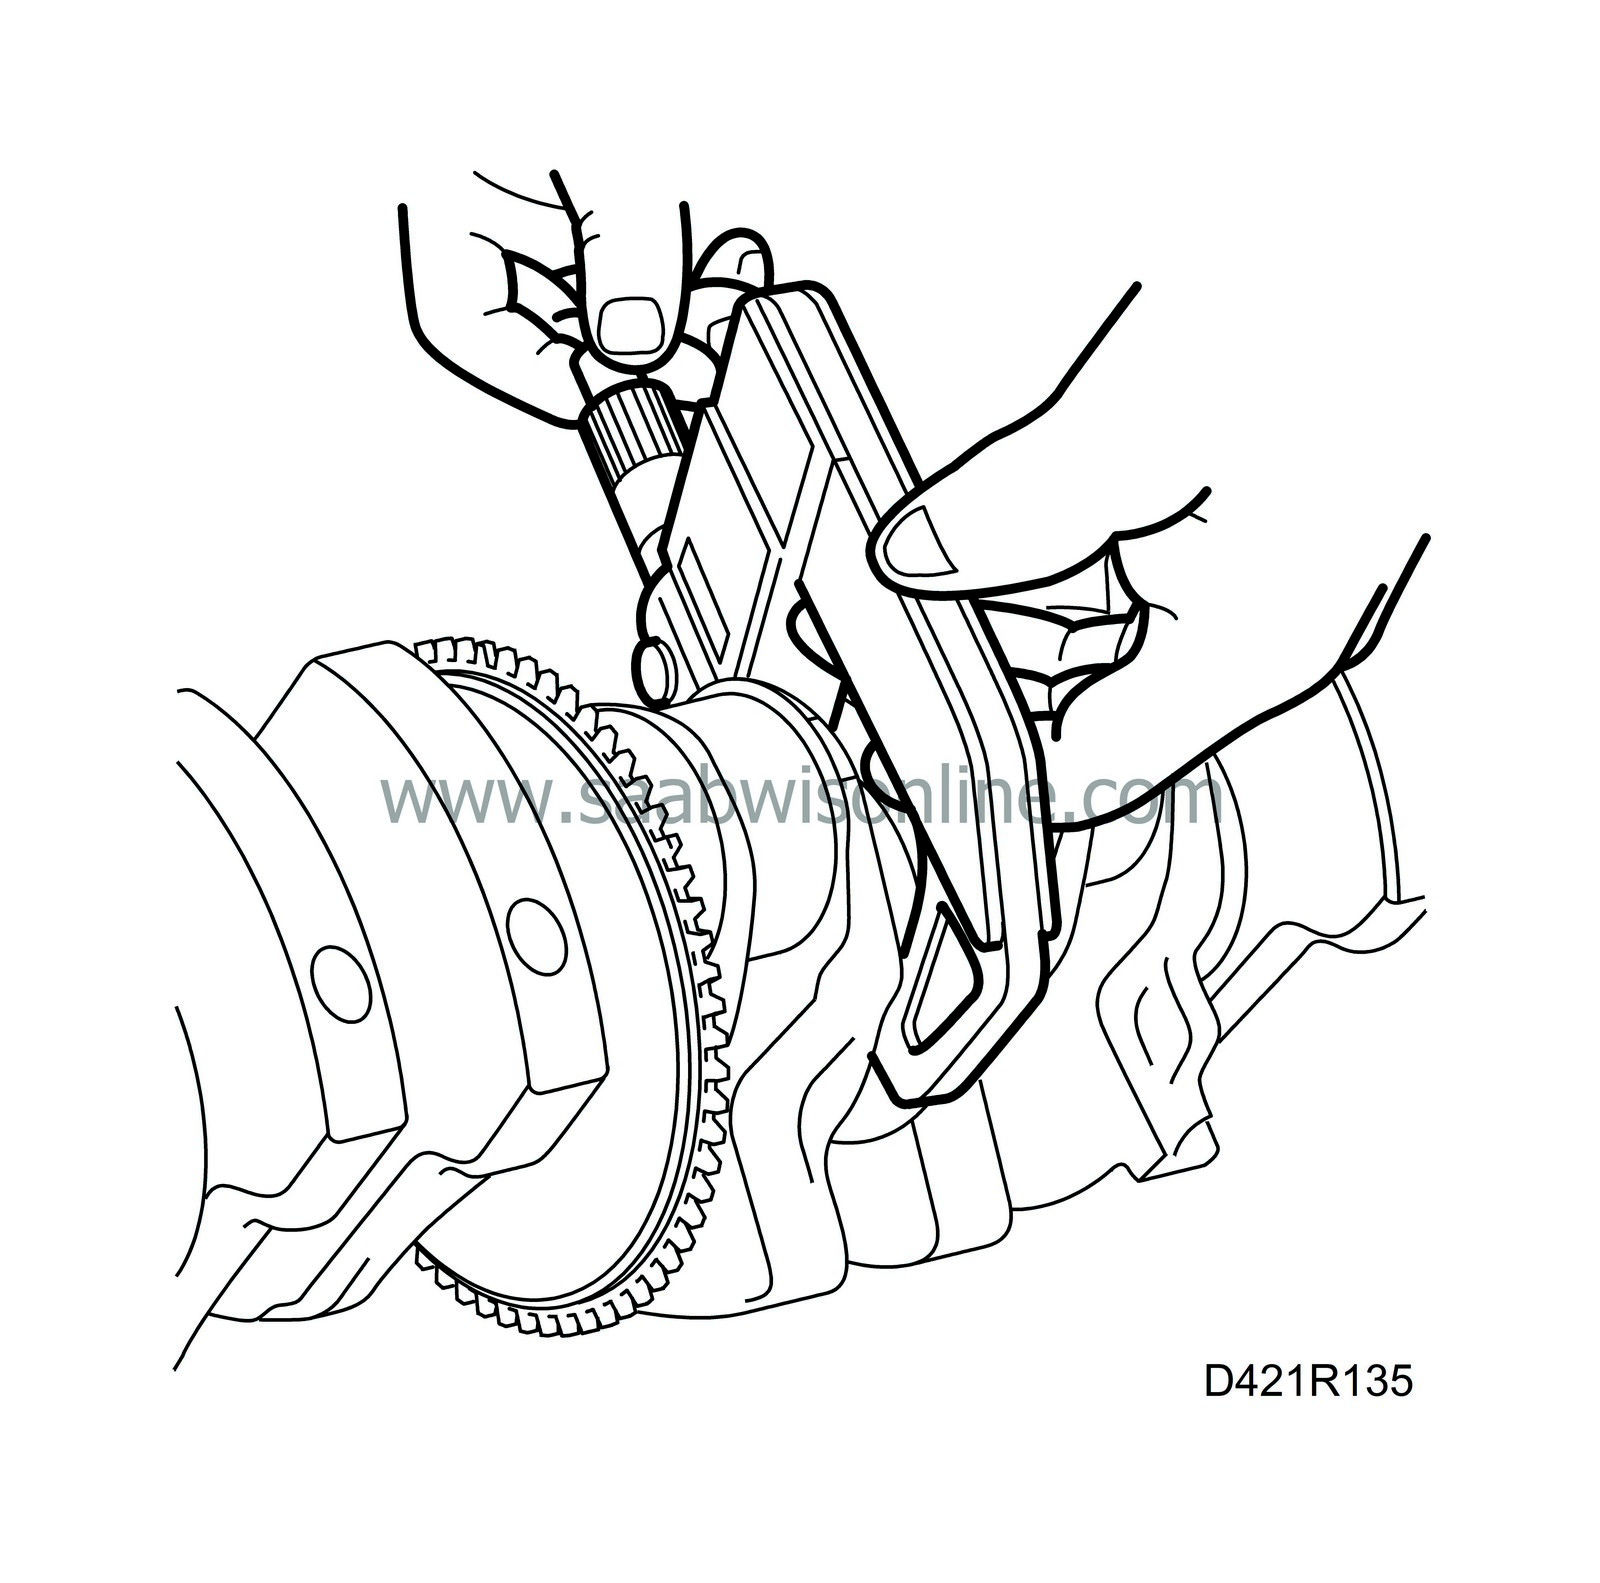
Clean the crankshaft and measure its journals with a micrometer. This should be done at several points around the circumference. Main journal eccentricity must not exceed 0.03 mm. If the reading is close to or above the specified wear, the crankshaft should be reground to a specified undersize, see
 .
.

|
1.
|
Clean the crankshaft and measure its journals with a micrometer. This should be done at several points around the circumference.
|
|
2.
|
Calculate a mean value for the journal.
|
|
3.
|
Clean the connecting rod and its cap and assemble them.
Tightening torque: 35 Nm (26 lbf ft) + 45°.
|
|
4.
|
Measure the hole with a micrometer. This should be performed at several points around the circumference.
|
|
5.
|
Calculate a mean value for the connecting rod.
|
|
6.
|
Subtract the mean value for the journal from the mean value for the connecting rod and its caps. The result is the mean clearance between the connecting rod and the crankshaft.
|
|
7.
|
Compare the reading with the specifications, see

|

|
1.
|
Clean the crankshaft and measure its journals with a micrometer. This should be done at several points around the circumference.
|
|
2.
|
Calculate a mean value for the journal.
|
|
3.
|
Clean the cylinder block and main bearing cap and assemble them.
Tightening torque: 90 Nm (66.5 lbf ft) + 60°.
|
|
4.
|
Measure the hole with a micrometer. This should be performed at several points around the circumference.
|
|
5.
|
Calculate a mean value for the main bearing.
|
|
6.
|
Subtract the mean value for the journal from the mean value for the main bearing and its cap. The result is the mean clearance between the main bearing and the crankshaft.
|
|
7.
|
Compare the reading with the specifications, see

|


 .
.
