The plastic holder for the headlining to the third bow comes undone and the headlining sags.
Symptom: The plastic holder for the headlining to the third bow comes undone and the headlining sags.
| The plastic holder for the headlining to the third bow comes undone and the headlining sags. |
Fault symptoms
The plastic holder for the headlining to the third bow comes undone and the headlining sags.| Procedure |
Use 51 16 934 Screw (2 pcs.)
51 16 819 Clips (2 pcs.)
82 93 250 Drill template
| 1. |
Manoeuvre the soft top to the half open position and position the soft top support, special tool 82 93 144, so that the soft top does not fall down when the hydraulic pressure is released

|
|
| 2. |
Remove the screw securing the headlining to the rear, upper rail.
|
|
| 3. |
Place the plastic holder exactly in the middle of the third bow. Use a piece of double-sided tape (approx. 100 mm) on each end of the plastic holder and attach it to the third bow.

|
|
| • |
• Measure the distance between the edge of the plastic holder and the inside of the rear rail. The distance must be the same on both sides.
|
||||||||||
| • |
• Place the drill template on the third bow. Adjust the template so that the inner angle abuts the edge of the plastic holder. Tighten the screws (2 pcs. M6x16).
|
| 4. |
Drill a 3.5 mm hole using the template guide holes. Drill through the plastic holder but not through both sides of the pipe on the third bow. Note Do not drill through both sides of the third bow pipe since this may cause damage to the outer fabric and headlining.
|
|
| 5. |
Vacuum clean the cuttings from the top of the headlining and any cuttings that have fallen onto the seats and in the soft top. Remove the drill template.
|
|
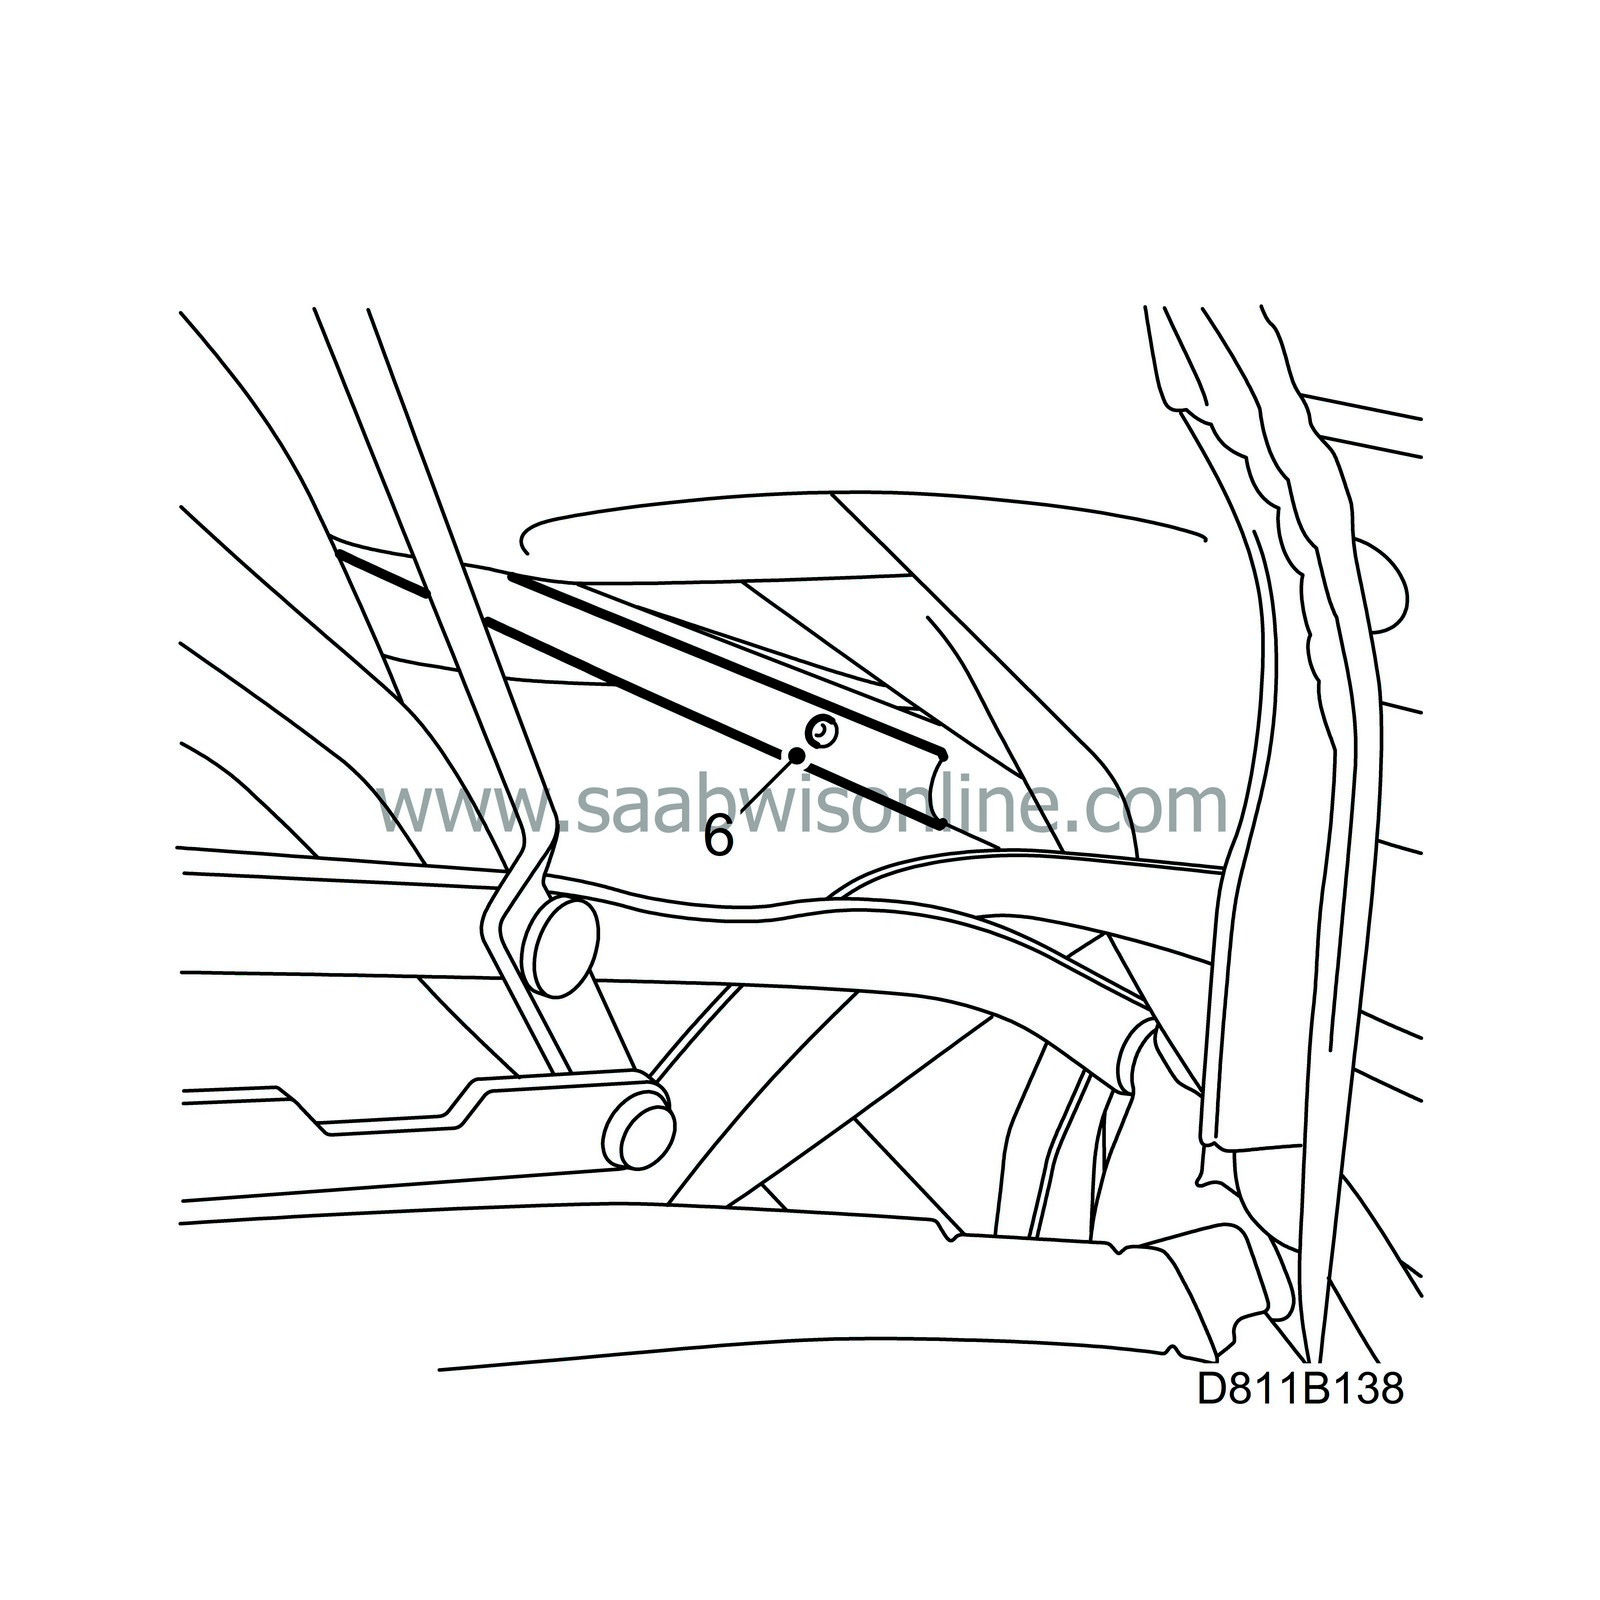
| 6. |
Fit screw 51 16 934 in the drilled hole in the third bow.

|
|
| 7. |
Fit the screw securing the headlining to the rear rail.

|
|
| 8. |
Repeat steps 2 to 7 on the other side of the car.
|
|
| 9. |
Manoeuvre the soft top through a few complete cycles and check the results. Headlining sags at the rear rail.
|
|
| 10. |
Manoeuvre the fifth bow to the half open position.
|
|
| 11. |
Check that there is a wide clip (25 mm, black) by the lower part of the rear rail. This clip should secure the headlining to the rear rail. If there is a small clip (13 mm yellow) on the rail, change it to the wider clip, part no. 51 16 819.
|
|
| 12. |
Stretch the elastic band that stretches from the rear window to the rear rail with a cable tie to the rear window guide. Fasten the cable tie near the lower ball mounting of the rear window guide.
|
|
| 13. |
Repeat steps 11 and 12 on the other side of the car.
|
|


