Pressure testing the charge air cooler and delivery pipe
|
|
Pressure testing the charge air cooler and delivery pipe
|
|
1.
|
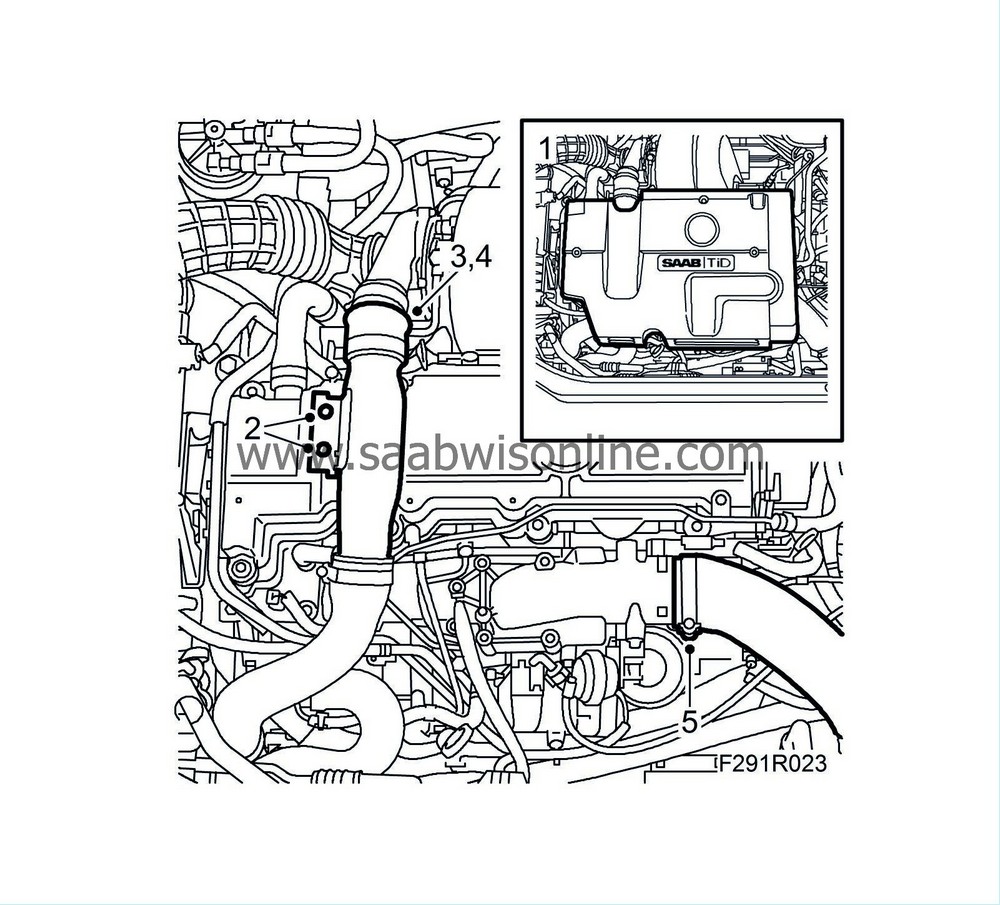
Remove the upper engine cover.

|
|
2.
|
Remove the bolts securing the charge air cooler pipe to the camshaft cover.
|
|
3.
|
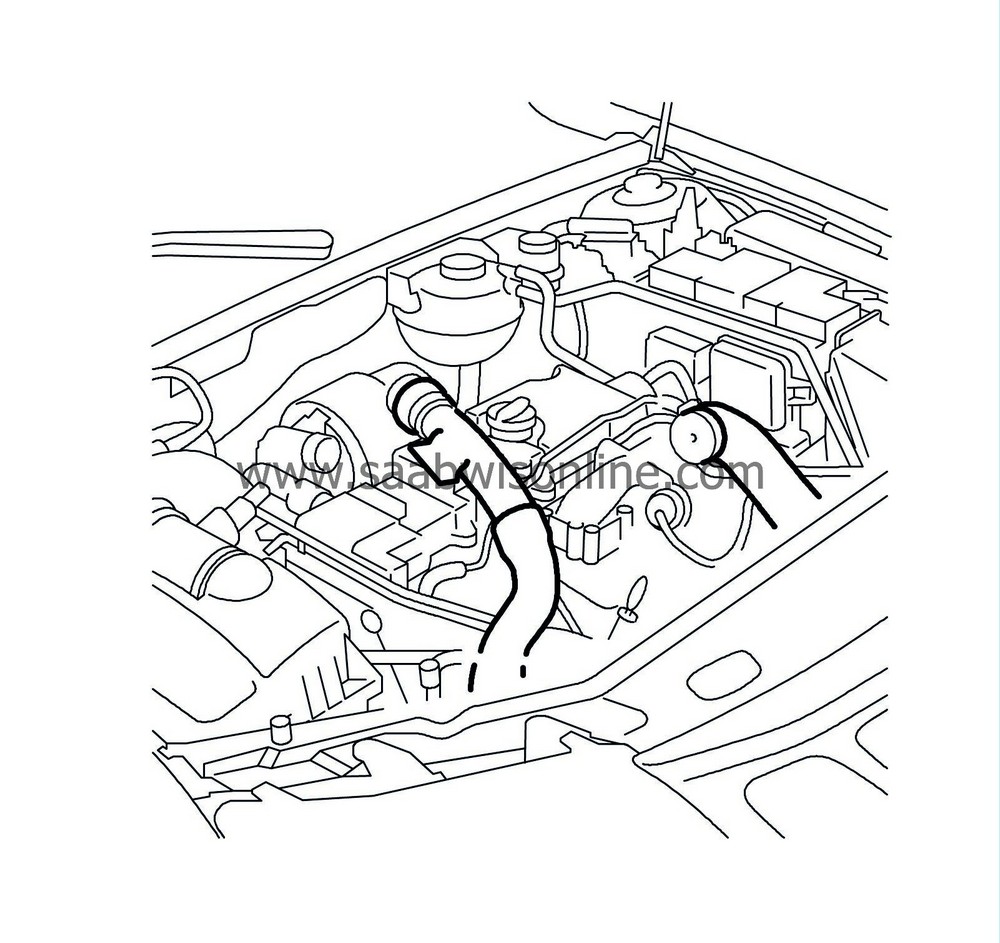
Remove the hose clip from the charge air pipe and lift the pipe slightly.
|
|
5.
|
Disconnect the charge air hose from the throttle body.
|
|
8.
|
Connect compressed air to the T-coupling on the pressure gauge.
|
|
9.
|
Carefully create an over pressure of 1 bar.
|
|
10.
|
Make sure that the pressure does not drop by more than 0.1 bar in 30 seconds. If the pressure drop is greater than this or if there is an audible hissing sound, check hoses, pipes and connections for leaks. Use soapy water or similar to find any leaks.
|
|
11.
|
If there is a leak but the hoses and pipes are tight, pressure test the charge air cooler once removed.
|
|
Important
|
|
Exercise great care when pressurising the charge air system. Too high pressure can damage the radiator, hoses and connections.
|
|
|
|
1.
|
Release the pressure and remove the boost pressure gauge.
|
|
2.
|
Remove the plugs from the charge air pipe hoses.
|
Important
|
|
To reduce the risk of hoses mounted on the delivery side of the turbocharger coming loose due to low friction at high air pressure, the hoses and connecting pieces must be cleaned thoroughly before fitting. Use a rag dampened with 93 160 907 Motip Dupli cleaning agent to wipe clean inside the ends of the hoses. Clean the connecting pieces as well. If hose clips are rusty or damaged, they must be replaced so the correct clamping force is maintained.
|
|
|
|
|
3.
|
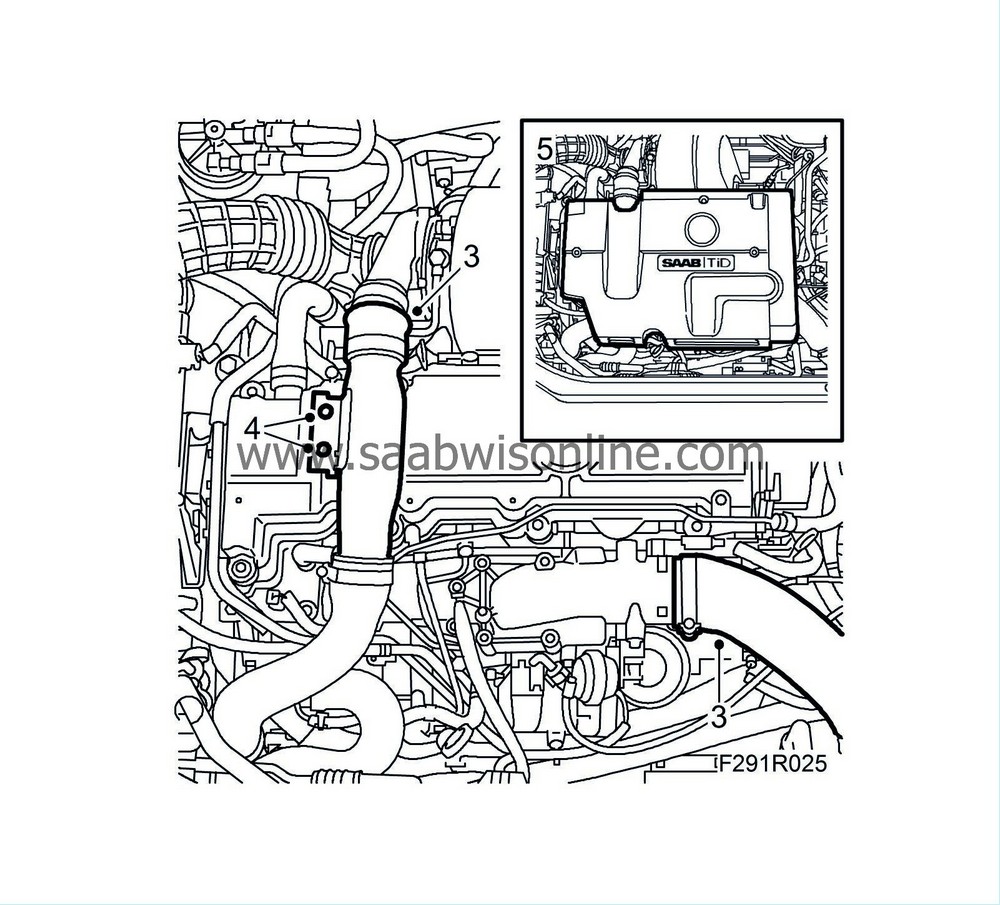
Connect the hoses to the turbocharger and throttle body and tighten the hose clips.

|
|
4.
|
Fit the bolts securing the charge air pipe to the camshaft cover.
|
|
5.
|
Replace the upper engine cover.
|


