Upper radiator crossmember
| Upper radiator crossmember |
| To remove |
| 1. |
Remove the battery cover. Remove the battery air duct. Pull up the washer fluid filling pipe.
|
|
| 2. |
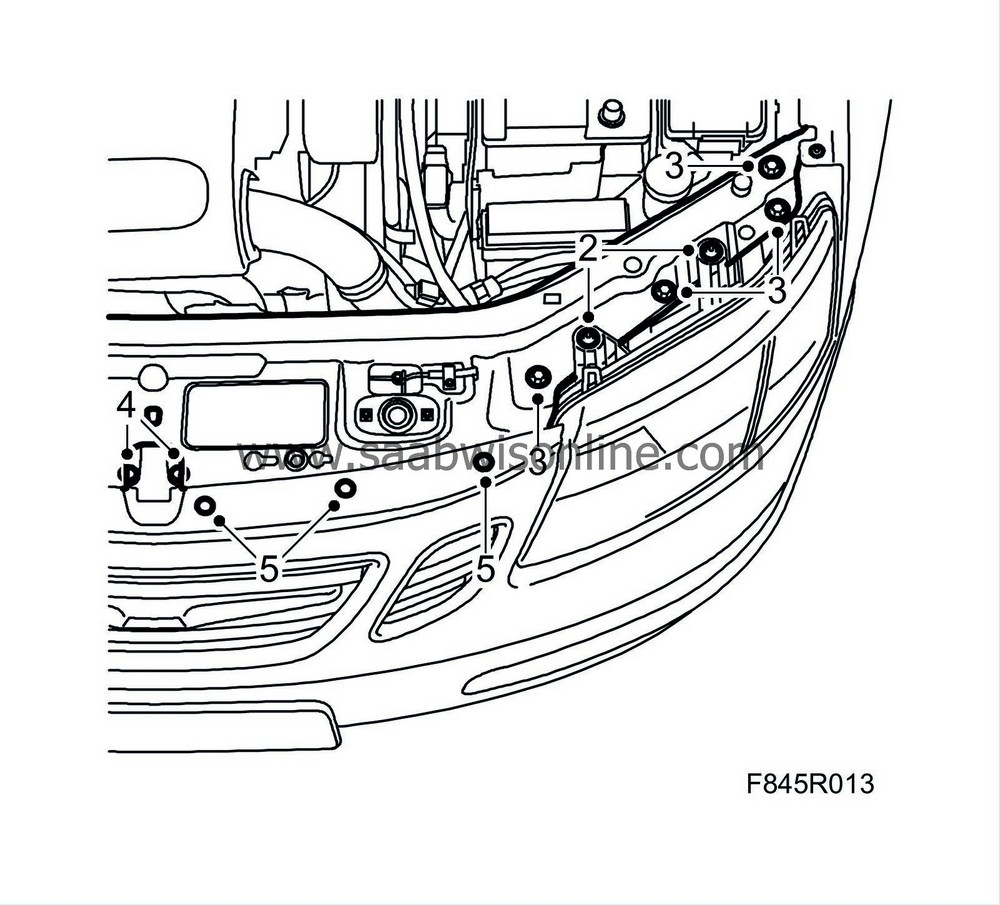
Remove the upper bolts securing the headlights.
|
|
| 3. |
Remove the bolts securing the member to the headlight frame.
|
|
| 4. |
Remove the bolts securing the centre stay.
D223L : Remove the bracket to the AC pipe. |
|
| 5. |
Remove the plastic rivets securing the bumper shell.
|
|
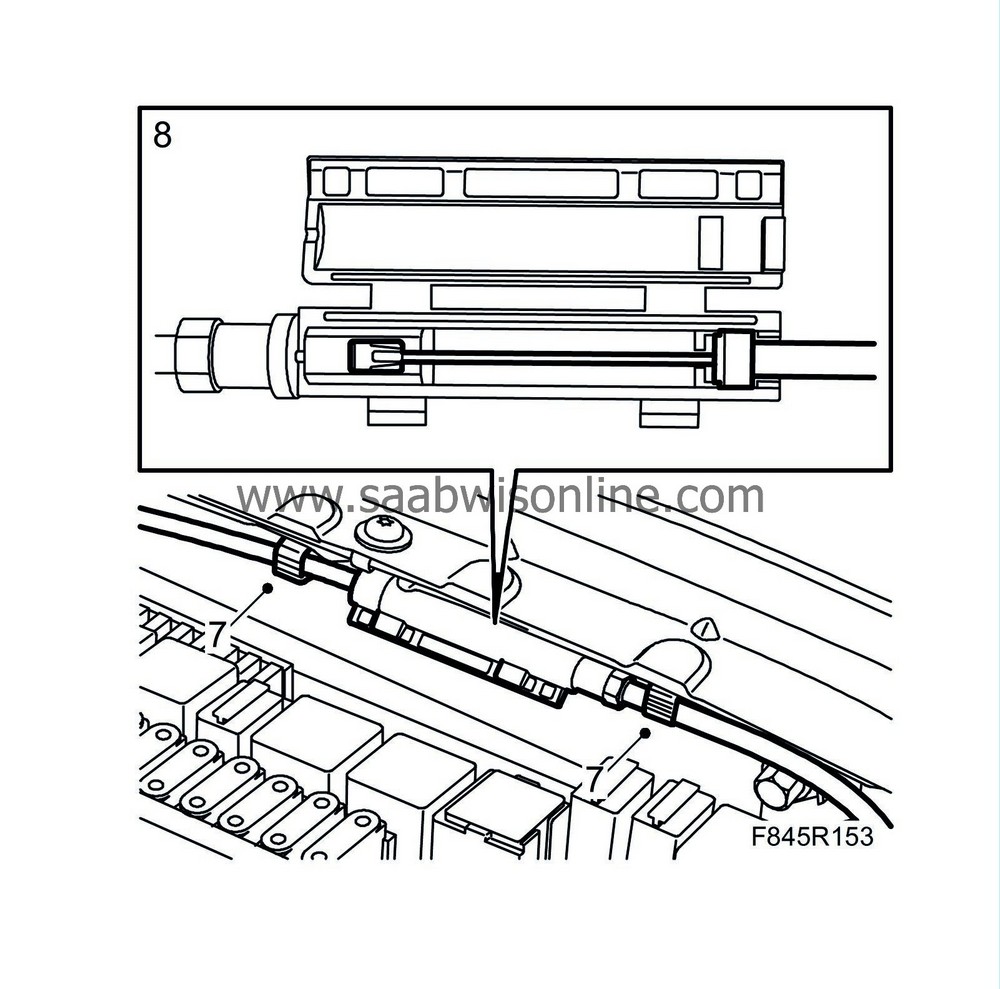
| 7. |
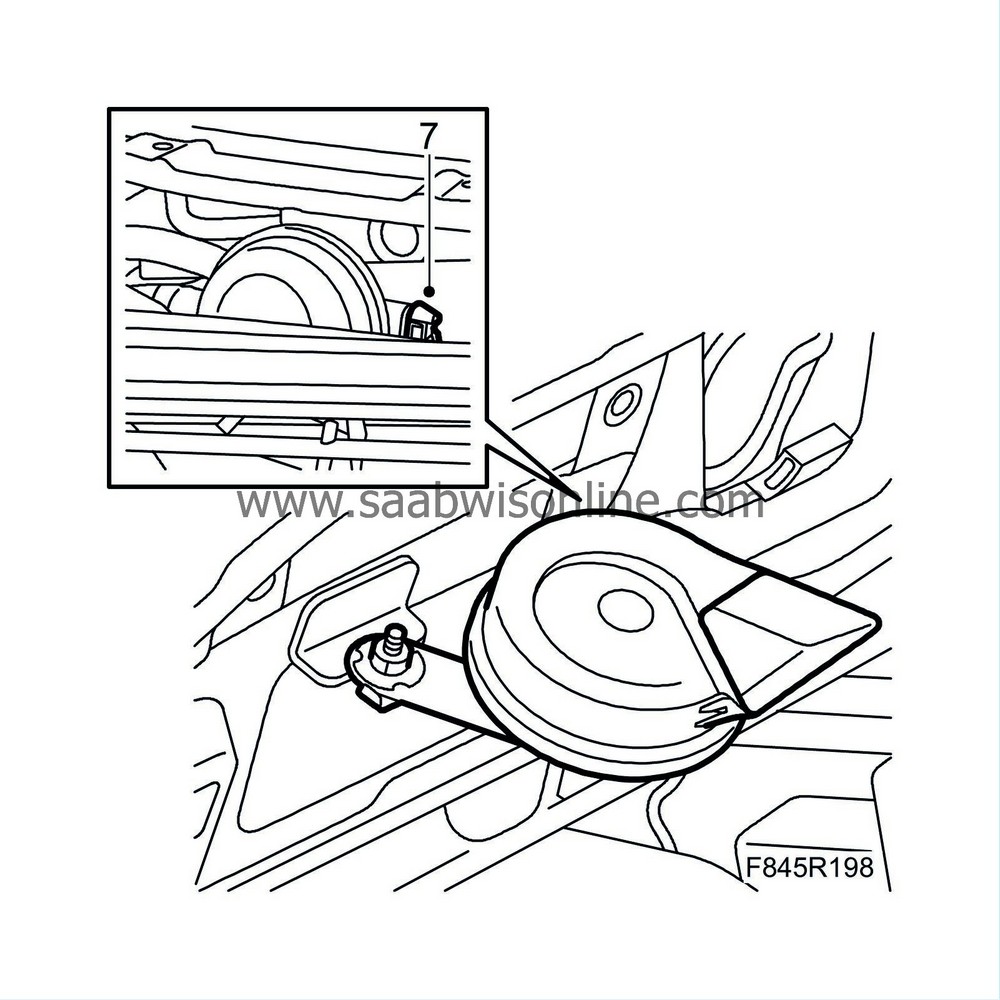
Cars with horn at radiator crossmember
: Disconnect the horn connector by releasing the circlip on the back of the connector.
|
|
| To fit |
| 1. |
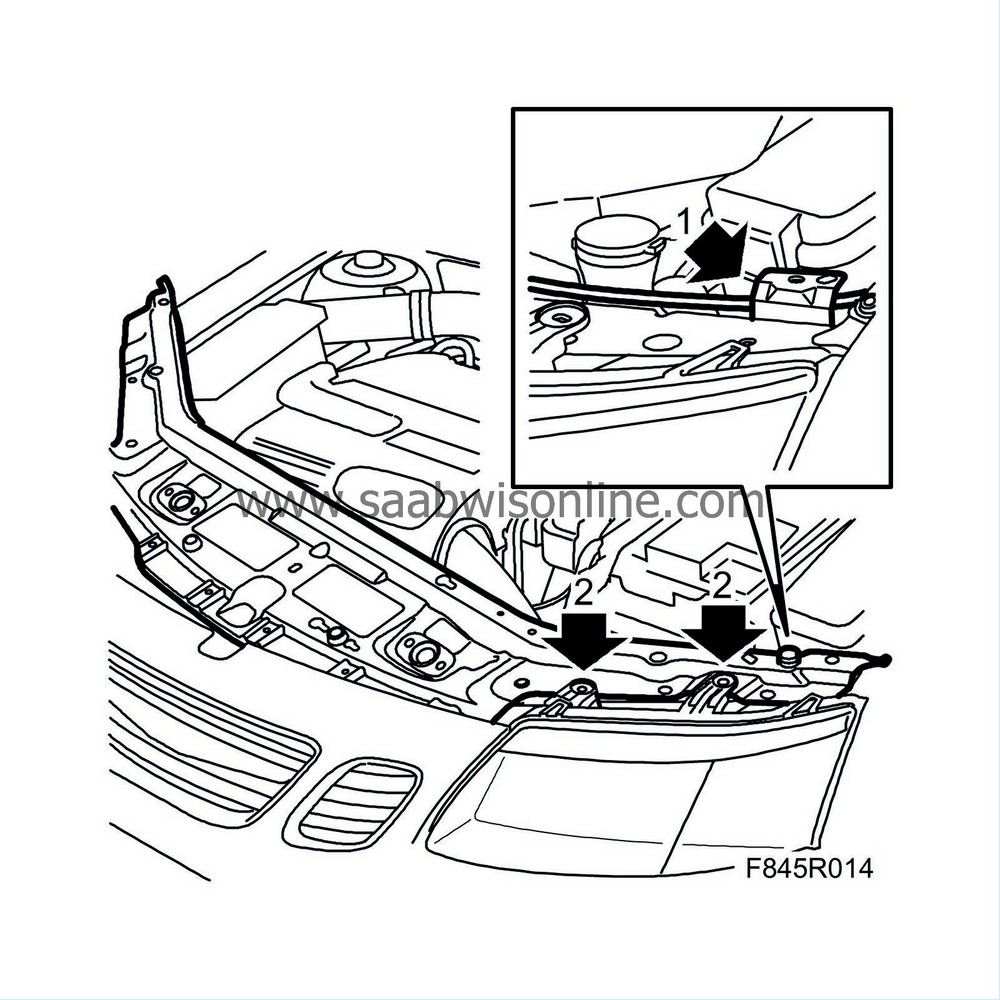
Fit together the bonnet-catch cable coupling and push the clip into place on the body. Locate the catch cable under the fixing.
|
|
| 2. |
Lift in the member starting from the left-hand side. Position the member between the headlight attachment lugs and the headlight frame, and under the bumper shell.
|
|
| 3. |
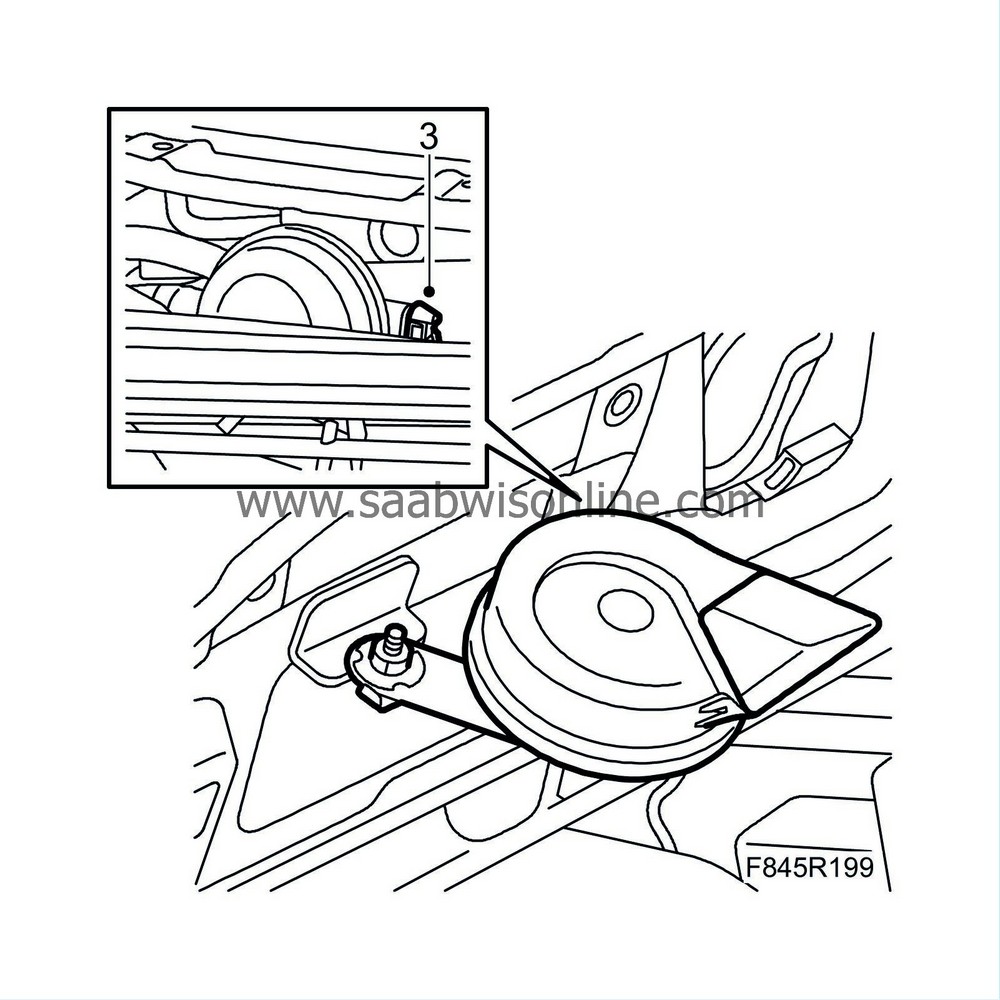
Cars with horn at radiator crossmember
: Fit the horn connector.
|
|
| 4. |
Make sure the centre stay is positioned behind the member. Press in the stay into its correct position.
|
|
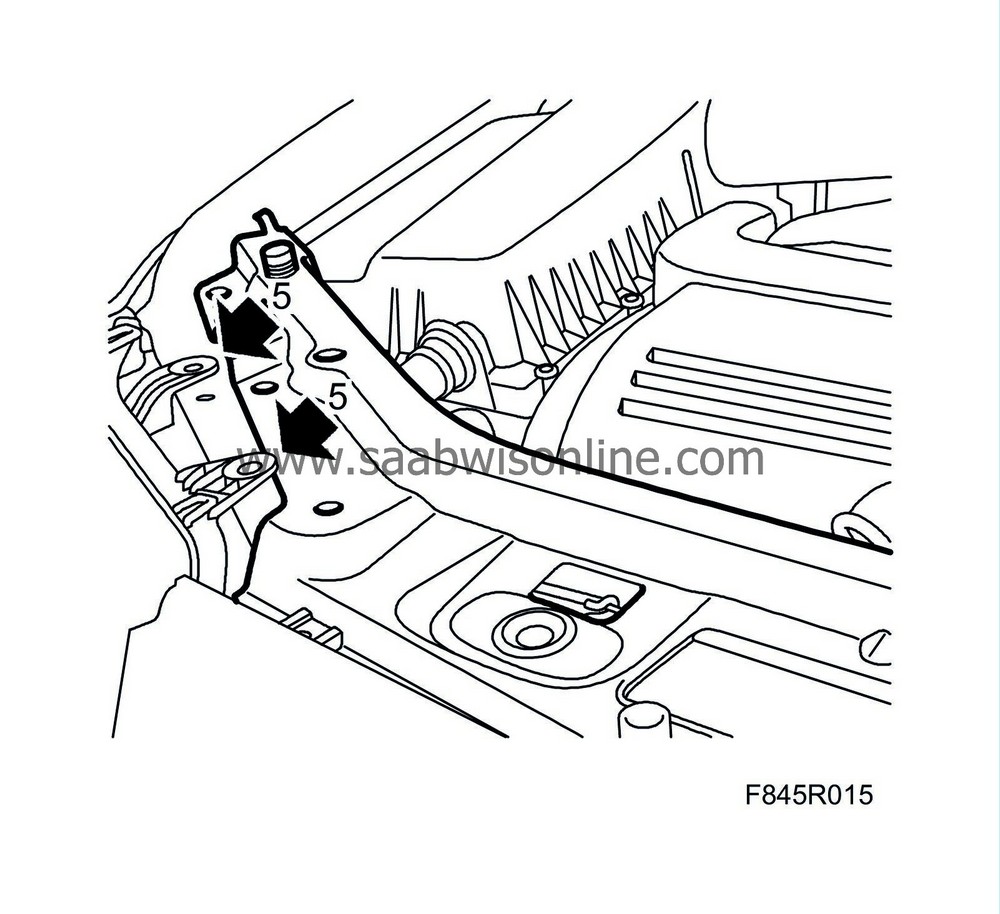
| 5. |
Slide the member forward into position under the right headlight mountings. Lift the headlight mountings slightly.
|
|
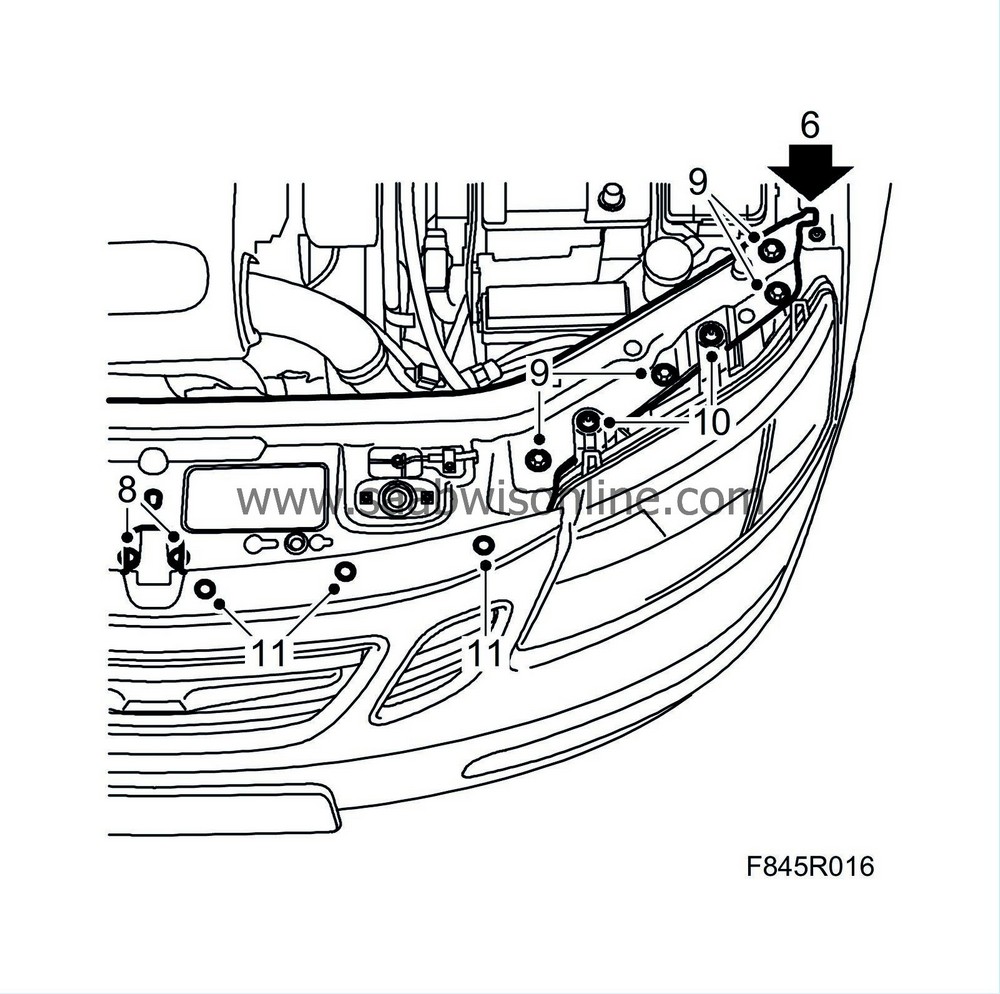
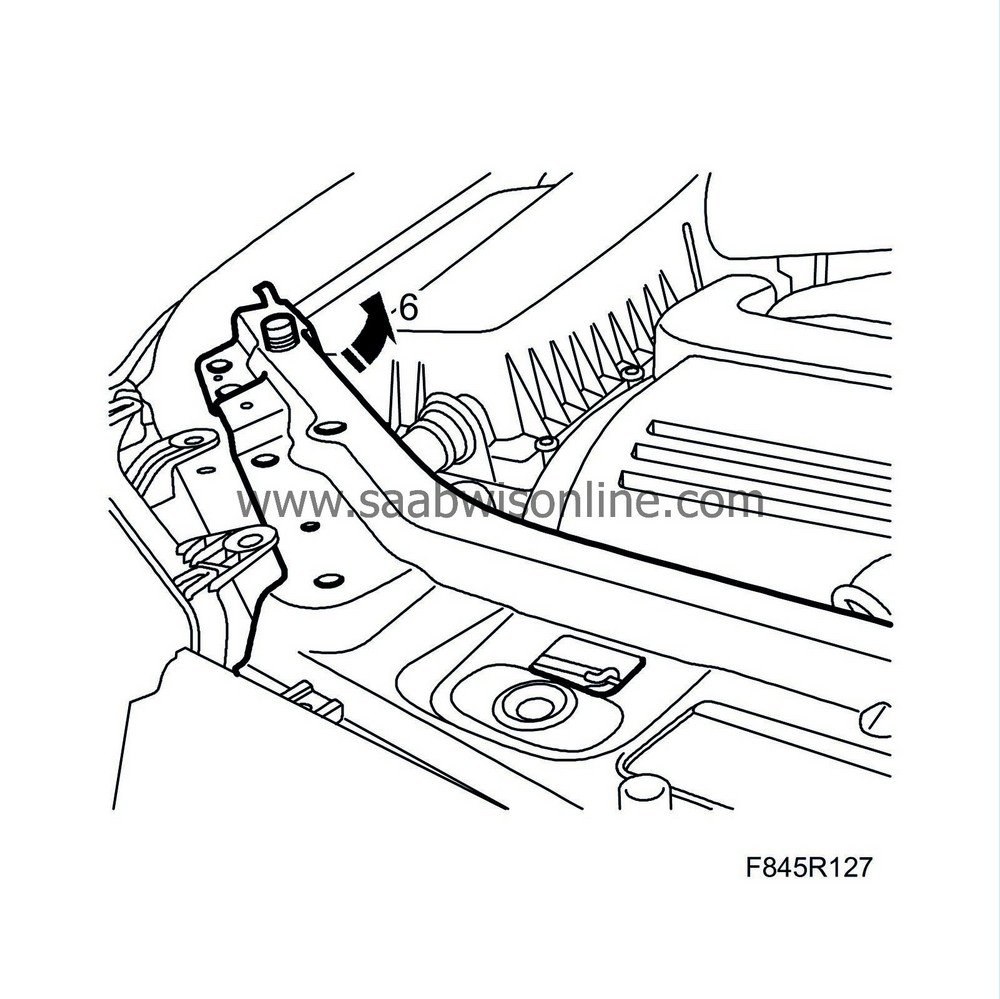
| 6. |
Adjust the position of the member so that the locating lugs are positioned as illustrated.
|
|
| 7. |
Thread all the bolts.
|
|
| 8. |
Tighten the bolts in the centre stay first to ensure a good fit.
|
|
| 9. |
Tighten the bolts securing the member to the headlight frames.
D223L : Fit the bracket to the AC pipe. |
|
| 10. |
Tighten the upper bolts securing the headlights.
|
|
| 11. |
Fit the plastic rivets securing the bumper shell.
|
|
| 12. |
Fit the washer fluid reservoir filling pipe. Fit the battery cover and the air tube.
Check that the bonnet catch is functioning correctly. |
|

 Warning

