A/C compressor, D223L
| A/C compressor, D223L |
| Important | ||
|
The A/C receiver and the compressor oil absorb moisture from the air, which can then not be removed. Plug all connections that are opened immediately. |
||
| To remove |
| 1. |
Put the car on a lift.
|
|
| 2. |
Drain the refrigerant from the car. See
Draining and filling the refrigerant
.
|
|
| 3. |
Raise the car.
|
|
| 4. |
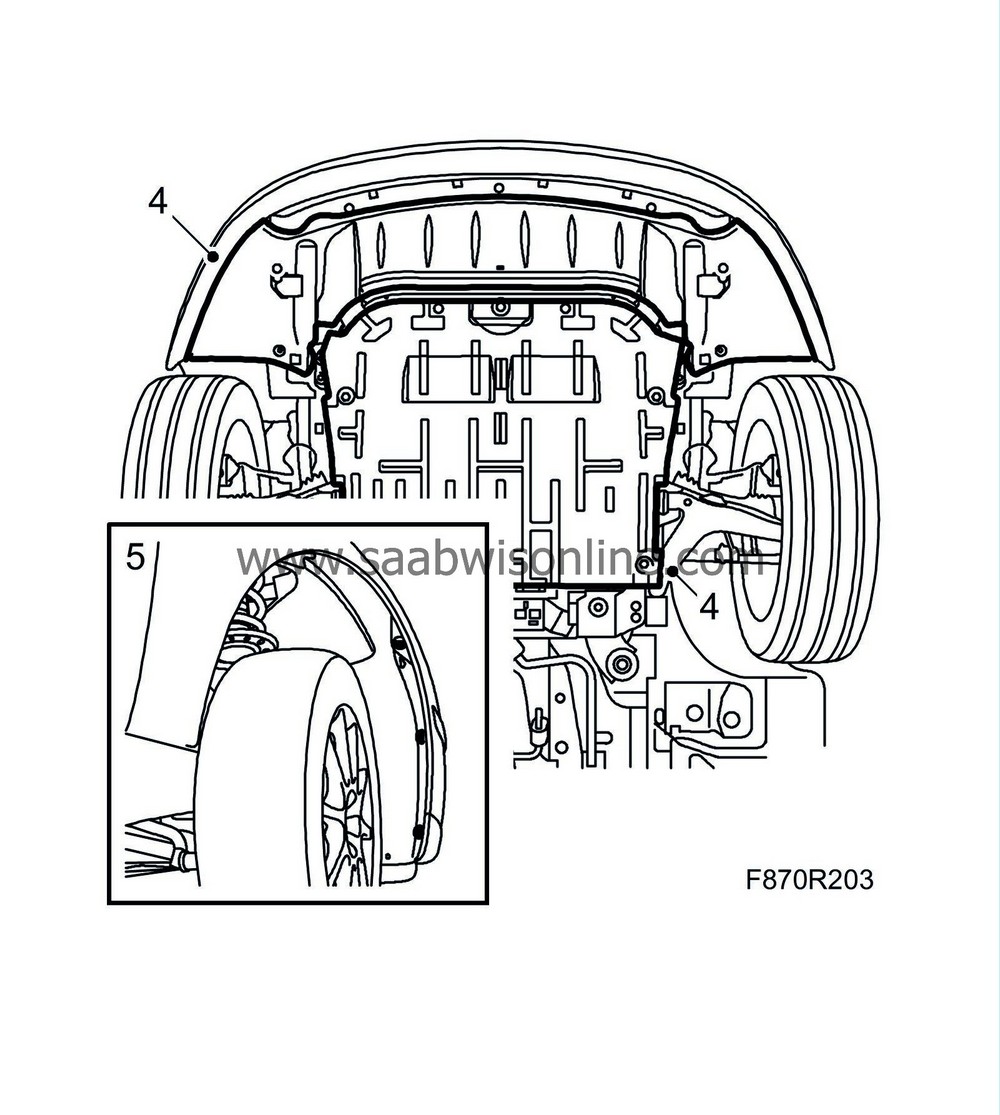
Dismantle the front and rear lower engine covers.
|
|
| 5. |
Loosen the 3 nuts from the right front wing liner.
|
|
| 6. |
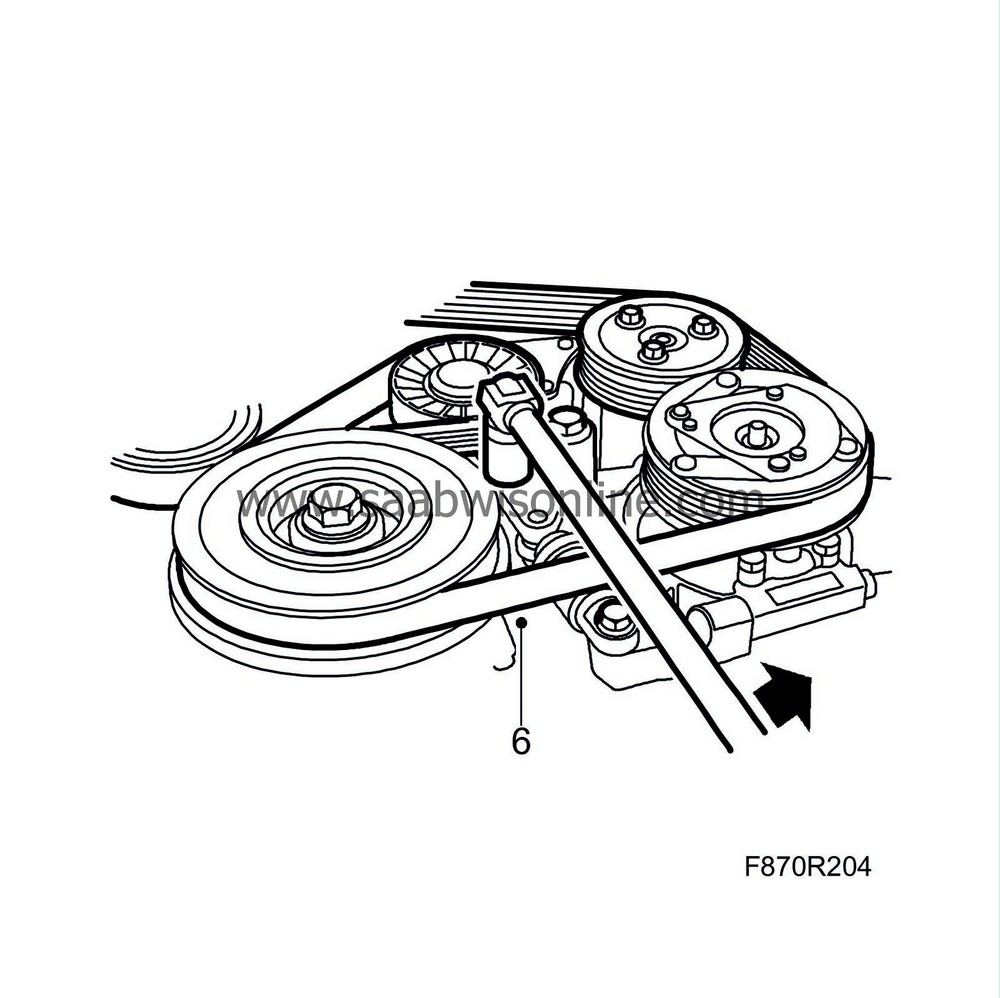
Release the belt tensioner, use
83 96 095 Release tool, belt circuit B207E/L
and take off the multigroove V-belt.
|
|
| 7. |
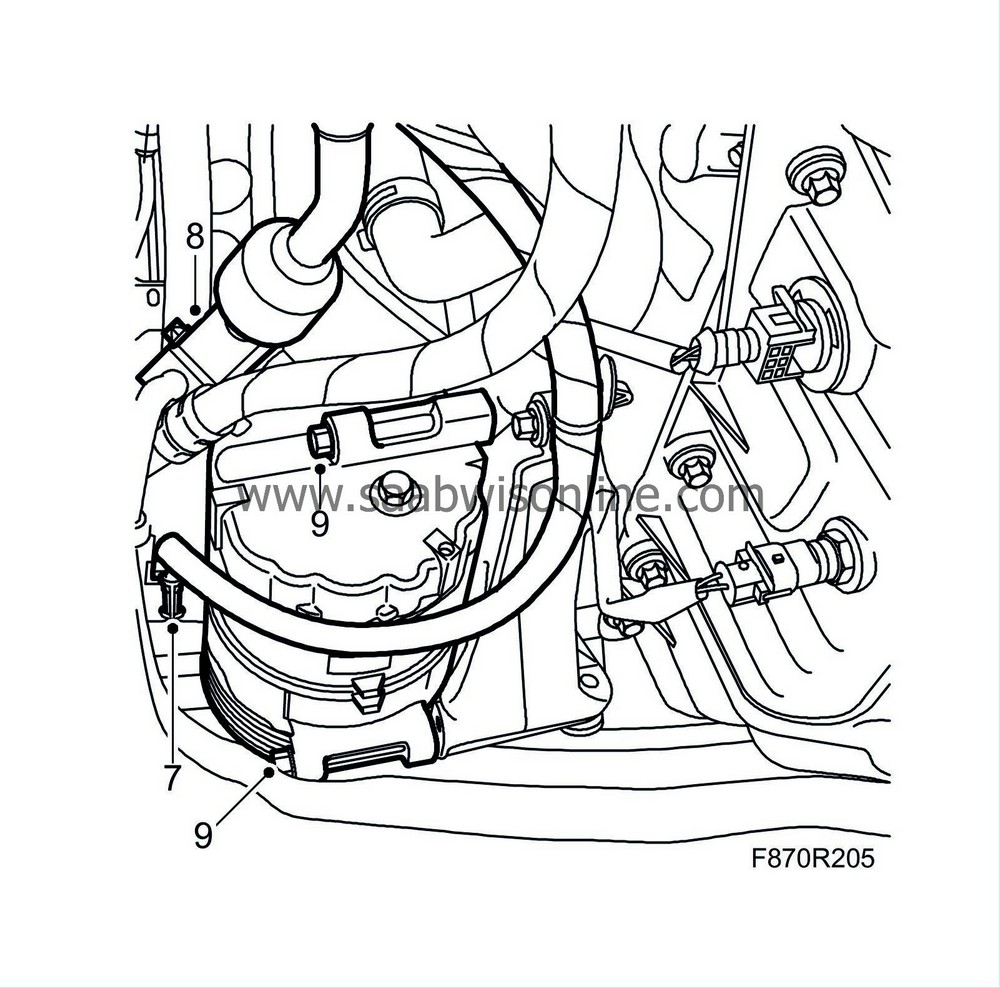
Dismantle the A/C compressor's connector.
|
|
| 8. |
Dismantle the high and low pressure pipes' PAD connection from the A/C compressor. Plug the openings.
|
|
| 9. |
Dismantle the screws from the A/C compressor.
|
|
| 10. |
Lift out the A/C compressor.
|
|
| To fit |
| 1. |
Adjust the oil quantity in the A/C system. See
Filling and adjusting the compressor oil
.
|
|
| 2. |
Move the A/C compressor into position and fit the A/C compressor.
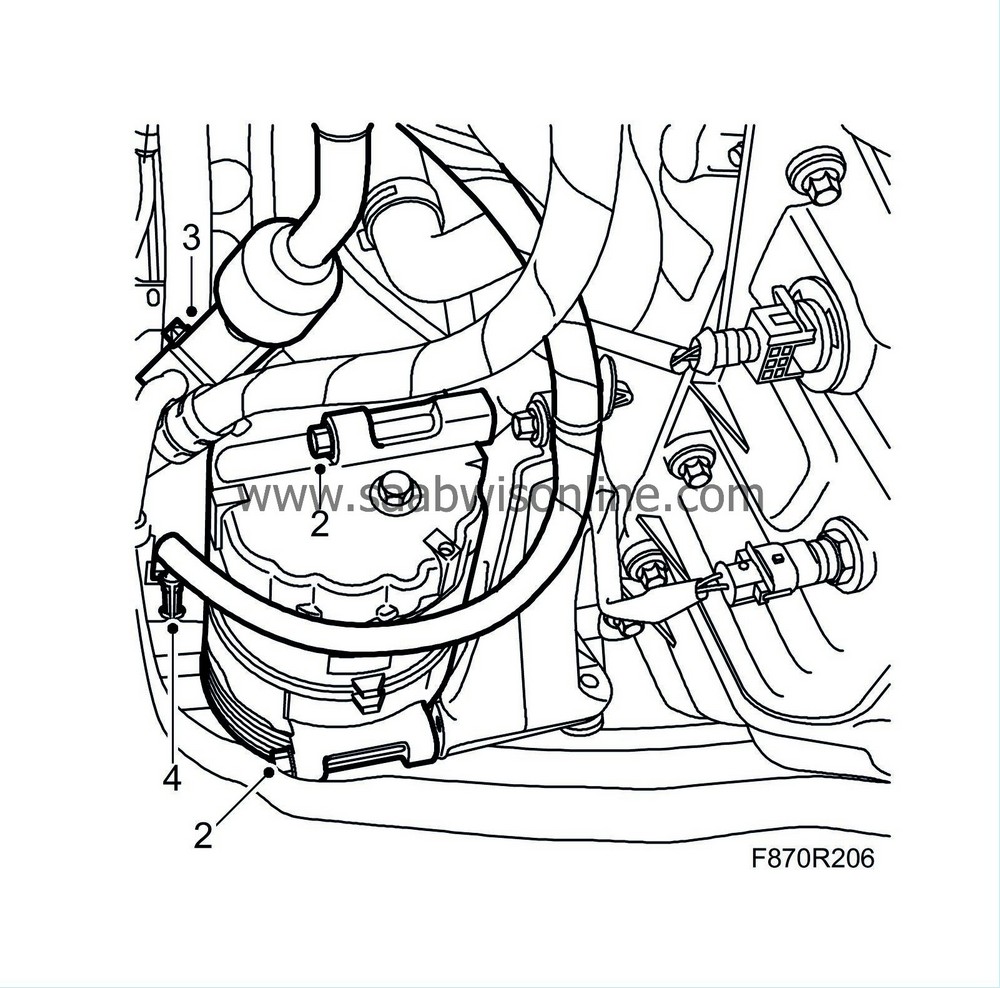
Tightening torque 24 Nm (18 lbf ft) |
|
| 3. |
Remove the plugs, replace the sealing washers and fit the high and low pressure pipes' PAD connection to the A/C compressor.
Tightening torque 18 Nm (13 lbf ft) |
|
| 4. |
Connect the A/C compressor's connector.
|
|
| 5. |
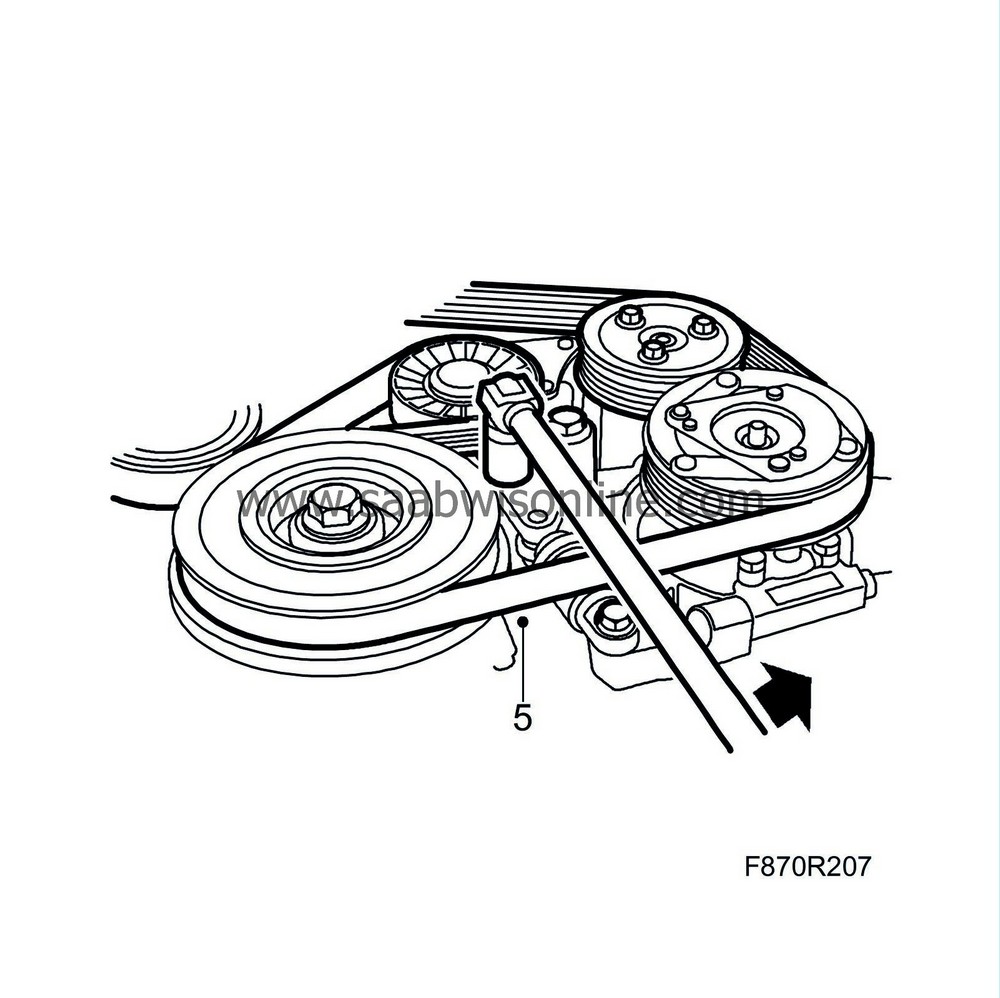
Fit and tension the multigroove V-belt
|
|
| 6. |
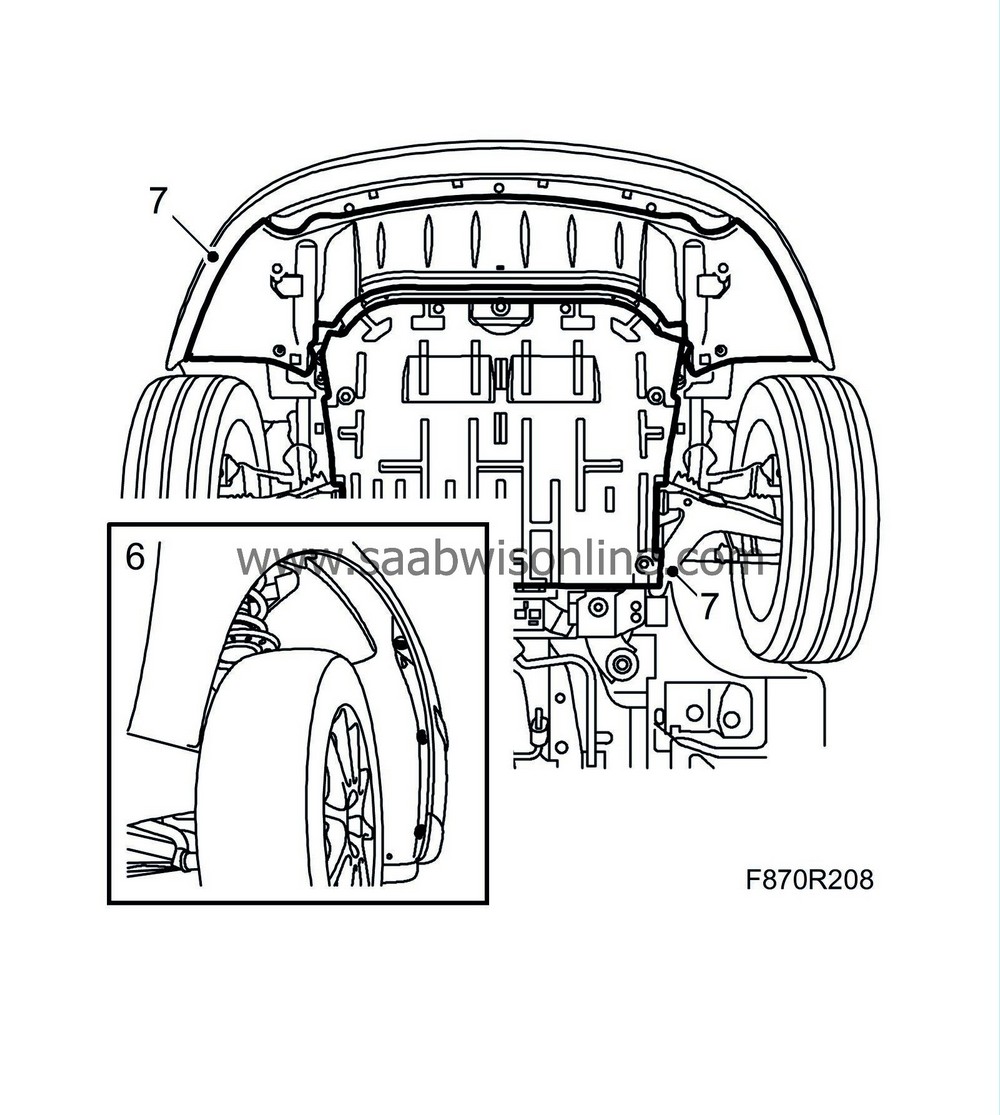
Fit the 3 nuts from the right front wing liner.
|
|
| 7. |
Fit the front and rear lower engine covers.
|
|
| 8. |
Lower the car.
|
|
| 9. |
Vacuum pump and fill the A/C system with refrigerant. See
Draining and filling the refrigerant
.
|
|
| 10. |
Running in the compressor to distribute the compressor oil around the system:
|
|
| - |
- Activate the A/C and allow it to run for at least 2 minutes at an engine speed of <1350 rpm.
|
| 11. |
Test the A/C system. See
A/C system performance test
.
|
|


