Welding technique, general
|
|
Welding technique, general
|
This section covers general information on welding techniques and thermoforming. Examples are then given of how to repair a number of common plastic components.
There are a number of step-by-step measures that, in principle, should always be taken when welding thermoplastics.
|
1.
|
1. Always begin by using lukewarm water and a mild cleaning agent to remove dirt and oil from the component. High-pressure wash can be used on the bumper and similar components. It is important to insure that there is no gravel or other particles in the welding area. The area in which the joint is to be made must then be cleaned with Teroson FL cleaner.
|
|
3.
|
If it is a matter of repairing a crack in the component, drill the ends using a 3.5 mm bit.
|
|
4.
|
Set the welding gun to the correct operating temperature. Note: It is very important that the welding gun has an operating temperature that is right for the plastic type. See LINK
|
Important
|
|
It is very important that the welding gun has the correct working temperature so that it agrees with the type of plastic. If the temperature is too high the strength in the material will be lost and become brittle and crack easily at the joints.
|
|
|
|
|
5.
|
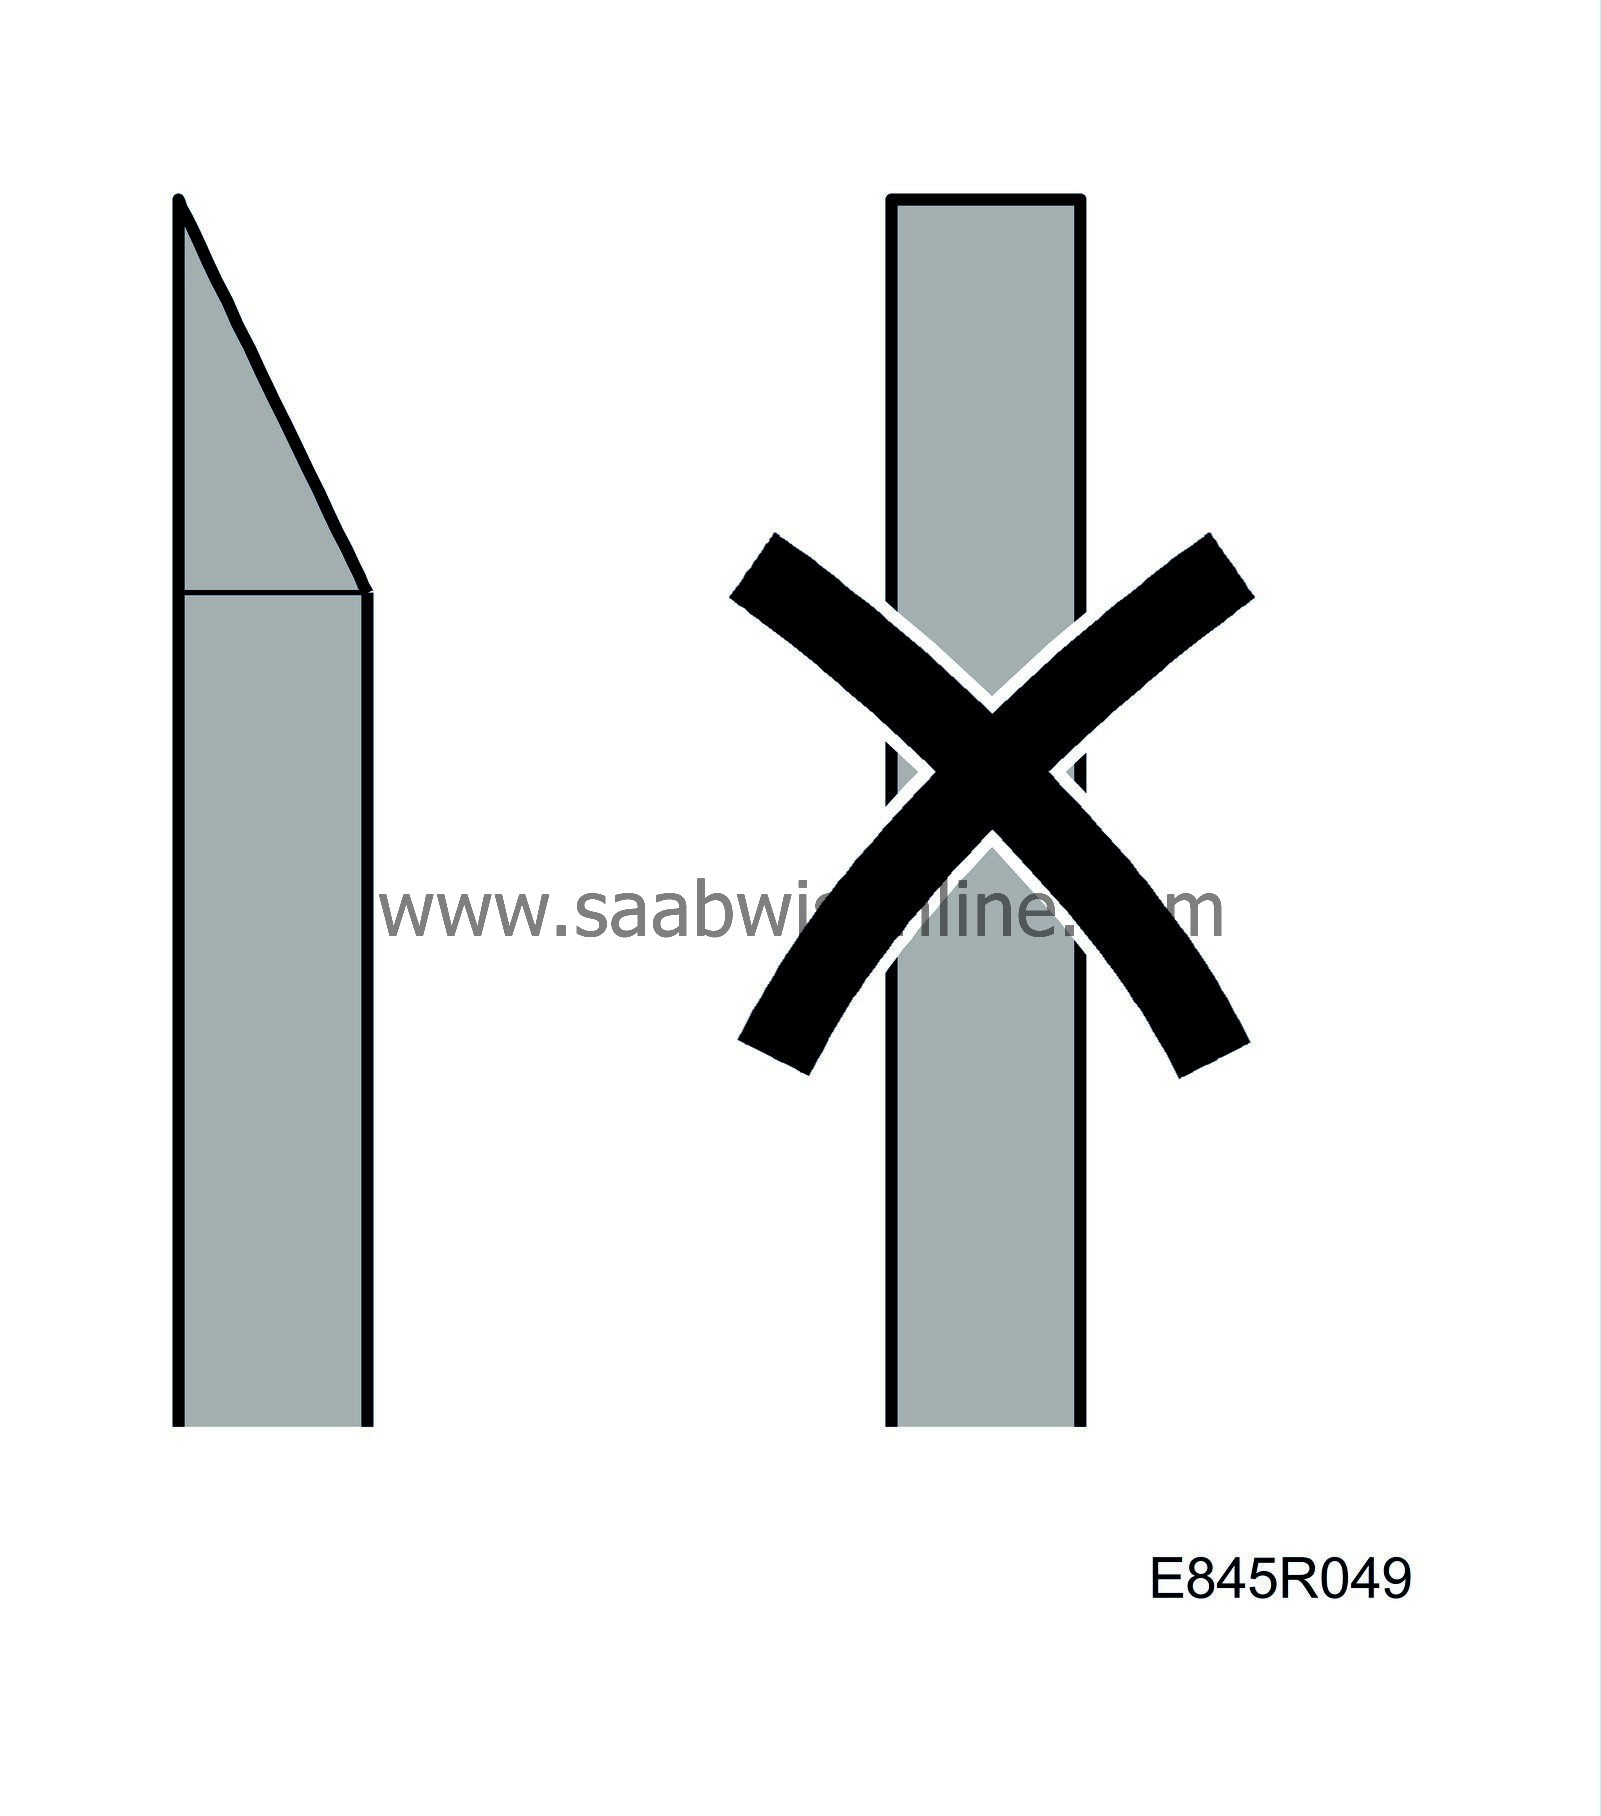
Use a knife to thin the welding wire end at which you shall begin welding. This makes it melt more easily and facilitates laying the joint. When welding with a profiled wire nozzle, hold its base flat against the component to be repaired and feed the welding wire manually through the nozzle's wire guide.

|
|
6.
|
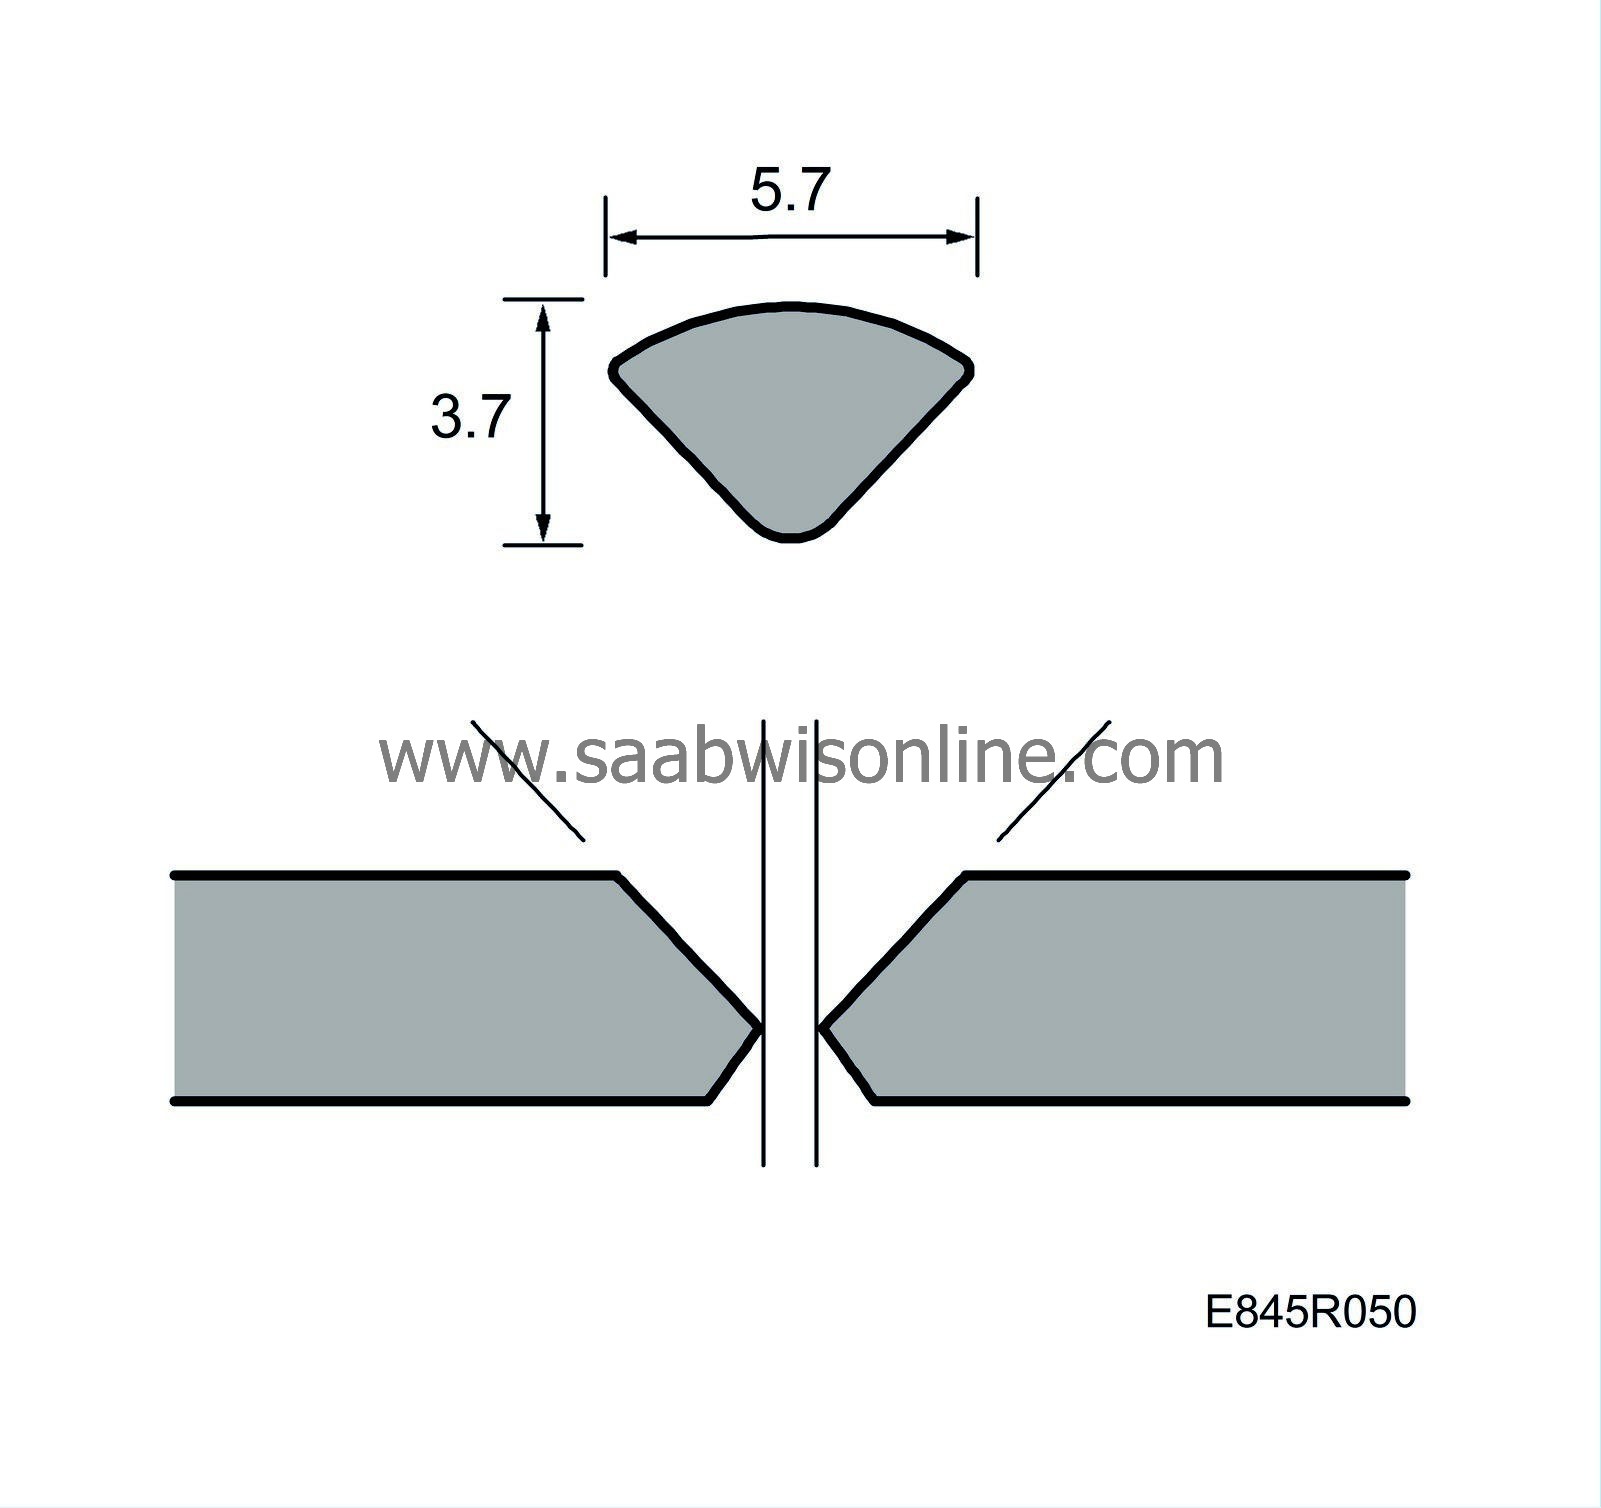
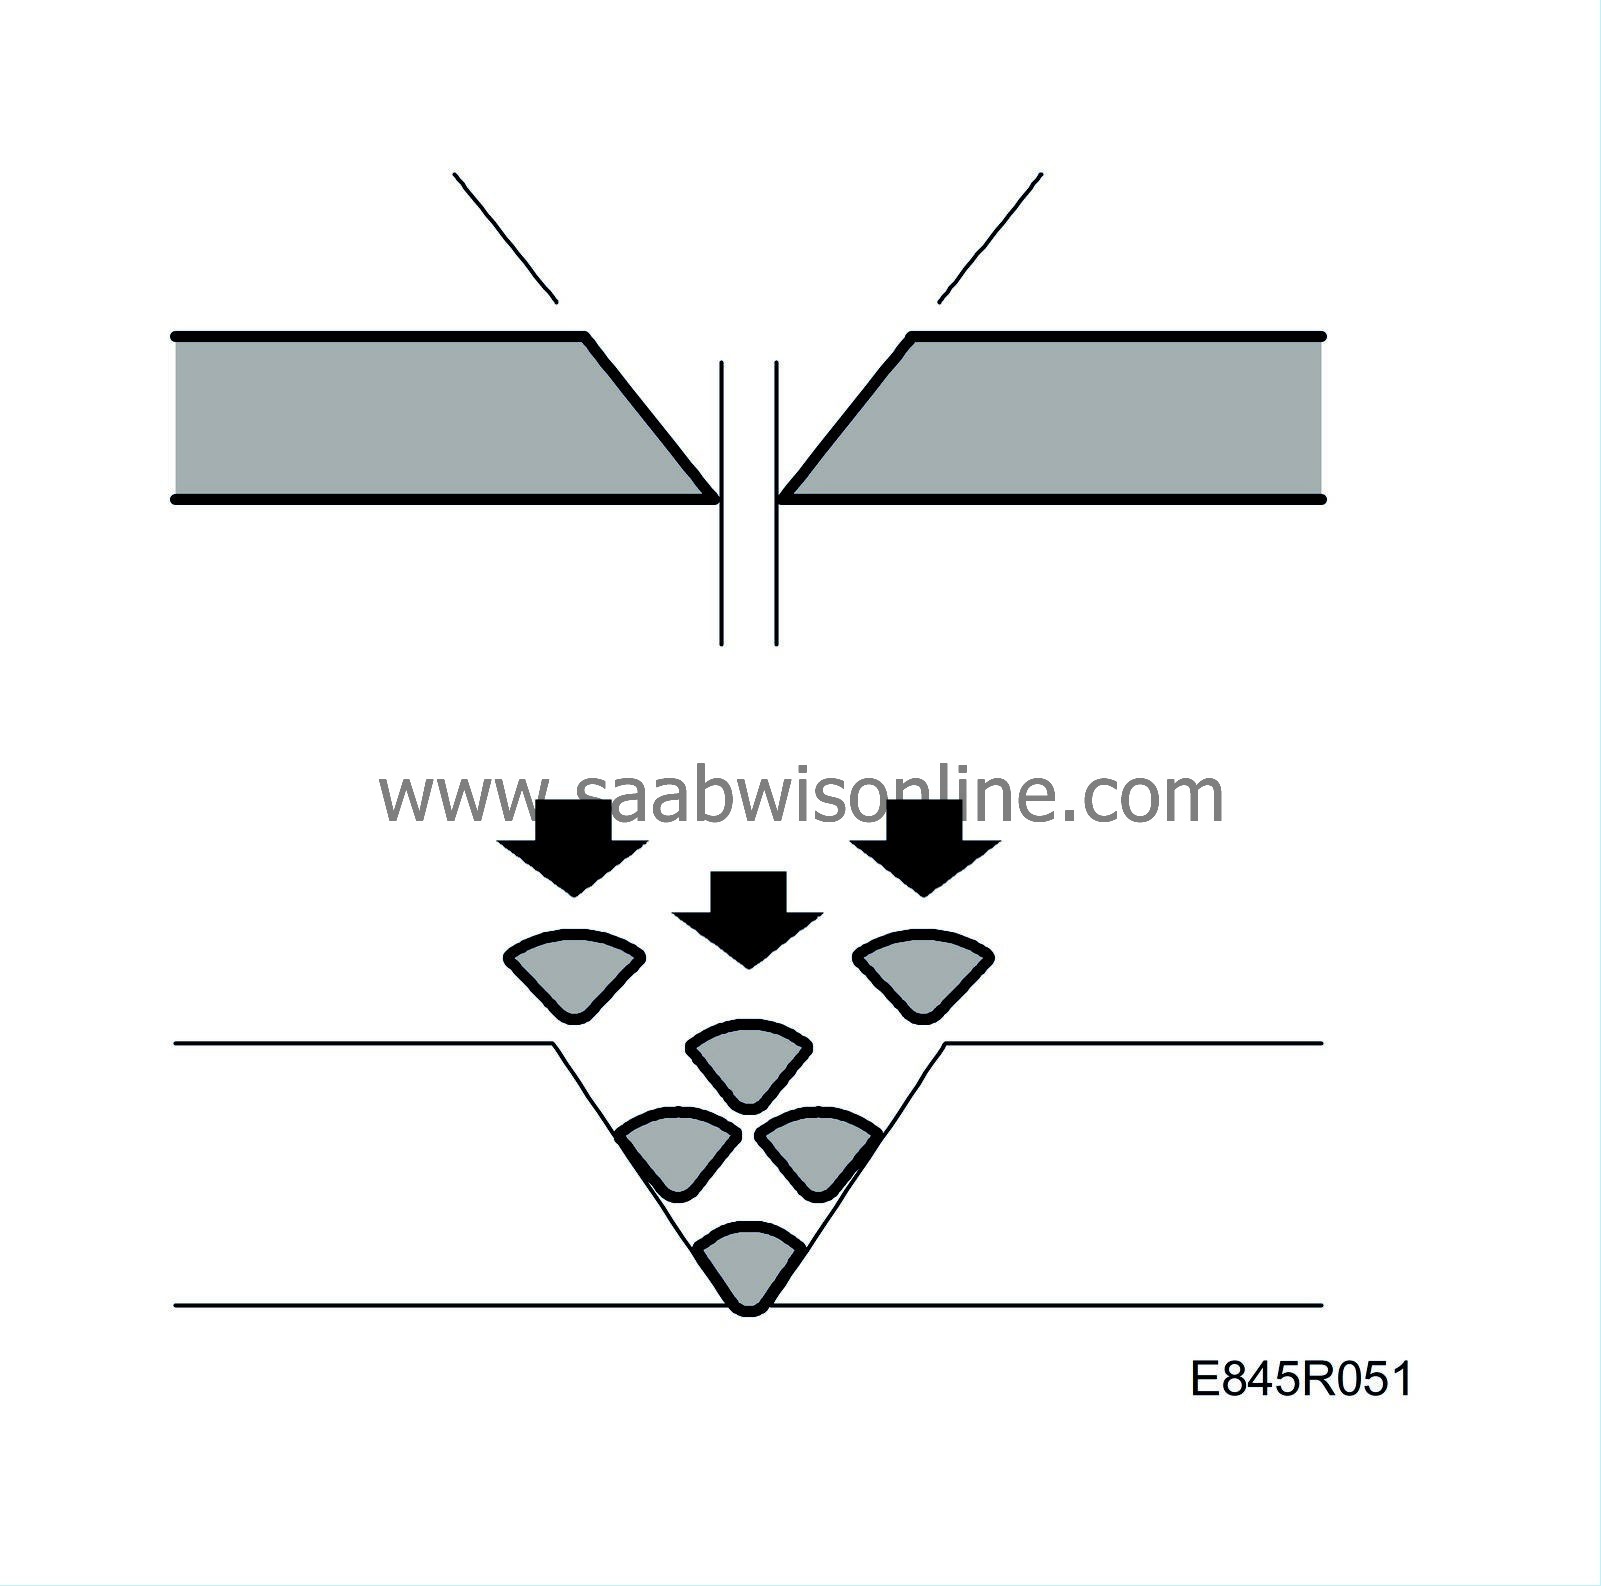
If the material thickness is greater than the thickness of a welding wire, i.e. not quite 4 mm, a 90° V-joint is to be cut into the back of the damaged area. Remember to cut at a low speed so the damaged area does not get overheated, resulting in a repair that is not sufficiently strong even if the welding is done properly. Then weld the damaged area/crack on the back with welding wire.

|
|
7.
|
All subsequent work is to be carried out with low-speed machines (grinders, etc)

|
|
8.
|
Cut a similar 90° V-joint on the front/outside.
|
|
9.
|
Grind away any paint around the damaged area/crack.
|
|
10.
|
Check that the temperature of the welding gun is correctly set.
|
|
11.
|
Weld the front/outside using welding wire.
|
|
12.
|
Allow the welded area to cool.
|
|
13.
|
Grind away excess welding material evenly from the welded area.
|
|
14.
|
Begin working to restore the finish of the component.
|
Important
|
|
It is very important that the welding gun has the correct working temperature so that it agrees with the type of plastic. If the temperature is too high the strength in the material will be lost and become brittle and crack easily at the joints.
|
|
|
Tip: As a rule, it is easier to weld plastic than metal, but the technique differs. Before working on a customer car for the first time, try applying some welding joints to discarded plastic components.
Remember to always use the profiled wire nozzle if the shape of the component and type of damage allow this. This facilitates work considerably and often generates a nicer looking weld.
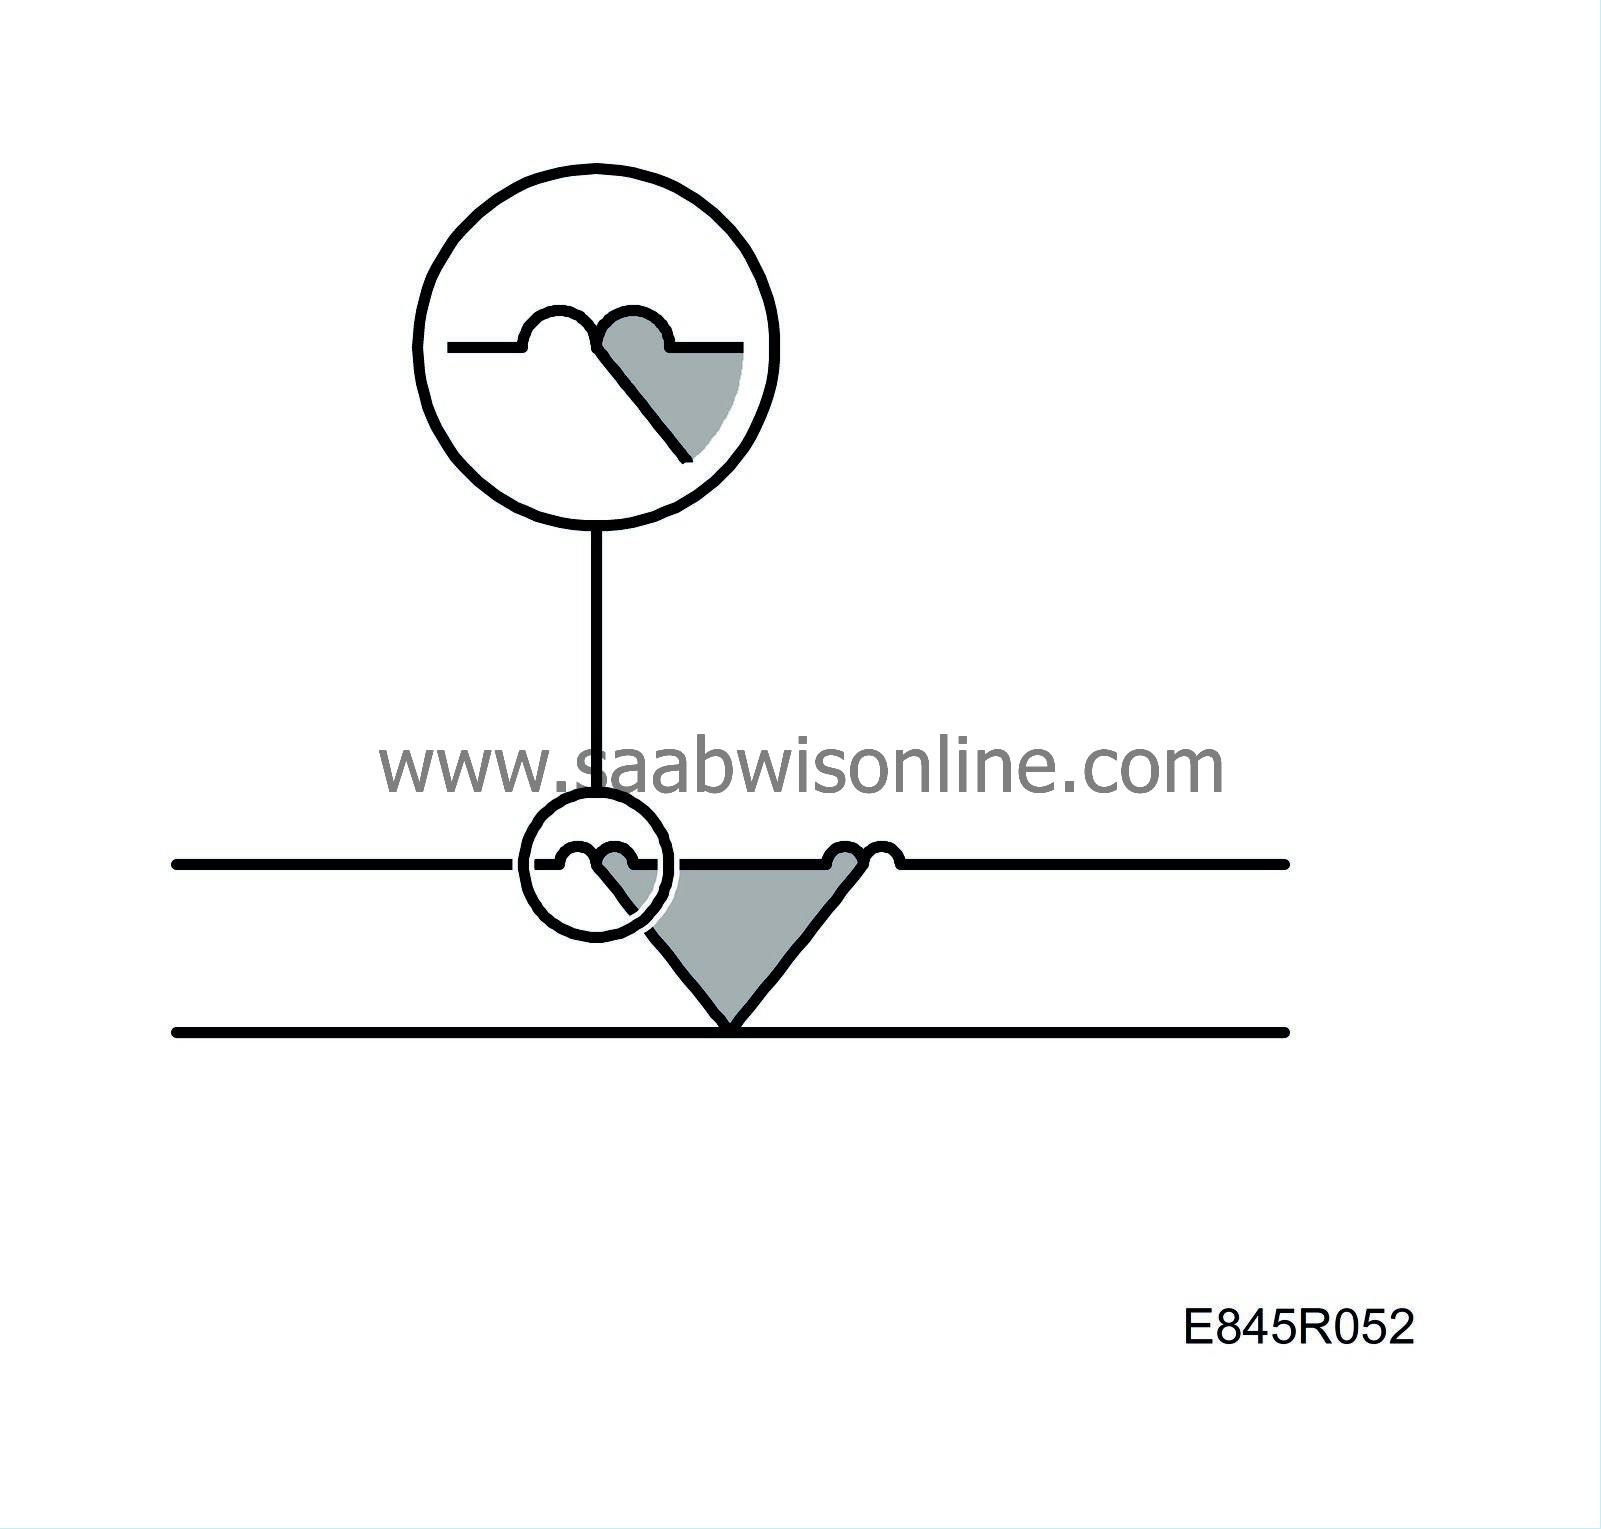
A visual check can be done to ensure that the weld sealed properly. There should be two small tracks on each side of the welding wire along the welded joint: These appear as small “waves” of melted plastic. The outer wave comes from the repaired component while the inner one comes from the welding wire. See sketch.

|


