Inner sill, CV
| Inner sill, CV |
| 1. |
Position the car in an aligning bench and cross-measure if necessary.
|
|
| 2. |
Remove
Front wing
,
Door
,
Outer front sill
,
Side panel, assembly, CV
and
Centre sill, CV
.
|
|
| 3. |
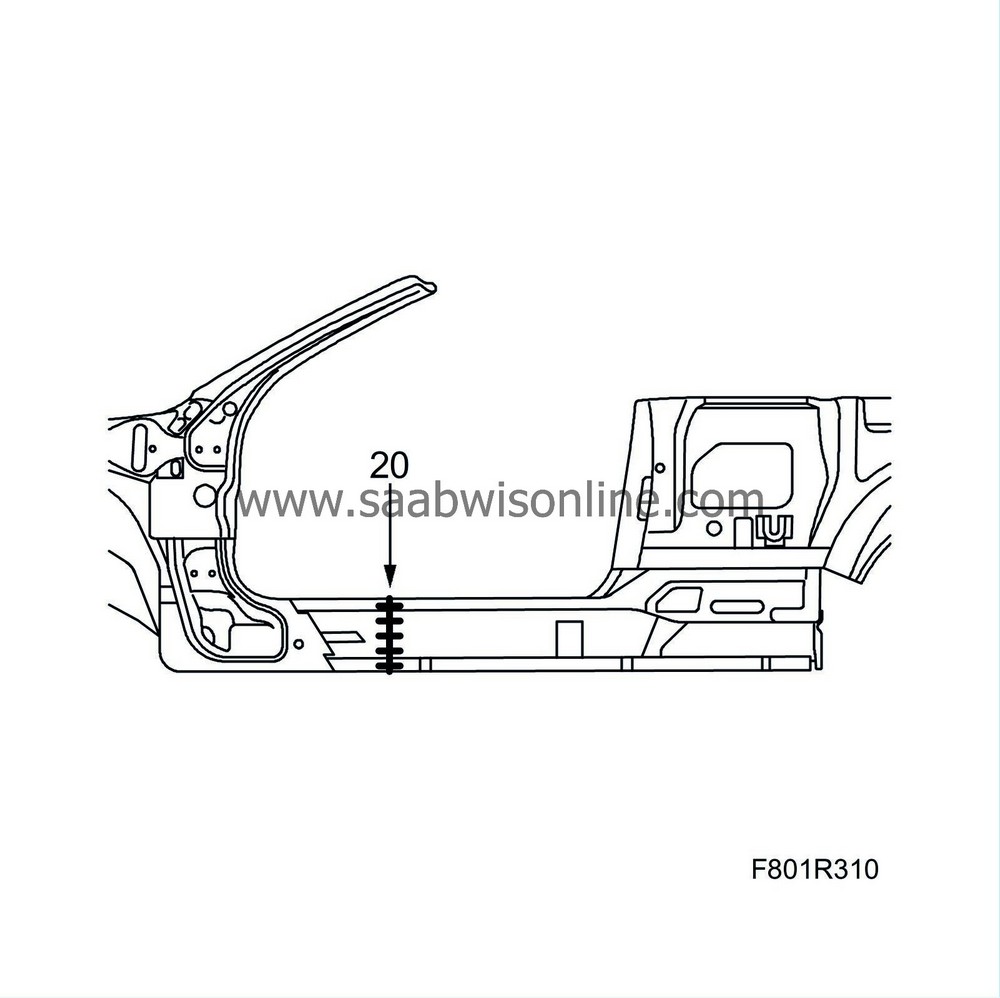
Carefully cut the inner sill 280 mm from the lower inner panel of the A-pillar.

|
||||||||||
| 4. |
Drill out the spot welds which secure the inner sill.

|
|
| 5. |
Drill out the spot welds.

|
|
| 6. |
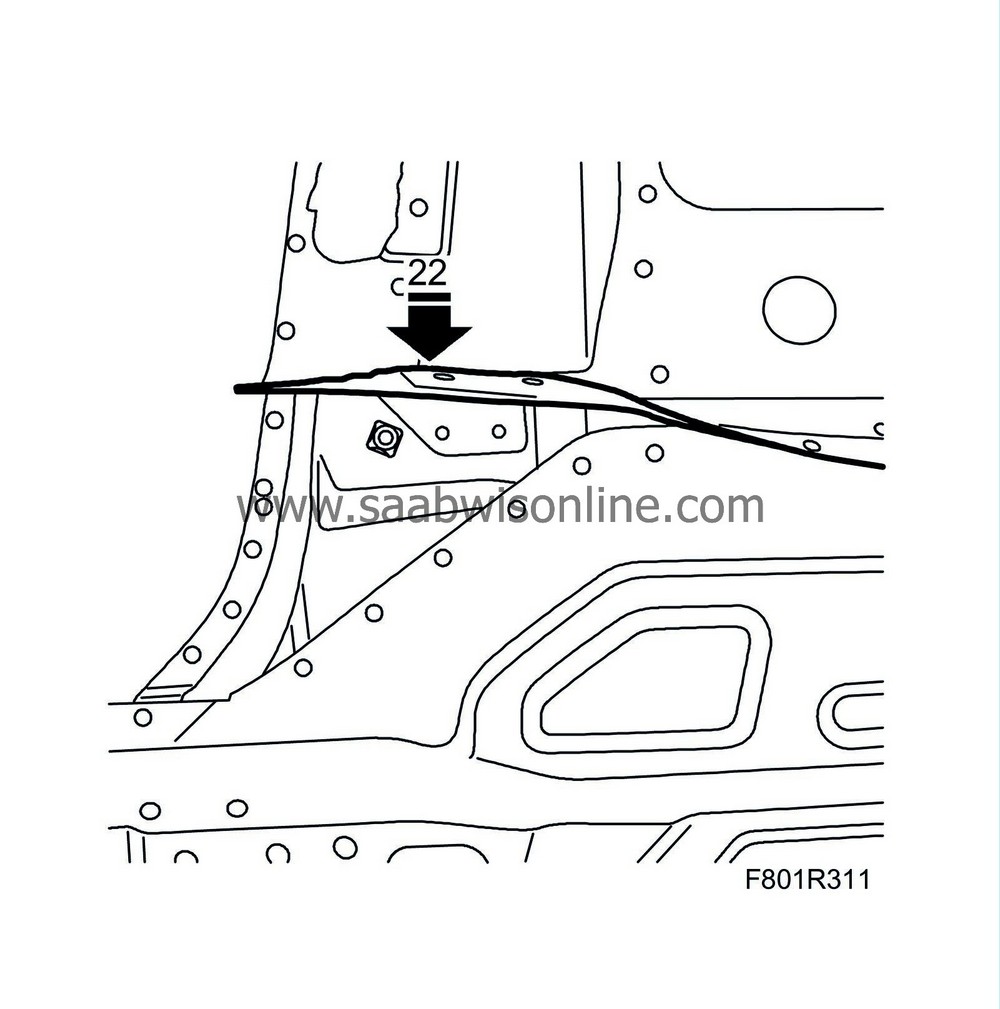
In order to access the upper section the overhead panel must be bent up slightly. Following which, drill out the spot welds.

|
|
| 7. |
Tap loose the inner sill.
|
|
| 8. |
Straighten any distorted panel. Grind all surfaces to be welded.
|
|
| 9. |
Roughly cut the length of the new inner sill so that it overlaps the seam by approx. 3 cm.
|
|
| 10. |
Fit the replacement panel in place and secure with welding clamps.
|
|
| 11. |
Cut the new and existing sections of the inner sill at the same time so that it is possible to weld edge to edge.
|
|
| 12. |
Remove the spare part.
|
|
| 13. |
Grind the welding points.
|
|
| 14. |
Drill holes for plug-welding in the spare part.
|
|
| 15. |
Apply welding primer to the surfaces to be spot and plug welded. Use Teroson Zink Spray.
|
|
| 16. |
Place the centre sill in fitting position and secure it with several welding clamps.
|
|
| 17. |
Spot and plug weld in accordance with the illustration.

|
|
| 18. |
Plug weld in accordance with the illustration.

|
|
| 19. |
Plug weld in accordance with the illustration.

|
|
| 20. |
All-weld the inner sill front.

|
|
| 21. |
Grind the welds.
|
|
| 22. |
Bend back the overhead panel.

|
|
| 23. |
Wash away surplus welding primer. Welding primer reduces the adhesion of paint, filler and sealant.
|
|
| 24. |
Apply primer to all bare metal surfaces. Use Standox 1K.
|
|
| 25. |
Seal joints and seams with sealant. Use 1K-PUR.
|
|
| 26. |
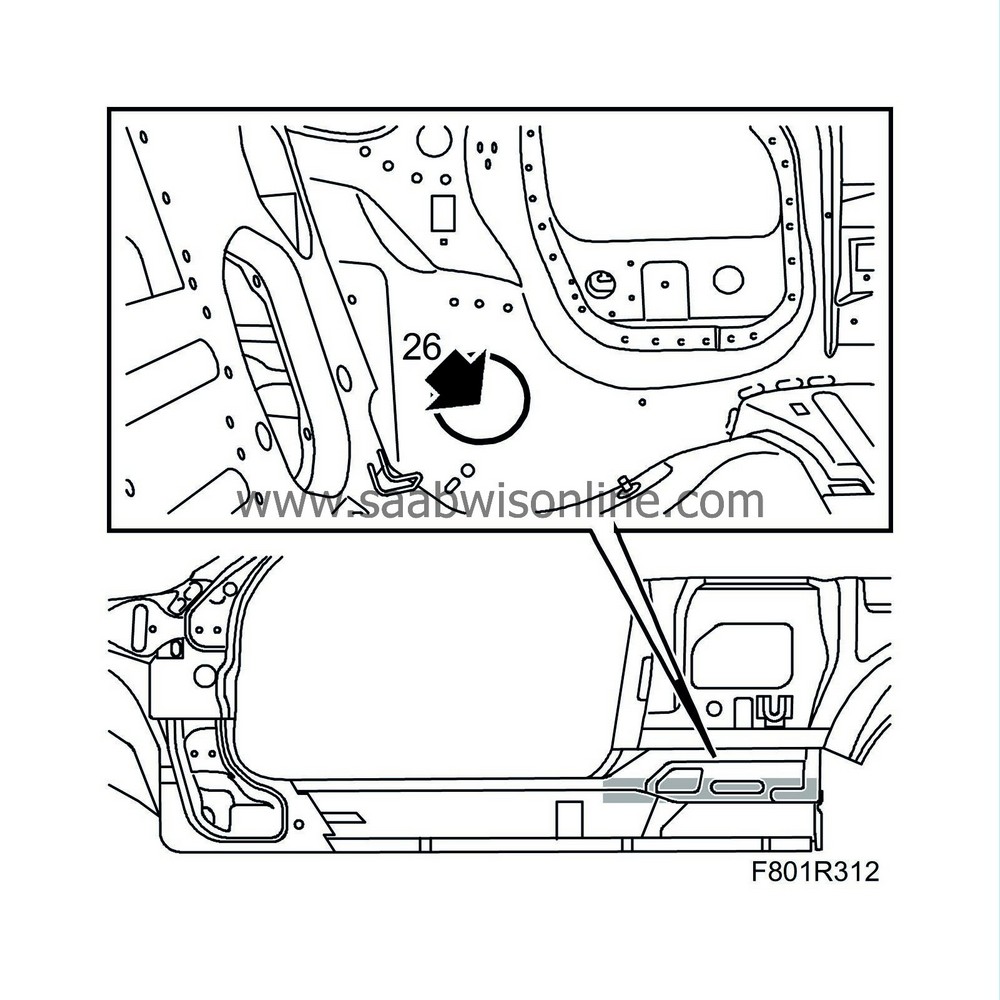
Apply anti-corrosion agent to internal surfaces after painting. Use Terotex HV 400.

|
|
| 27. |
Fit
Side panel, assembly, CV
,
Outer front sill, CV
,
Front wing
and
Door
.
|
|


