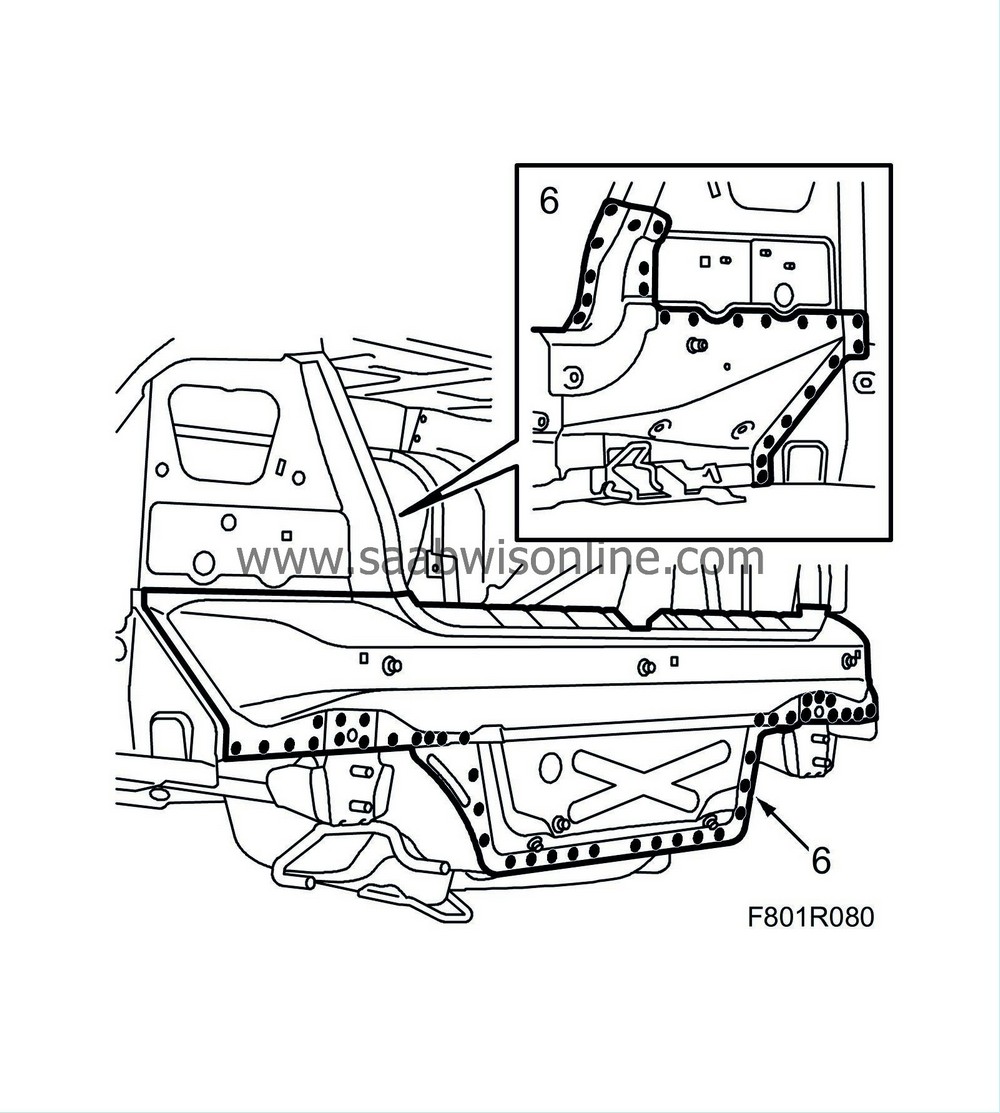
Rear bumper abutment
| Rear bumper abutment |
Some weld joints on the car may be MIG brazed, with brazing material of bronze wire. An MIG braze can be identified by its yellow colour. Always replace an MIG braze with another MIG braze.
|
|||||||
| To remove |
| 1. |
Drill out the spot welds in the luggage compartment.

|
|
| 2. |
Drill out the spot welds and grind away the seam welds.
Some cars : Note that the welds are MIG brazed. |
|||||||||
| 3. |
Tap out and lift away the part.
|
|
| 4. |
Straighten any deformed metal.
|
|
| To fit |
| 1. |
Drill holes in the replacement panel for plug welding.
|
|
| 2. |
Grind clean the surfaces of the body and the spare part that are to be welded.
|
|
| 3. |
Apply welding primer to the surfaces that are to be plug and spot welded.
|
|
| 4. |
Fit the new rear bumper abutment in place and secure with welding clamps. Check the fit using the measuring system of the alignment jig.
|
|
| 5. |
Close the boot lid and check the fit of the rear bumper abutment.
|
|
| 7. |
Grind the welds.
|
|
| 8. |
Wash away surplus welding primer. Welding primer reduces the adhesion of paint, filler and sealant.
|
|
| 9. |
Apply primer to all bare metal surfaces.
|
|
| 10. |
Seal joints and seams with sealant.
|
|
| 11. |
Apply PVC replacement to the underside of the rear bumper abutment.
|
|
| 12. |
Apply rust protector after painting.
|
|

 Warning


