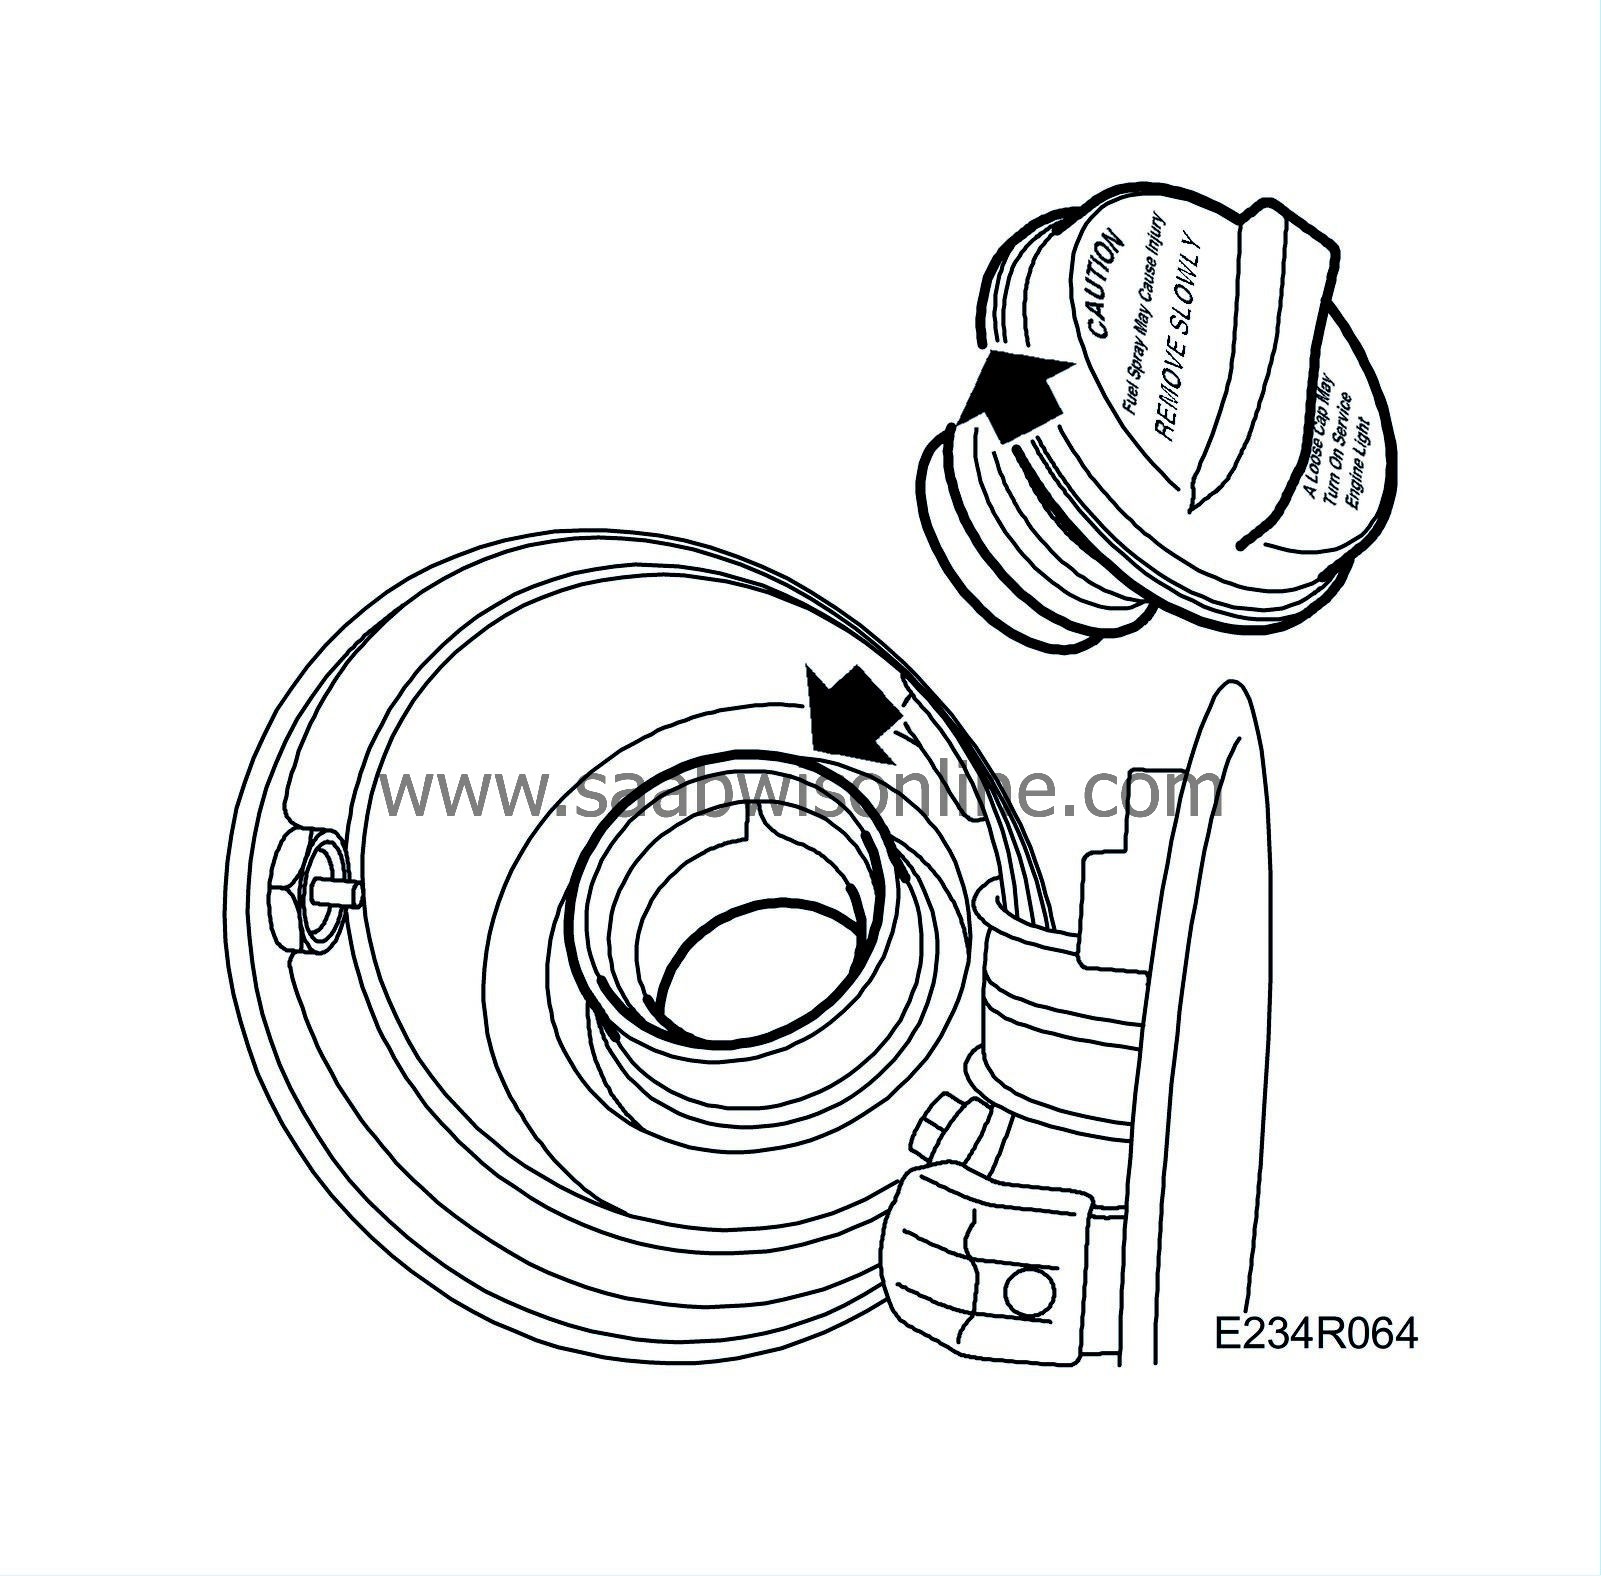
Checking for leaks in the evaporative emission system
|
|
Checking for leaks in the evaporative emission system
|
|
1.
|
The cut-off valve shall remain activated.
|
|
2.
|
Detach the line from the EVAP canister purge valve at the intake manifold.
|
|
3.
|
Raise the pressure again, following the instructions in the Kent-Moore manual.
|
|
4.
|
Use ultrasonic leak detector J41416 to trace the leak. Start with the line that has been disconnected from the intake manifold and then follow the system lines and components. Make a visual check of the system at the same time.
|
Note
|
|
In order to check for leaks in components on the top of the fuel tank, it may be necessary to lower the tank a bit.
|
|
Note
|
|
Leak detection listening equipment is sensitive to ambient noise, such as exhaust outlet, air-driven machines, use of blower nozzles, leaking pressurised air connections, etc.
|
|
Airflow from the ventilation equipment in the workshop can also affect the equipment.
|
|
All of the items mentioned can cause a similar, but incorrect indication/detection of a leak in the EVAP system.
|
|
|
5.
|
Therefore, always adjust the sensitivity of the ultrasonic leak detector, so that the ambient noise, which often causes interference, is filtered out.
|
Note
|
|
A larger leak, such as a faulty cut-off valve or a loose line, is difficult to detect as it does not give off the ”right noise” to be detected by the ultrasonic leak detector.
|
|
For this reason, it is essential that you make a thorough visual inspection of the system components, to check for leaks not detected by the equipment.
|
|
|
6.
|
Rectify any leaks detected and test the system again.
|
|
7.
|
Restore the car to its normal condition.
|


