DVD module (729), 4D
| DVD module (729), 4D |
| Important | ||
|
The optic cables must be handled carefully so as not to distort the signal. |
||
| • |
It is extremely important that the two leads in the connector are not mixed up.
|
|
| • |
The cables cannot be spliced.
|
|
| • |
The lead must not be bent to form a curve with a radius of less than 25 mm.
|
|
| • |
The lead must not be subjected to temperatures greater than 185°F (85°C).
|
|
| • |
The lead ends should be kept free from dirt.
|
|
| • |
The lead must not be subjected to blows that could cause the transparent plastic to whiten, thereby reducing light intensity. This could cause disruptions in communication.
|
|
| • |
The lead should not be stretched across a sharp edge, which would cause increased damping of the signal.
|
|
|
|||||||
| To remove |
Carry out procedures before removing a control module.
| 1. |
Open the luggage compartment.
|
|
| 2. |
Move aside the floor panel.
|
|
| 3. |
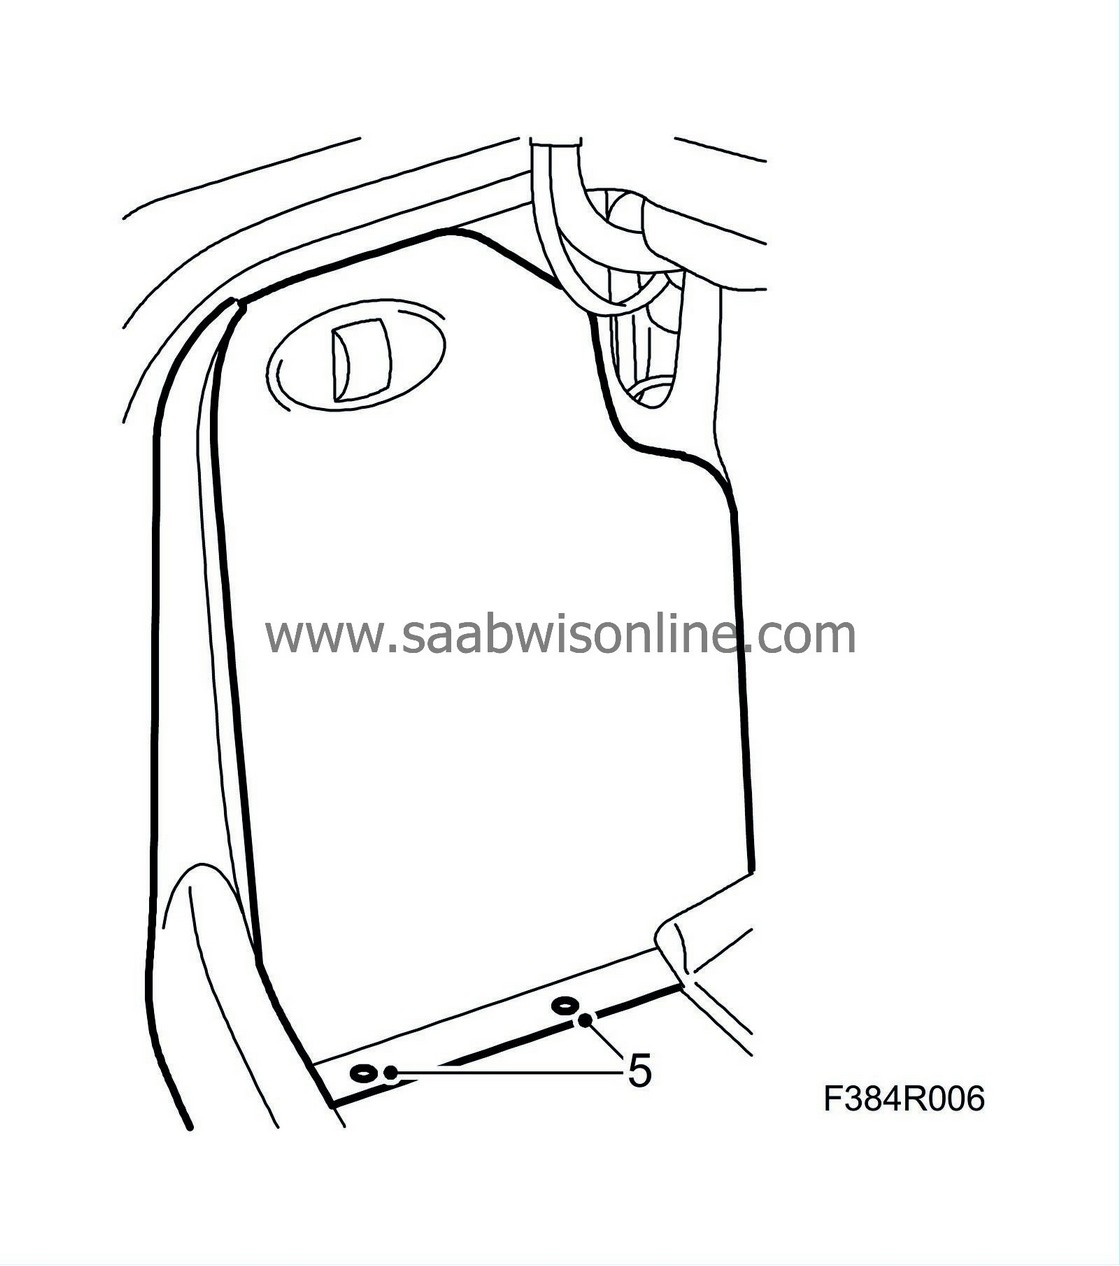
Remove the left-hand inspection hatch using
84 71 179 Removal tool, clips
.

|
||||||||||
| 4. |
Cars with rear CD changer:
Remove the bracket and then remove the connector.
|
|
| 5. |
Remove the DVD unit using
84 71 203 Removal tool
. Withdraw the DVD unit half way.

|
||||||||||
| 6. |
Unplug the connector.
|
|
| 7. |
Pull out the DVD unit.
|
|
| To fit |
| 1. |
Fit the DVD unit but only press it in half way.

|
||||||||||
| 2. |
Plug in the connector.
|
|
| 3. |
Press in the DVD unit.
|
|
| 4. |
Cars with rear CD changer:
Fit the bracket.
|
|
| 5. |
Fit the left hand inspection hatch.

|
|
| 6. |
Refit the floor panel.
|
|
| 7. |
Close the luggage compartment.
|
|
| 8. |
Carry out
procedures after changing a control module
.
|
|
| 9. |
Carry out a function check.
|
|

 Warning

