Front seat, CV
| Front seat, CV |
| To remove |
| Note | ||
|
The seat is heavy! |
| 2. |
Remove the front screws which secure the seat's rails.
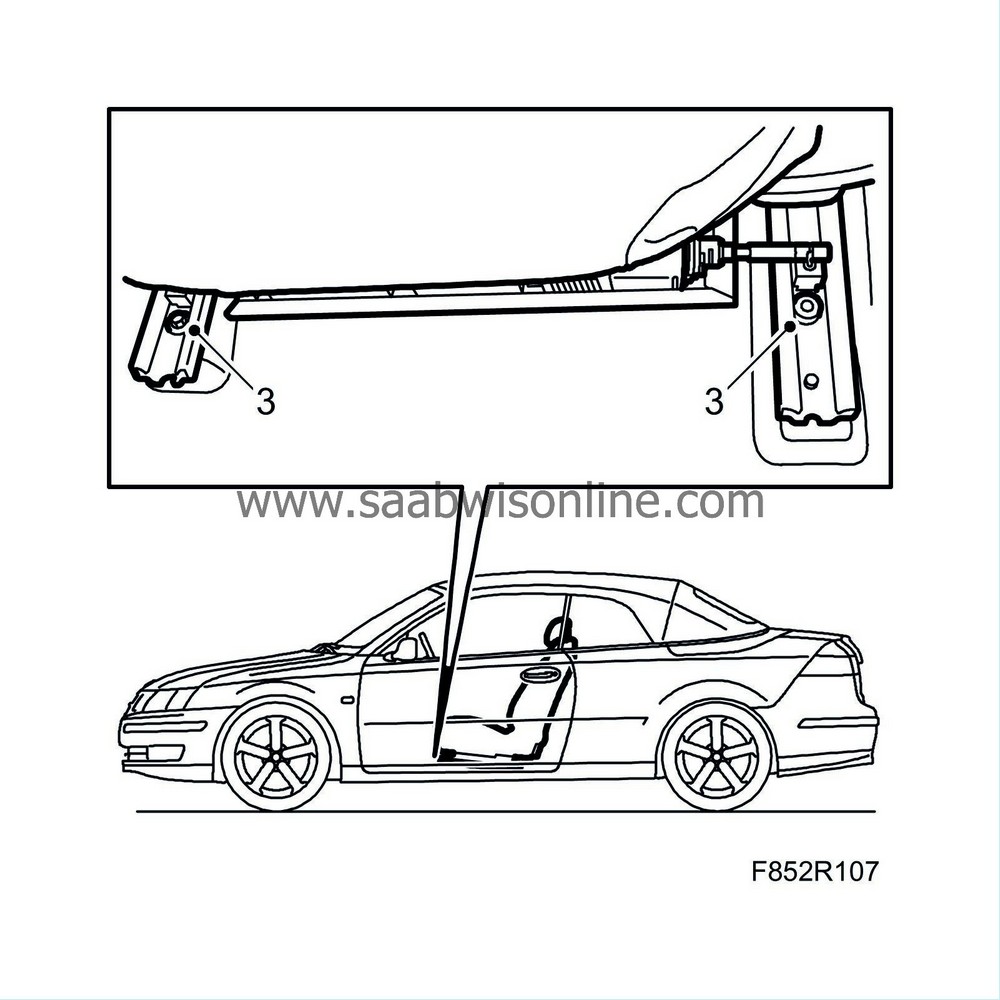
|
|
| 3. |
Move the seat to its forward position, and remove the rear screws holding the seat rails.
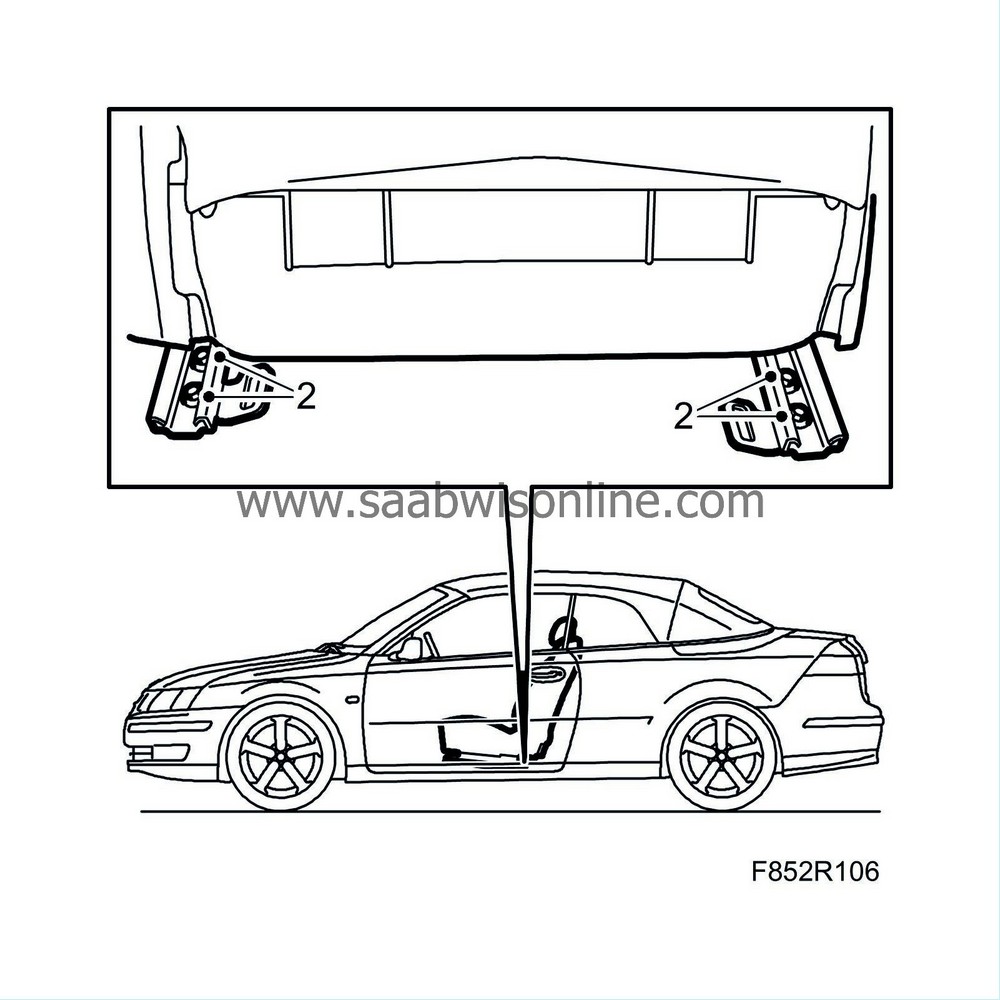
|
|
| 4. |
Turn the ignition key to OFF. Remove the seat connector and lift out the seat.
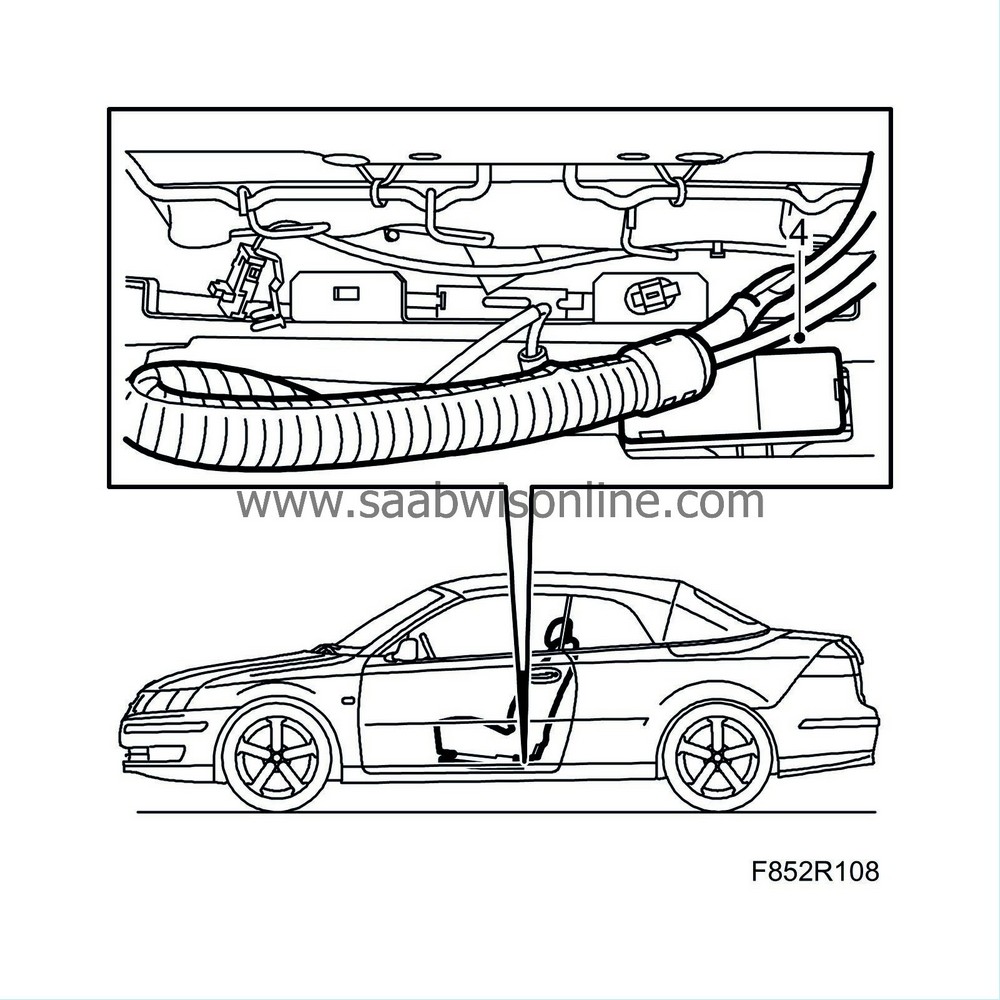
|
|
| To fit |
| 1. |
Position the seat and connect the seat connector.
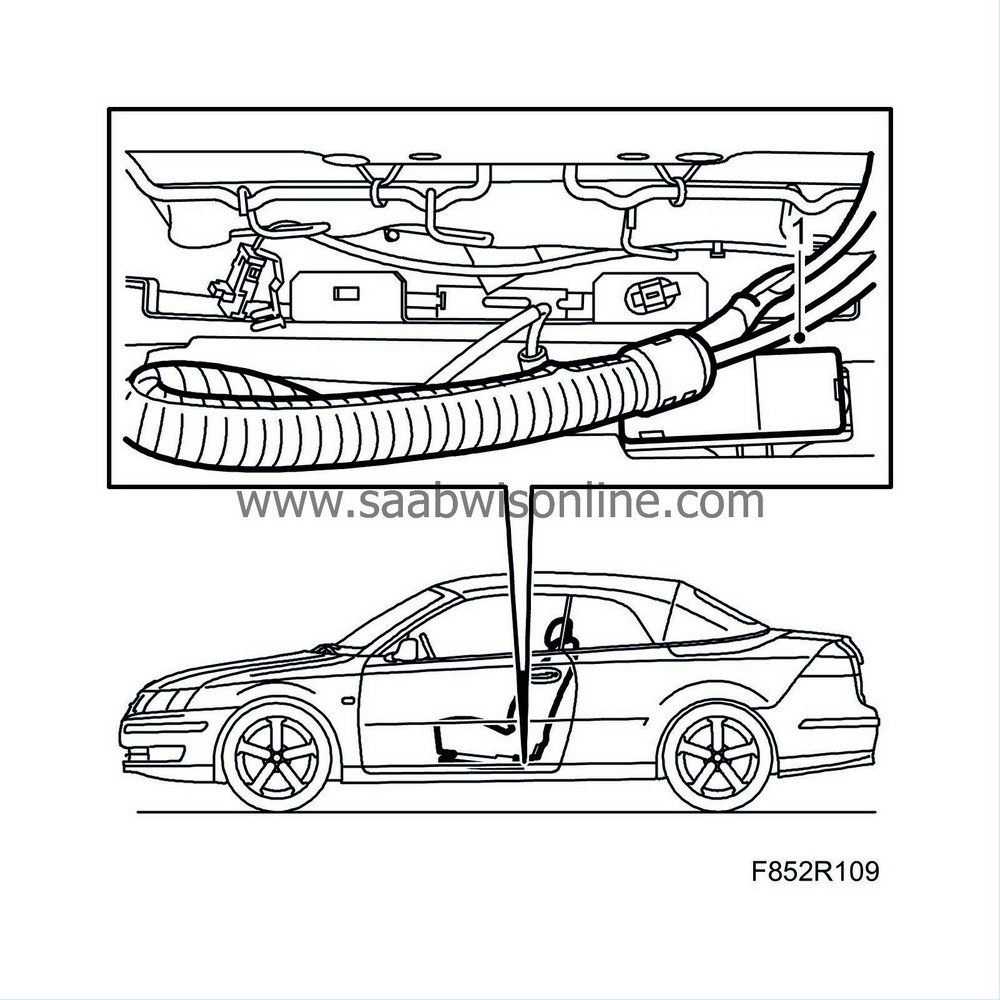
Fit the rear screws. Use 74 96 268 Thread locking adhesive . Do not tighten the screws completely.
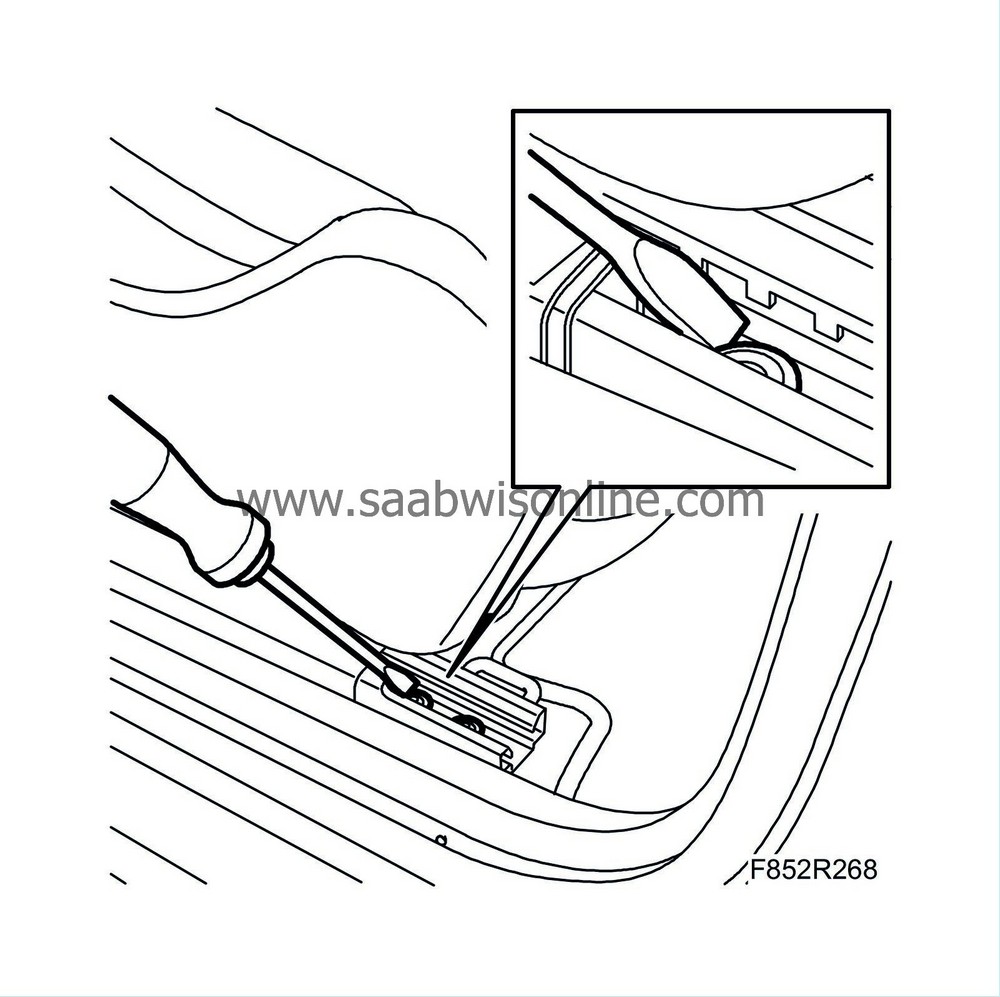
|
||||||||||
| 2. |
Move the seat to its rear position, and fit the front screws. Use
74 96 268 Thread locking adhesive
.
Tightening torque : 34 Nm (25 lbf ft) 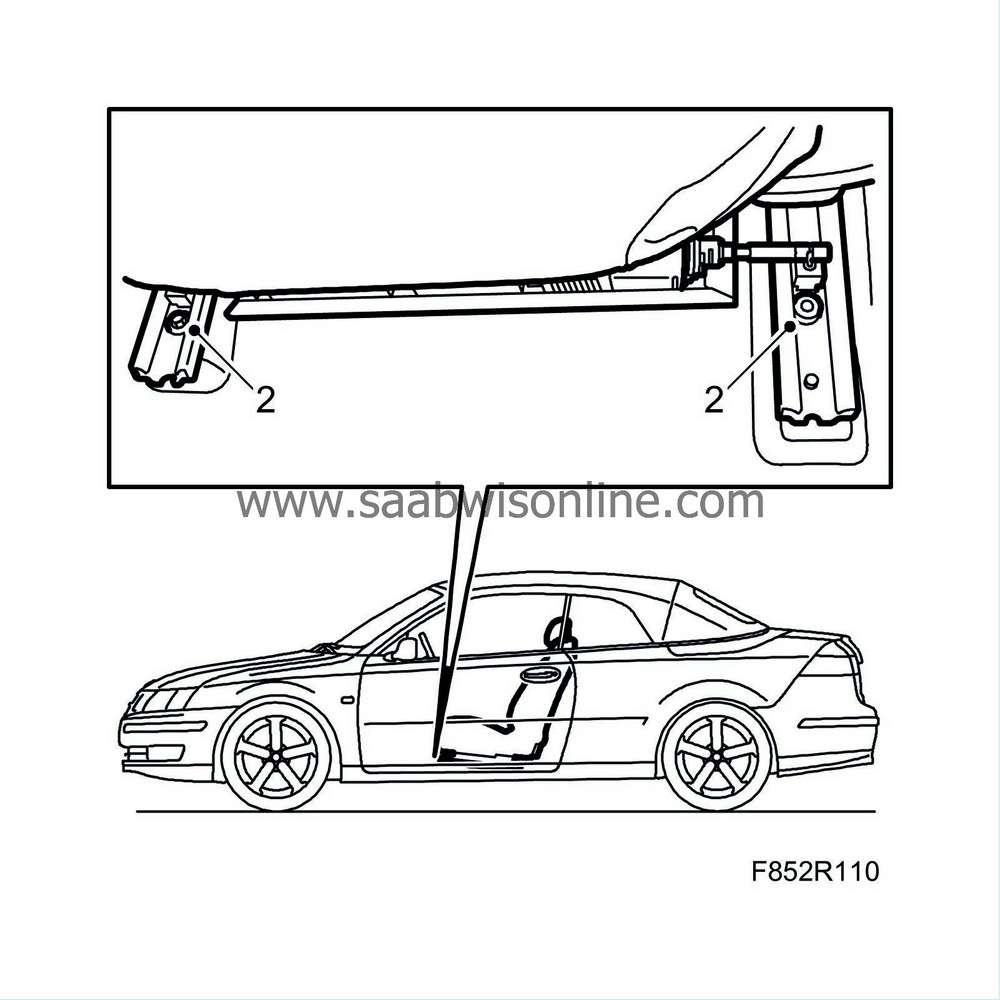
|
|
| 3. |
Move the seat to its front position and tighten the rear screws.
Tightening torque : 34 Nm (25 lbf ft) 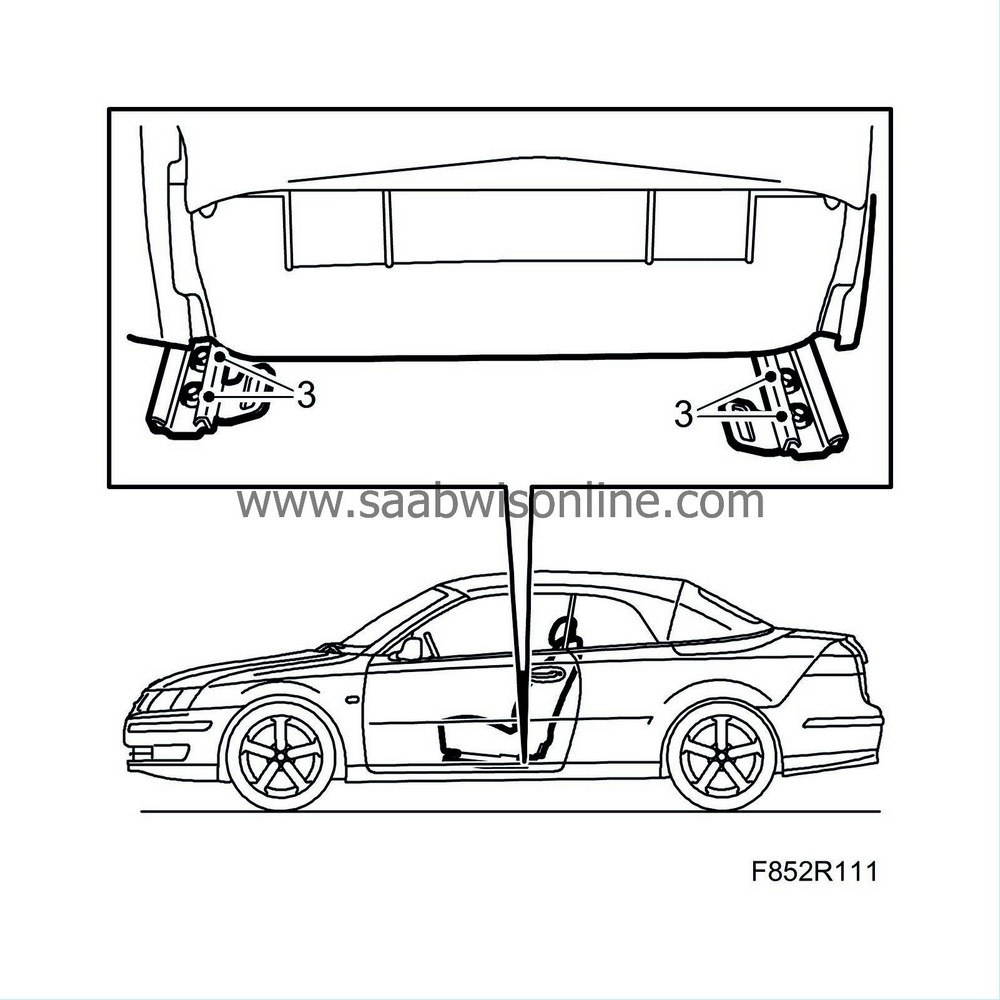
|
|
| 4. |
Cars with electrically adjustable seat:
Check with the diagnostic tool as follows:
Connect the diagnostic tool to the data link connector under the dashboard. Delete any fault codes. Turn off the ignition and turn it on again. Wait for at least 1 minute with the ignition on. Check whether a diagnostic trouble code is displayed: If a diagnostic trouble code is shown: Carry out fault diagnosis according to the instructions under respective trouble codes. If a diagnostic trouble code is not shown: The assembly was successful. Disconnect the diagnostic tool. |
|
| 5. |
Close the soft top.
|
|


