(811-2594) Lock pin not riveted
|
MODIFICATION INSTRUCTION
|
|
Bulletin Nbr:
|
811-2594
|
|
Date:
...........
|
November 2005
|
|
Market:
|
all
|
|
Customer satisfaction program 154 45
|
Cars in stock must be rectified before delivery.
A personal communication must be sent to the owners of cars already delivered requesting them to get in touch with the nearest Saab garage as soon as possible to have the fault rectified.
Saab 9-3 CV M06 (Vehicle Identification Number 66002776 - 66003813)
Certain cars within the range have already been rectified, see separate list.
On approx. 1% of cars the lock pin in the lock fittings for the soft top's front anchorage point is not riveted or is missing.
|
Note
|
|
The lock fittings shall not be replaced on all cars. The quantity that must be replaced following checking is estimated at 1%.
|
12 830 221 Lock fittings LH
12 830 078 Lock fittings RH
For fitting the modification identity plate (not US/CA):
12 785 148 Modification identity plate
93 160 907 Cleaning agent Motip Dupli, aerosol 400 ml (sufficient for 50-100 cars)
Checking the modification identity plate (not US/CA)
Before proceeding, check box A2 of the modification identity plate. From and including M04, the table "Table of Modifications" can be found in the car's Warranty and Service Book. A modification identity plate must be fitted in accordance with the section "Fitting the modification identity plate" where local directives require the marking of the car. If the box is not marked, continue as follows.
Check whether the lock pin is correctly riveted/is missing
If it is not correctly riveted or is missing, follow the instructions
"Removing the lock fittings"
.
|
Note
|
|
Both sides must always be checked.
|
|
1.
|
With new car delivery - fit the transport fuse.

|
|
3.
|
Switch off the ignition and remove the key.
|
|
4.
|
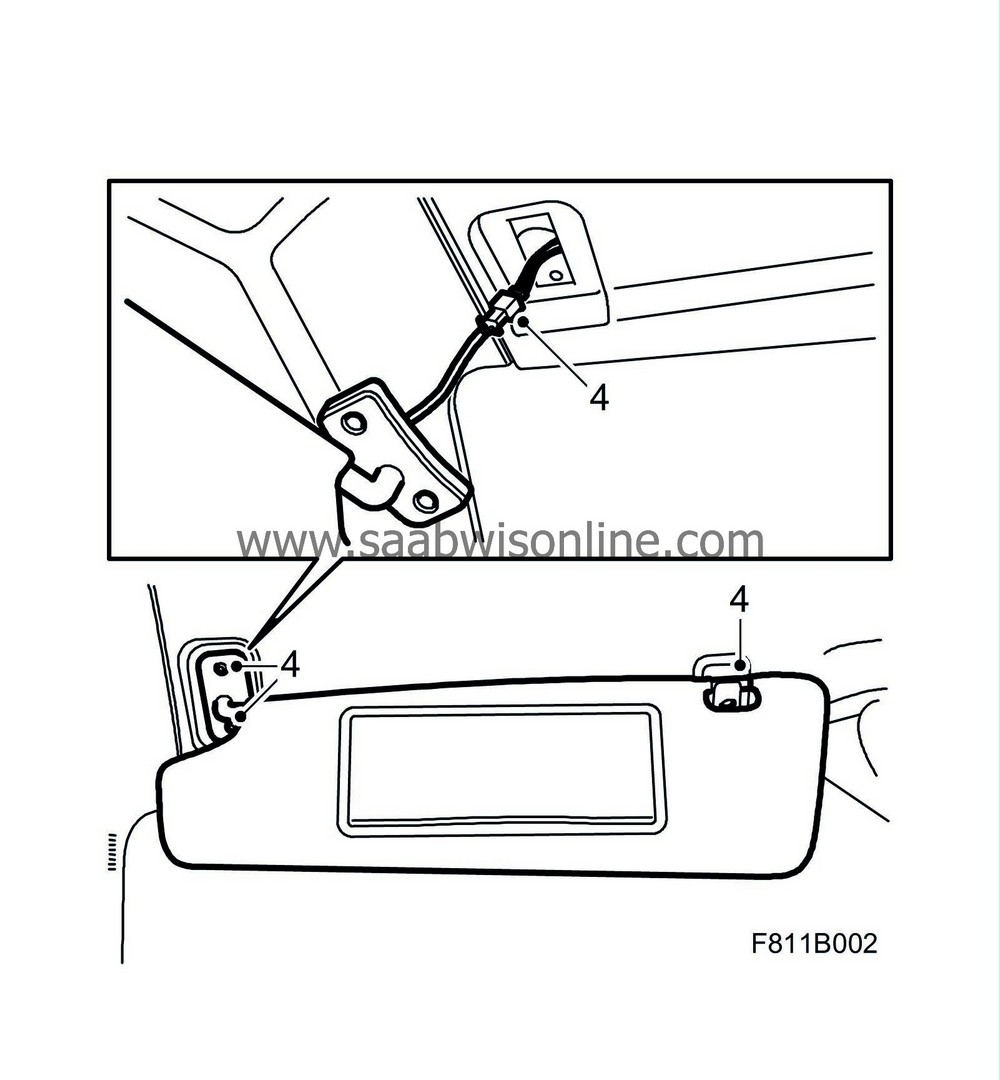
Remove the sun visor by detaching the inner and outer holders and then unplug the connector.
|
|
5.
|
Remove the windscreen frame's upper trim. Guide the trim down at the front edge and then backwards.

|
|
6.
|
Use a screwdriver and gently tap the lock pin to check that it is not moved from position. Also check visually that the lock pin is riveted.

The lock pin is correctly riveted:
- Follow
"To fit
”
steps 3 and 6-9
- Check the lock pin on the other side, follow steps 4-6.
The lock pin is not correctly riveted/is missing:
- Replace the lock fittings in accordance with the instructions
"Removing the lock fittings".
|
Removing the lock fittings
If the lock pin is not correctly riveted or is missing then it must be replaced.
|
1.
|
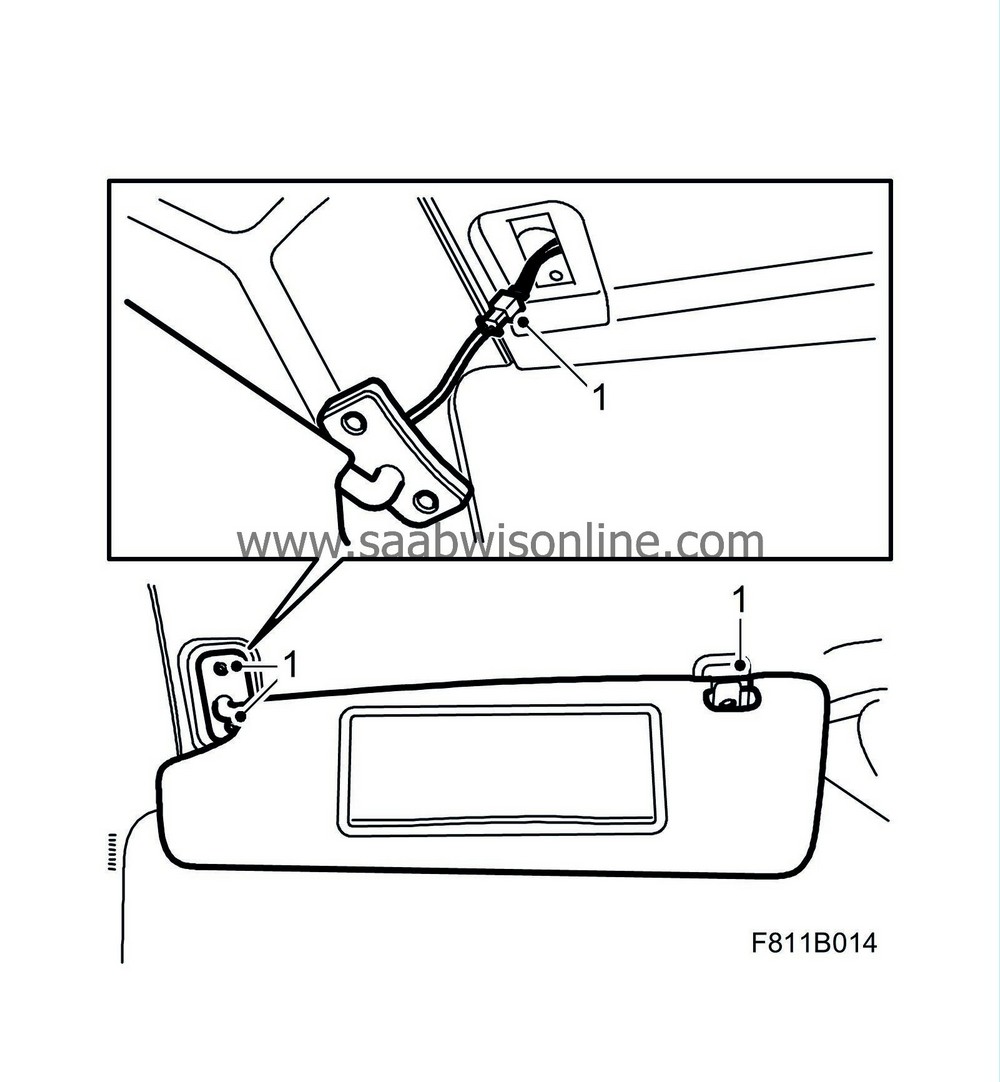
Remove the sun visor by detaching the inner and outer holders and then unplug the connectors.
|
|
2.
|
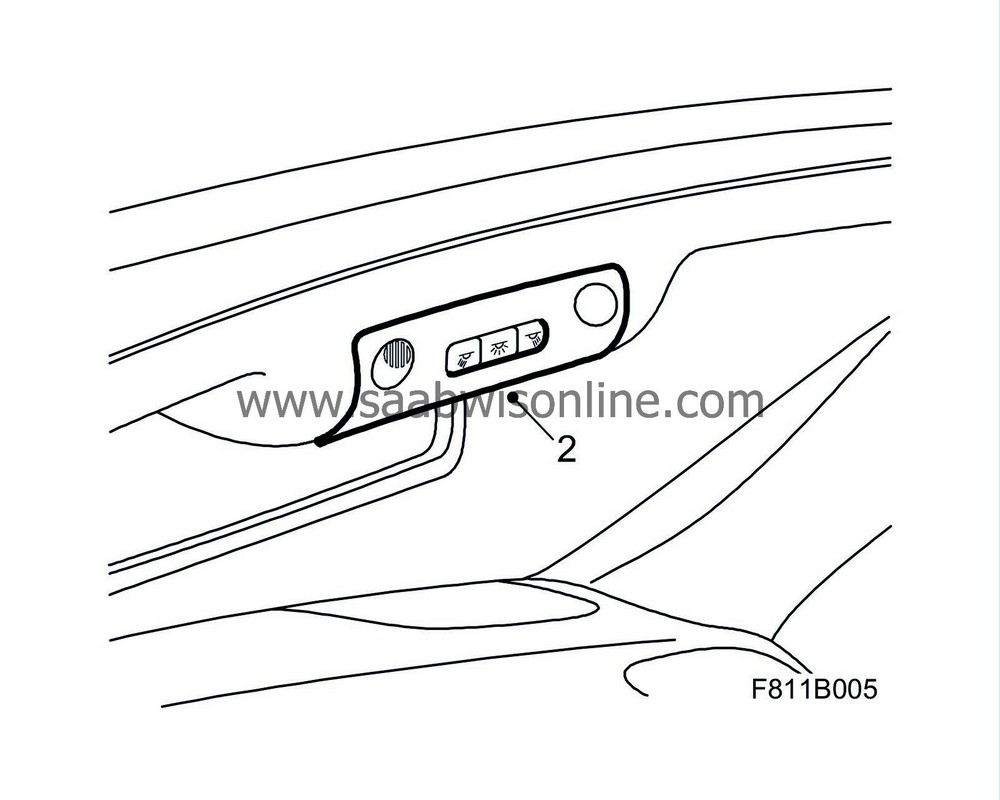
Remove the interior lighting. Use a small screwdriver or similar (Removal tool 82 93 474 is recommended).
|
|
3.
|
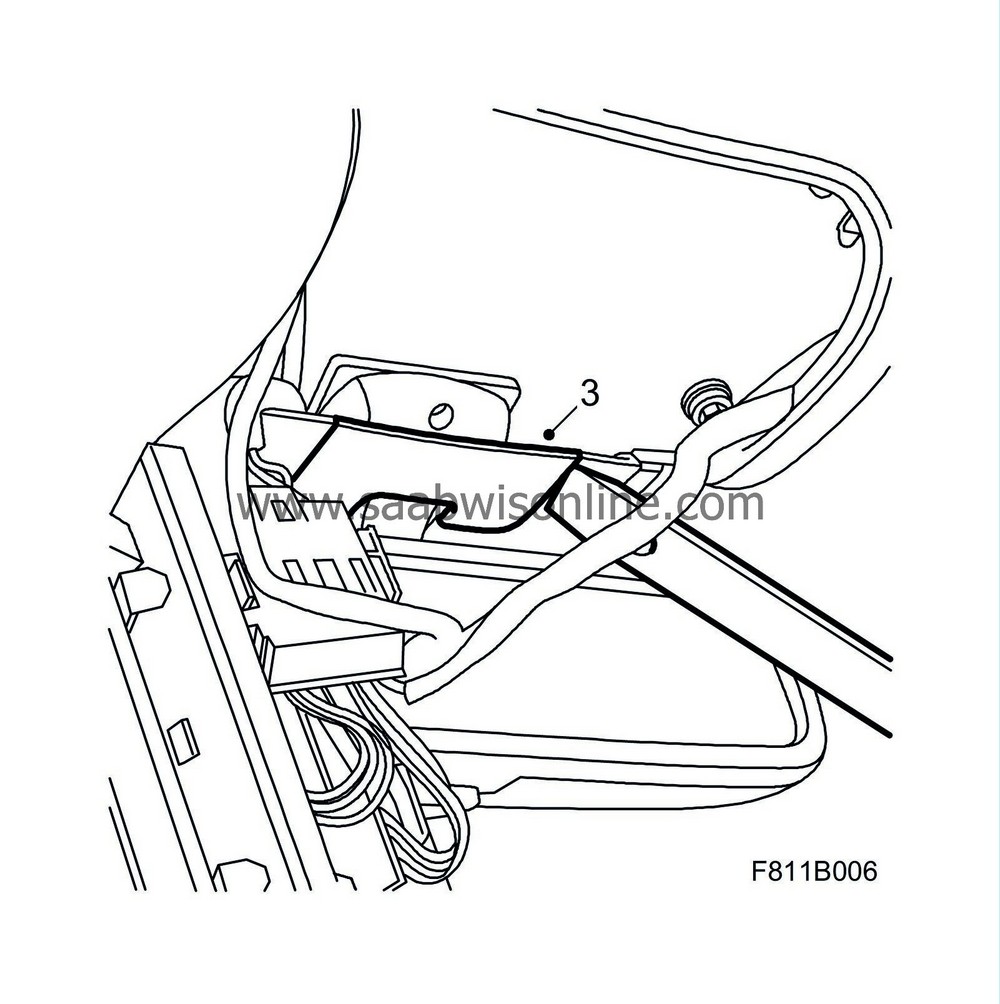
Remove the cover. Use a small screwdriver or similar (Removal tool 82 93 474 is recommended).
|
|
4.
|
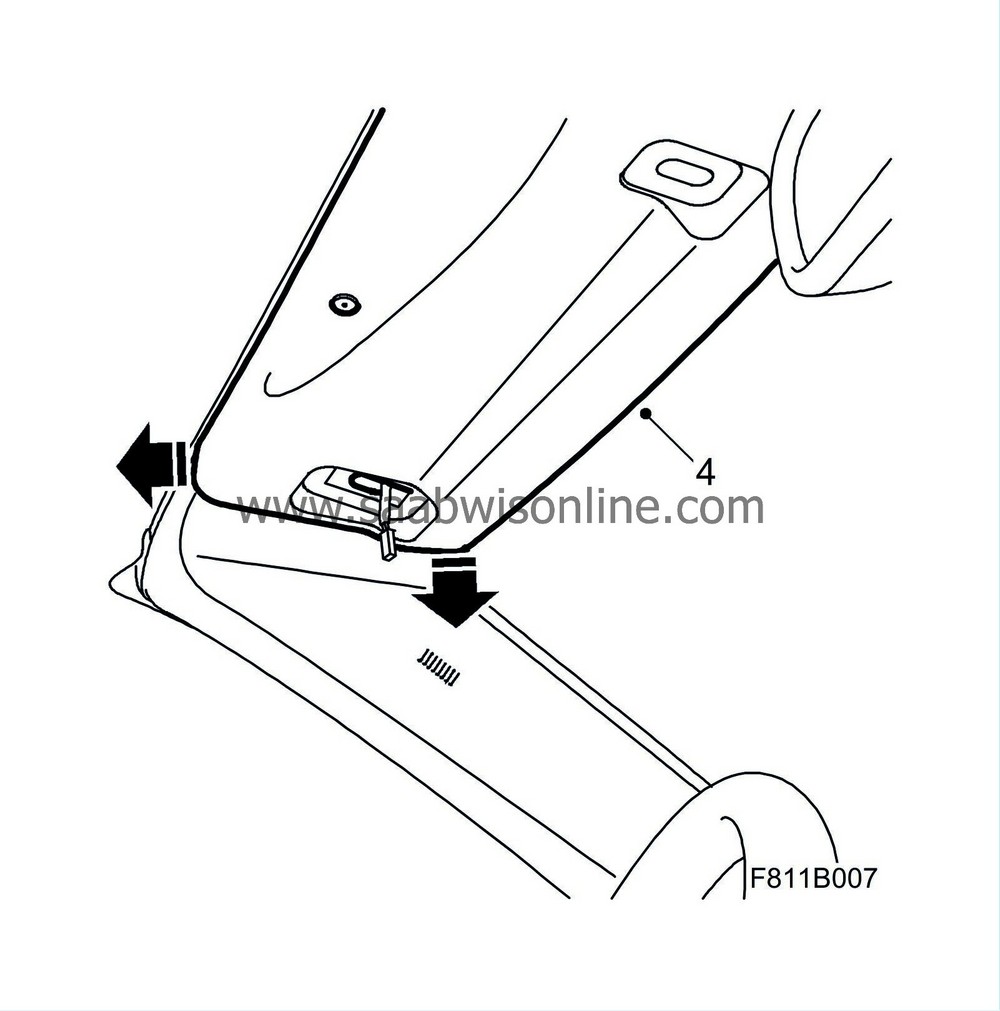
Remove the windscreen frame's upper trim. Guide the trim down at the front edge and then backwards.
|
|
5.
|
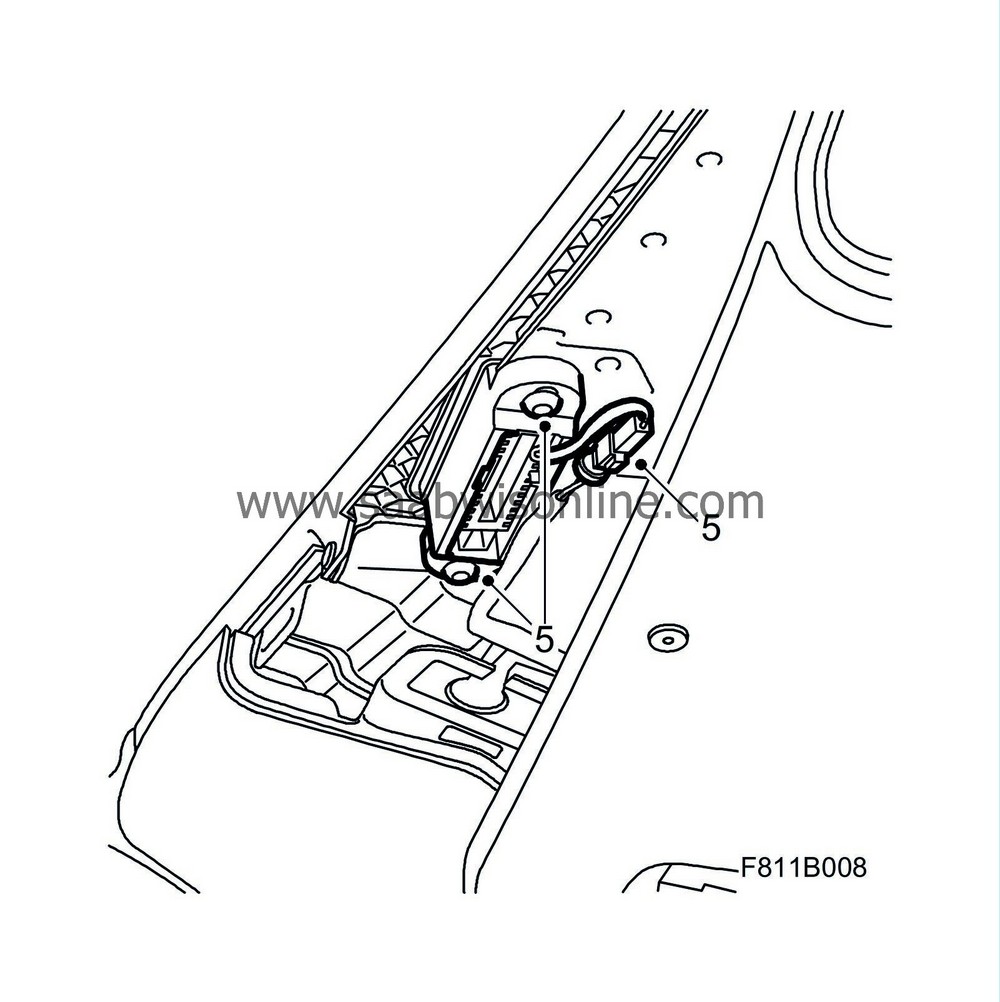
Remove the lock fittings with defective/missing rivet. Unplug the connector for the lock fittings (only on the left-hand side).
|
Note
|
|
Use protection to avoid damaging the windscreen trim, e.g. a rag.
|
|
To fit
If the lock fittings have not been replaced, carry out steps 3 and 6-9.
|
1.
|
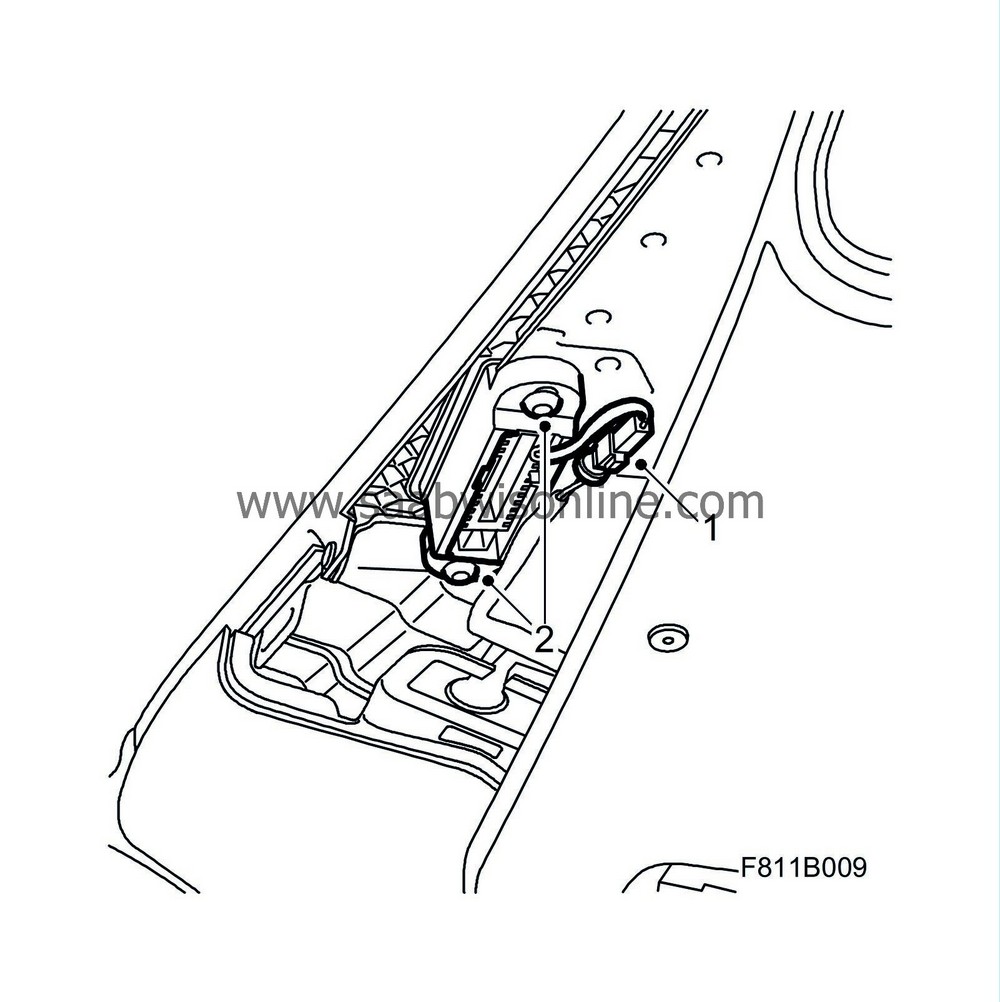
Plug the connector into the lock fittings (only on the left-hand side).
|
|
2.
|
Fit the lock fittings.
Tightening torque 9 Nm (7 lbf ft)
|
|
3.
|
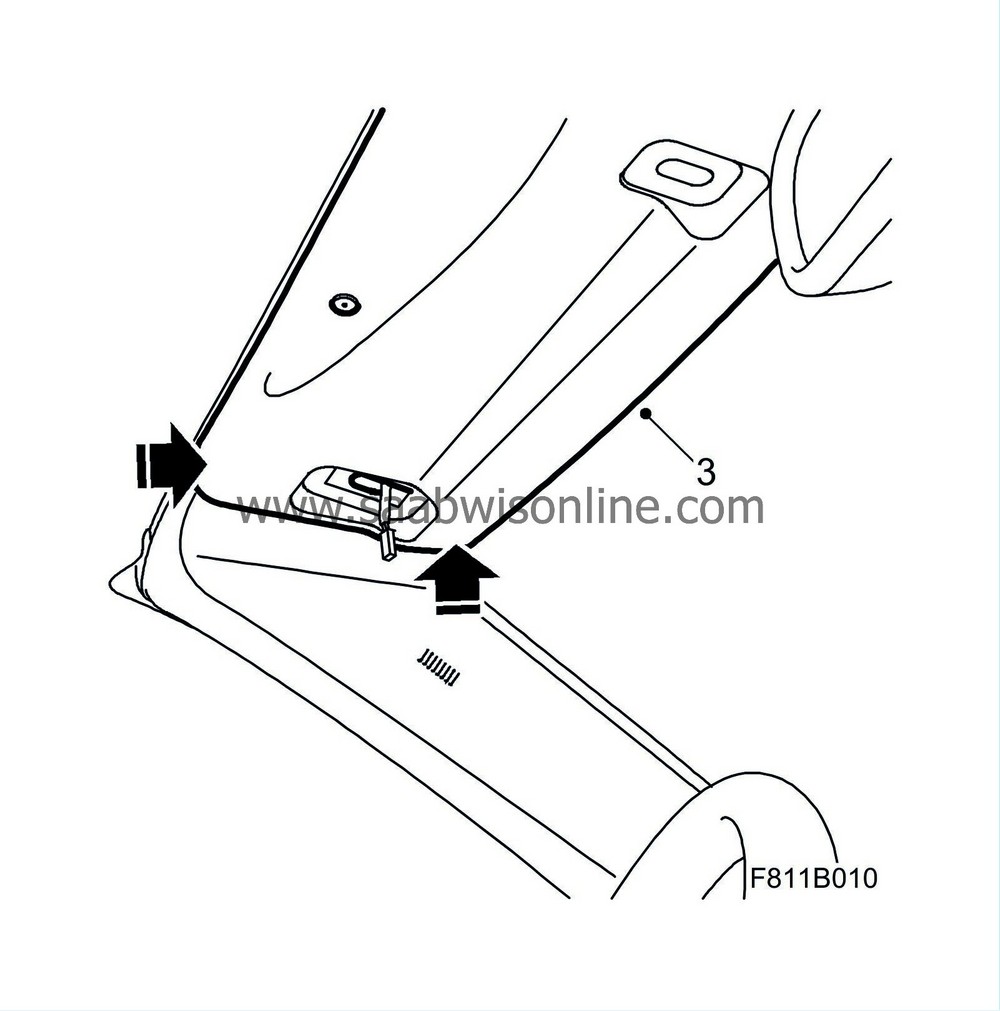
Fit the windscreen upper trim. Hook in at the rear edge and guide the front edge up.
|
|
4.
|
Fit the cover.

|
|
5.
|
Fit the interior lighting.

|
|
6.
|
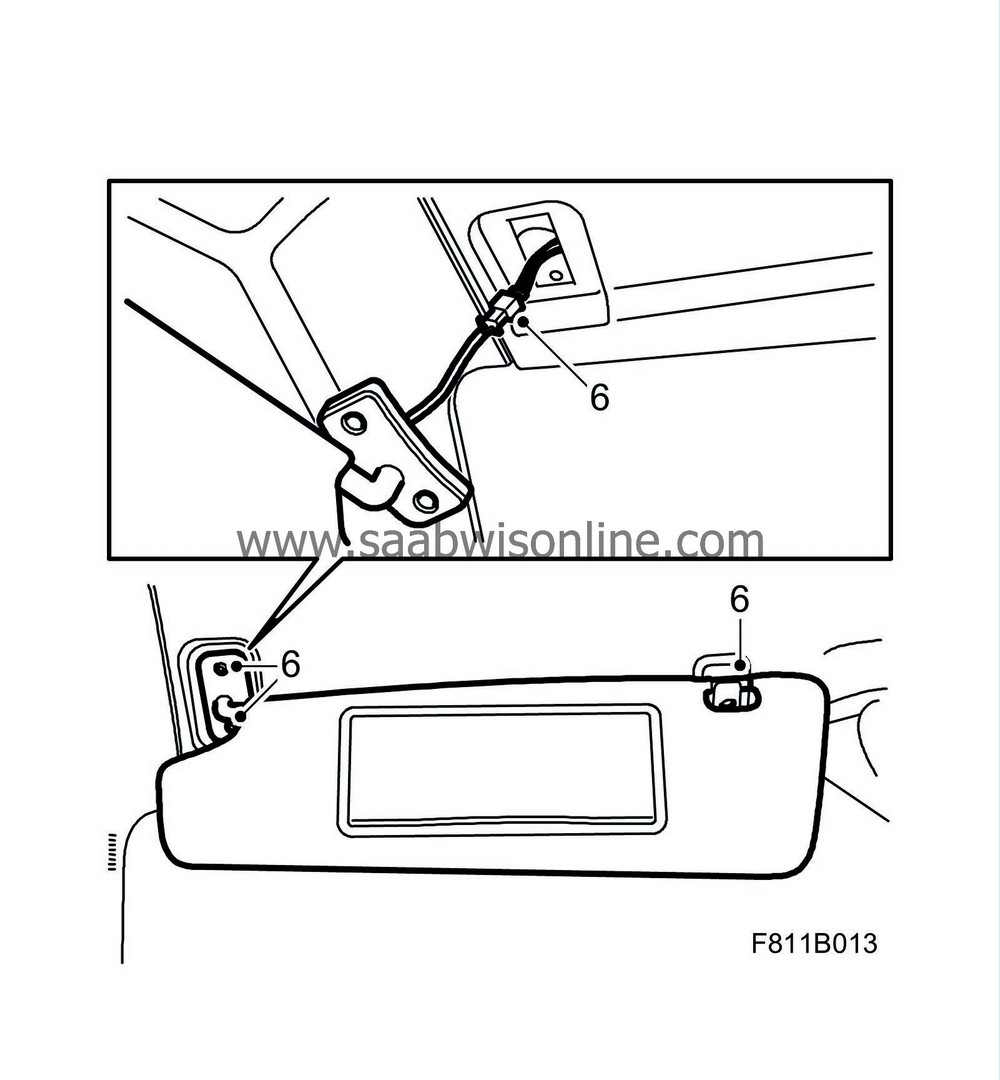
Fit the sun visor by plugging in the connectors and fitting the inner and outer holders.
Tightening torque 1 Nm (0.8 lbf ft)
|
|
7.
|
Close the soft top. Make sure that the locking hooks in the first bow engage precisely in the windscreen frame's lock fittings and that the first bow locks. The soft top must be in contact evenly on the front part of the windscreen frame and the transition to the windscreen frame must be equal on the left and right. If the soft top cannot be raised without problems or noise then the first bow locking hooks must be adjusted.
|
|
8.
|
Connect Tech2 and clear any diagnostic trouble codes.
|
|
9.
|
With new car delivery - remove the transport fuse.

|
|
Marking the modification identity plate (not US/CA)
|
After carrying out the procedure, box A2 on the modification identity plate must be marked. From and including M04 the table "Table of Modifications" can be found in the car's Warranty and Service Book. Mark the box with the number "7" if the procedure was carried out by the importer or with the number "8" if carried out by the dealer.
|
Fitting the modification identity plate (not US/CA)
|
|
Note
|
|
A modification identity plate must only be fitted where local directives require the marking of the car.
|
Fit the modification identity plate in accordance with WIS
9-3 (9440) M04 - General - General - Technical data - Plates and labels
|
Warranty/Time Information
|
See separate information.


