Rear door panel
| Rear door panel |
| To remove |
| 1. |
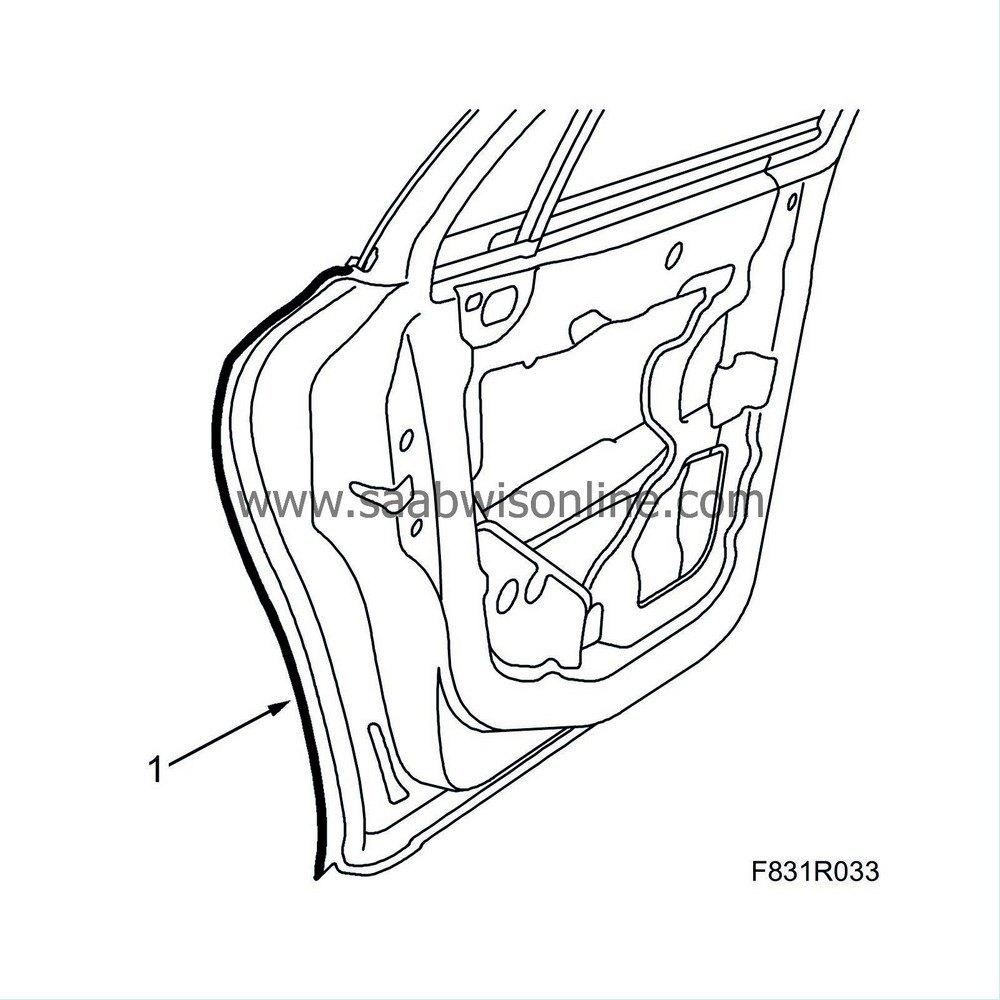
The outer door panel is folded over the door framework at the back. Grind away the fold so that the outer door panel comes loose.

|
|
| 2. |
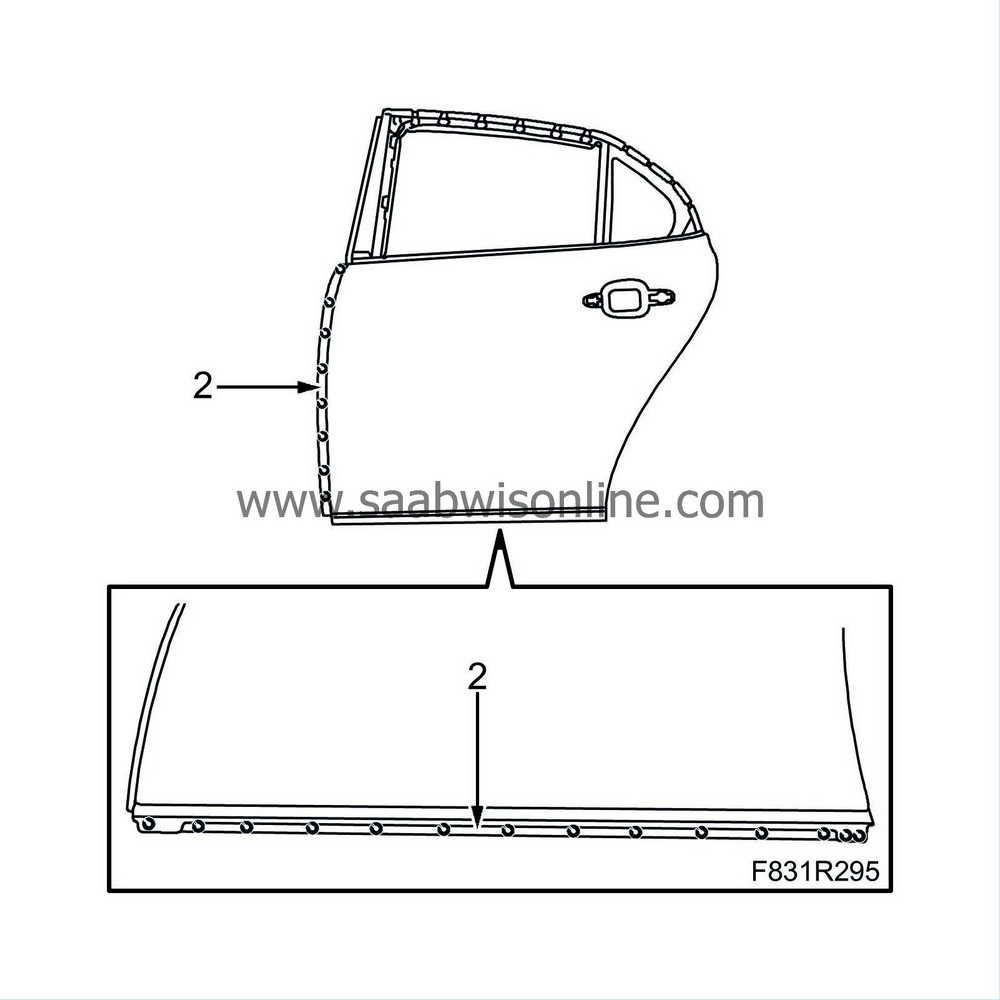
Drill out the spot welds.

|
|
| 3. |
Knock the outer door panel loose and lift it away.
|
|
| 4. |
Remove the remaining metal folds inside the door framework.
|
|
| 5. |
Align the edges of the door structure and grind clean the door structure.
|
|
| To fit |
| 1. |
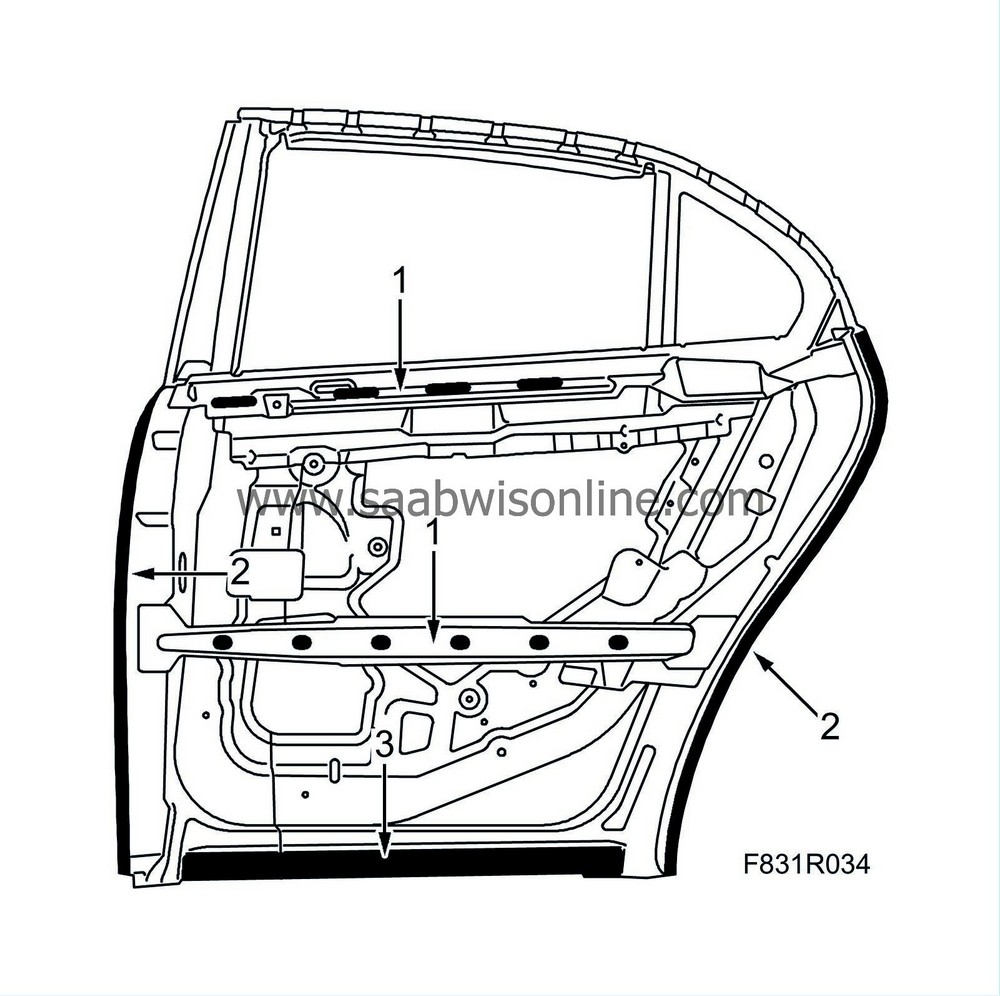
Apply sealant on the impact members. Use Terostat 1k-PUR.

|
|
| 2. |
Apply adhesive to the front and rear edges of the door framework. Use Teromix 6700.
|
|
| 3. |
Apply welding primer to the bottom edge of the door framework. Use Teroson zinc spray.
|
|
| 4. |
Position the new outer door panel, making sure the metal folds are against the door framework. Secure the clamps.

|
|
| 5. |
Spot weld on the door frame at the front edge and the bottom. Knock down and clamp the upper outer door panel metal fold.

|
|
| 6. |
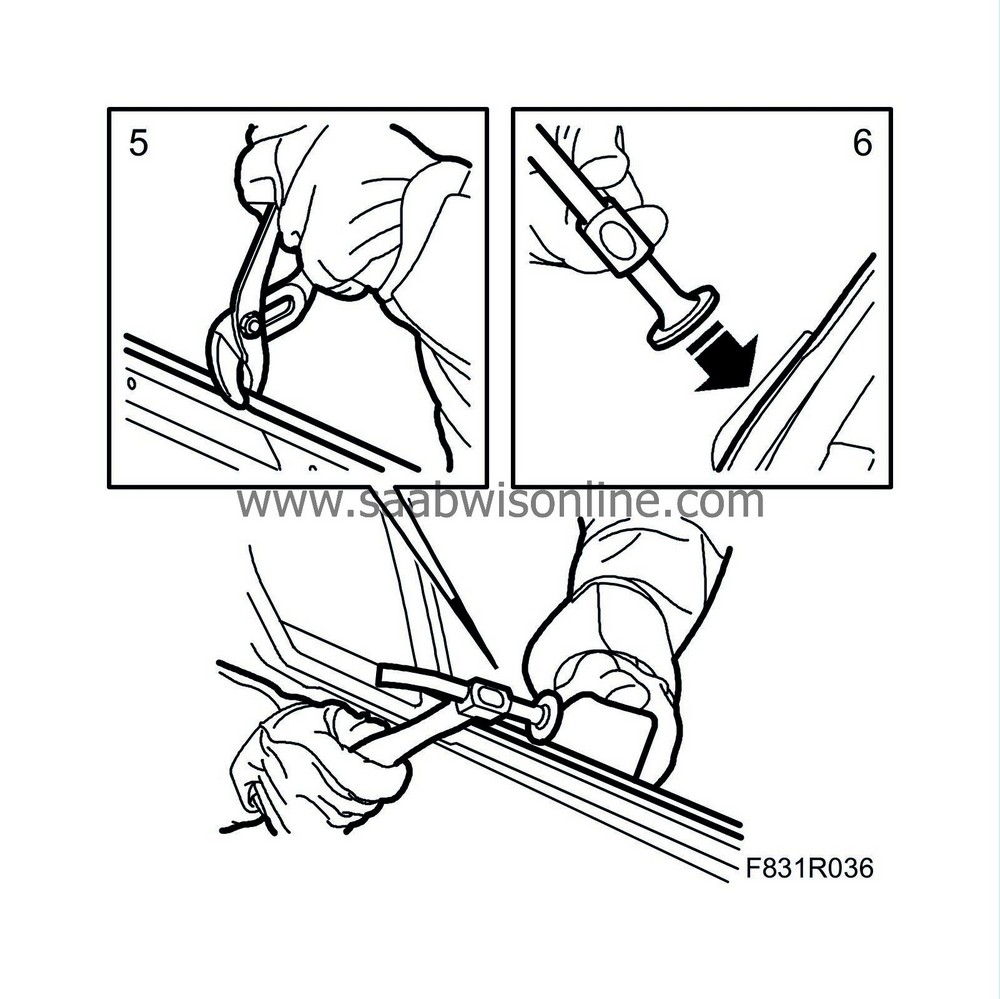
Knock in the metal fold on the rear edge of the door with a hammer. Do not use pliers as they may damage the outside of the door.
|
|
| 7. |
Fit the door in place and check its fit and alignment with the body. Adjust as necessary.
|
|
| 8. |
Wash away surplus welding primer. Welding primer reduces the adhesion of paint, filler and sealant.
|
|
| 9. |
Apply primer to all bare metal surfaces. Use Standox 1K Fullprimer.
|
|
| 10. |
Use Terostat 1K-PUR to seal joints and metal folds.
|
|
| 11. |
Apply anti-corrosion agent to the door after it has been painted.
|
|


