Ignition Switch Module, ISM
| Ignition Switch Module, ISM |
| Important | ||
|
ESD-SENSITIVE COMPONENT |
||
|
Earth yourself by touching the car body before plugging in/unplugging components. Do not touch the component pins, see Removing electronic components . |
||
| To remove |
| 1. |
Operate/move the seats to their rearmost positions.
|
|
| 2. |
Remove the front side pieces from the floor console.

|
|
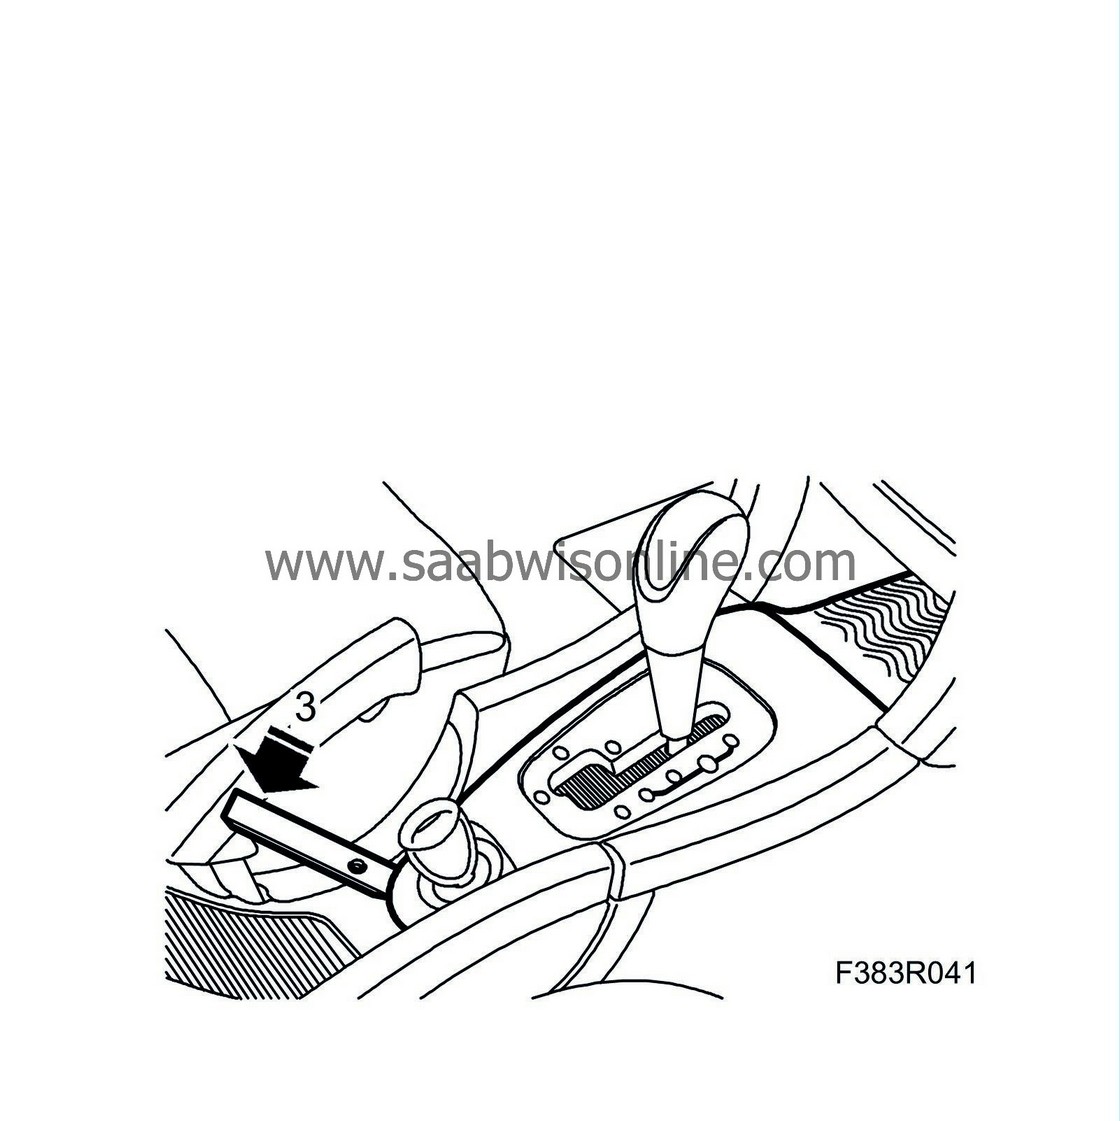
| 3. |
Remove the cover from over the gear lever housing, use
82 93 474 Removal tool
in the rear edge of the cover and pull back.
|
|
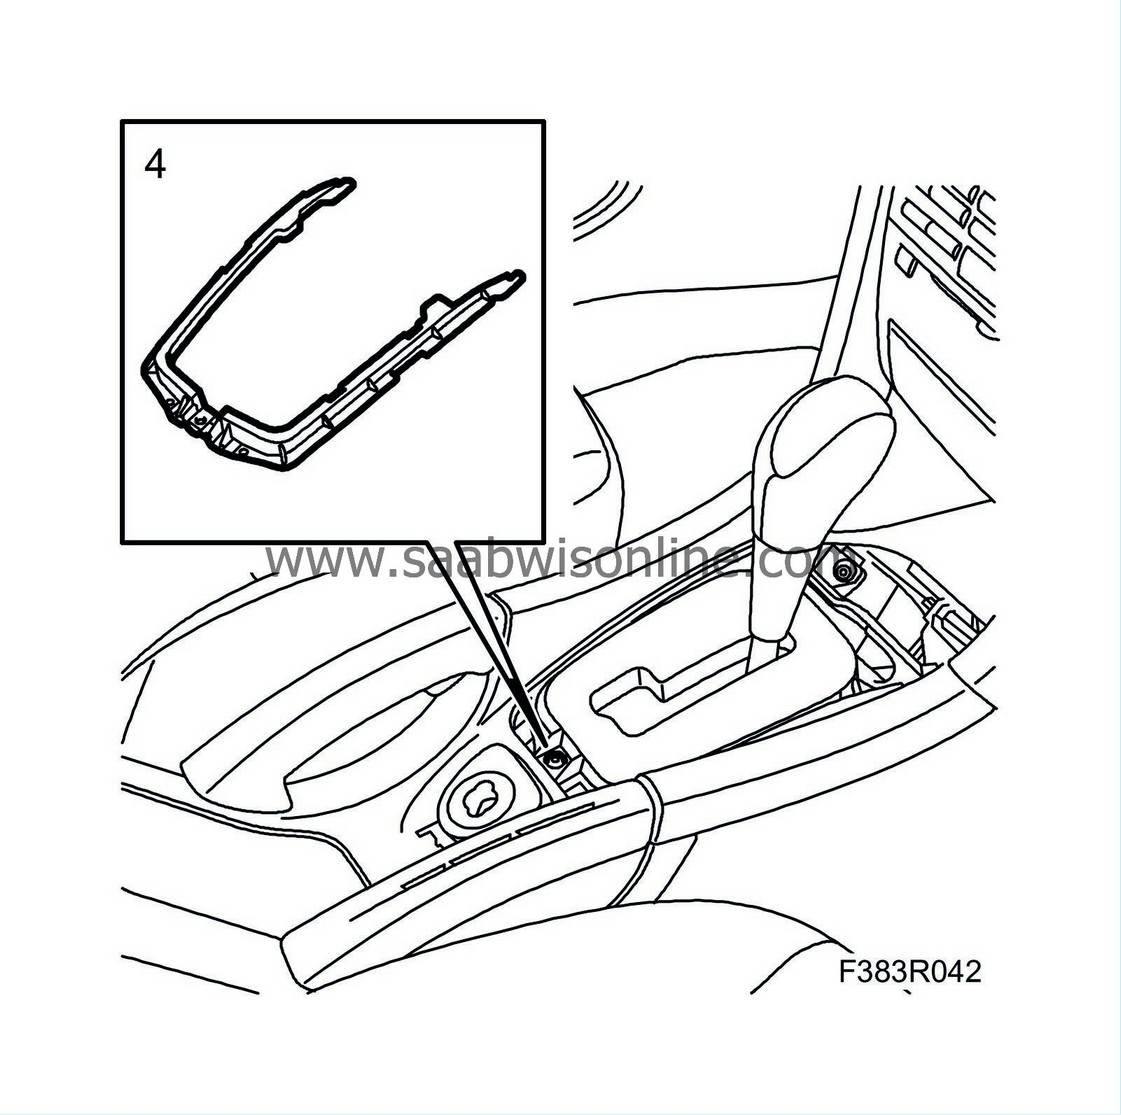
| 4. |
AUT:
Remove the clamp.
|
|
| 5. |
Remove the cover under the handbrake by pulling it straight out.

|
|
| 6. |
Remove the cover on the passenger side by squeezing the cover and lifting it up. Remove the compartment under the cover on the passenger side.
|
|
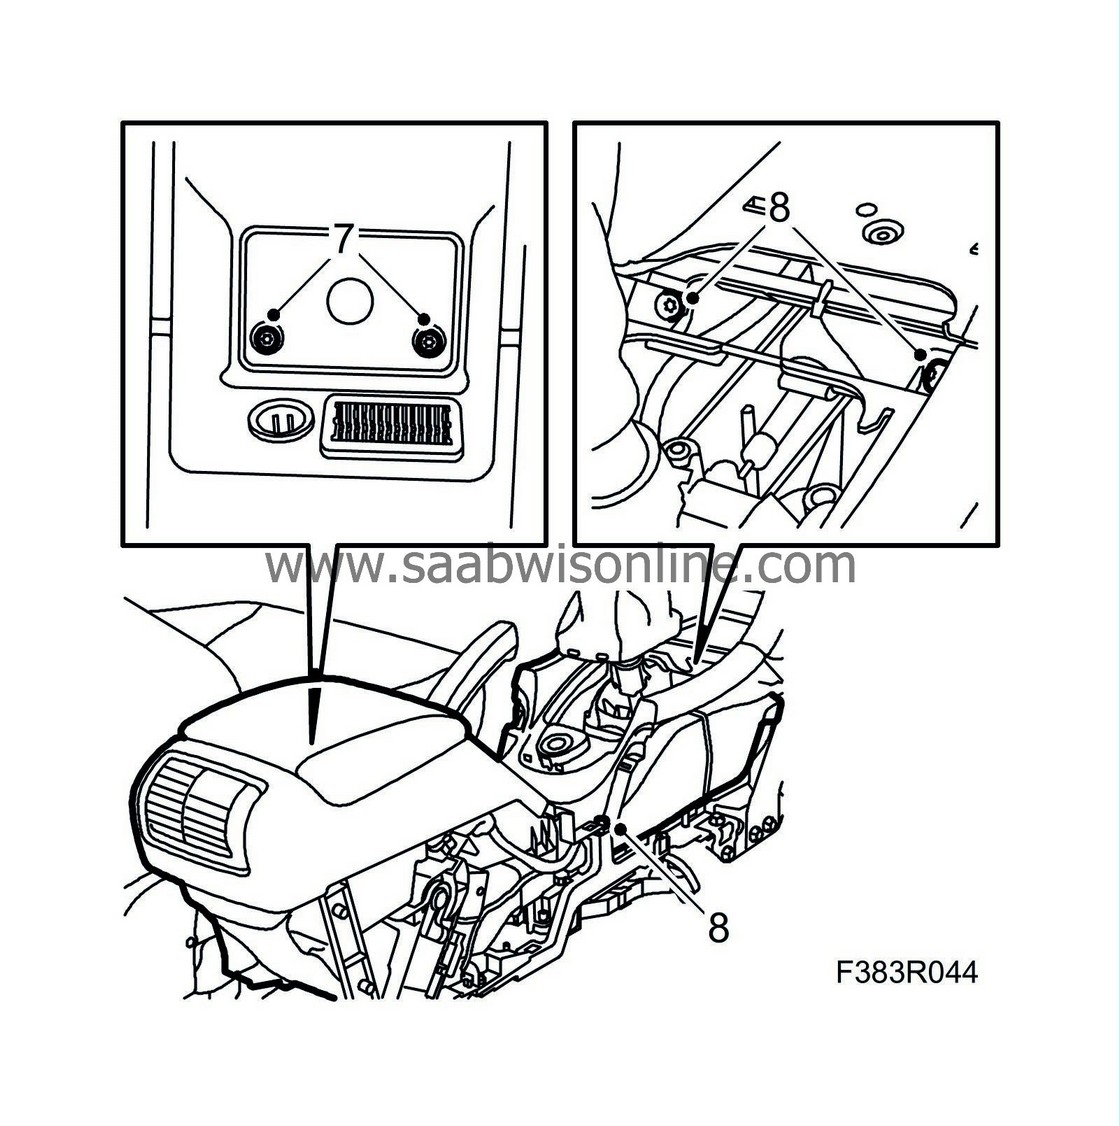
| 7. |
Lift up the rubber mat in the floor console storage compartment and remove the screws.
|
|
| 8. |
Remove the floor console screws, note that the screws for plastic and aluminium are different.
|
|
| 9. |
Remove the sound insulation (certain cars).
|
|
| 10. |
Press in the four catches (two on each long side) and press down the ignition switch module.

|
|
| 11. |
Lift up the floor console slightly and remove the ignition switch module.

|
|
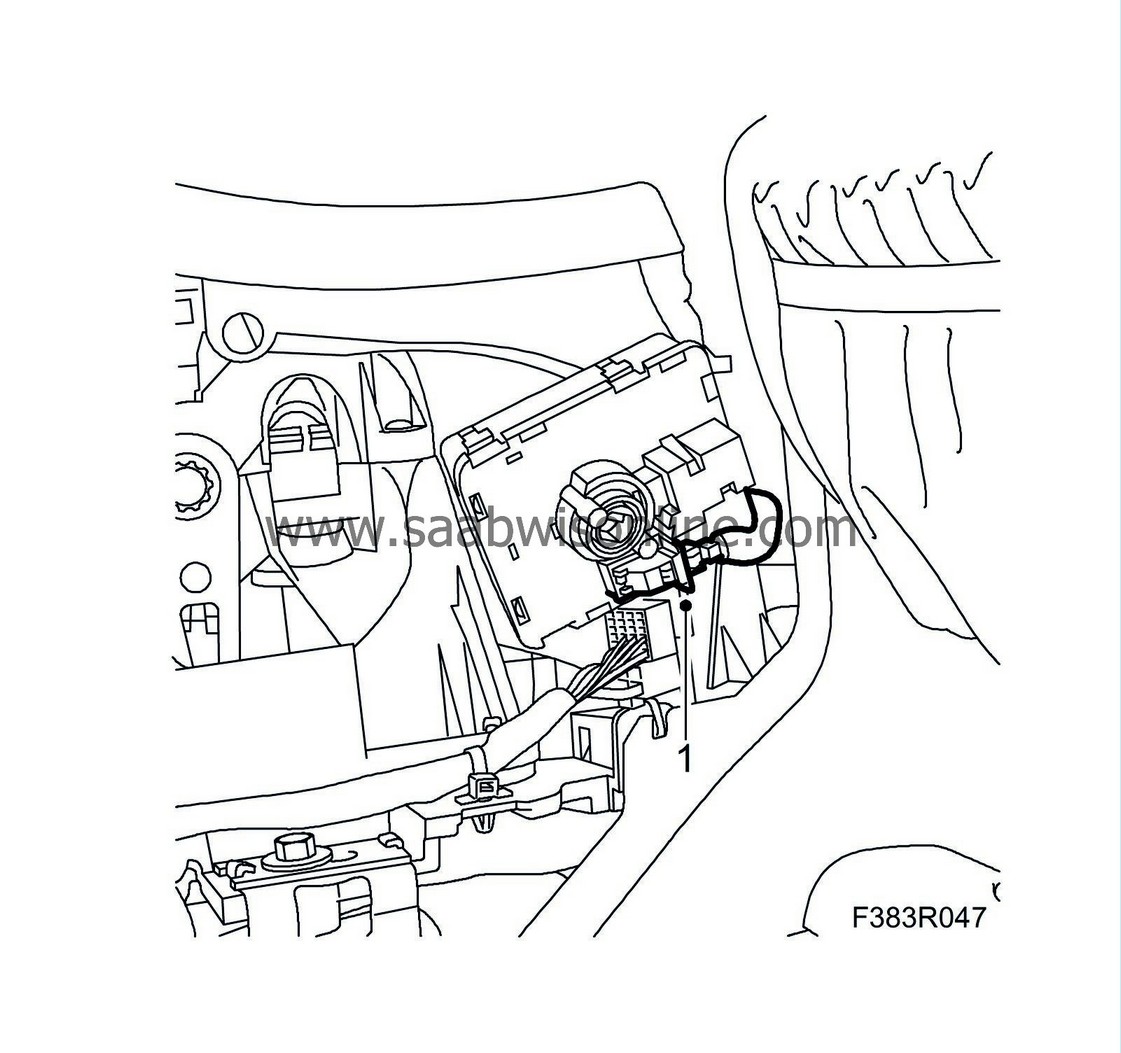
| 12. |
Remove the connector, see
Connectors, handling and checking
item 1D.
|
|
| To fit |
| 1. |
Plug in the connector to the ignition switch module, see
Connectors, handling and checking
item 1D.
|
|
| 2. |
Lift up the floor console slightly and fit the ignition switch module. Make sure all four catches are in the correct position.

|
|
| 3. |
Fit the floor console screws and tighten them. Put the rubber mat back into the storage compartment.

|
|
| 4. |
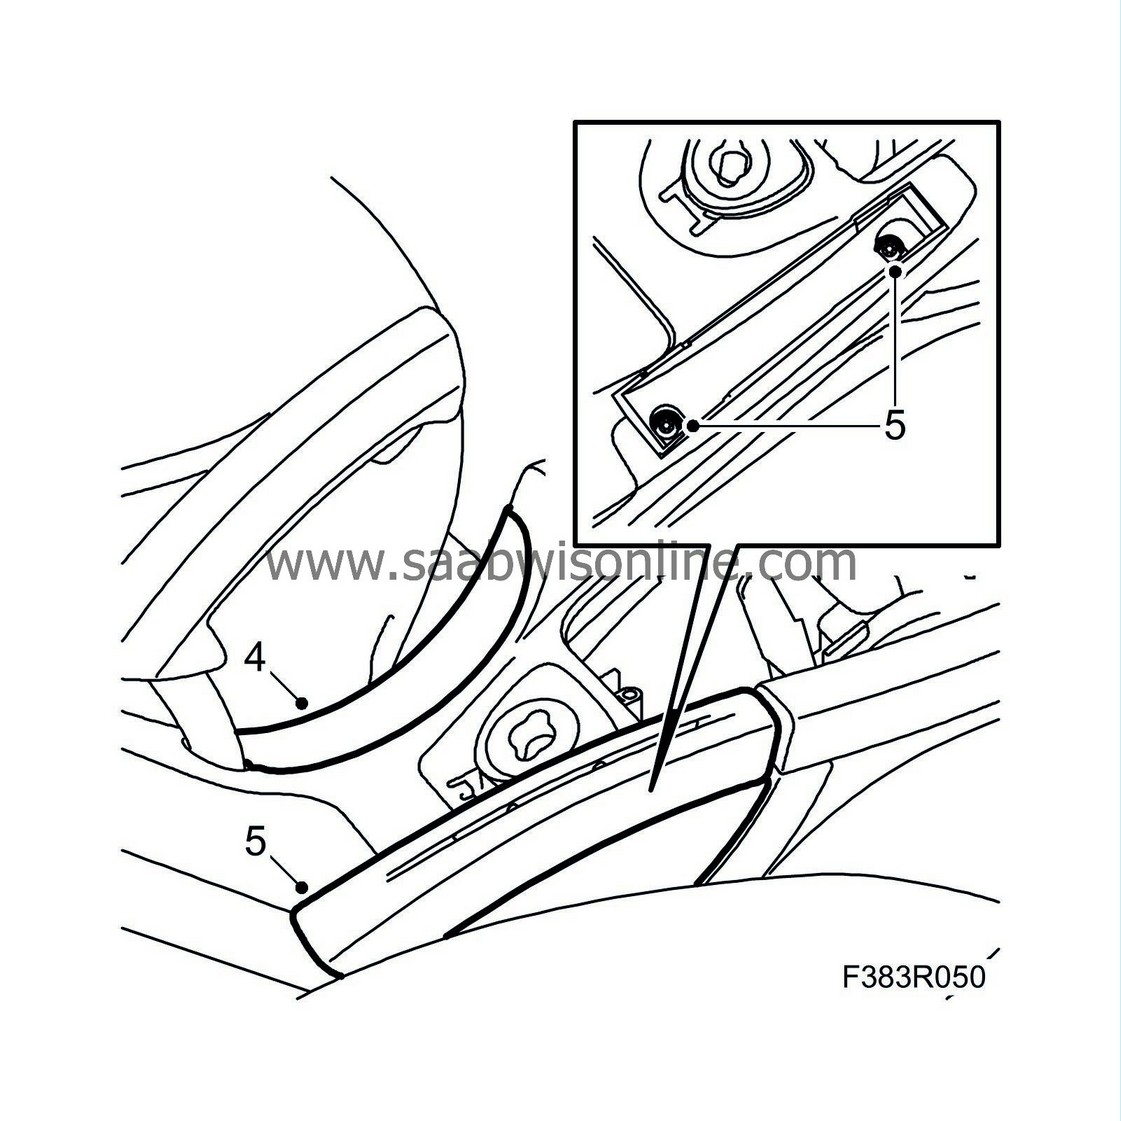
Fit the cover under the handbrake lever.
|
|
| 5. |
Fit the compartment and cover on the passenger side.
|
|
| 6. |
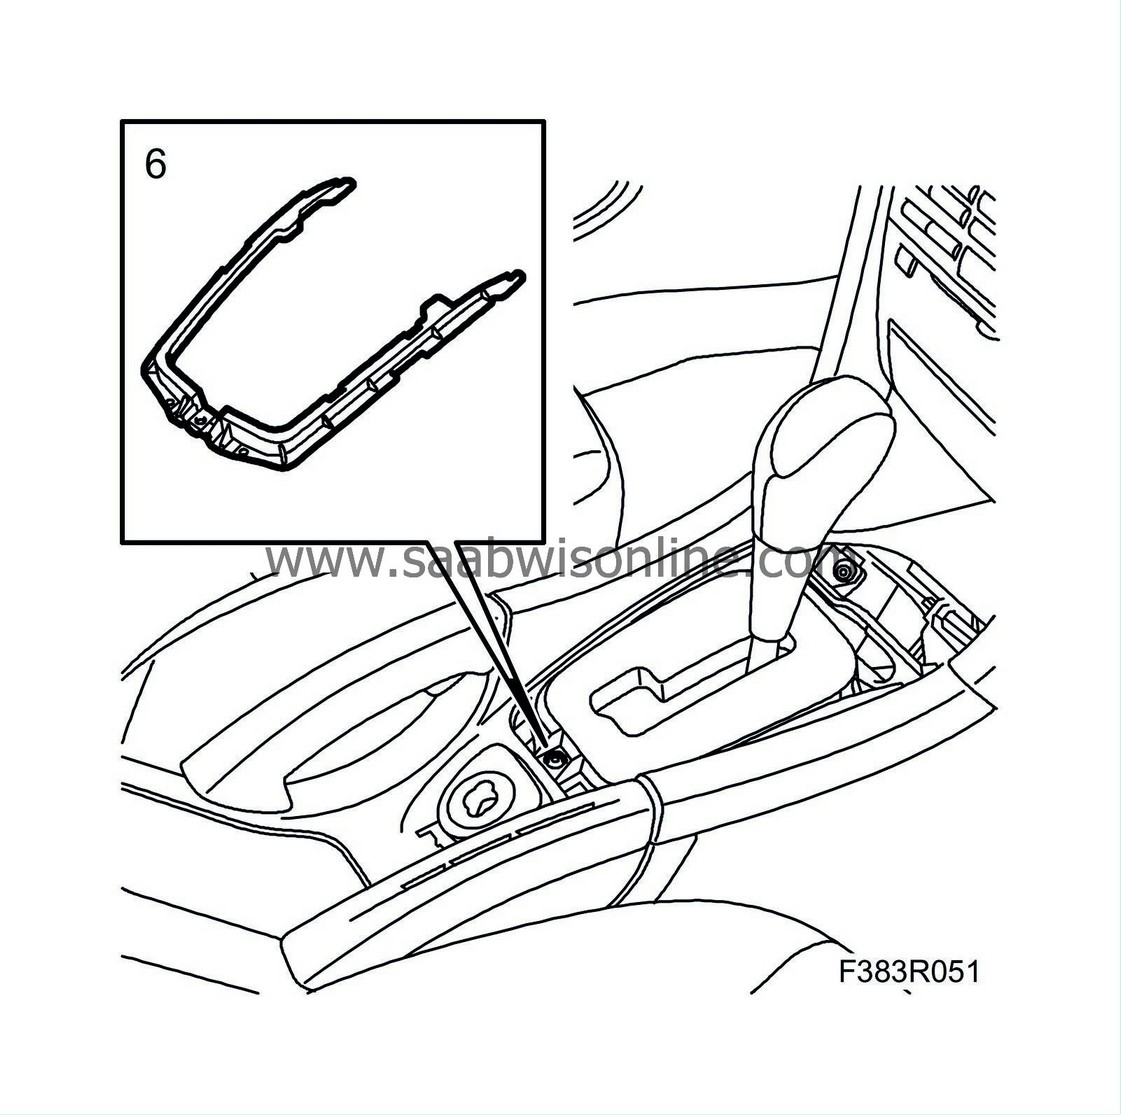
AUT:
Fit the clamp.
|
|
| 7. |
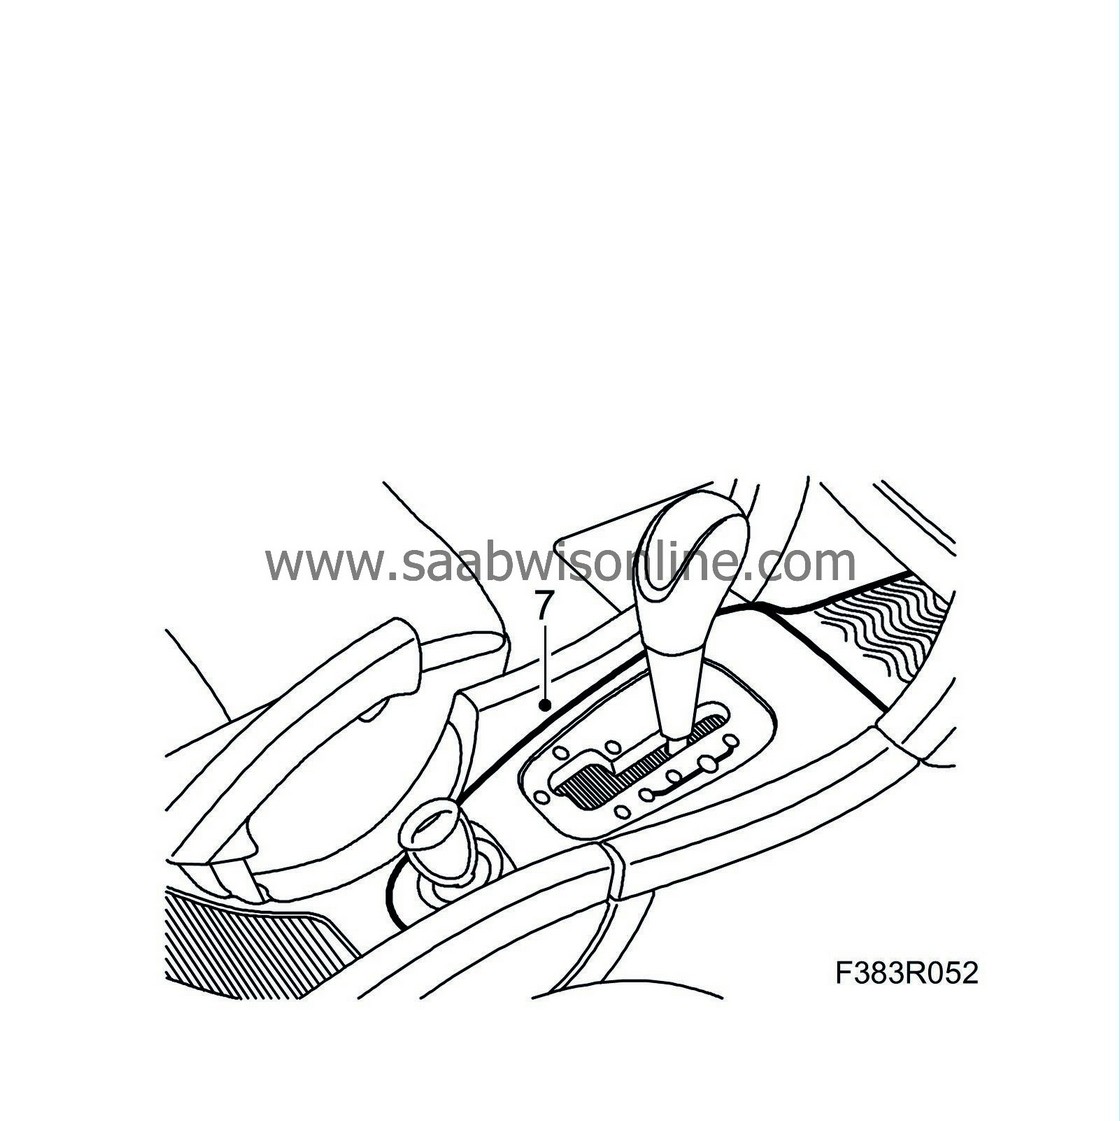
Fit the cover over the gear lever housing.
|
|
| 8. |
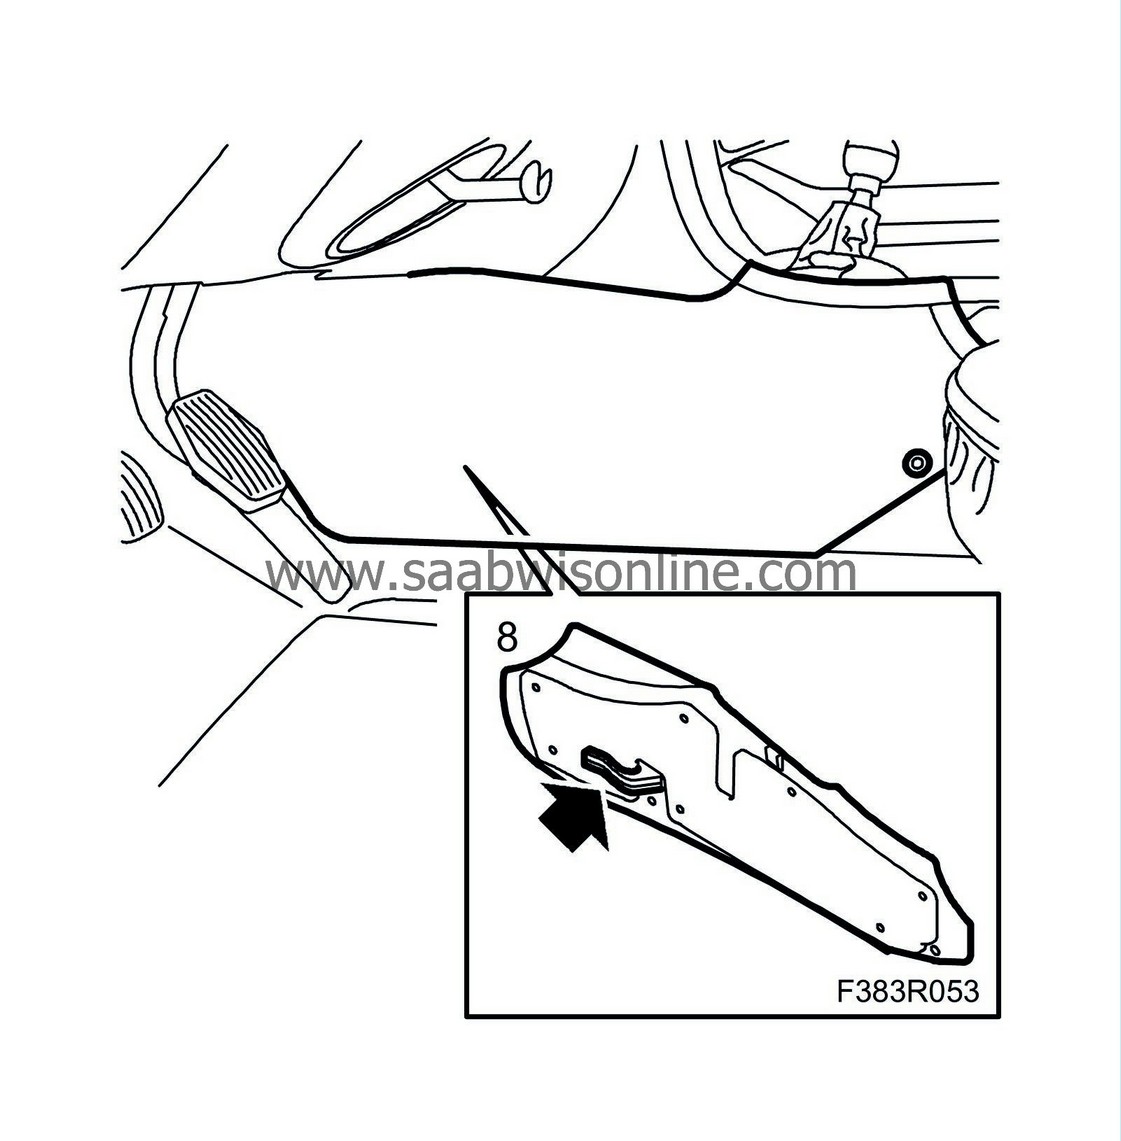
Fit the front side pieces on the floor console.
|
|
| 9. |
Connect Tech2 and clear any DTCs.
|
|


