Changing the headlining, 4D, US/CA
| Changing the headlining, 4D, US/CA |
| To remove |
|
|||||||
| Note | ||
|
Pay attention to cleanliness so that the headlining does not become dirty. |
| 1. |
Remove
the sun visor
.
|
|
| 2. |
Remove
the parcel shelf trim
.
|
|
| 3. |
Remove the
A-pillar trim
. Disconnect the connector from the interior lighting and detach its mounting clips on the A-pillar.
|
|
| 4. |
Remove
the B-pillar trim
.
|
|
| 5. |
Remove
The C-pillar trim
.
|
|
| 6. |
Release the clips attaching the REC (Rear Electrical Centre) wiring harness.

|
|
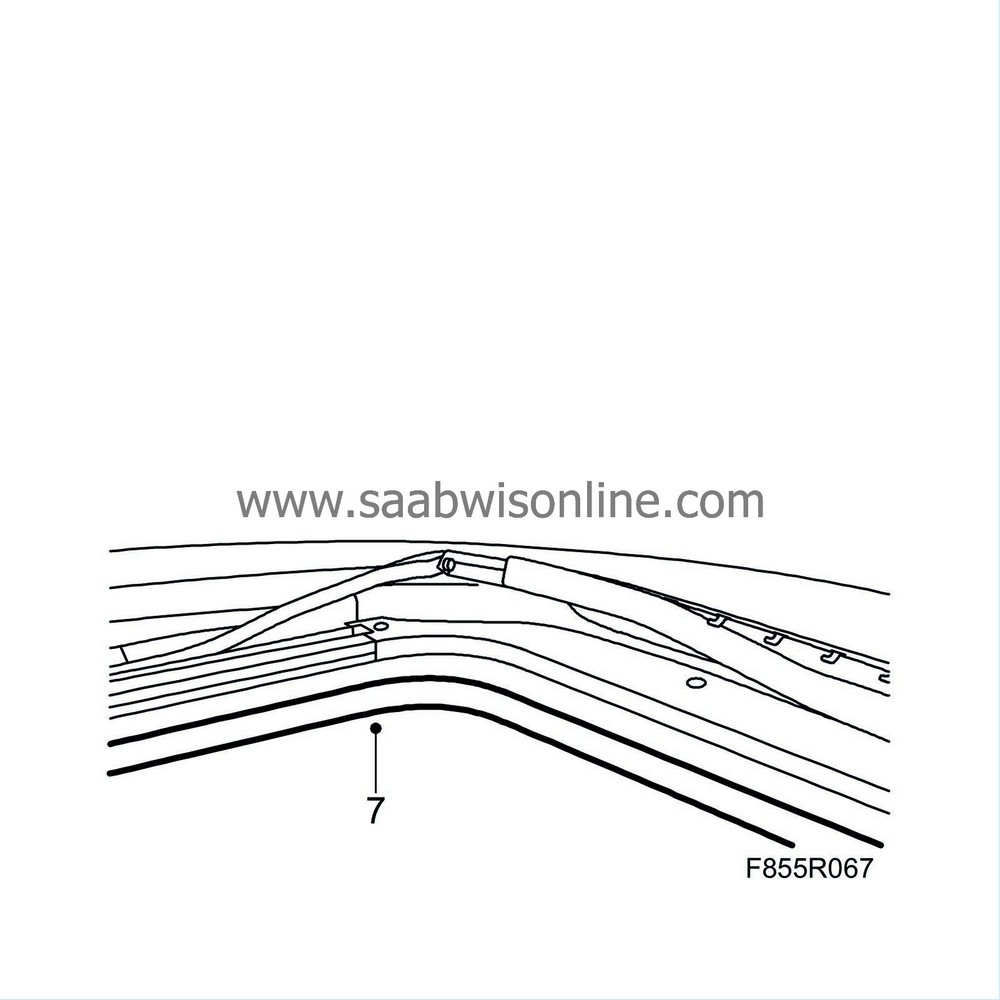
| 7. |
Where appropriate.
Remove the LH speaker from the parcel shelf. |
|
| 8. |
Disconnect the inner roof connector from the REC and thread the wiring harness up through the parcel shelf.
|
|
| 9. |
Remove the roof light by carefully pulling down on the rear edge of the rear section of the light cover.

|
|
| 10. |
Pull carefully downwards on the rear edge of the forward section of the roof light cover.
|
|
| 11. |
Detach the rear-view mirror and unplug its connector.

|
|
| 12. |
Remove the rain sensor cover.
|
|
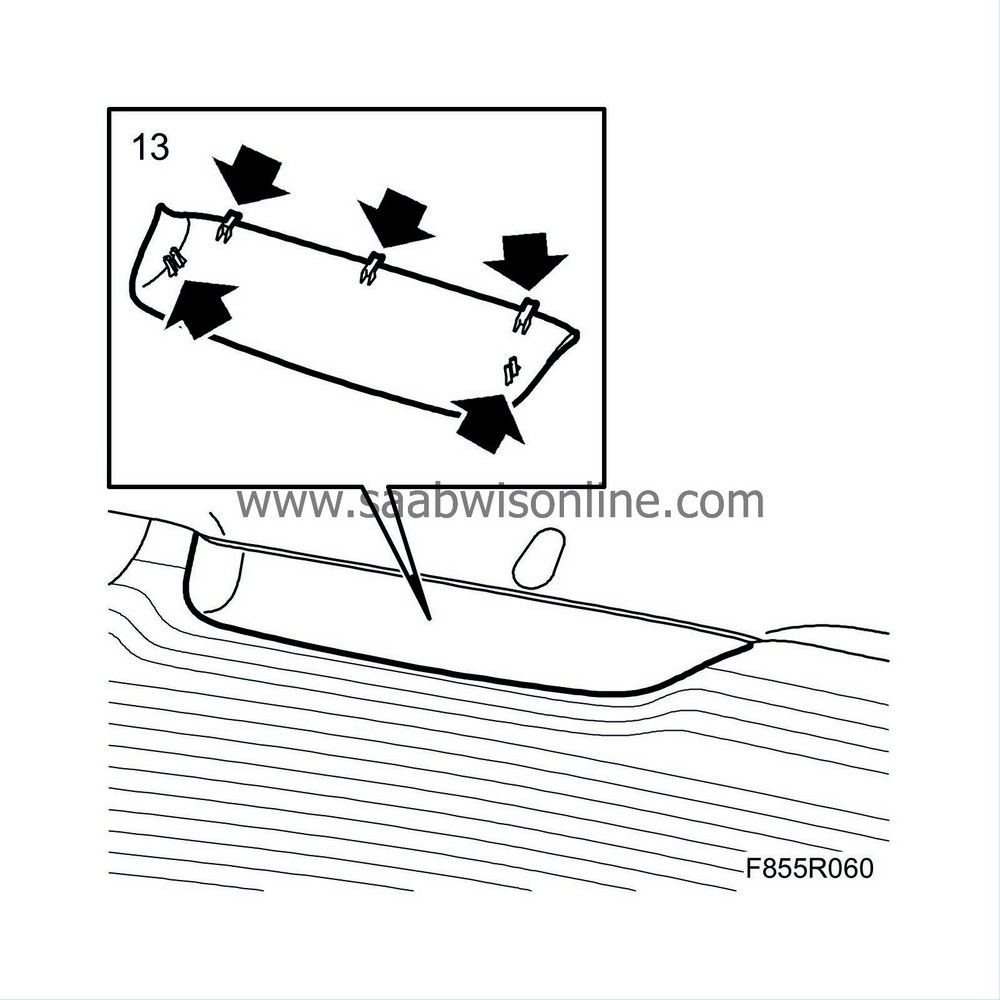
| 13. |
Remove the cover from the elevated brake light by carefully pulling the cover downwards and backwards. Remove plug from the rear edge of the headlining.
|
|
| 14. |
Remove
the courtesy handle
.
|
|
| 15. |
Cars with sunroof:
Remove the decor strip's catch by pulling it forward. Then remove the decor strip. |
|
| 16. |
Release the headlining clips by first carefully releasing the clip locks and then pulling downwards around the edges of the headlining. Take down the headlining.
|
|
| 17. |
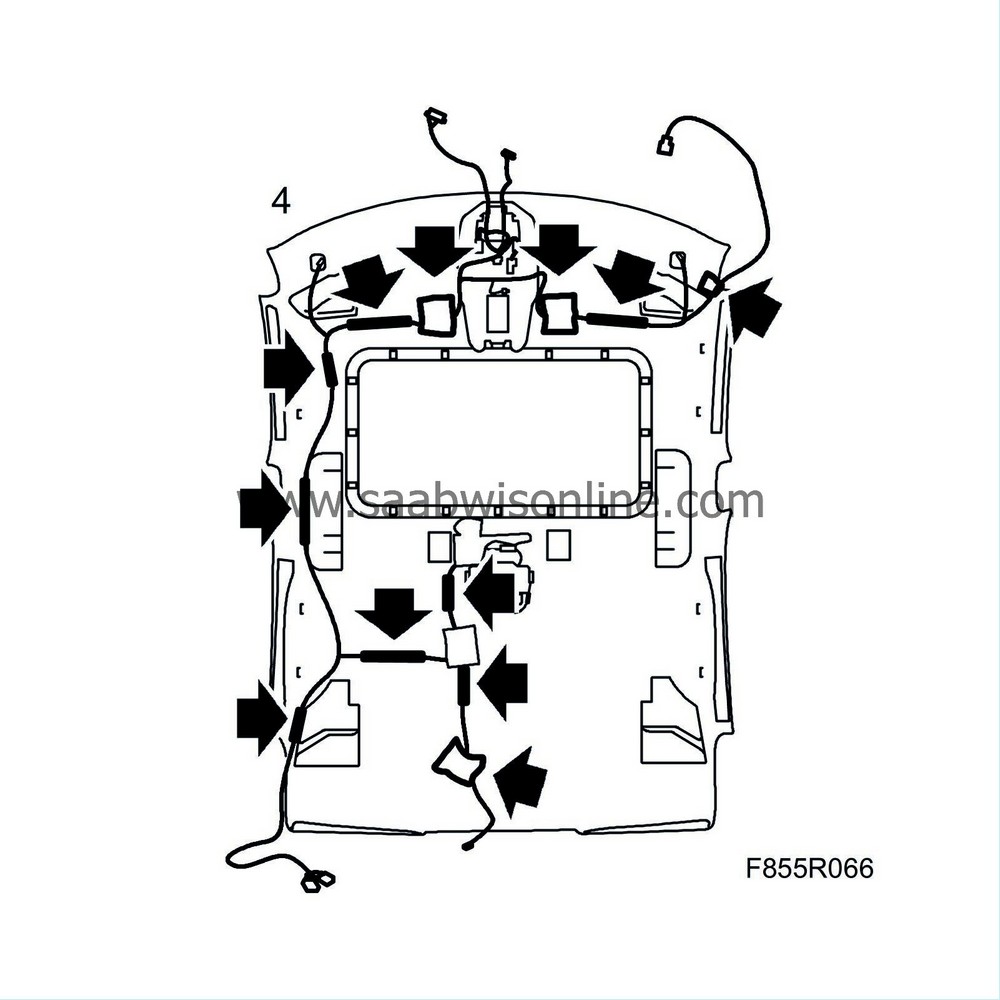
Unplug the connectors from the roof lining wiring harness. 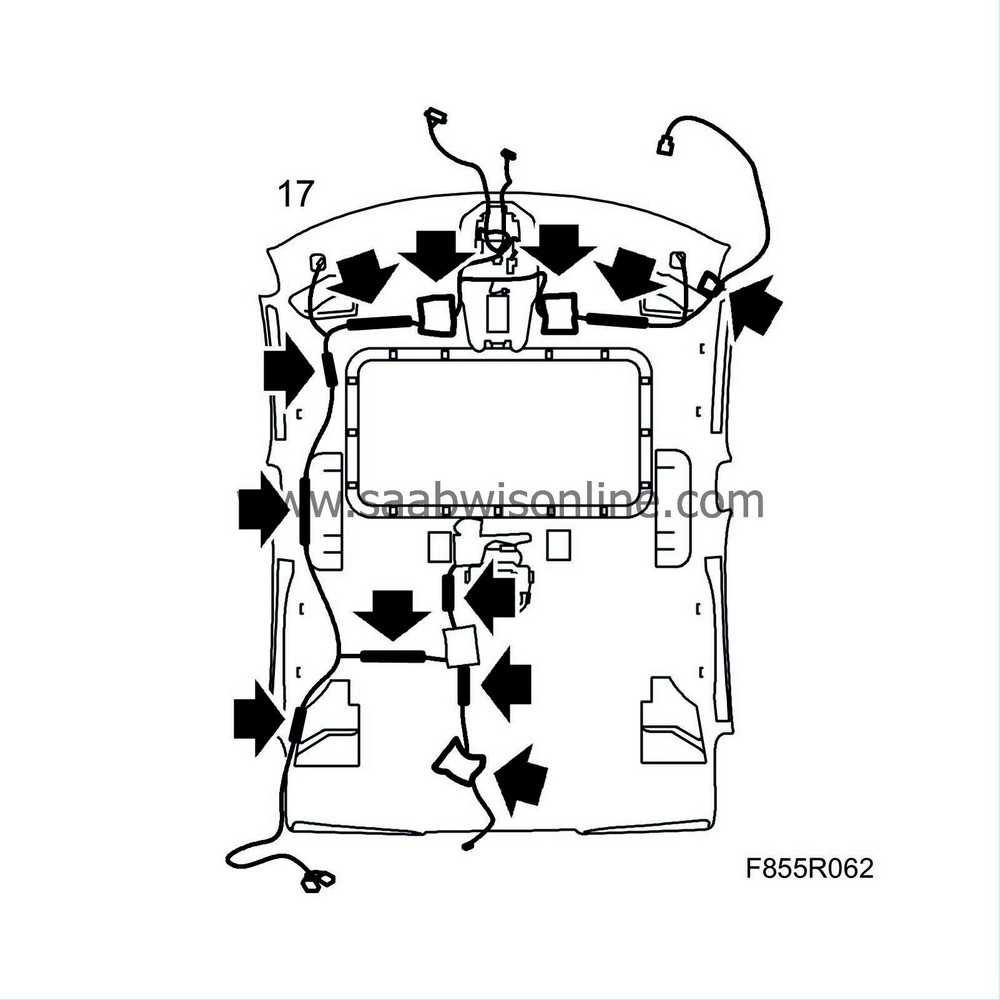
|
|||||||
| 18. |
Remove the left-hand
rear door
.
|
|
| 19. |
Remove the
rear door weatherstrip
.
|
|
| 20. |
Take out the headlining through the door opening.

|
|
| To fit |
|
|||||||
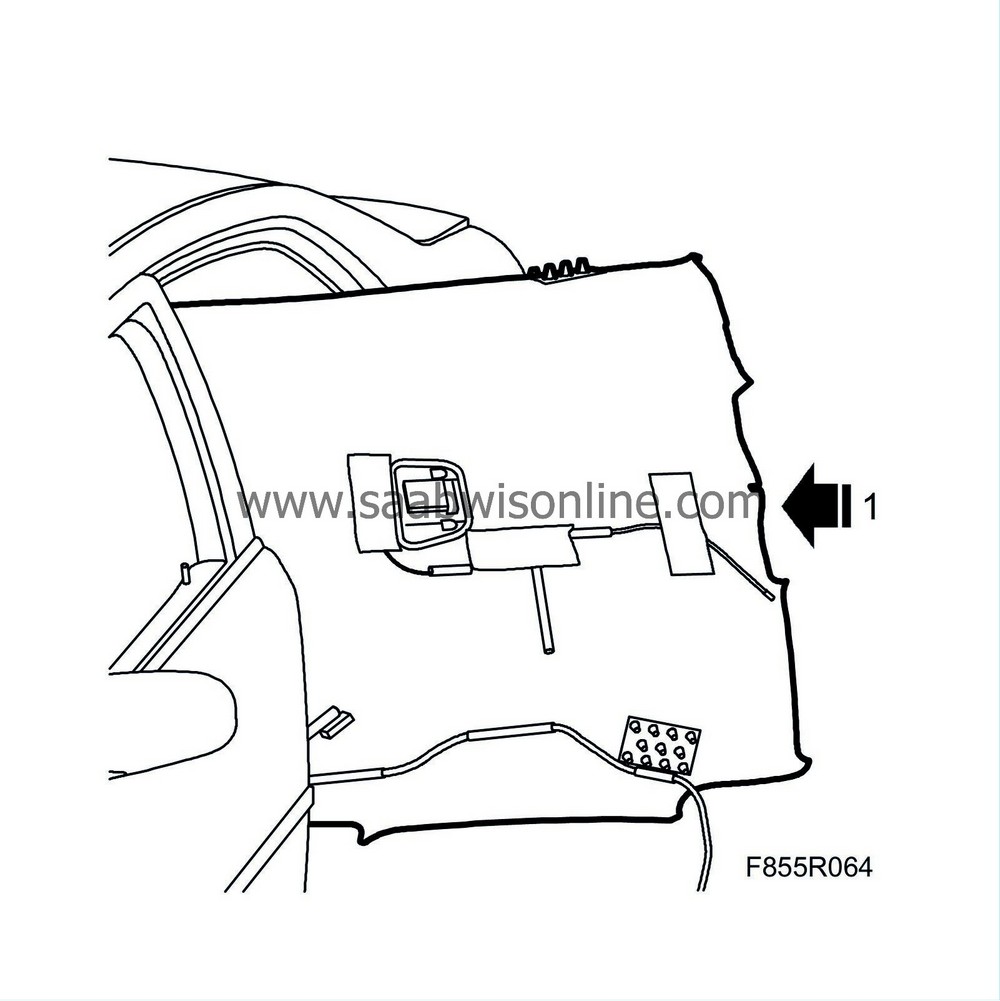
| 1. |
Manoeuvre the headlining in through the door opening. Carefully bend the outer edges of the headlining slightly downwards. Start from the front.
|
|
| 2. |
Attach the headlining by carefully pushing the outer edges upwards so that the clips engage.
|
|
| 3. |
Fit
the courtesy handle
.
|
|
| 4. |
Reconnect all connections to the headlining wiring harness.
|
|
| 5. |
Fit
the rear door weather strip
.
|
|
| 6. |
Fit
Left-hand rear door
|
|
| 8. |
Fit the upper brake light cover and replace the headliner plug.

|
|
| 9. |
Fit the rain sensor cover.
|
|
| 10. |
Plug in the rear-view mirror connector and fit the mirror.

|
|
| 11. |
Fit the forward section of the roof light cover.

|
|
| 12. |
Fit the rear section of the roof light cover.
|
|
| 13. |
Thread the headlining wiring harness through the parcel shelf and connect it to the REC.

|
|
| 14. |
Where appropriate.
Fit the left-hand speaker into the parcel shelf. |
|
| 15. |
Position the wiring harness to the REC and secure the clips.
|
|
| 16. |
Fit
the C-pillar trim
.
|
|
| 17. |
Fit the
B-pillar trim
.
|
|
| 18. |
At the A-pillar, plug in the connector to the interior light and fix it in place with the mounting clips. Fit
the A-post trim
.
|
|
| 19. |
Fit the
parcel shelf trim
.
|
|
| 20. |
Fit
the sun visor
.
|
|

 Warning
