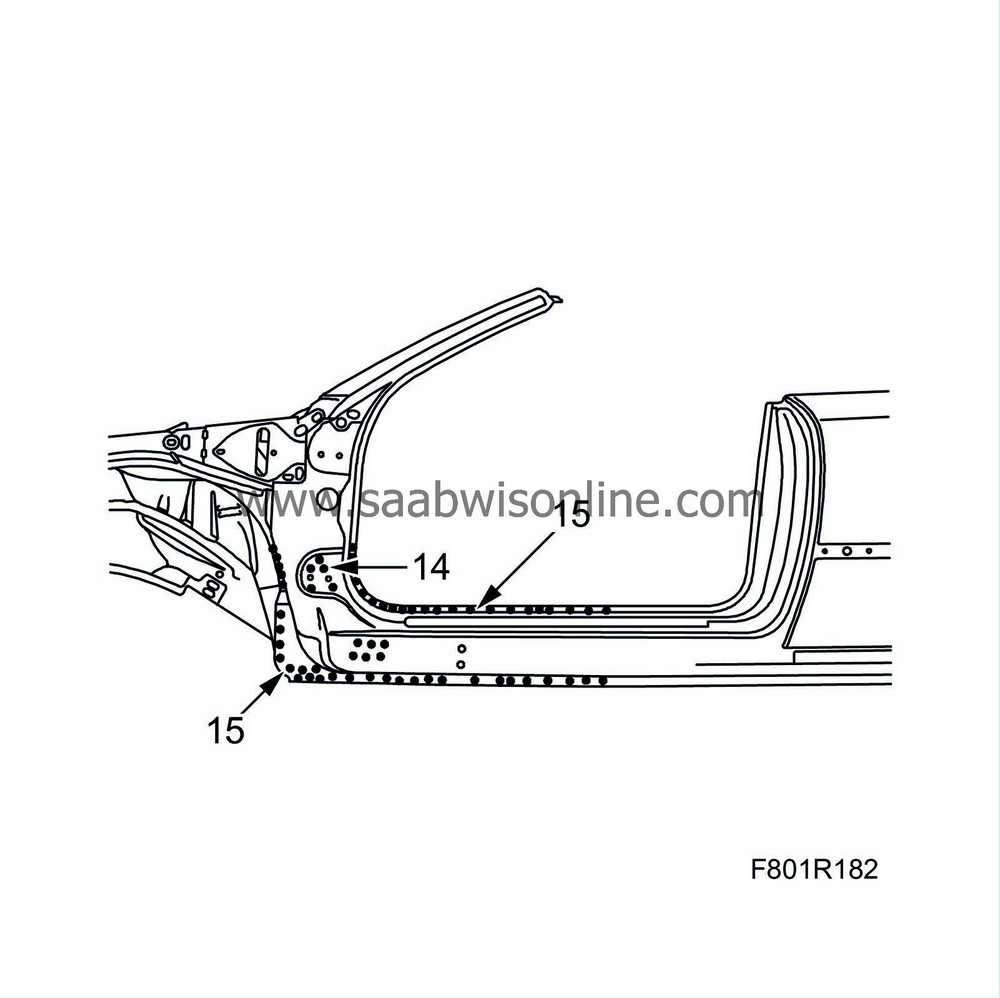
Front outer sill, CV
| Front outer sill, CV |
| 1. |
Position the car in an aligning bench and cross-measure if necessary.
|
|
| 2. |
Remove the
Front wing
and
Door
.
|
|
| 3. |
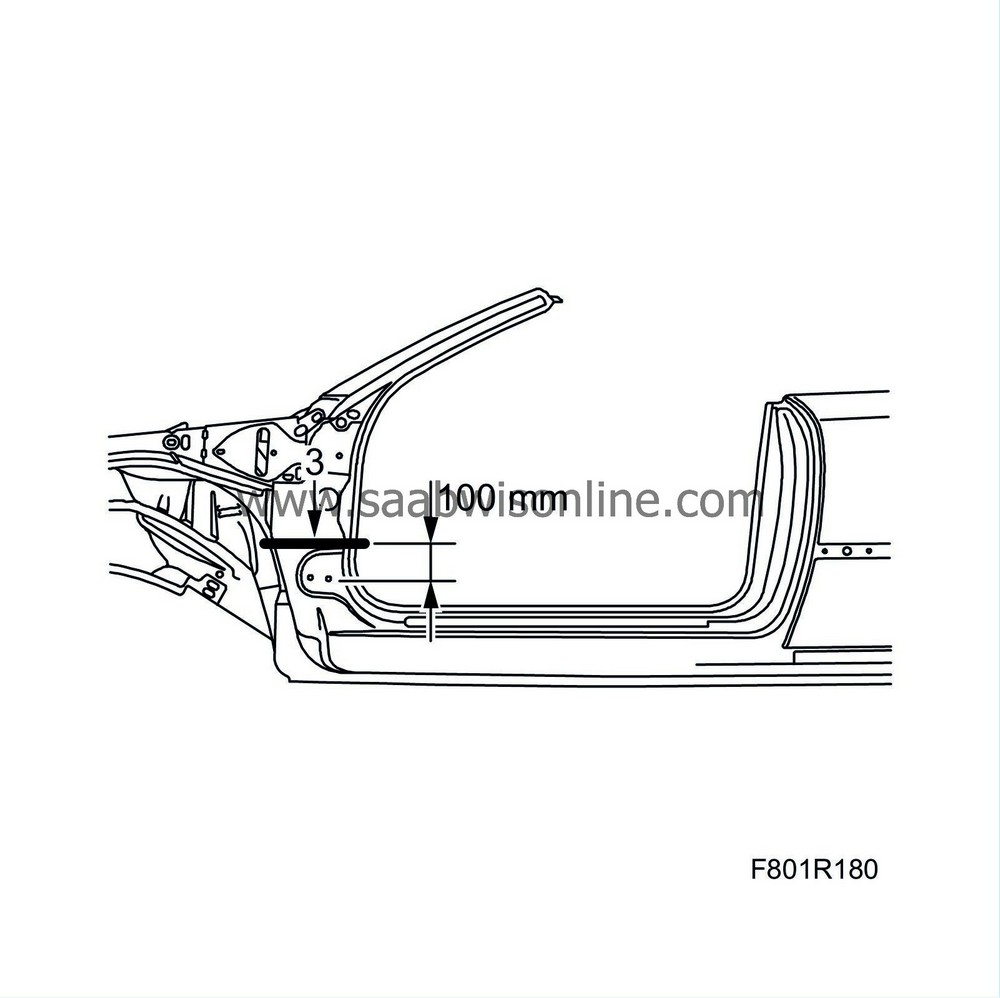
Cut the front outer sill 100 mm above the lower hinge bracket. Do not cut the underlying reinforcement.
|
|
| 4. |
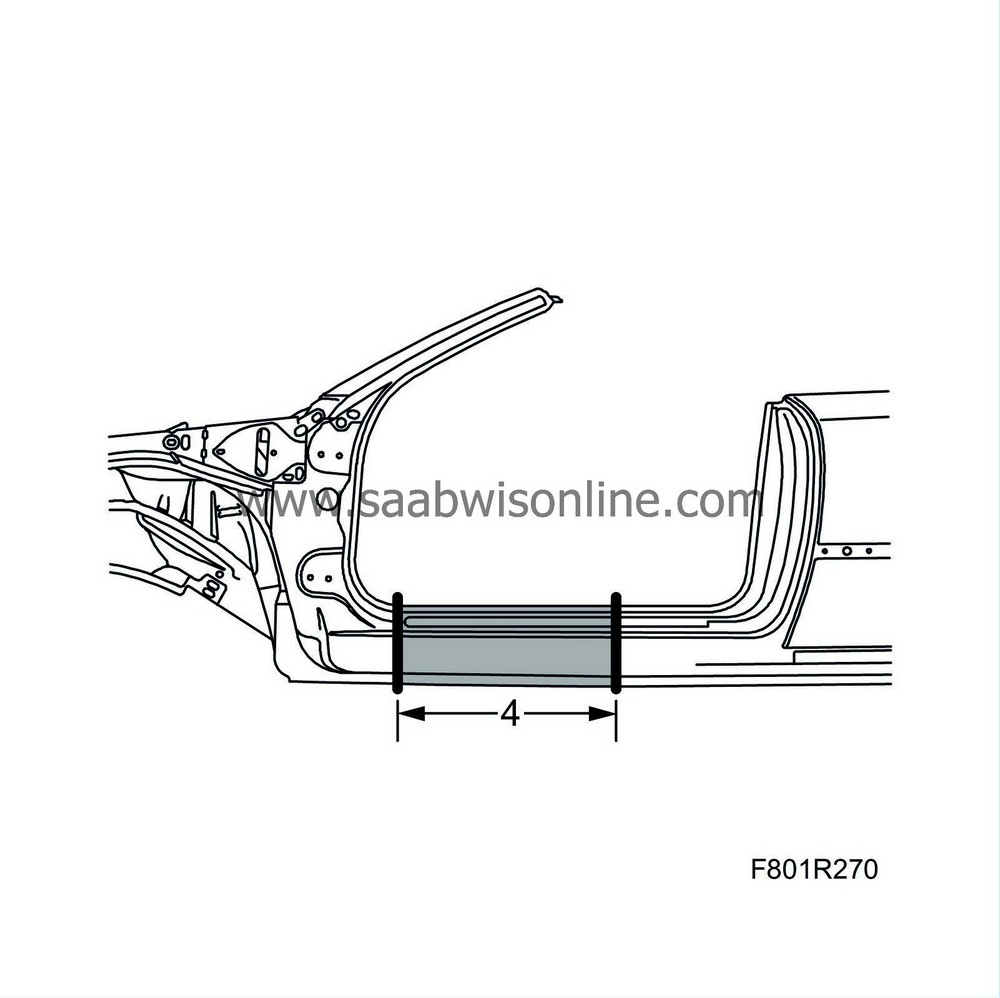
Cut the rear section of the sill as indicated by the marks. Within the shaded area the cut can be made anywhere depending upon the damage.
|
|||||||
| 5. |
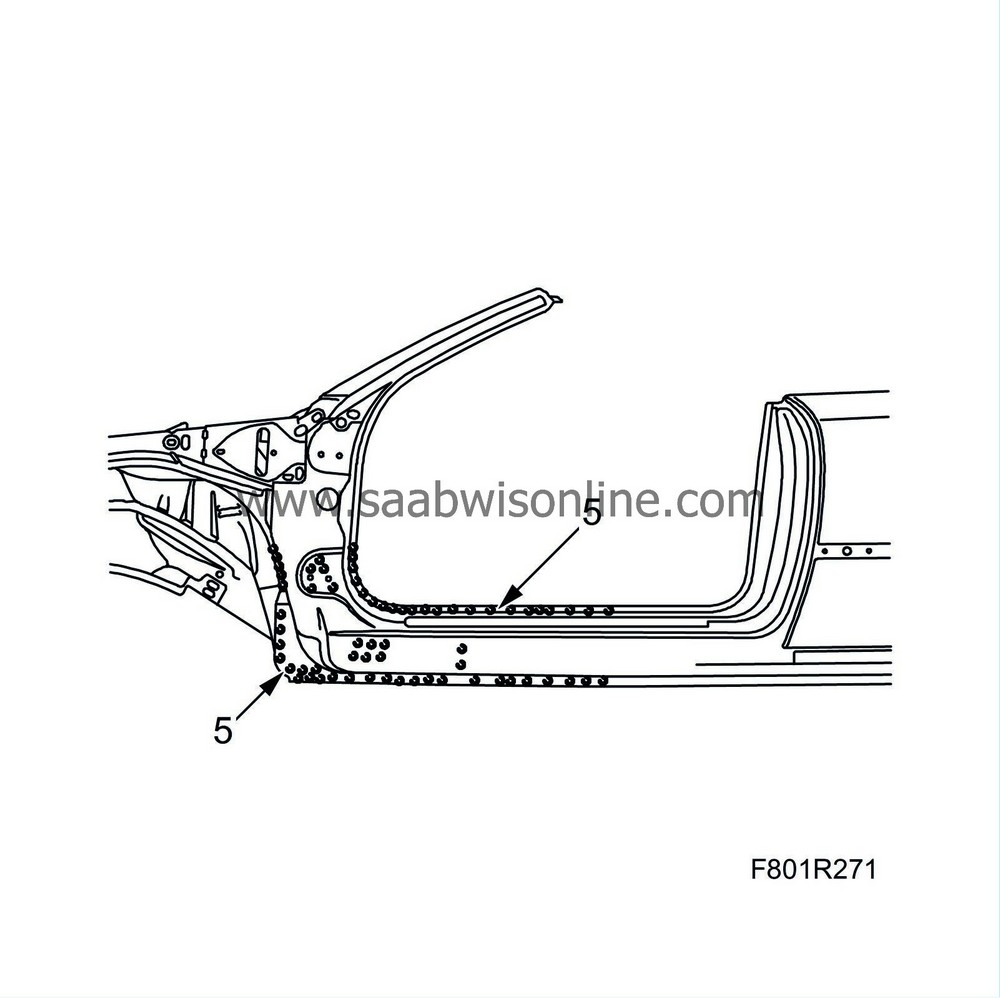
Drill out the spot welds to the front sill.
|
|
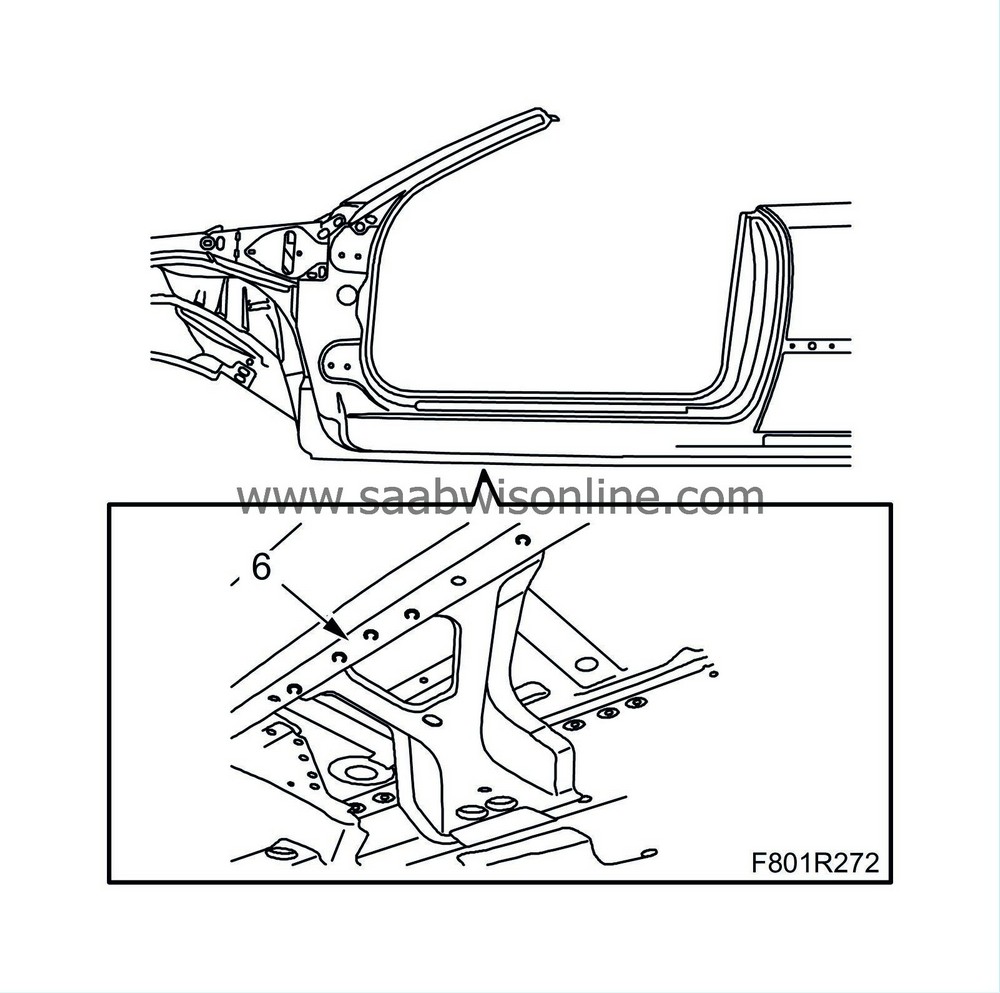
| 6. |
Drill out any spot welds to the floor reinforcement depending on the amount of damage.
|
|
| 7. |
First, tap the upper section of the outer sill loose and bend out the upper part. Tap the lower section of the sill loose and the reinforcement bulkhead (glued). Align any damaged sheet metal or panels.
|
|
| 8. |
Cut the replacement panel for the outer sill so that it matches the previous cuttings.
|
|
| 9. |
Drill holes for plug welding in the outer sill.
|
|
| 10. |
Grind all surfaces that are to be welded.
|
|
| 11. |
Apply welding primer to the surfaces to be spot and plug welded. Use Teroson Zink Spray.
|
|
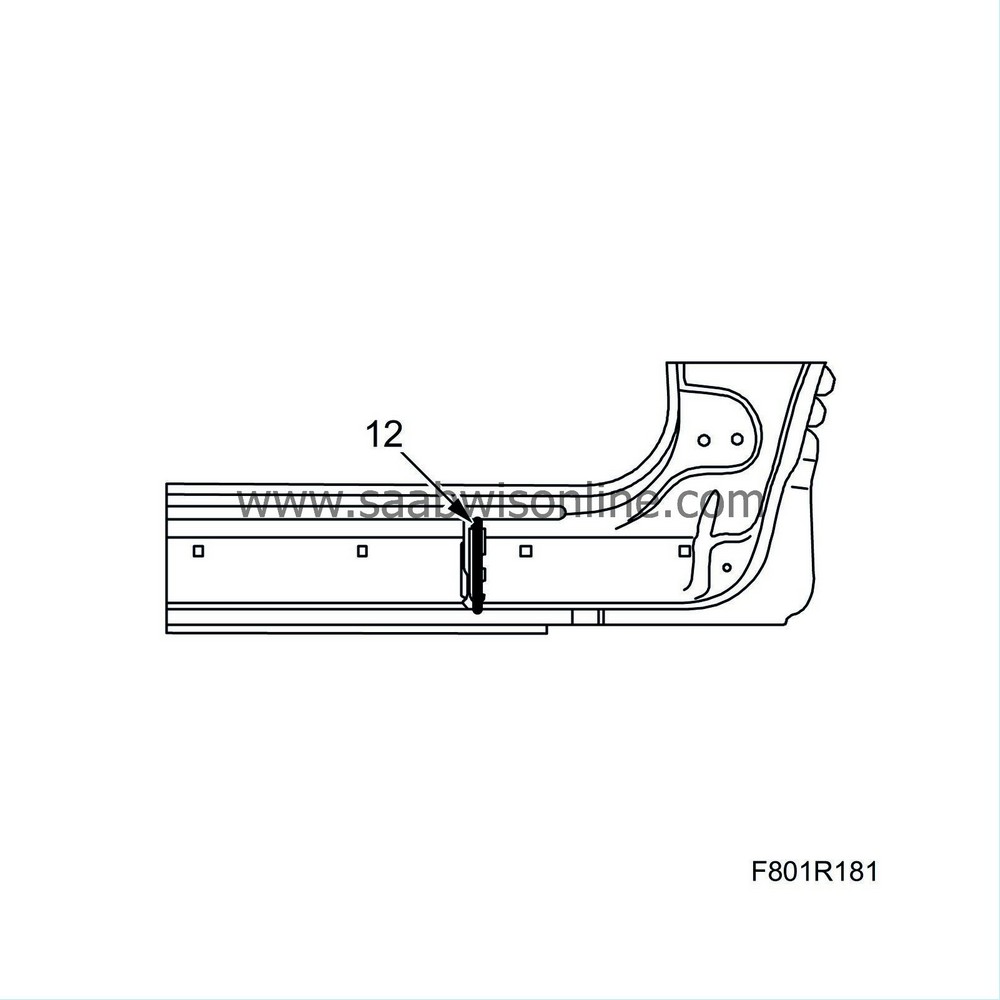
| 12. |
Apply body adhesive to the outer sill bulkhead. Use Teromix 6700.
|
|
| 13. |
Place the outer sill in fitting position and secure it with welding clamps.
|
|
| 15. |
Spot and plug weld the new outer sill.
|
|
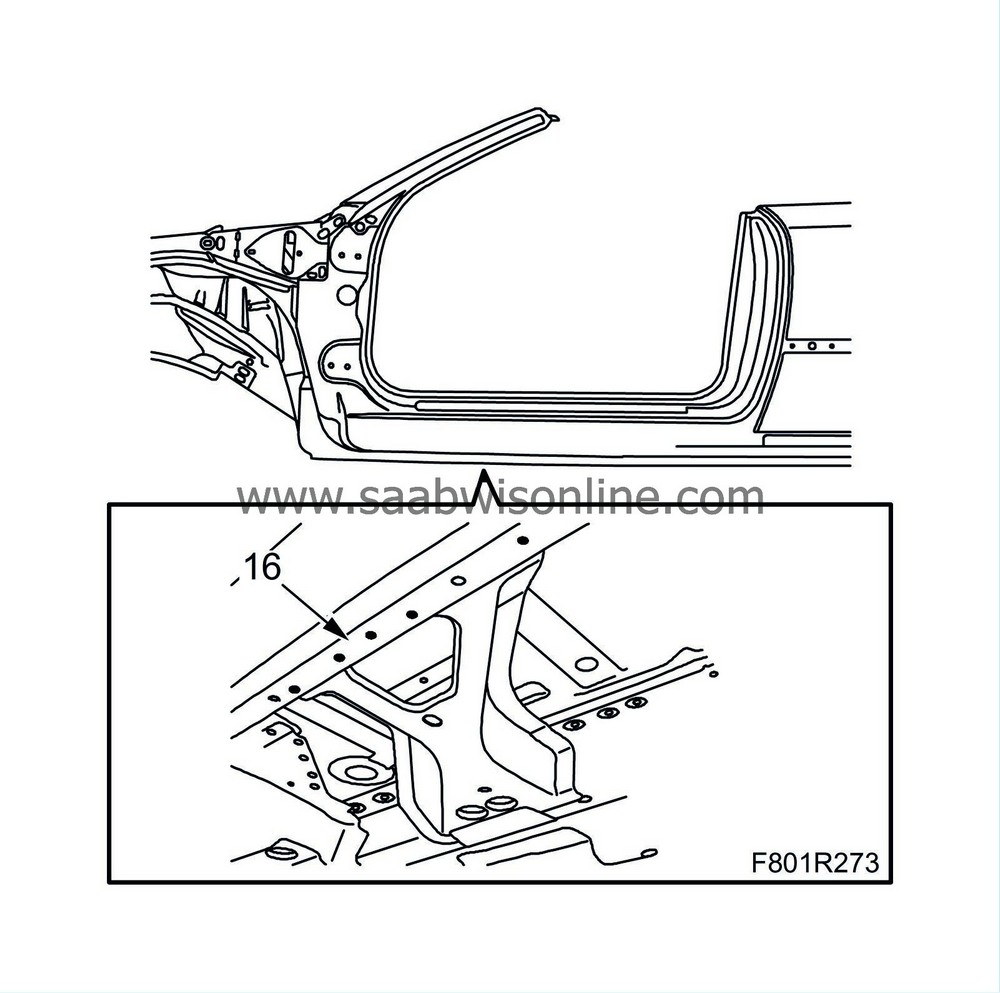
| 16. |
Plug weld the floor reinforcement.
|
|
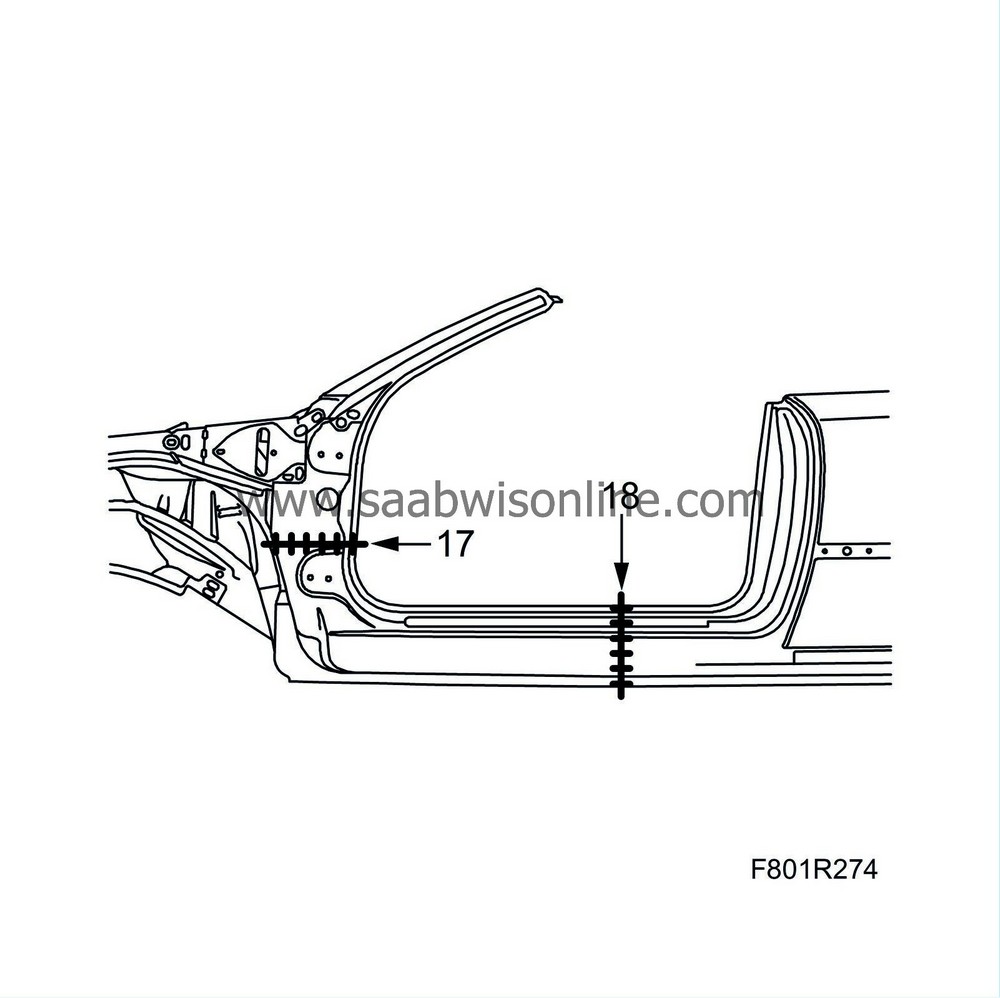
| 17. |
All-weld the outer sill above the hinge bracket.
|
|
| 18. |
All-weld the outer sill at the back.
|
|
| 19. |
Smooth off the welds.
|
|
| 20. |
Wash away surplus welding primer. Welding primer reduces the adhesion of paint, filler and sealant.
|
|
| 21. |
Apply primer to all bare metal surfaces. Use Standox 1K.
|
|
| 22. |
Seal joints and seams with sealant. Use 1K-PUR.
|
|
| 23. |
Apply anti-corrosion agent to internal surfaces after painting. Use Terotex HV 400.
|
|
| 24. |
Fit the
Front wing
and
Door
.
|
|

