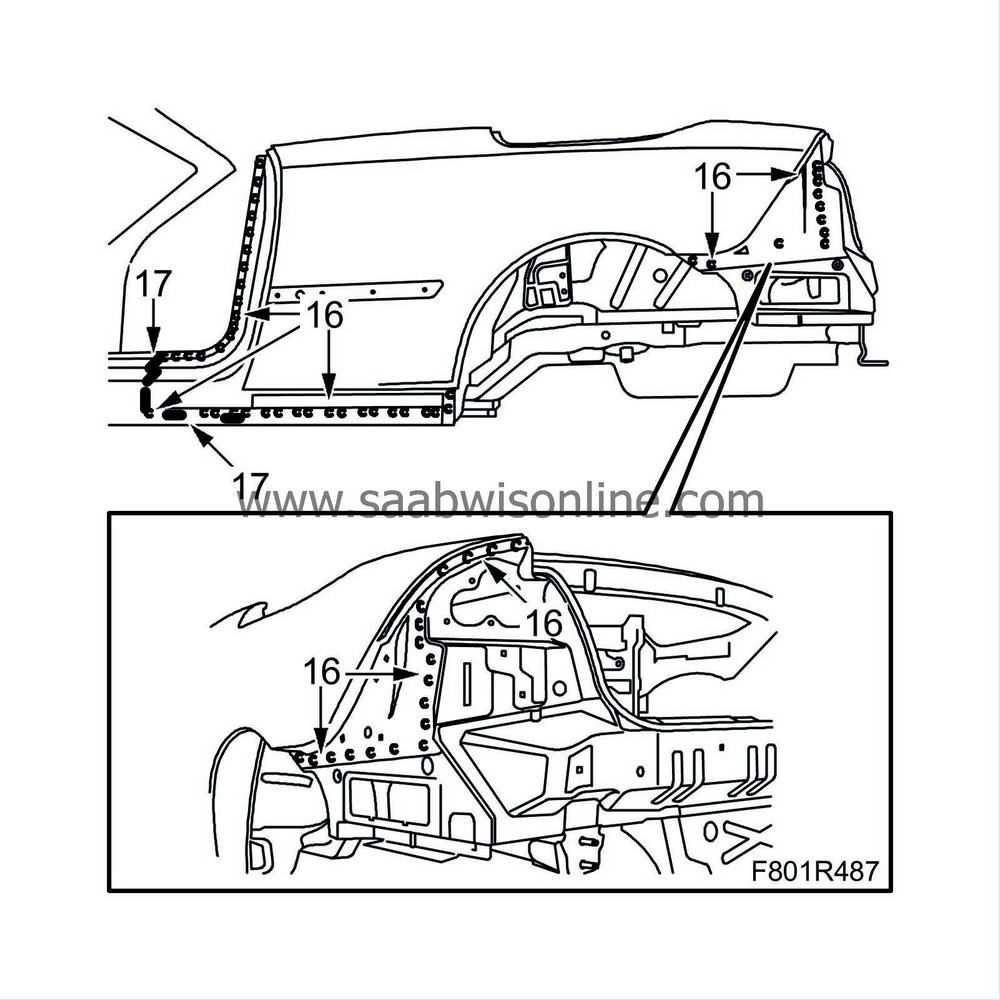
Side panel, outer, CV
| Side panel, outer, CV |
Certain welded joints on the car may be MIG brazed with bronze as the filling material. A MIG brazed seam can be identified by the gold colour of the joint. MIG brazing must always be replaced by new MIG brazing.
|
|||||||
| 1. |
Position the car in an aligning bench and cross-measure if necessary.
|
|
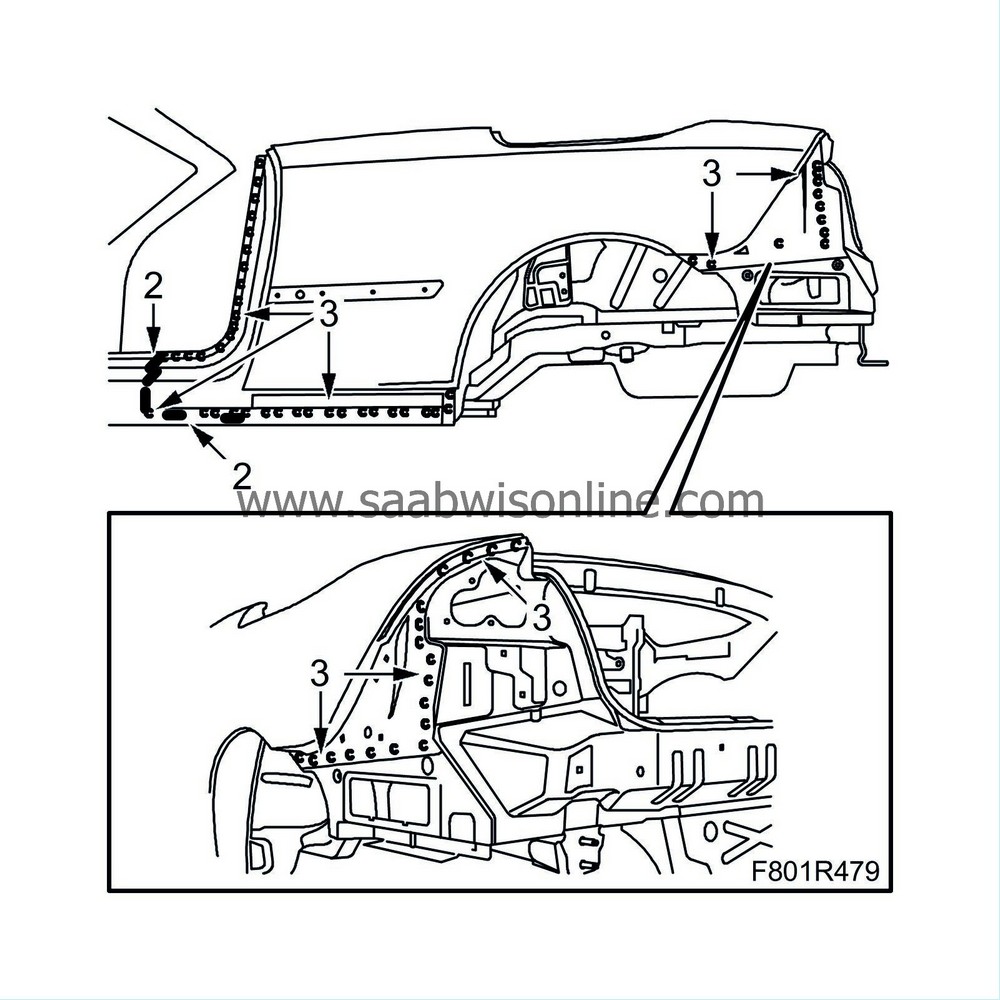
| 2. |
Grind away the MIG brazings to the side panel.
|
|
| 3. |
Drill out the spot welds on the outside of the side panel.
|
|
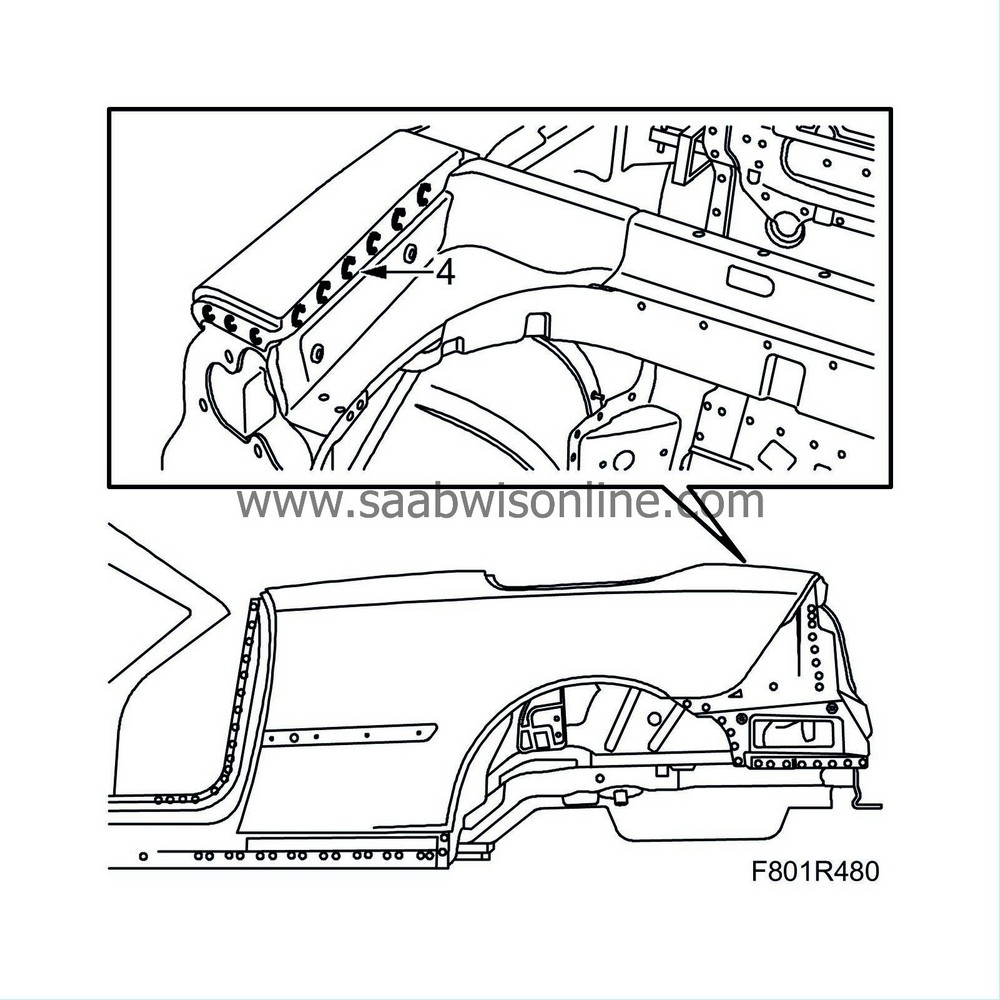
| 4. |
Drill out the spot welds on the side panel.
|
|
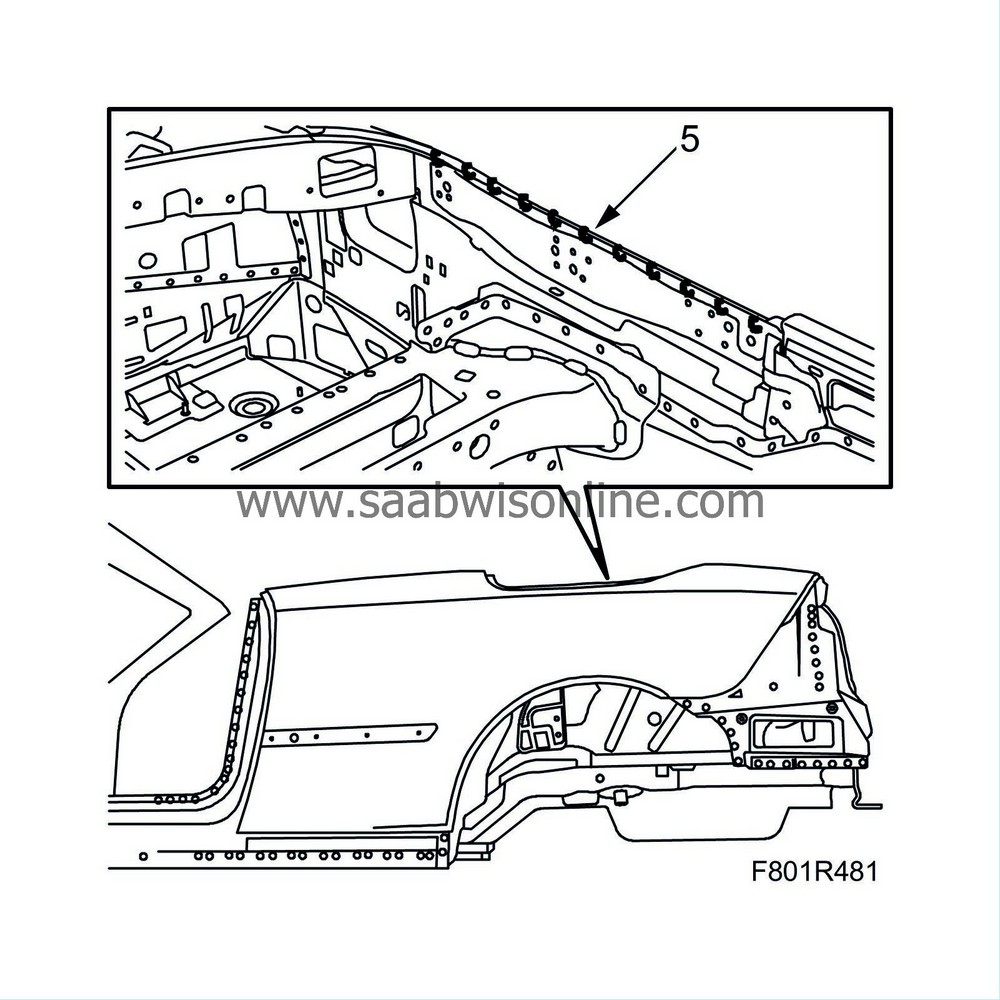
| 5. |
Drill out the spot welds.
|
|
| 6. |
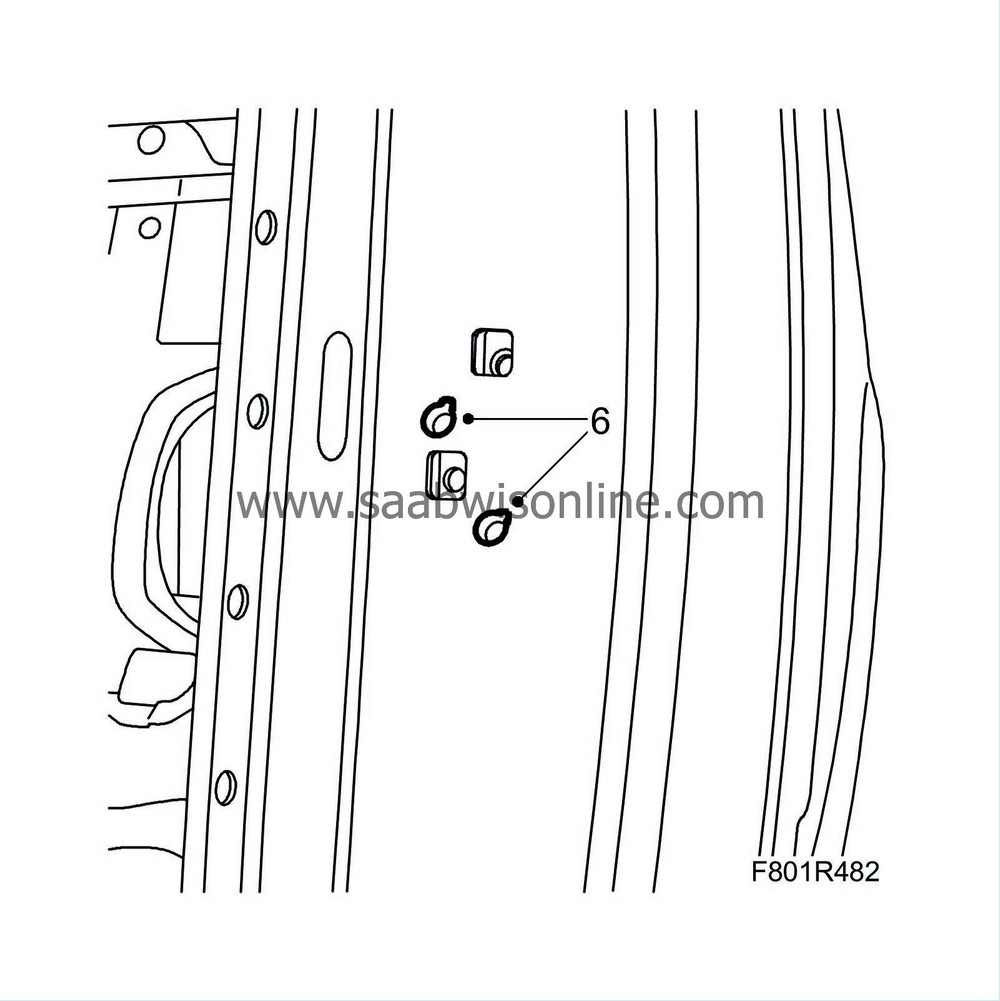
Drill out the spot welds for the nut washer to the striking plate.
|
|
| 7. |
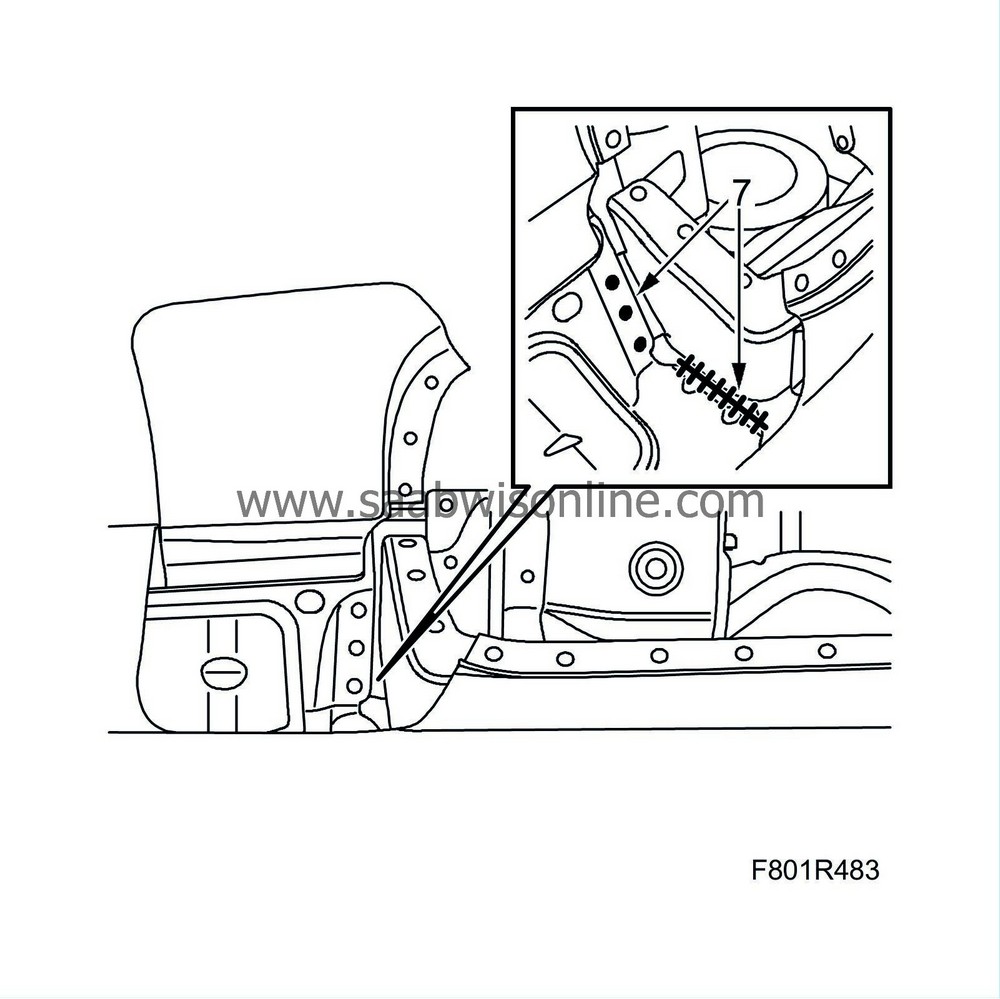
Saw out a hatch for access to the underlying spot welds and cutting.
|
|
| 8. |
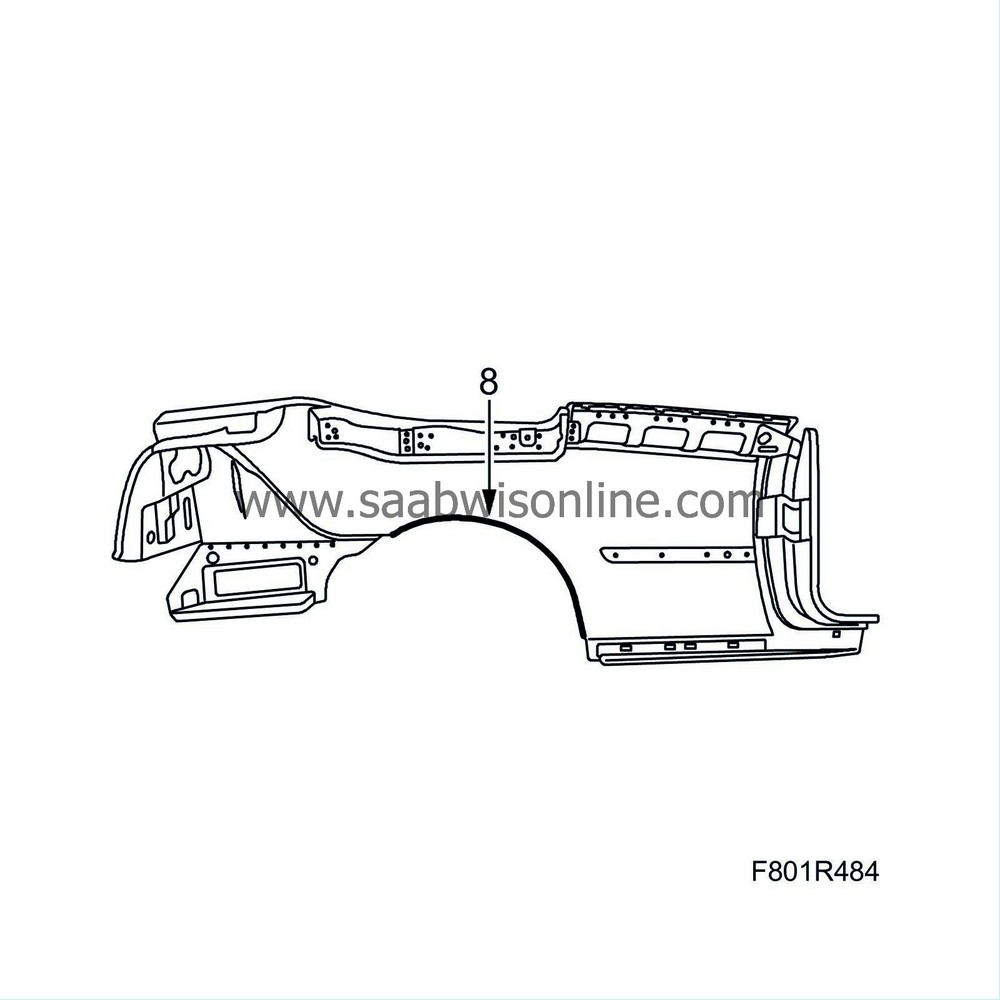
Knock away the side panel and break it loose from the adhesive. Align any deformed metal.
|
|
| 9. |
Grind all surfaces that are to be welded.
|
|
| 10. |
Drill all the holes for plug-welding in the spare part
|
|
| 11. |
Position the spare part and check the fit. Adjust as necessary.
|
|
| 12. |
Lift away the spare part.
|
|
| 13. |
Apply welding primer to the surfaces to be spot and plug welded. Use Teroson Zink Spray.
|
|
| 14. |
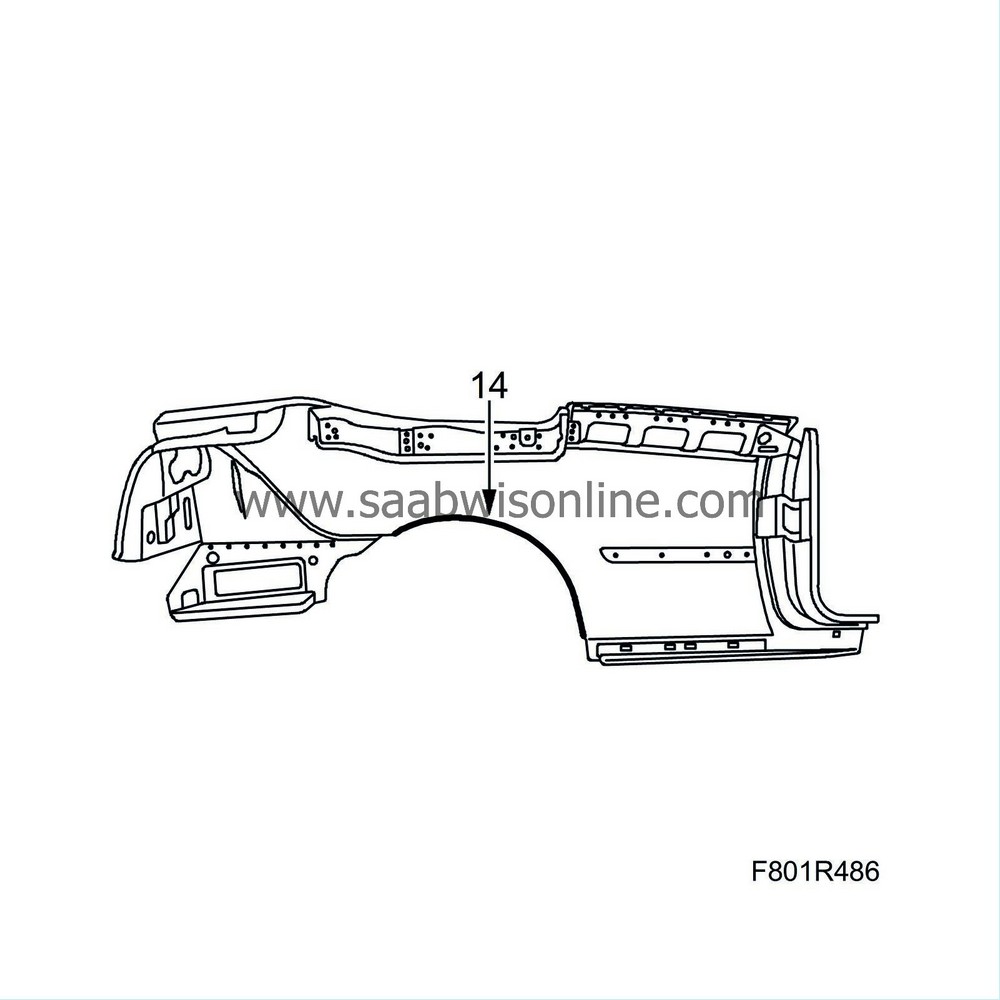
Apply body adhesive as illustrated. Use Teromix 6700.
|
|
| 15. |
Put the side panel in place. Position it precisely and fix with welding clamps.
|
|
| 17. |
Seam weld the side panel. Note that the seam welds must be MIG brazed.
|
|
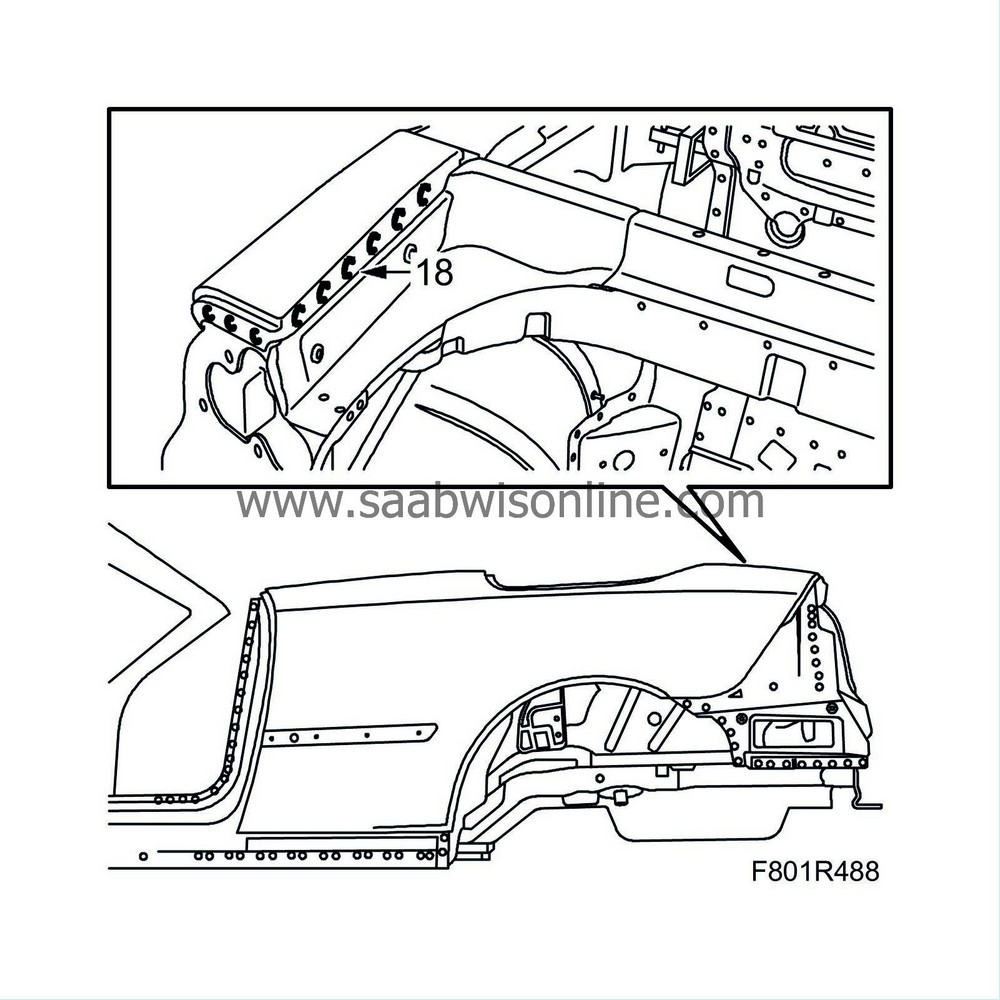
| 18. |
Spot and plug weld the side panel.
|
|
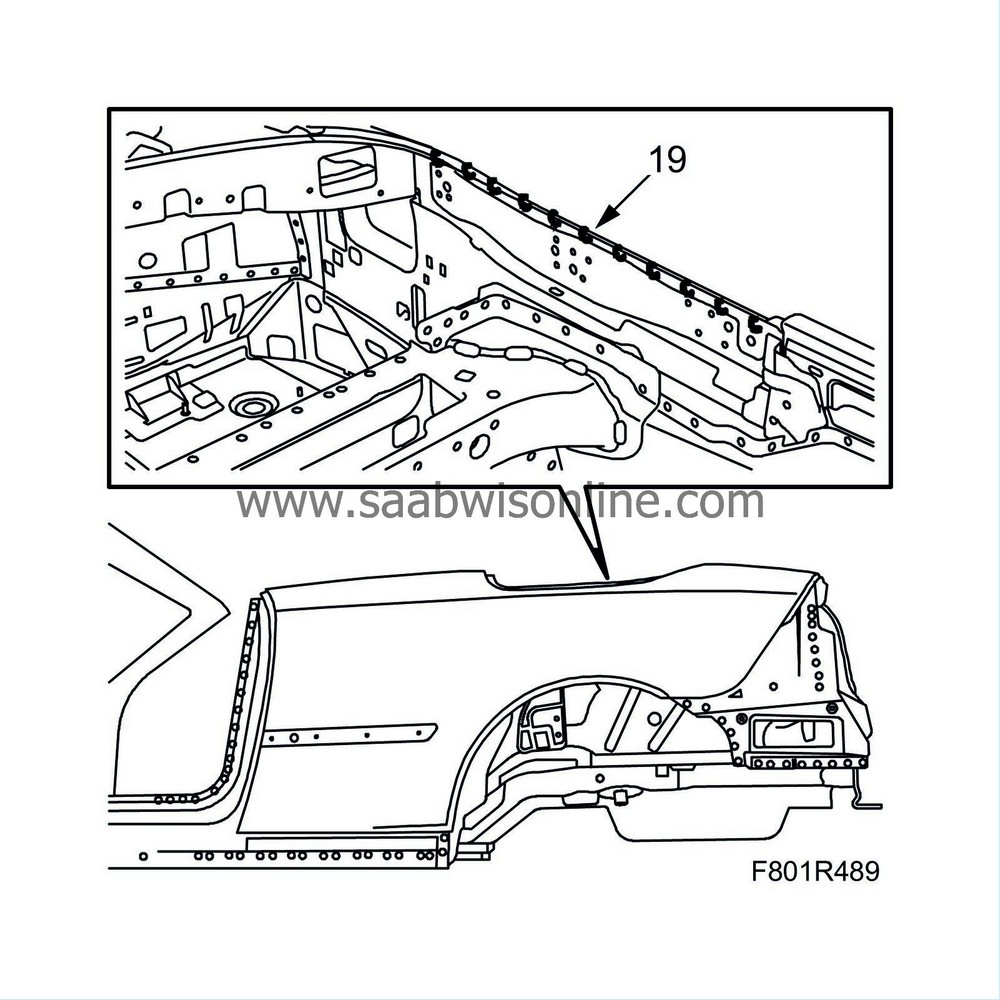
| 19. |
Spot and plug weld the side panel.
|
|
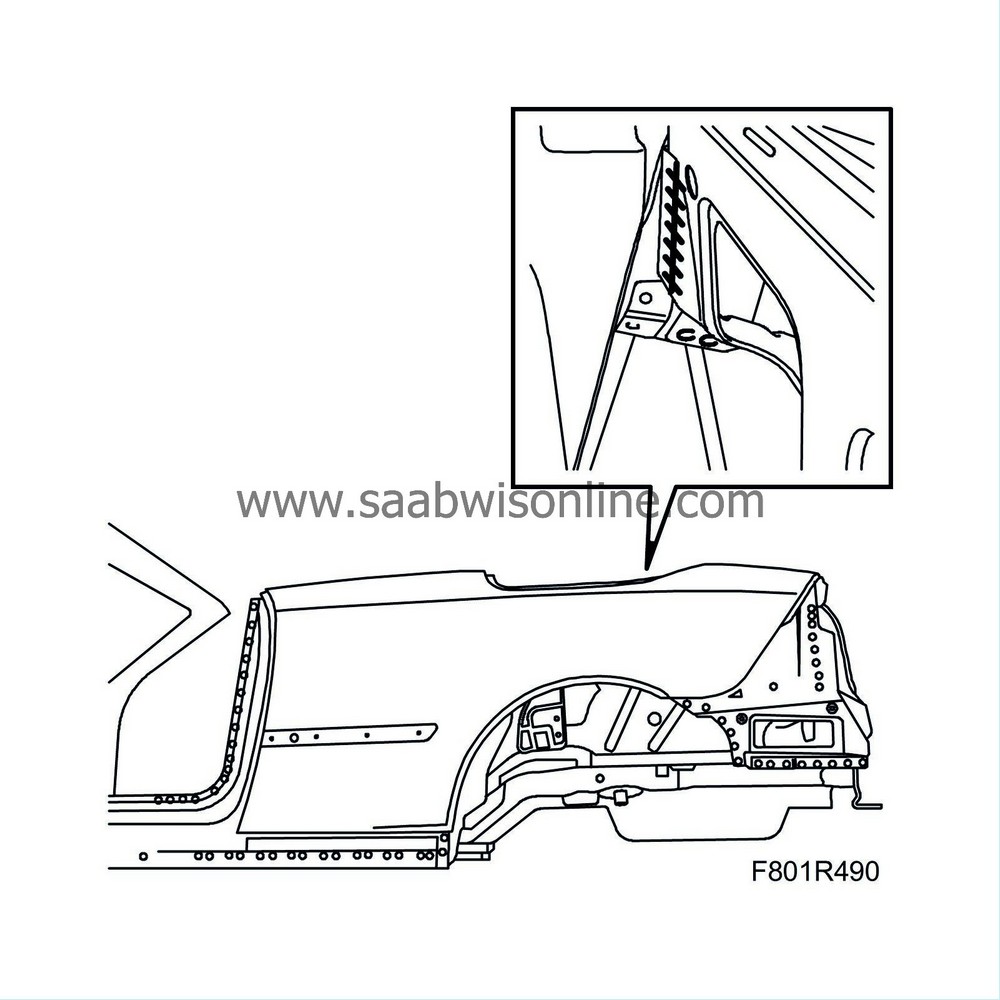
| 20. |
Plug and seam weld the inside.
|
|
| 21. |
Remove any remaining welding primer. Welding primer reduces adhesion of paint, filler and sealant.
|
|
| 22. |
Apply primer to all bare metal surfaces. Use Standox 1K.
|
|
| 23. |
Seal joints and sheet metal flanges with sealant. Use 1K-PUR.
|
|
| 24. |
Apply anti-corrosion agent to internal surfaces after painting. Use Terotex HV 400.
|
|

 Warning
