Front door lock unit
| Front door lock unit |
| To remove |
| 1. |
The window must be closed.
|
|
| 2. |
Remove the
Front door trim
.
|
|
| 3. |
Fold down the water barrier.
|
|
| 4. |
Driver's door
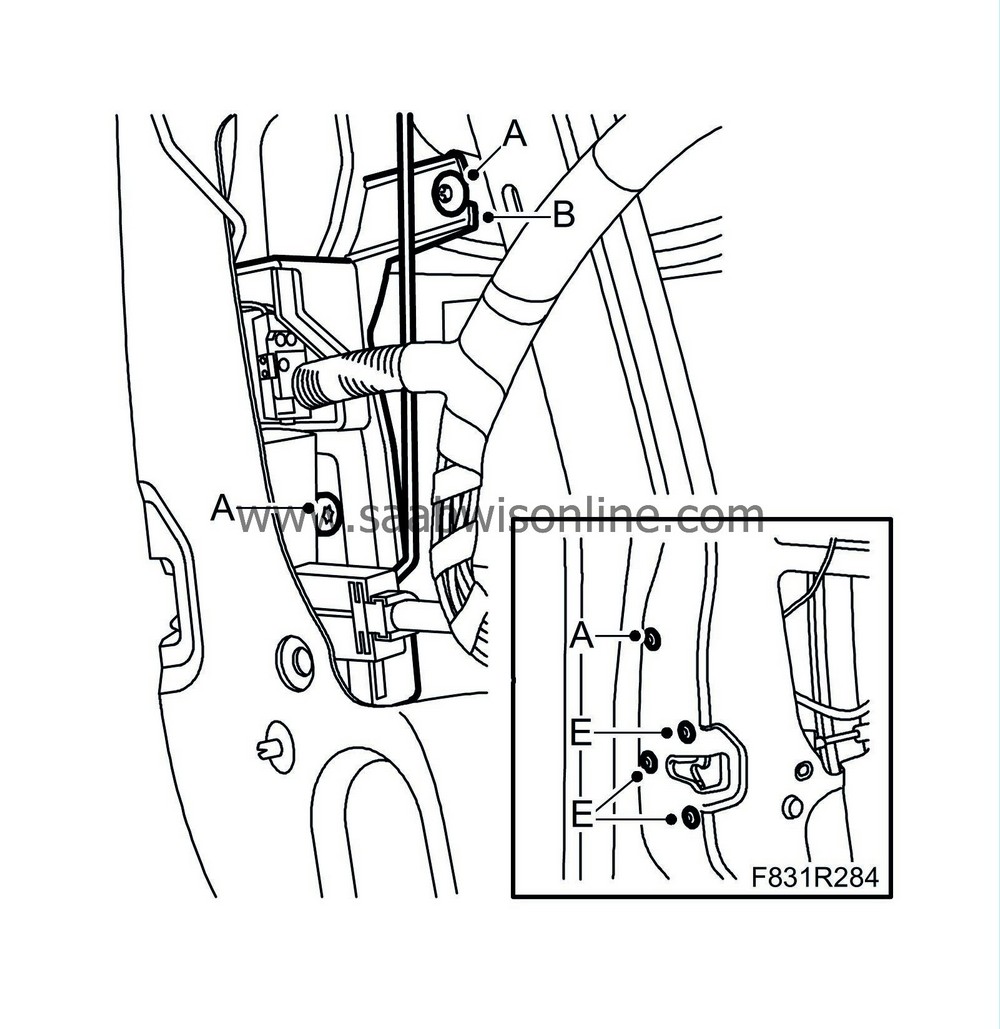
: Remove the guard's (B) bolts (A).

|
|
| 5. |
Detach the lock cover on the clip (C) for the handle's rod (D)

|
|
| 6. |
Detach the handle's rod (D) from the clip (C).
|
|
| 7. |
Remove the bolts (E) for the lock unit.

|
|
| 8. |
Driver's door
Remove the guard (B) by coaxing it out.
|
|
| 9. |
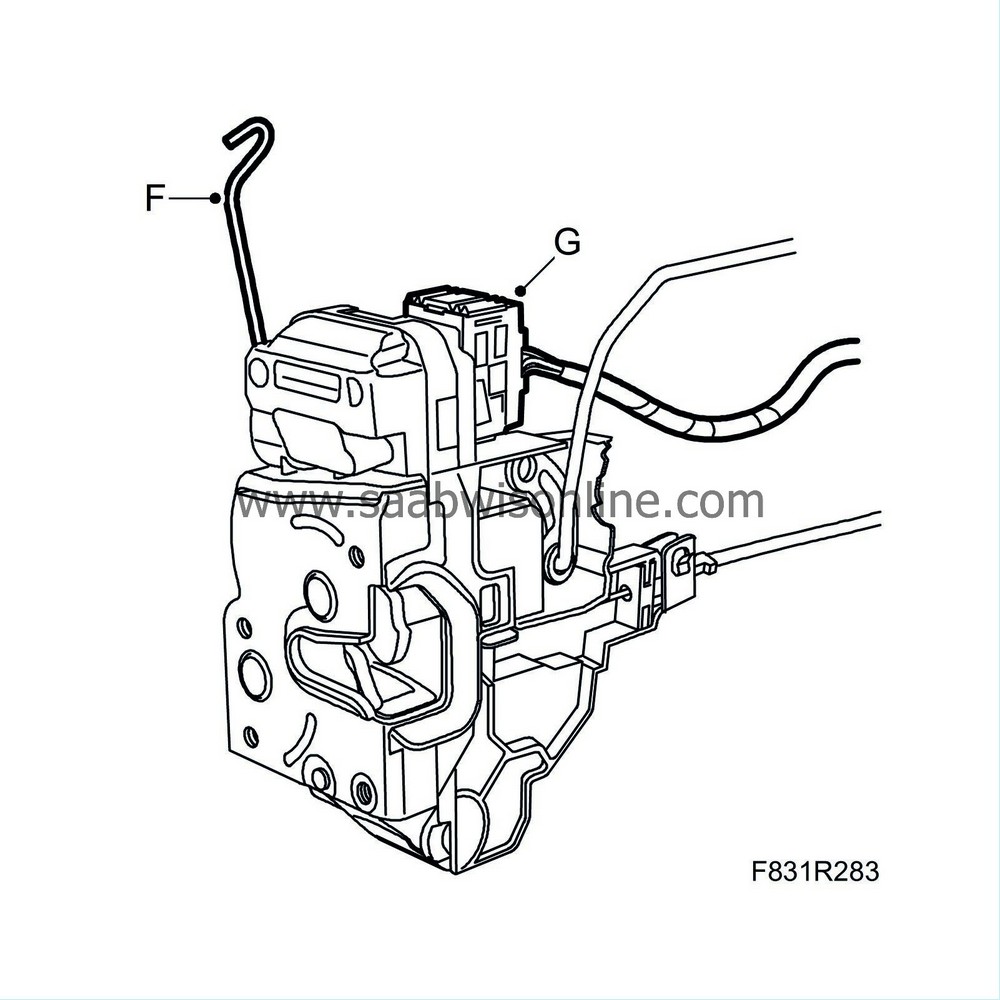
Unhook the lock rod (F) from the lock cylinder.

|
|
| 10. |
Remove the lock from the door at an angle.
|
|
| 11. |
Unplug the connector. (G)
|
|
| To fit |
| 1. |
Hook in the lock rod (F) for the lock cylinder.

|
|
| 2. |
Plug in the connector (G) for the lock.
|
|
| 3. |
Put in place the lock.
|
|
| 5. |
Thread the bolts (E) for the lock unit.
|
|
| 6. |
Driver's door
: Thread the bolts (A) for the guard (B).
|
|
| 7. |
Tighten all bolts (A) and (E)
|
|
| 8. |
Fit the lock rods (D) to the clip (C) and close the clip's lock cover.

|
|
| 9. |
Check the function of the lock, lock cylinder and the outer handle.
|
|
| 10. |
Fit the plastic water barrier.
|
|
| 11. |
Fit the
Front door trim
.
|
|
| 12. |
Cars with pinch protection:
Perform
Programming of the pinch protection
.
|
|


