Setting date and time
| Setting date and time |
| 1. |
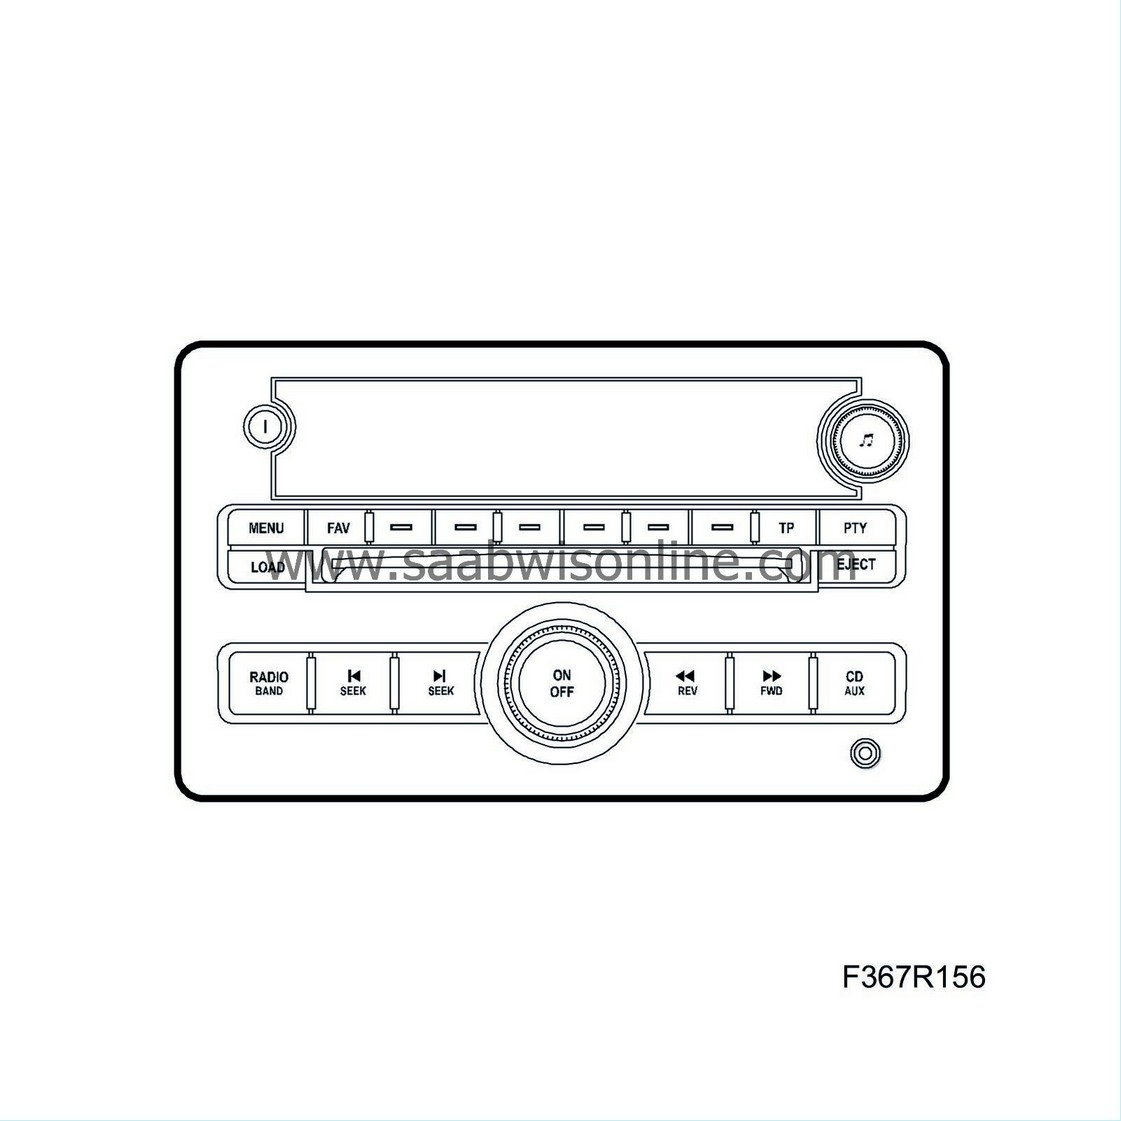
Press the Clock button.
|
|
| 2. |
Press the menu button below the menu item you wish to change.
|
|
| 3. |
Press the menu button again to increase the time or date one increment at a time. Time and date can also be adjusted by pressing the SEEK, FWD or REV button.
|
|
| Audio with CD changer |

| 1. |
Press the MENU button.
|
|
| 2. |
Press the menu button below the clock symbol in the display.
|
|
| 3. |
Press the menu button below the menu item you wish to change.
|
|
| 4. |
Press the menu button again to increase the time or date one increment at a time. Time and date can also be adjusted by pressing the SEEK, FWD or REV button.
|
|
| Audio head unit with navigation |
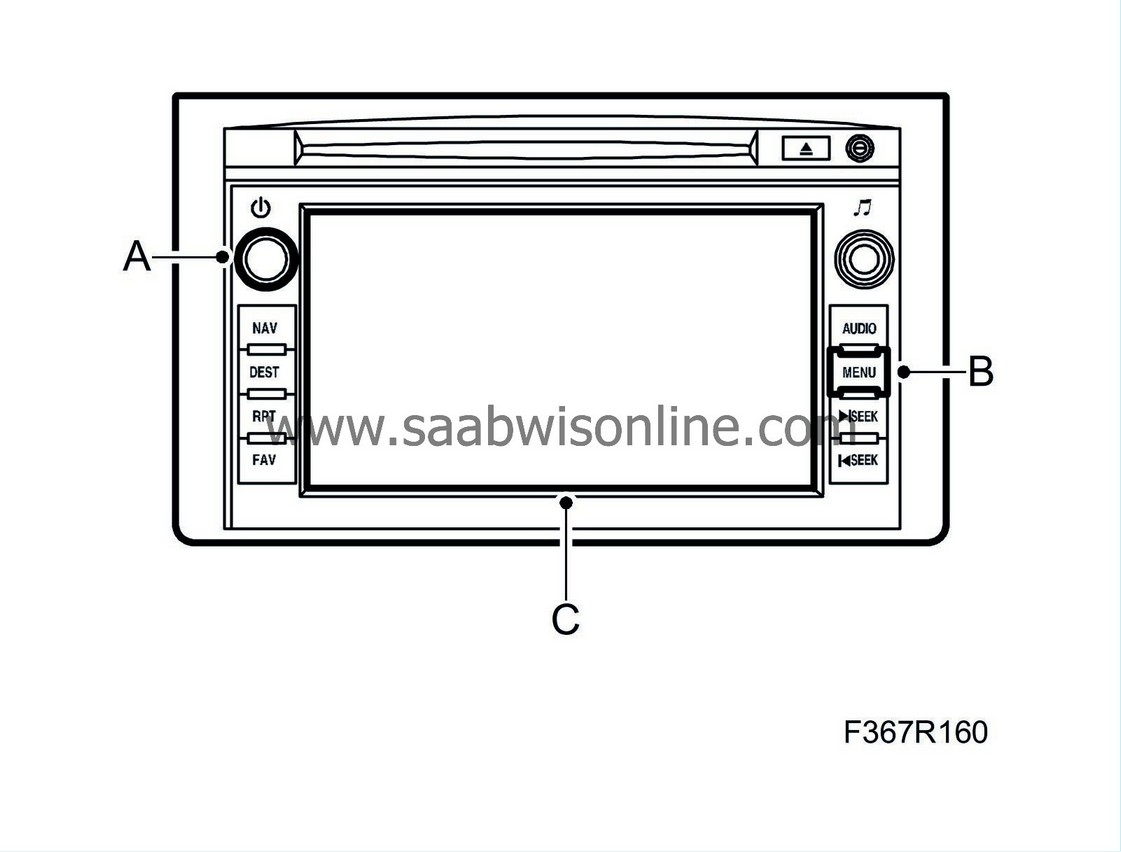
This unit has a touch screen and only displays time.
The navigation system receives the correct date via a GPS signal. The date is used by other vehicle functions, e.g. service, and is not shown in the display.

| 1. |
Ignition in ON position.
|
|
| 2. |
Activate radio (A).
|
|
| 3. |
Press MENU (B) until the tab for the clock is activated.
|
|
| 4. |
Select RDS time or manual setting on the touch screen (C).
|
|
| RDS time |
In order to obtain RDS time, there must be normal reception conditions and the radio station must transmit RDS time signals (CT-Clock Time).
| - |
In the clock menu, press the menu button below the arrow symbol in the display.
|
|
| - |
Press the menu button below menu item RDS Time.
|
|
| - |
The clock is then set automatically and the display shows "Adjusting to RDS time...". If there is no time information or there is poor RDS reception, the display shows "No RDS time available".
|
|
| Important | ||
|
In the service manual the normal handling of the audio system is not dealt with. Detailed information regarding handling can be found in the owner's manual. |
||


