Roll bar unit, CV
| Roll bar unit, CV |
| To remove |
| 1. |
Open the boot lid.
|
|
| 2. |
Remove the luggage compartment mat and take it out.
|
|
| 3. |
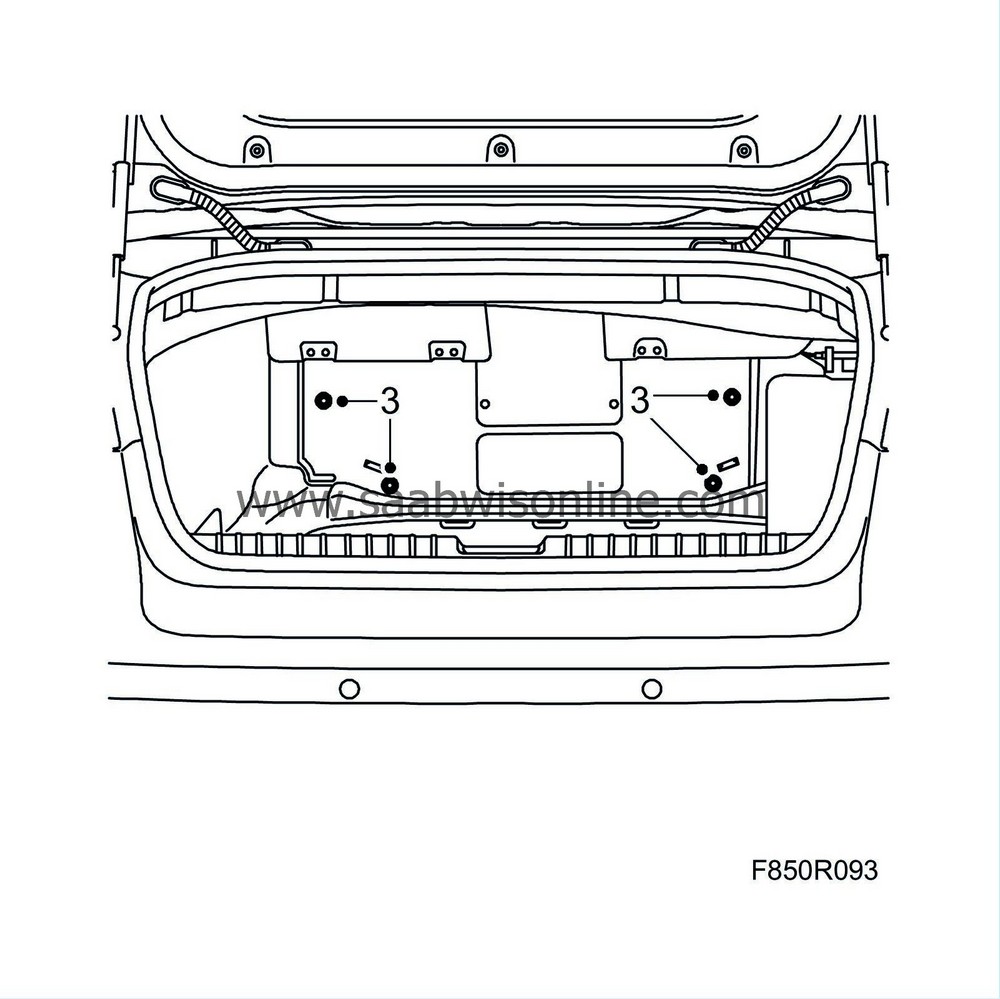
Remove the two-stage rivets from the boot front trim and remove the trim.
|
|
| 4. |
Close the boot lid.
|
|
| 5. |
Open the soft top and leave the soft top cover open.
|
|
| 6. |
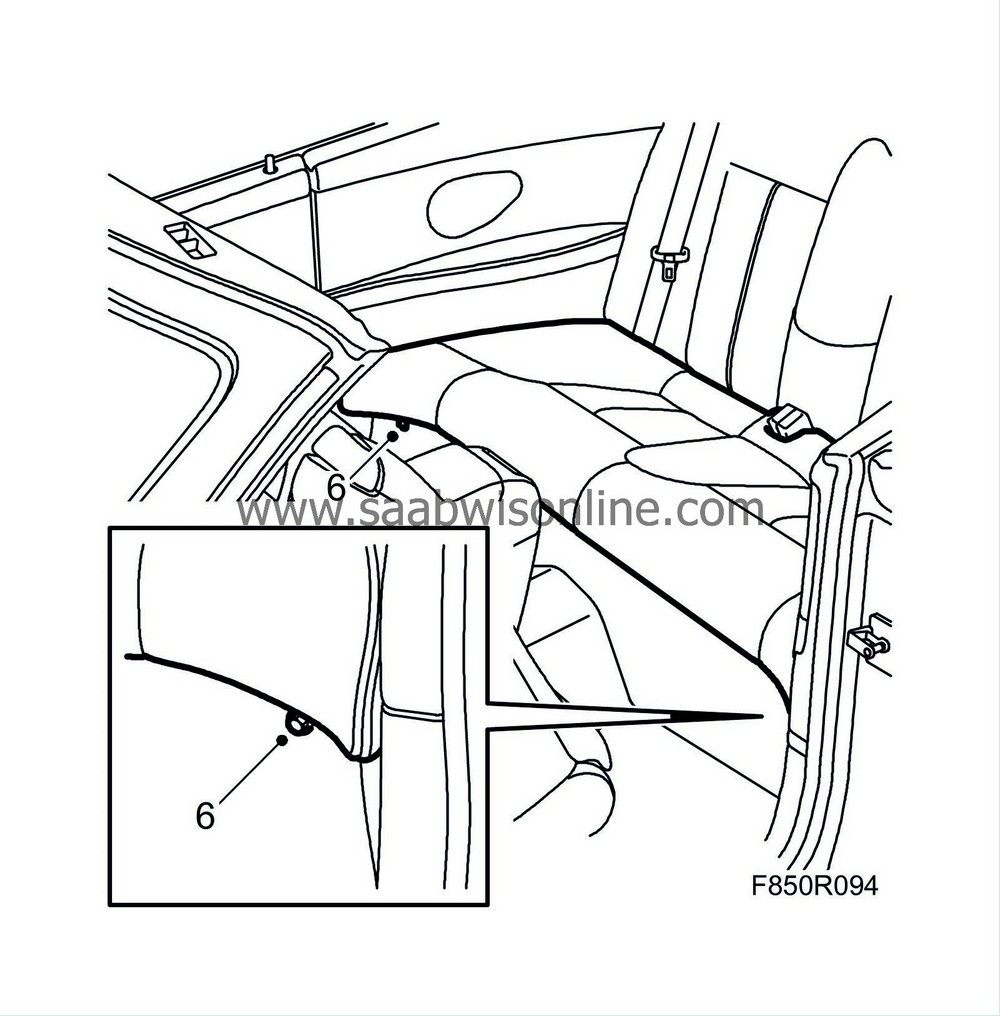
Remove the rear seat cushion by removing the two screws. Lift the cushion straight up.
|
|
| 7. |
Remove the rear head restraint by lifting it straight up. Press the catches down and release the head restraint.

|
|
| 8. |
Remove the
rear seat backrest
.
|
|
| 9. |
Remove the cover from the rear head restraint fixing plates.

|
|
| 10. |
Close the soft top cover.
|
|
| 11. |
Open the boot lid.
|
|
| 13. |
Turn the ignition key to the LOCK position.
|
|
| 14. |
Remove the speaker or cover.
|
|
| 15. |
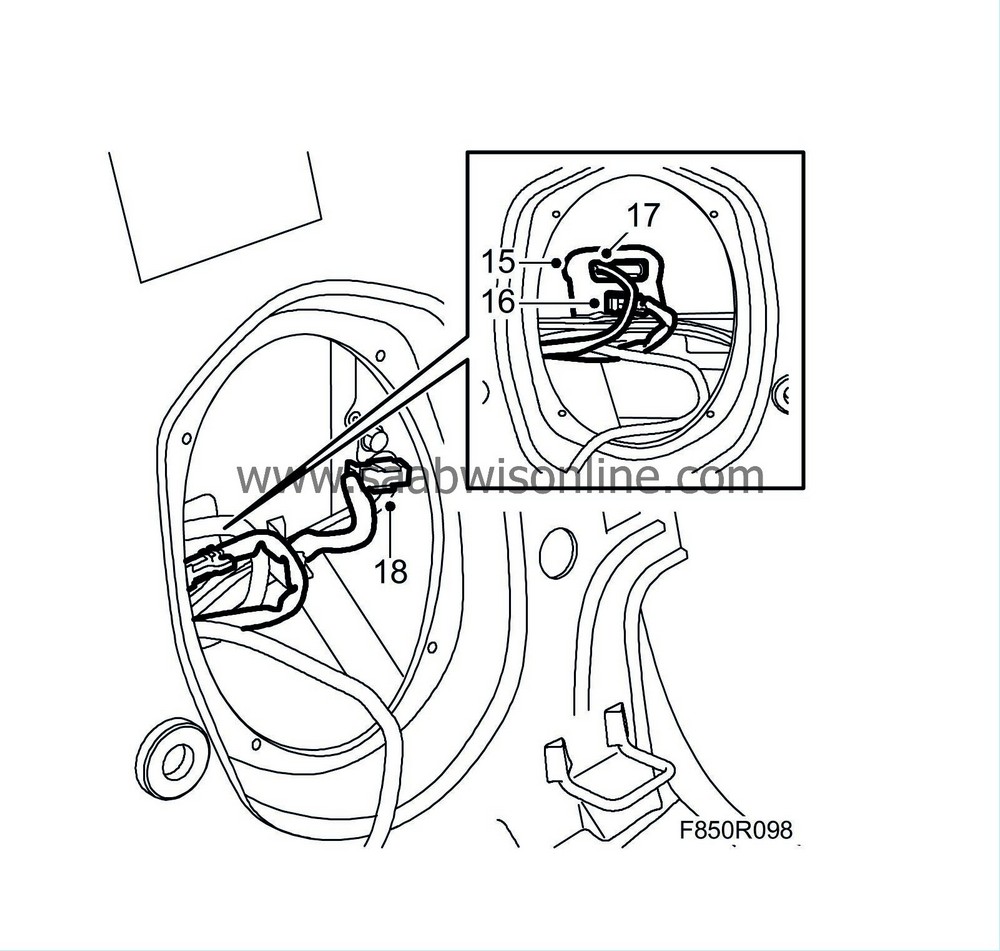
Carefully release the protective tape around the connector.
|
|
| 16. |
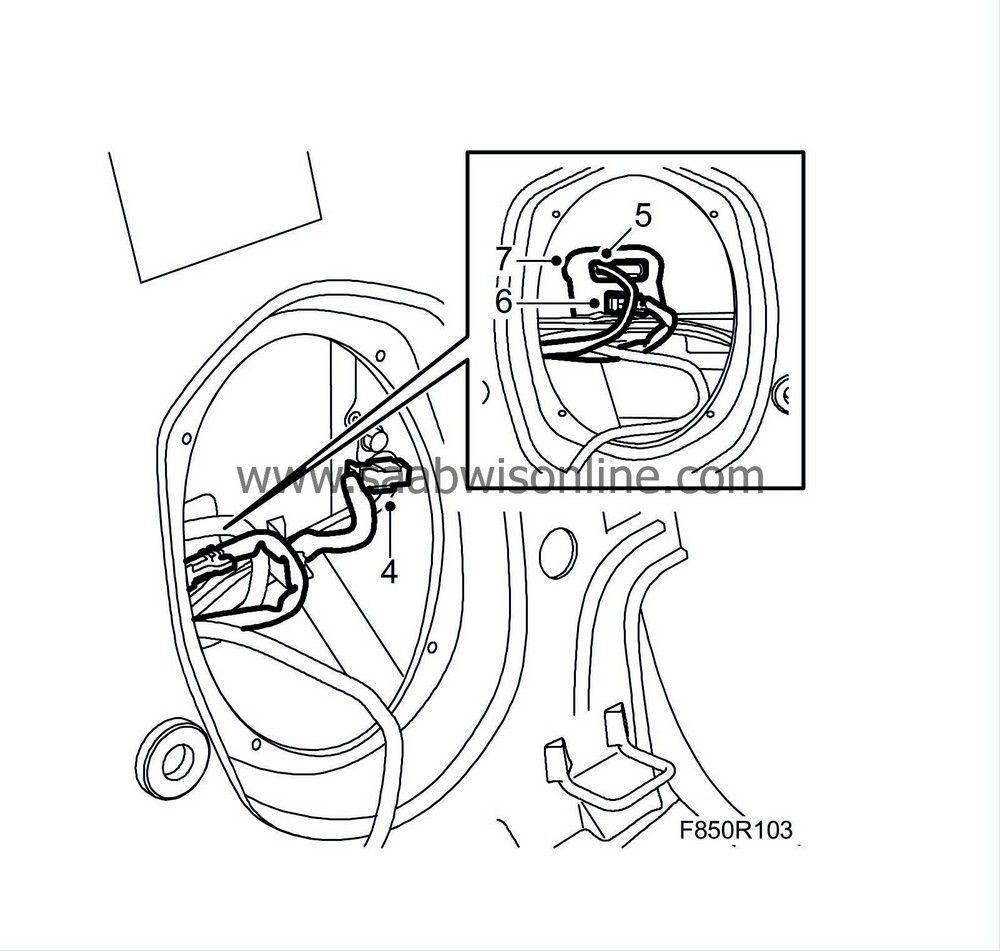
Remove the connector for the roll bar release mechanism by opening the back of the connector and then pulling the connector out.
|
|
| 17. |
Remove the roll bar connector. Use a small screwdriver to release the connector locking tab. The locking tab is placed on the underside of the connector.
|
|
| 18. |
Left-hand roll bar unit on certain cars:
Undo the clip holding the optical bus' connector. The connector is secured on the roll bar unit.
|
|
| 19. |
Remove the rear seat belt strap guides.

|
|
| 20. |
Remove the head restraint fixing plates.
|
|
| 21. |
Remove the roll bar unit. Lift the bow unit straight up.

|
|||||||
| To fit |
|
|||||||
|
|||||||
| 1. |
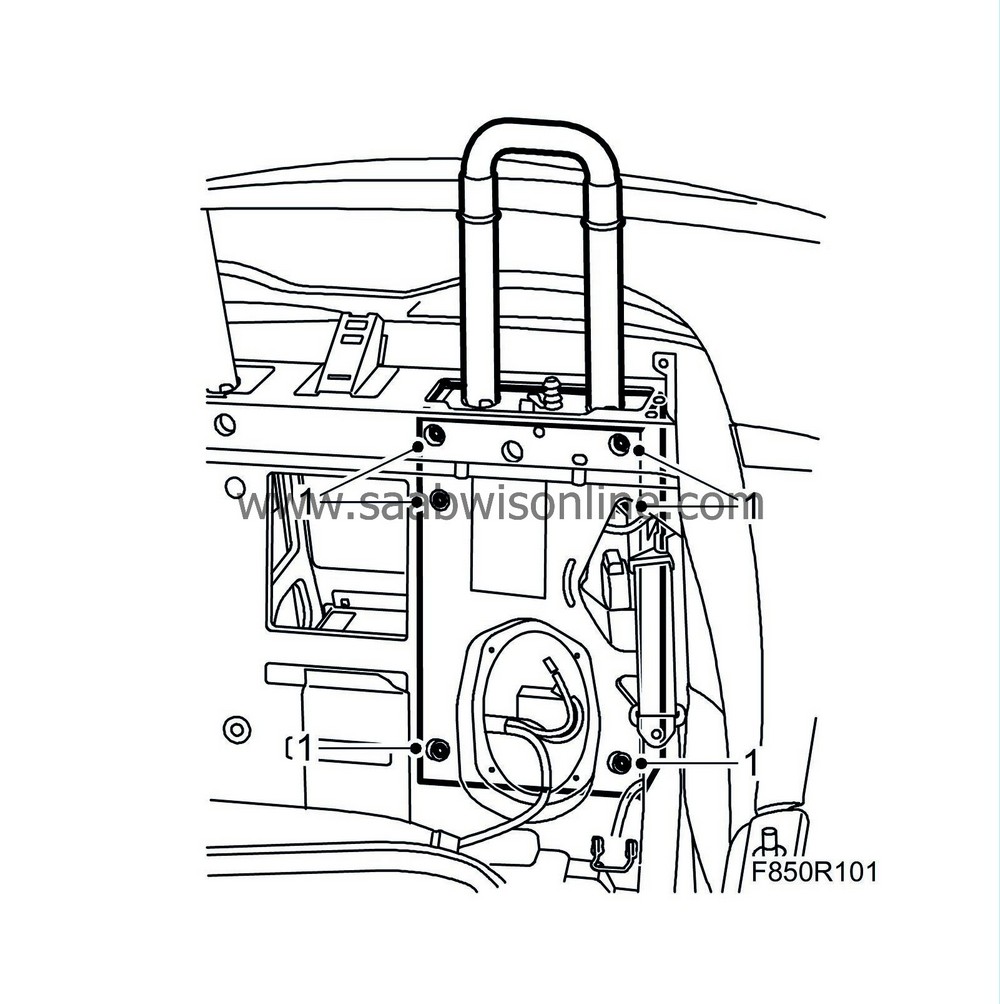
Carefully lower the roll bar unit and suspend it from the control tabs, and fit the roll bar unit. Ensure that no wires or connectors are caught.
Tightening torque 22 Nm (16 lbf ft)
|
|||||||
| 2. |
Fit the head restraint fixing plates.
Tightening torque 20 Nm (15 lbf ft) 
|
|
| 3. |
Fit the rear seat belt strap guides.
Tightening torque 40 Nm (30 lbf ft) |
|
| 4. |
Left-hand roll bar unit on certain cars:
Fit the clip for the optical bus' connector, on the roll bar unit.
|
|
| 5. |
Connect the roll bar connector. Ensure that the connector locking tab engages.
|
|
| 6. |
Connect the connector to the roll bar release mechanism. Make sure you press in the rear piece on the connector.
|
|
| 7. |
Refit the protective tape.
|
|
| 8. |
Fit the speaker or cover.
|
|
| 9. |
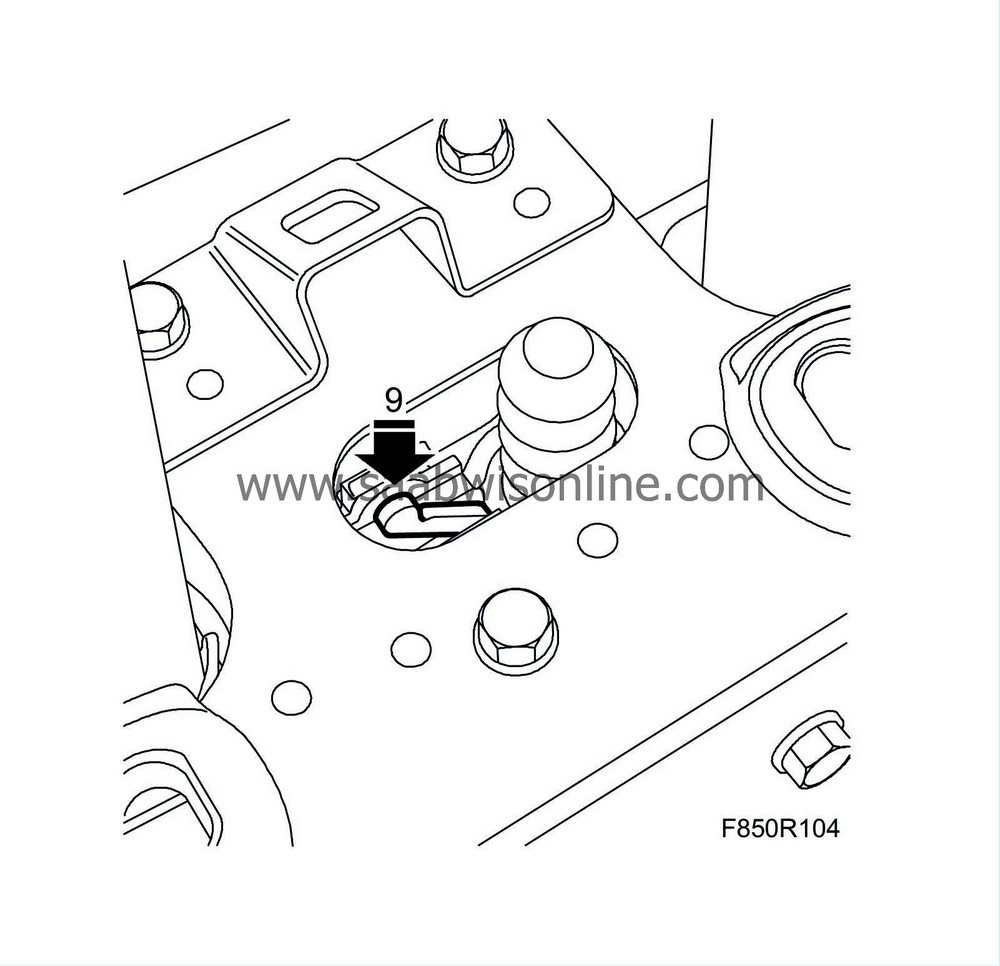
Press down on the lock for the roll bar at the same time as pressing the bow fully down. A clear click is heard when the bow if fully down.
|
|
| 10. |
Turn the ignition switch to the ON position.
|
|
| 11. |
Open the soft top cover.
|
|
| 12. |
Turn the ignition key to the LOCK position.
|
|
| 13. |
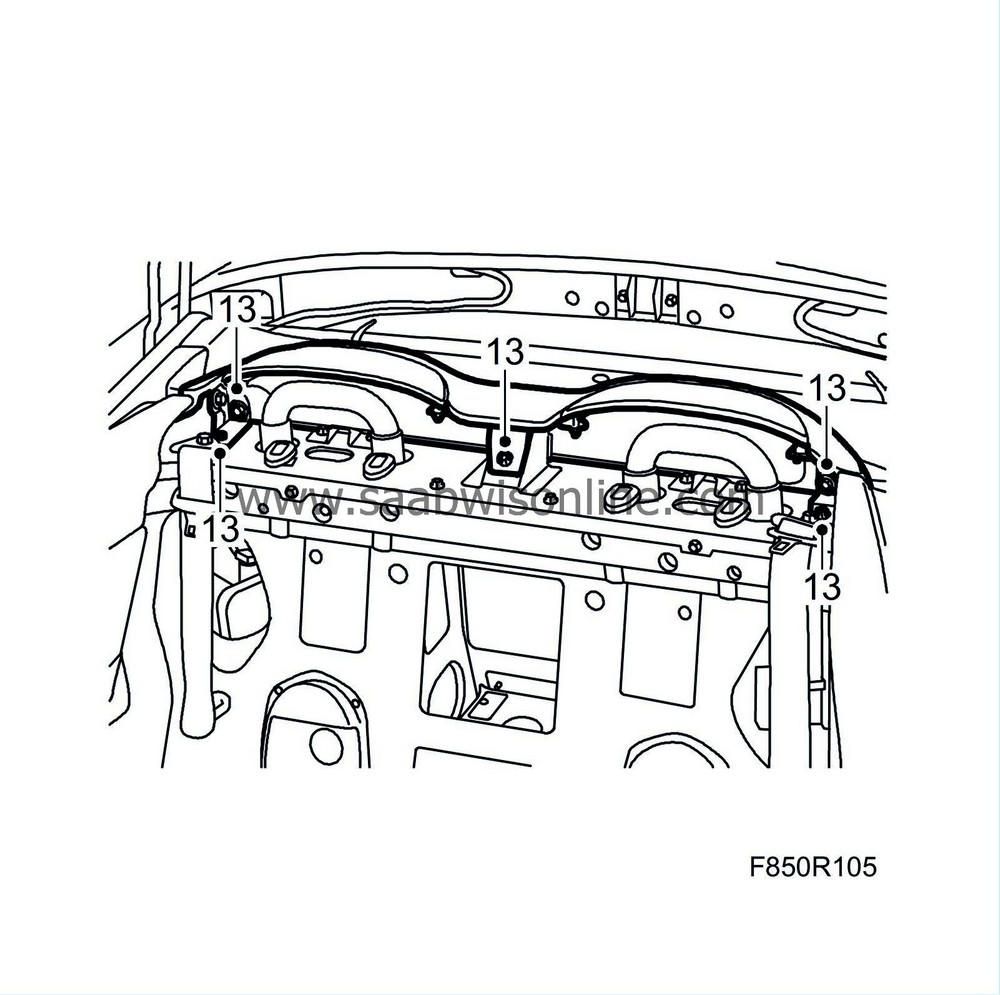
Fit the cover for the head restraint fixing plate. Adjust the cover so it is aligned with the other trim.
|
|
| 14. |
Fit rear seat backrest
.
|
|
| 15. |
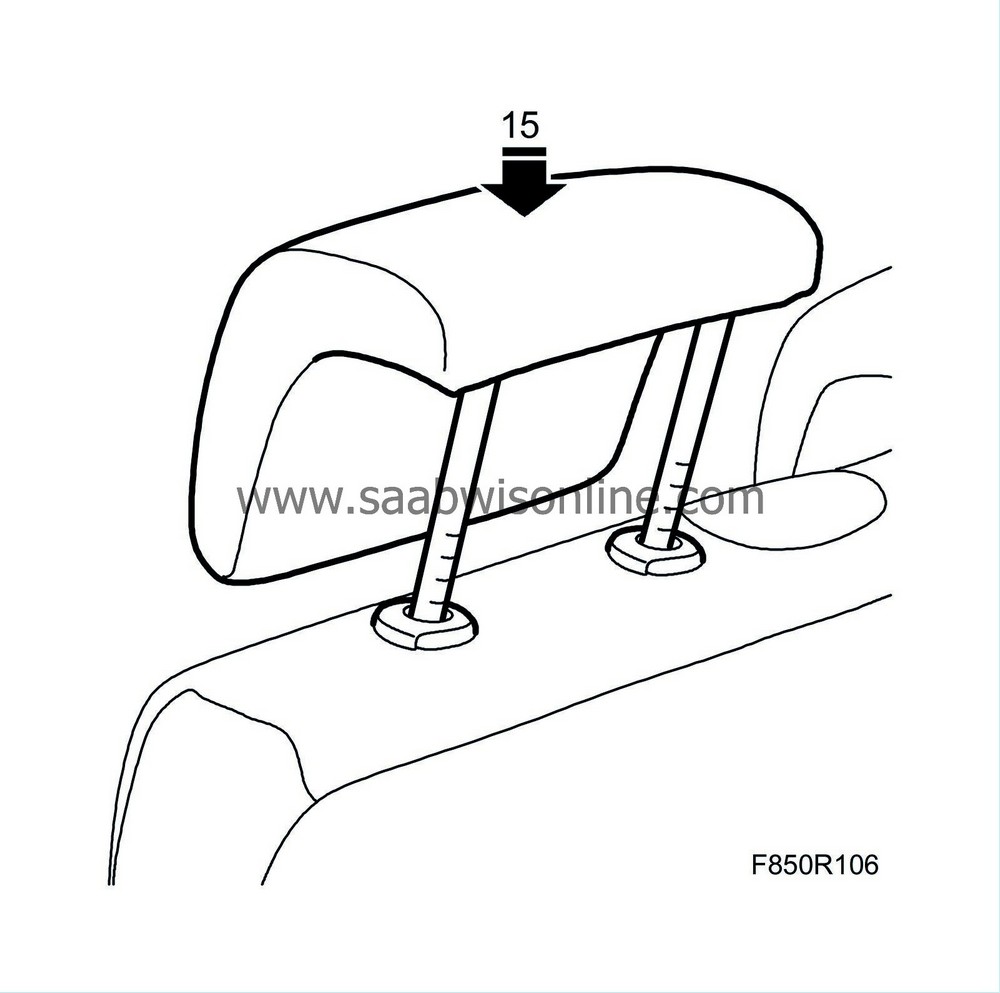
Fit the head restraint.
|
|
| 16. |
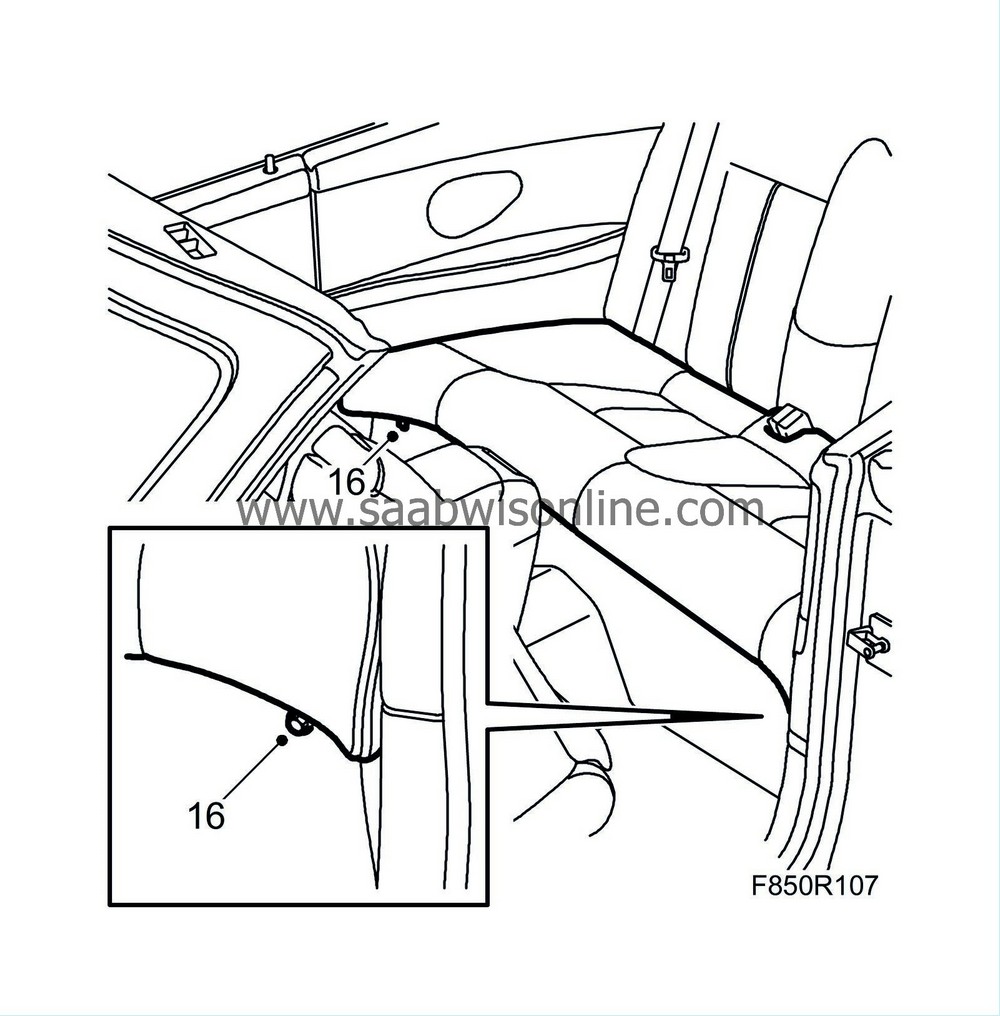
Fit the rear seat cushion and cushion screws.
|
|
| 17. |
Turn the ignition switch to the ON position.
|
|
| 18. |
Close the soft top.
|
|
| 19. |
Open the boot lid.
|
|
| 20. |
Fit the boot front trim and its two-stage rivets.
|
|
| 21. |
Fit the luggage compartment mat.

|
|
| 22. |
Close the boot lid.
|
|
| 23. |
Turn ON the ignition switch and check the airbag system and control module using the diagnostic tool as follows:
Connect the diagnostics instrument to the diagnostics socket under the dashboard. Delete any trouble codes. Turn the ignition OFF and then ON again. Wait at least 10 seconds with the ignition on. Check whether a diagnostic trouble code is shown: If a diagnostic trouble code is displayed:Carry out fault diagnosis according to the instructions under respective trouble codes. If no diagnostic trouble code is displayed:Fitting completed correctly. Disconnect the diagnostics instrument. |
|

 Warning


