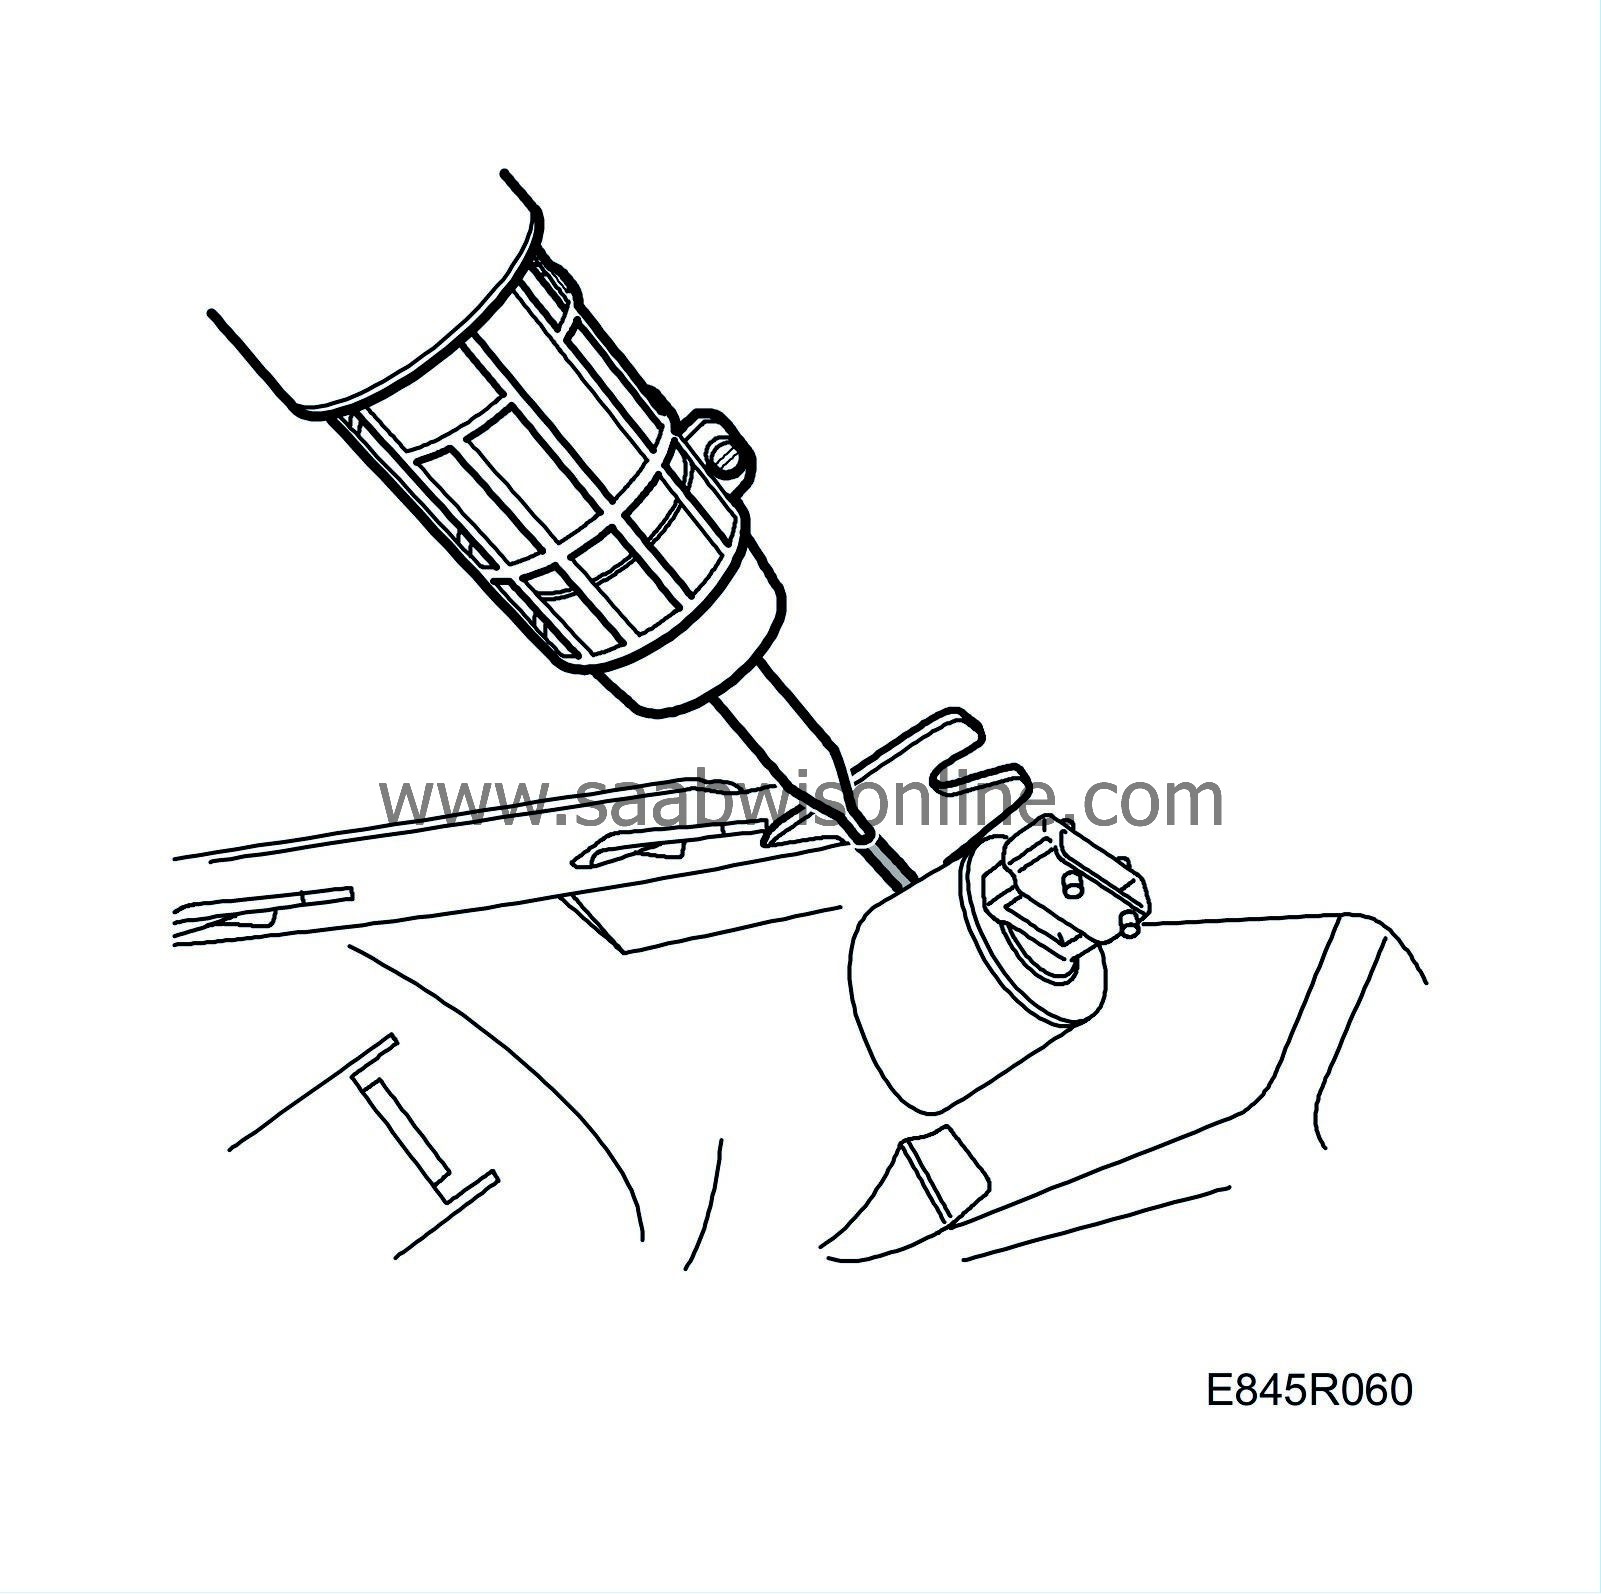
Direction indicator lamp housing, mounting lug
| Direction indicator lamp housing, mounting lug |
| 1. |
Identify the type of plastic. See
Plastic codes, temperature and welding wire
or
Plastic code table
.
|
|
| 2. |
Select the correct welding wire and set the welding gun to an operating temperature appropriate for the plastic type. See
Plastic codes, temperature and welding wire
.
|
|
| 3. |
Warm the end of the mounting lug and tack it in place. Use the tacking nozzle.

|
|
| 4. |
The mounting lug is now temporarily secured.

|
|
| 5. |
Thin the end of the welding wire.

|
|
| 6. |
Weld the mounting lug using welding wire.
|
|
| 7. |
Allow the weld to cool.
|
|
| 8. |
Grind the weld joints as necessary.

|
|
| 9. |
Remove grinding scratches by shock heating the damaged area with the welding gun at approx. 25°C above the specified welding temperature.
|
|


