Crankshaft
| Crankshaft |
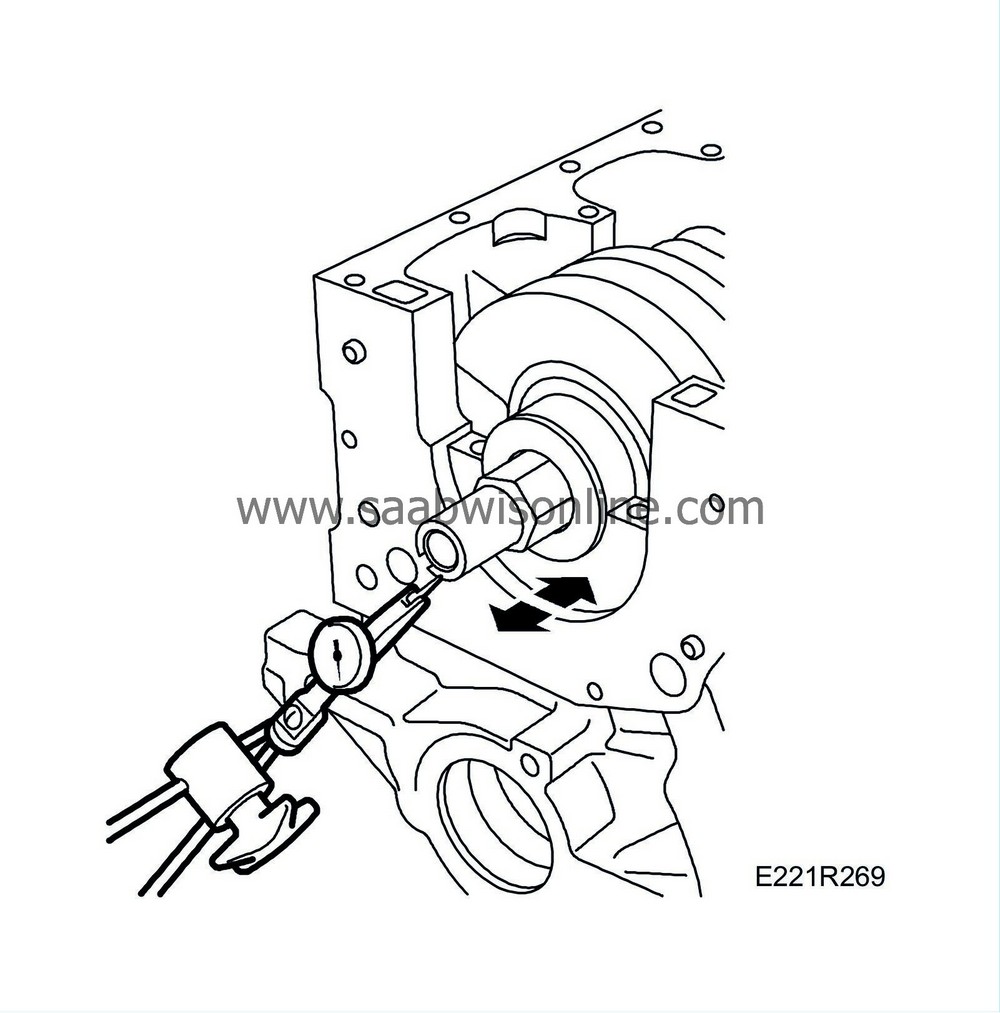
Push the crankshaft lengthwise (axially).
Maximum permissible clearance is 0.1-0.76 mm.
Remove the dial gauge.
| Rotational deviation |
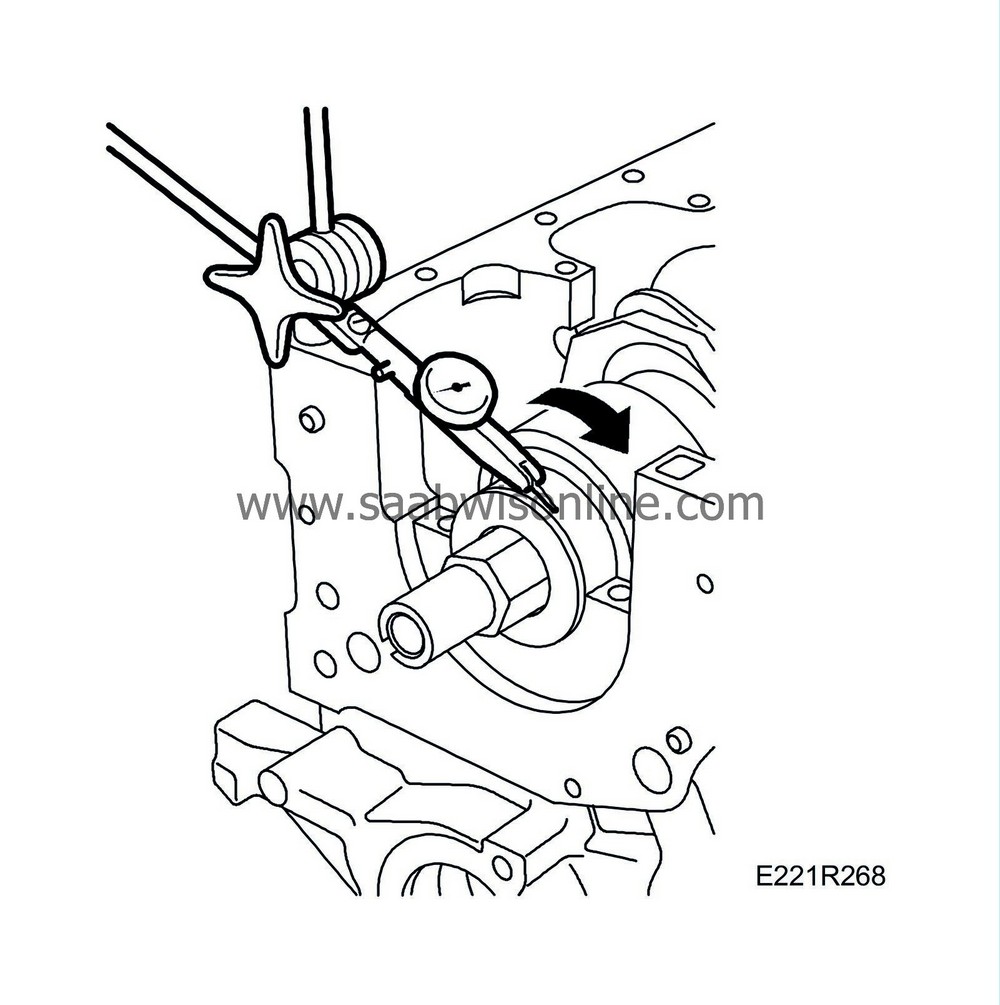
Place the dial gauge, part No. 87 92 194, with holder 87 90 727, on the cylinder block with its tip resting on the main bearing journal.
Turn the crankshaft steadily. Maximum permissible rotational deviation is 0.05 mm. Remove the dial gauge.
| Checking crankshaft clearances |
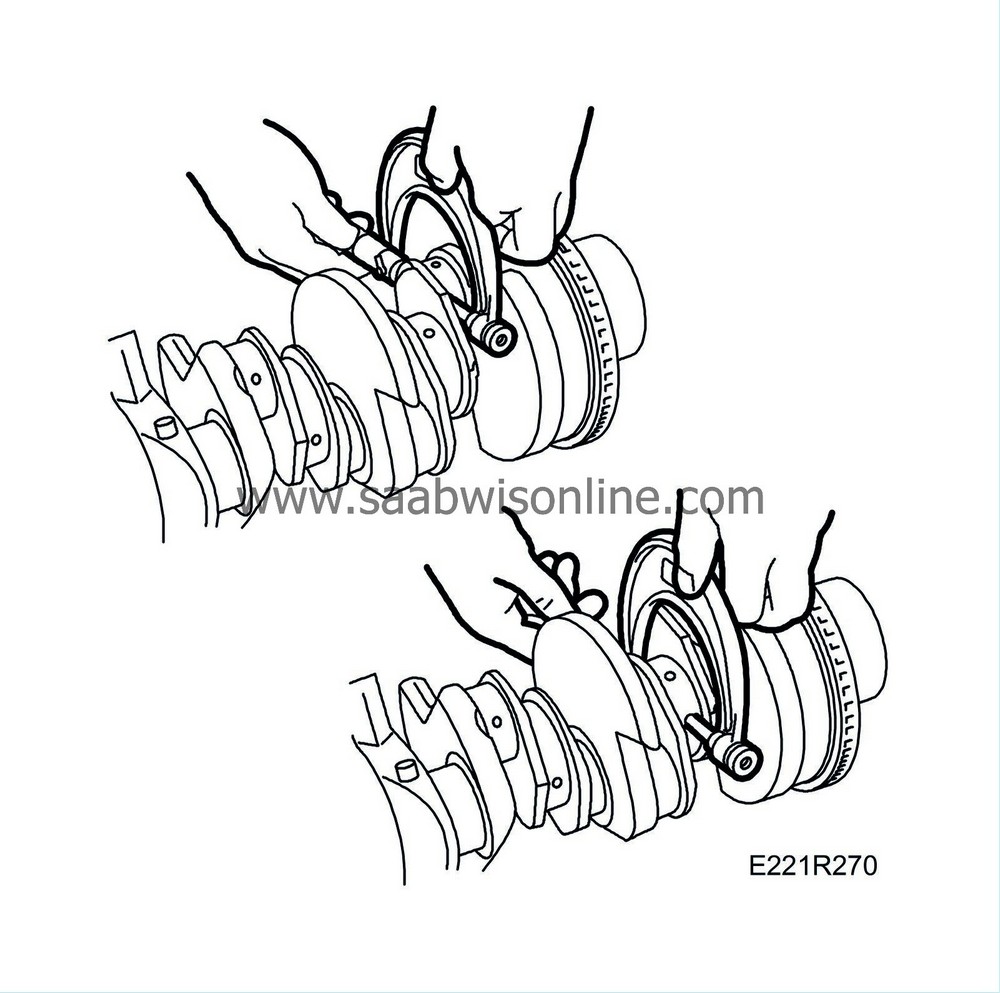
Clean the crankshaft and measure the crankpins with a micrometer. Measurements should be taken at several points round the circumference. The out-of-round (ovality) of the main journals must not exceed 0.003 mm. If the measurements are close to or in excess of this wear, the crankshaft should be ground down to the specified undersize.
| Checking bearing clearances |
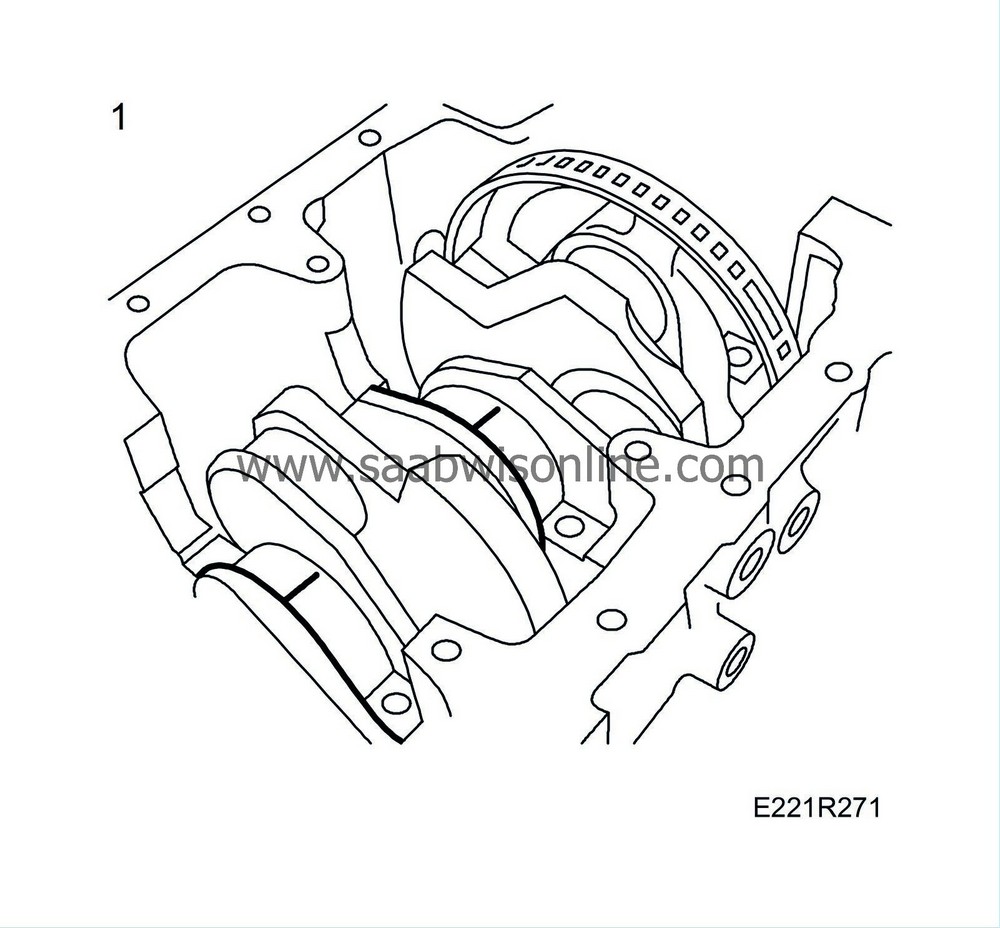
Main bearings
Clearance are measured with Plastigage, part No. (45) 30 06 558.| Important | ||
|
When measuring clearances with Plastigage, make sure that none of it gets into the oil holes. |
||
| 1. |
Position the engine with the cylinder head surface downwards so that the weight of the crankshaft will not affect the measurements.
|
|
| 2. |
Clean the parts that are to be measured. Place a strip of Plastigage along the shaft.
|
|
| 3. |
Fit the bearing cap.
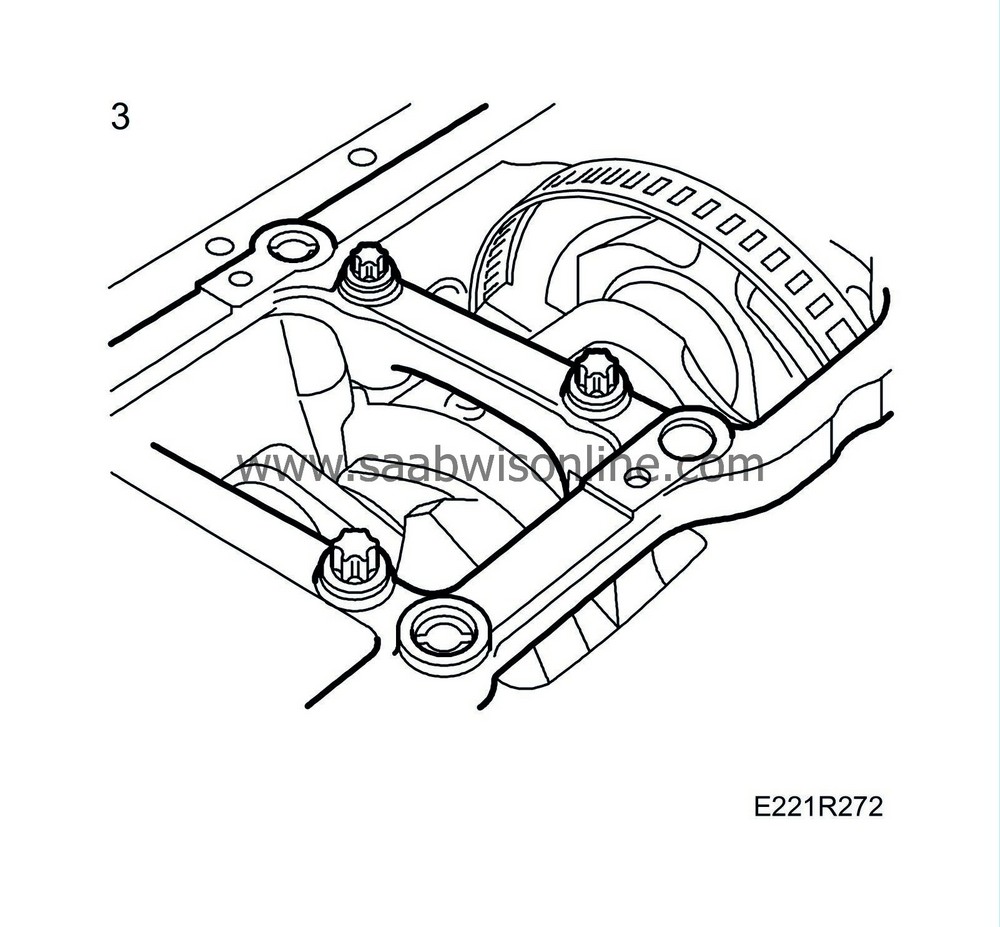
Tightening torque: 50 Nm (37 Ibf ft) + 60° + 15° The crankshaft must not be turned during measurement. |
|
| 4. |
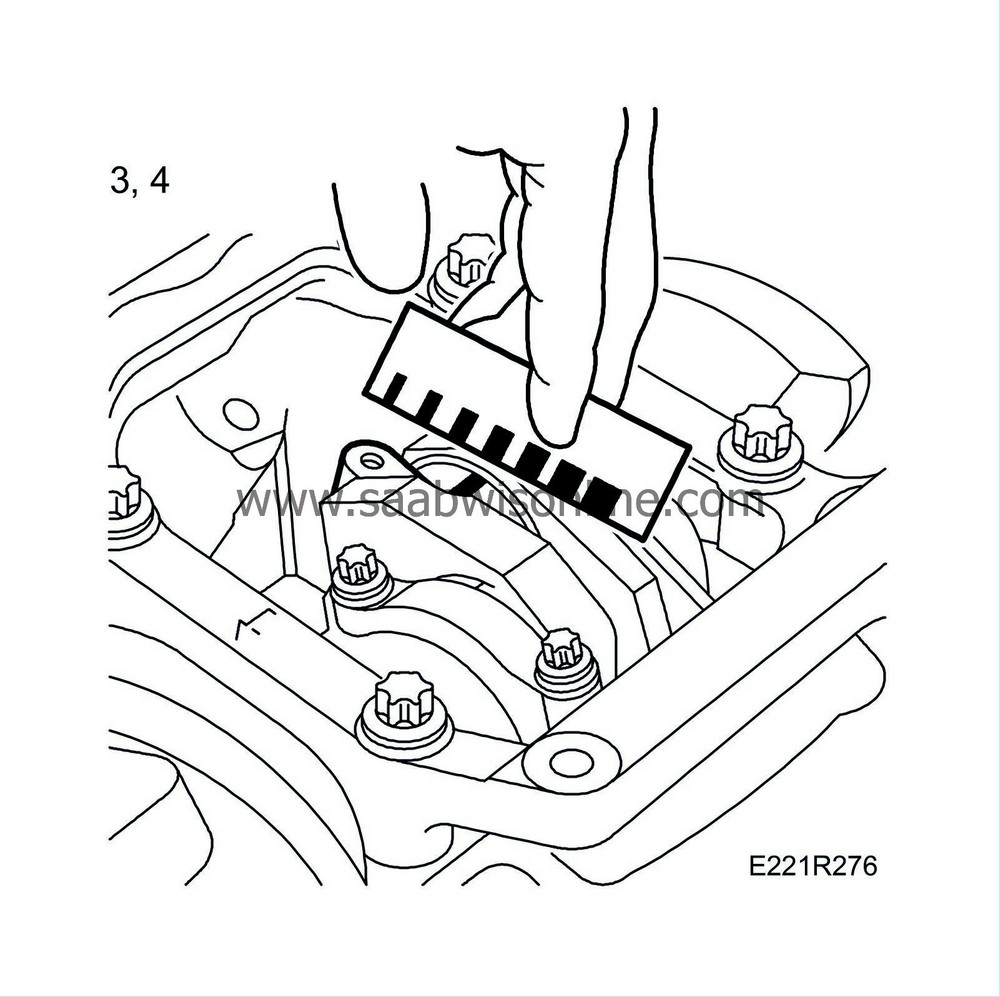
Remove the bearing cap. The strip of Plastigage should now have adhered to either the bearing cap or the main journal.
|
|
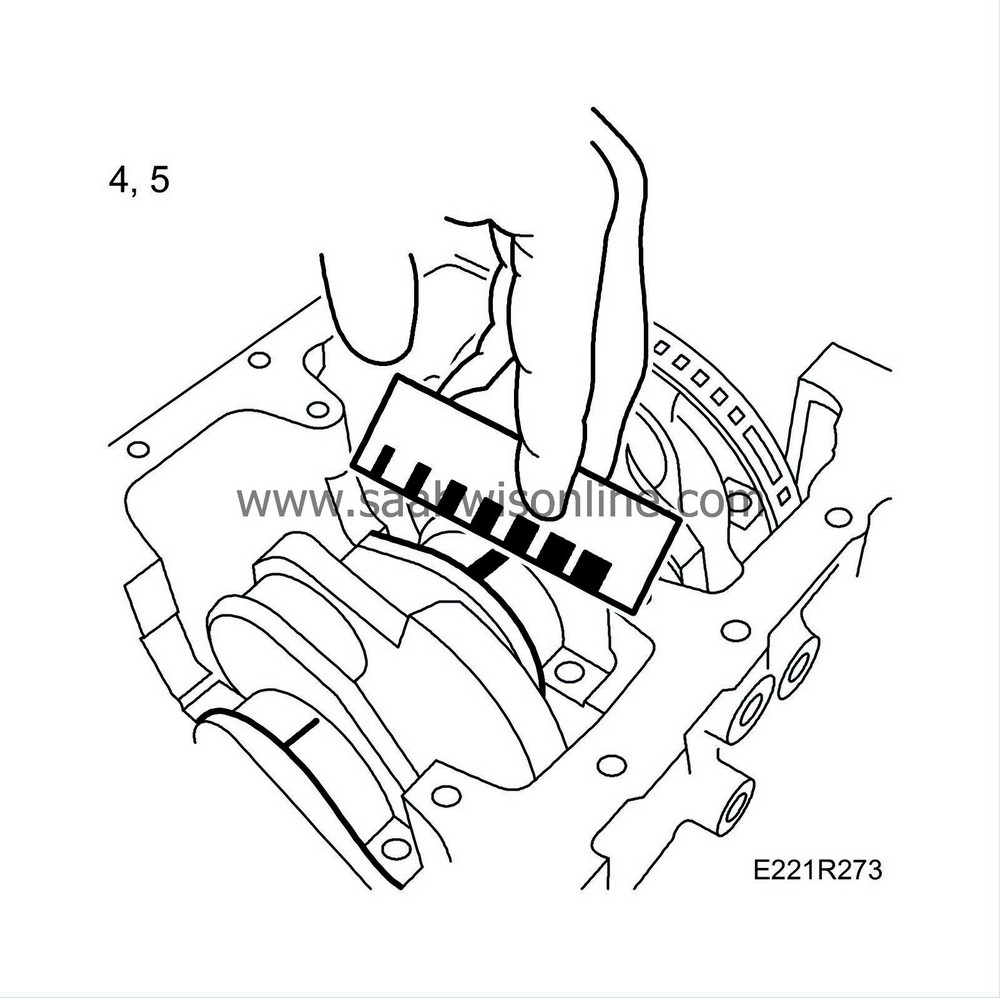
| 5. |
Measure the width of the Plastigage strip using the scale printed on the packaging and read off the clearance. One side of the packaging gives the measurement in millimetres, the other side in thousandths of an inch. Measure the strip at the widest point and take care not to touch it with your fingers.
Permissible main bearing clearance is 0.014-0.043 mm. |
|
Big-end bearings
Clearance are measured with Plastigage, part No. (45) 30 06 558.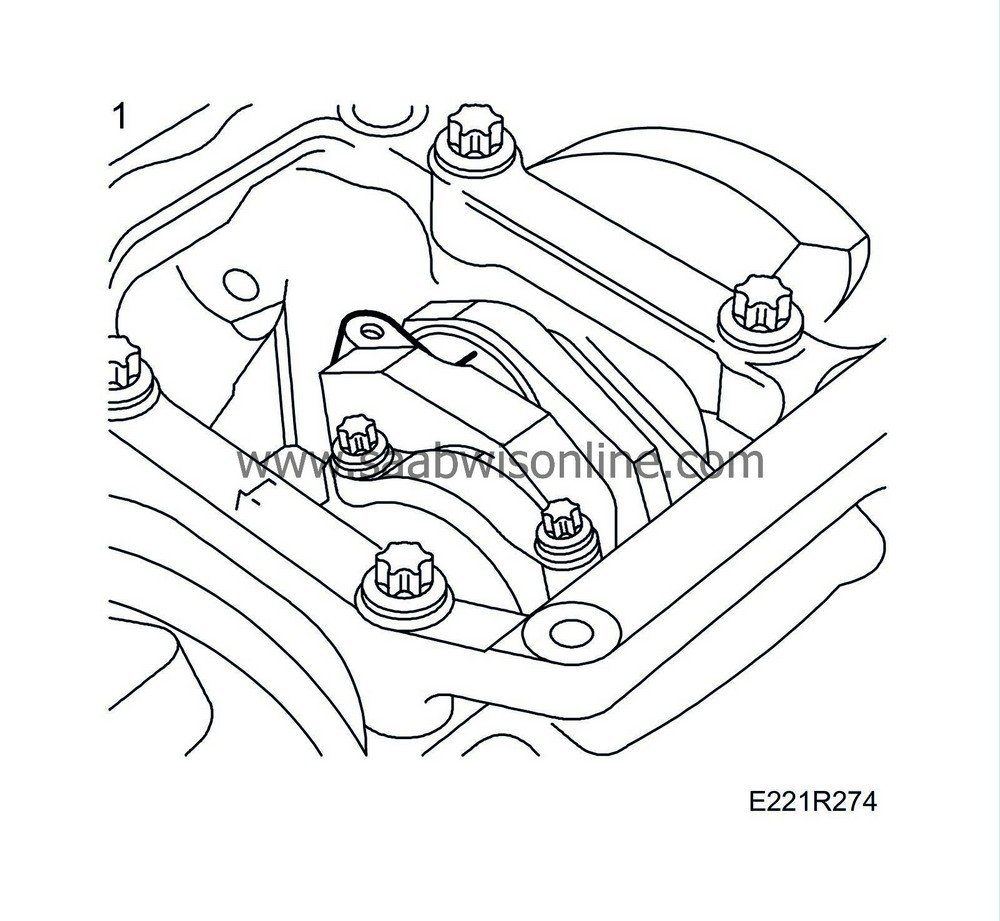
| Important | ||
|
When measuring clearances with Plastigage, make sure that none of it gets into the oil holes. |
||
| 1. |
Clean the parts that are to be measured. Place a strip of Plastigage along the shaft.
|
|
| 2. |
Fit the bearing cap.
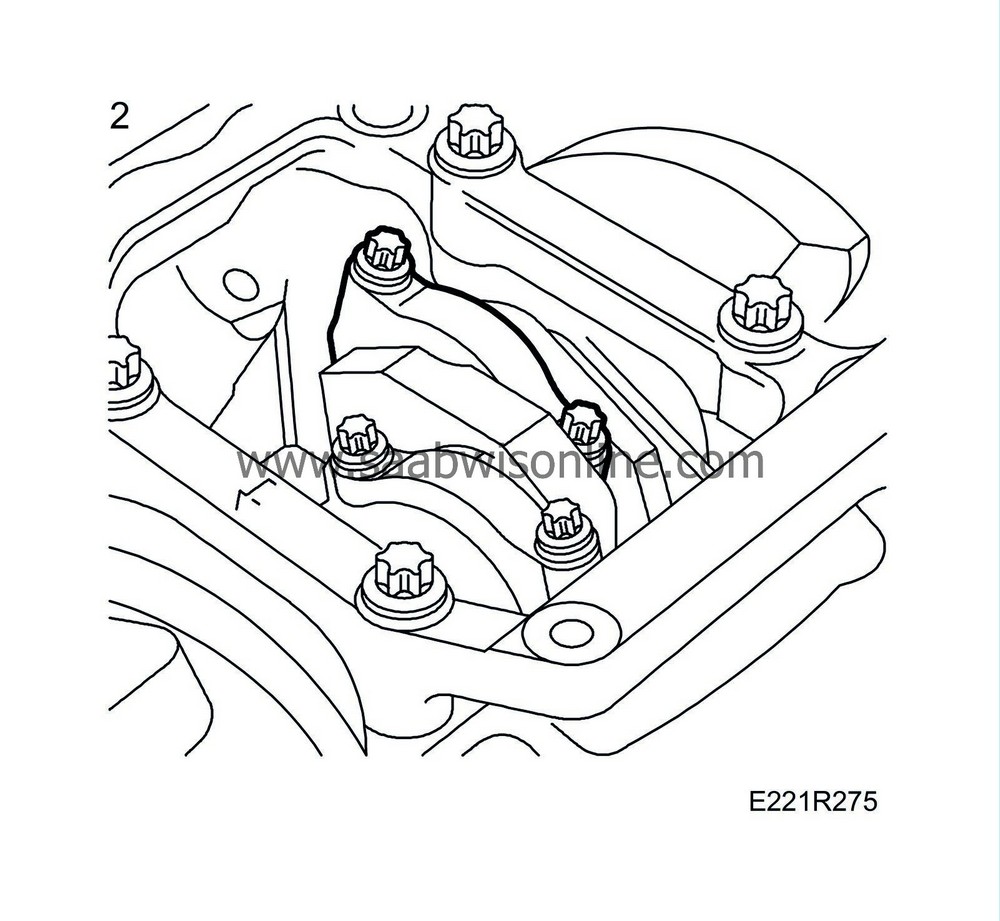
Tightening torque: 35 Nm (26 Ibf ft) + 45° + 15° The crankshaft must not be turned during measurement. |
|
| 3. |
Remove the bearing cap. The strip of Plastigage should now have adhered to either the bearing cap or the main journal.
|
|
| 4. |
Measure the width of the Plastigage strip using the scale printed on the packaging and read off the clearance. One side of the packaging gives the measurement in millimetres, the other side in thousandths of an inch. Measure the strip at the widest point and take care not to touch it with your fingers.
Permissible big-end bearing clearance: 0.013-0.061 mm. |
|

