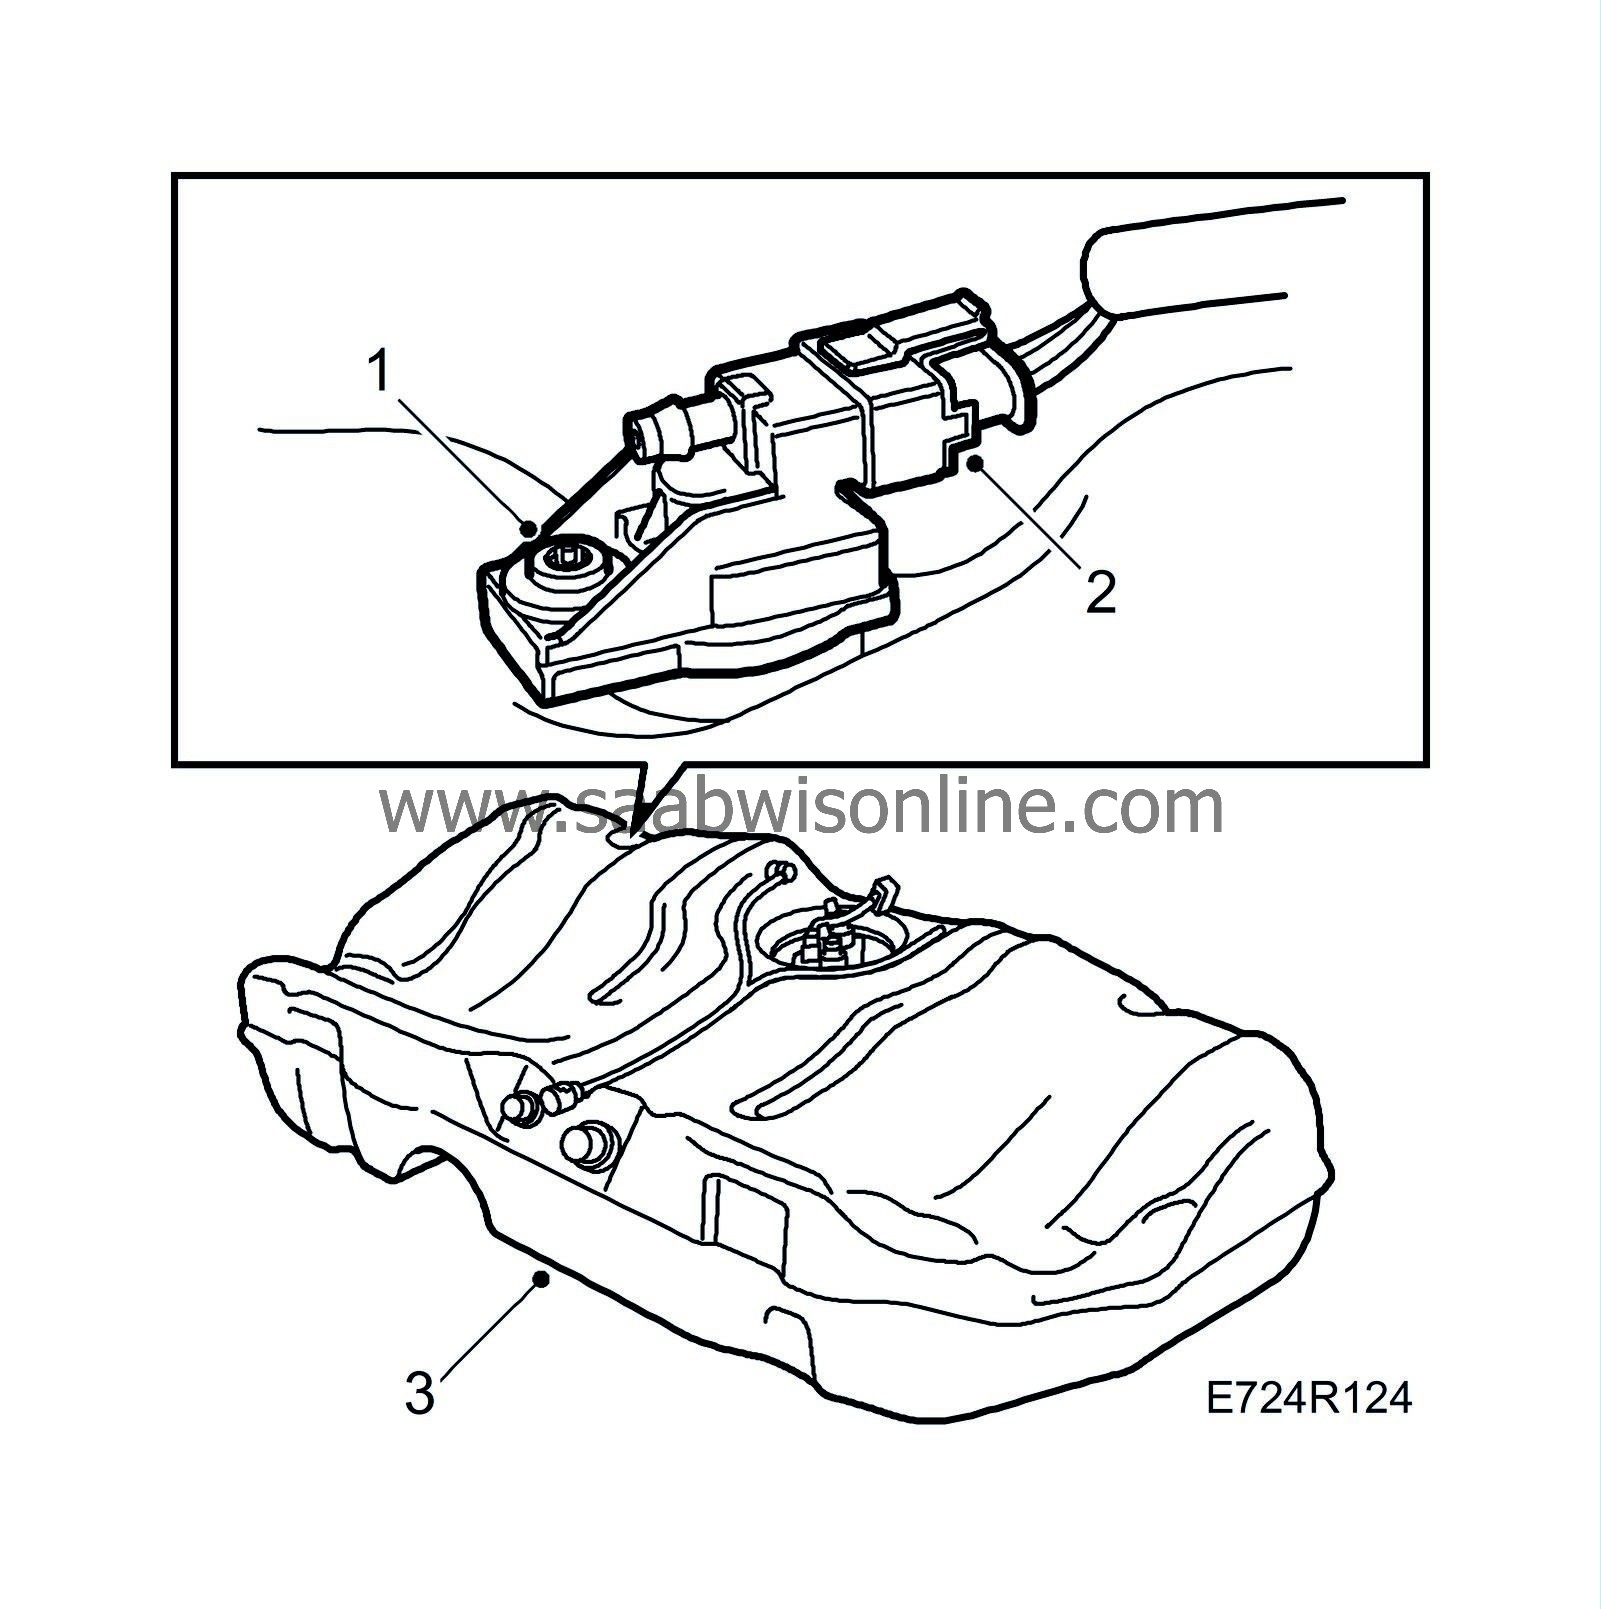
EVAP pressure sensor
| EVAP pressure sensor |
|
||||||||||||||||||||||
| To remove |
| 1. |
Raise the rear seat cushion and fold back the carpet.
|
|
| 2. |
Remove the cover over the fuel pump.
|
|
| 3. |
Detach the connector (not from the pump fitting).
|
|
| 4. |
Detach the outlet connection from the fuel pump.
|
|
| 5. |
Connect the check valve (part no. 41 61 766) with rubber fuel hose. Apply acidic-free vaseline to the O-rings.
|
|
| 6. |
Run the pump by jumping fuses no. 8 and no. 19 with the multilead connector cable (part no. 83 93 886). Convey the fuel to a closed receptacle. Run the pump until the tank is empty.
|
|
| 7. |
If the pump is defective, use the tank emptying tool and vacuum the fuel through the check valve (part no. 41 61 766) with its rubber hose.
|
|
| 8. |
Carefully work the check valves with fuel lines away from the pump (push the yellow catches carefully to one side with a screwdriver). The check valves are secured with quick-release couplings to the pump. The white one is the delivery side and is marked “Pressure” on the pump. The black one is the return side and is marked “Return” on the pump. Move them to one side and secure them under the plate seam.
|
|
| 9. |
Raise the car.
|
|
| 10. |
Remove the rear exhaust pipe.
|
|
| 11. |
Separate the evap pipe with the special tool (part no. 83 95 261).
|
|
| 12. |
Detach the hoses to the filler pipe.
|
|
| 13. |
Detach both handbrake cables on the handbrake lever.
|
|
| 14. |
Place a column lift under the tank.
|
|
| 15. |
Undo the front bolts on the strap securing the tank and lower the tank.

|
|
| 16. |
Clean the sensor and the area around it.
|
|
| 17. |
Unplug the connector.
|
|
| 18. |
Remove the pressure sensor.
|
|
| To fit |
| 1. |
Fit the pressure sensor.

|
|
| 2. |
Spray the connector with Kontakt 61 (part no. 30 04 520) and plug it in.
|
|
| 3. |
Carefully raise the tank.
|
|
| 4. |
Attach the handbrake cables.
|
|
| 5. |
Fit the strap.
|
|
| 6. |
Fit the evap pipe.
|
|
| 7. |
Fit the filler pipe.
Tightening torque for hose clamps 2.2 Nm (1.6 lbf ft) |
|
| 8. |
Fit the rear exhaust pipe.
|
|
| 9. |
Lower the car.
|
|
| 10. |
Connect the check valves and fuel lines to the pump. The white one represents the delivery side and is marked “Pressure” on the pump. The black one is the return side and is marked “Return” on the pump.
|
|
| 11. |
Fasten the outlet connection to the fuel pump.
|
|
| 12. |
Plug in the fuel pump connector.
|
|
| 13. |
Fit the cover over the pump.
|
|
| 14. |
Fill up with fuel.
|
|

 Warning

