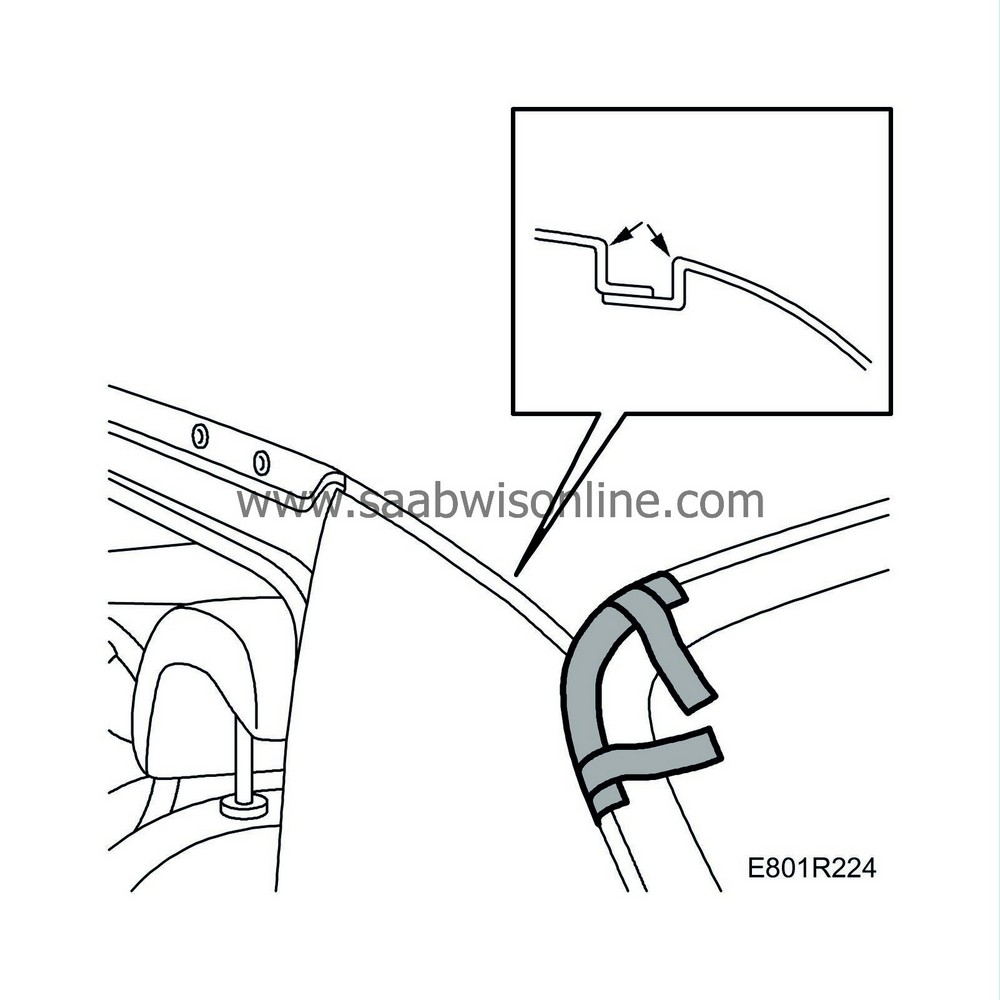
Replacement of putty in C-pillar seal against roof, 4D
| Replacement of putty in C-pillar seal against roof, 4D |
| Replacement |
| 1. |
Remove the upper part of the roof moulding.
|
|
| 2. |
Bend up the seal lip of the rubber moulding. Place masking tape between the rubber moulding and the roof panel.
|
|
| 3. |
Use masking tape to attach the seal lip of the rubber moulding to the rear window.
|
|
| 4. |
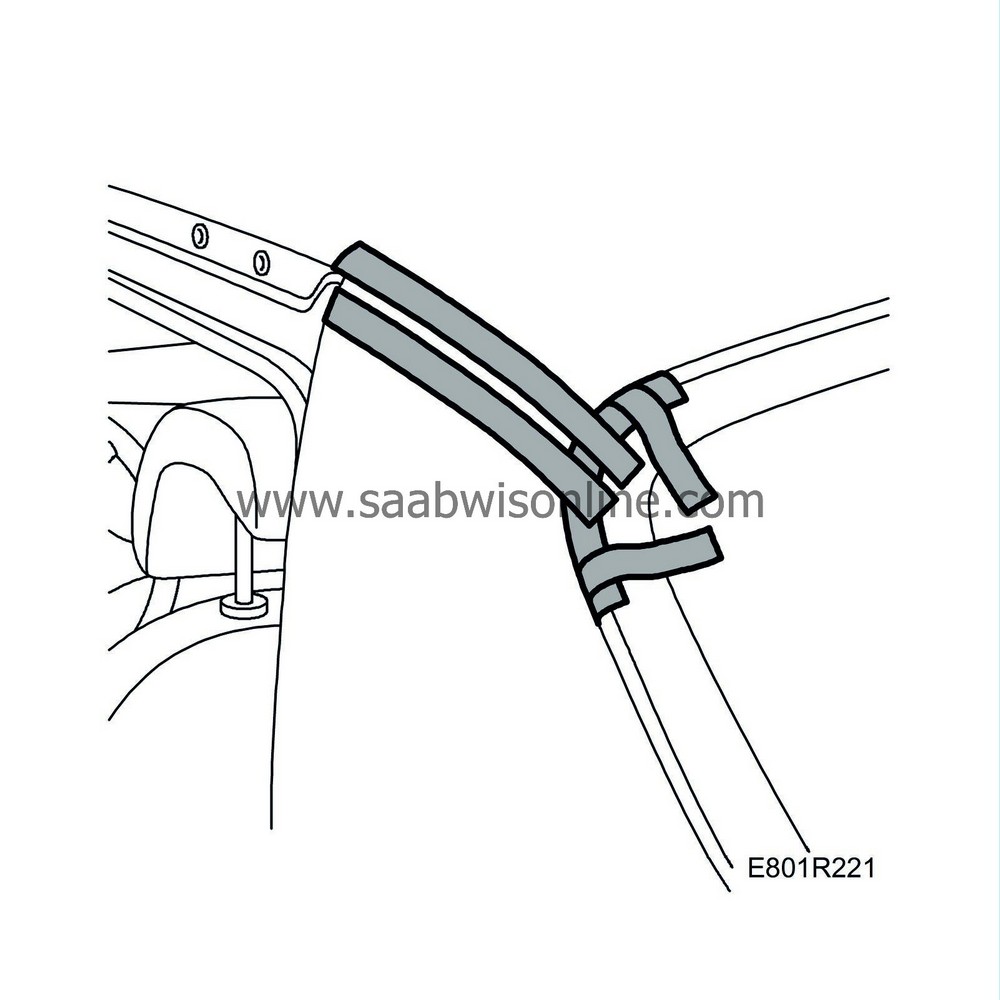
Cover the rear seat upholstery to protect from dirt.
|
|
| 5. |
Cover the edge of the side panel and roof radii to protect the paint.
|
|
| 6. |
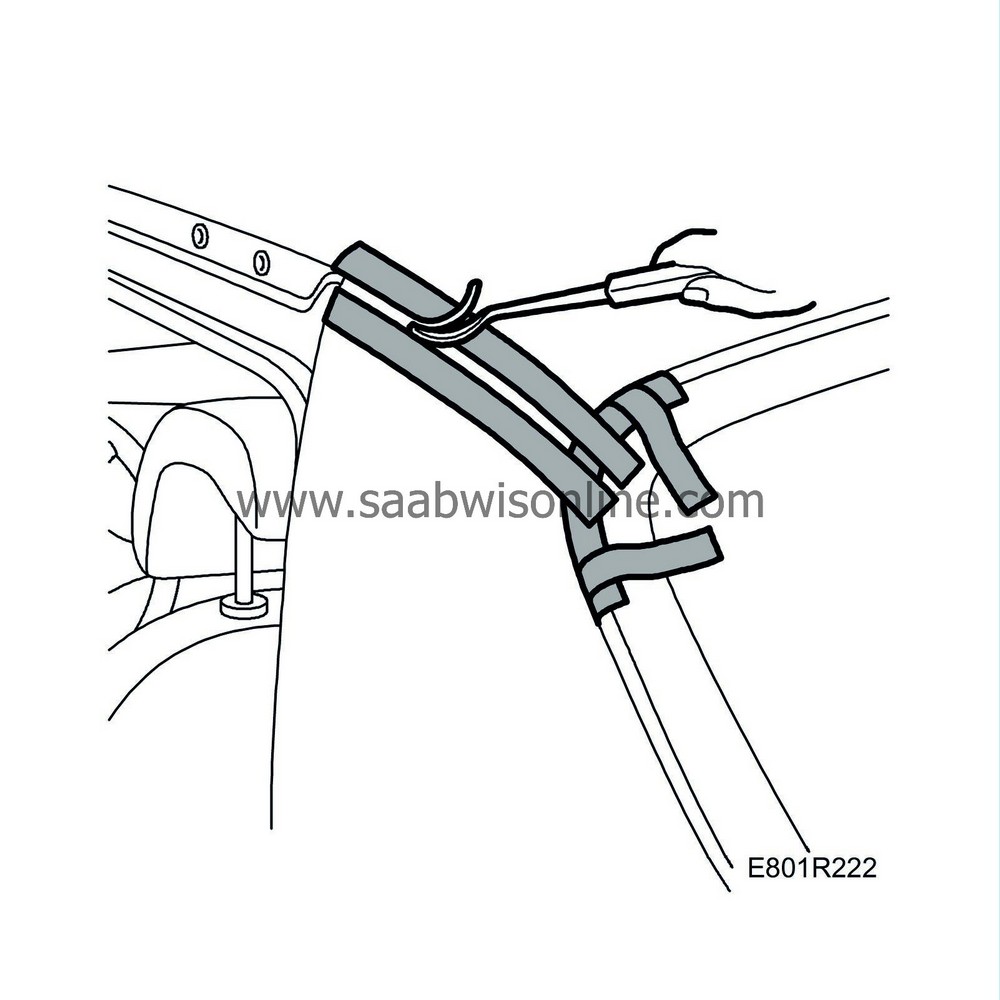
Cut away the centre section of putty using tool
82 93 193 Chiselling tool, small
.
|
|
| 7. |
Use
82 93 474 Removal tool
to cut away the rest of the putty. Angle the plastic spackle to facilitate putty removal. Be sure to remove all the putty at the bottom of the joint.

|
|
| 8. |
Remove the masking tape from the side panel and roof.
|
|
| 10. |
Wipe clean with Teroson FL T875.
Repeat points 1-10 to repair the other side. |
|
| 11. |
If the primer is damaged, apply an etching primer on all bare metal surfaces.
|
|
| 12. |
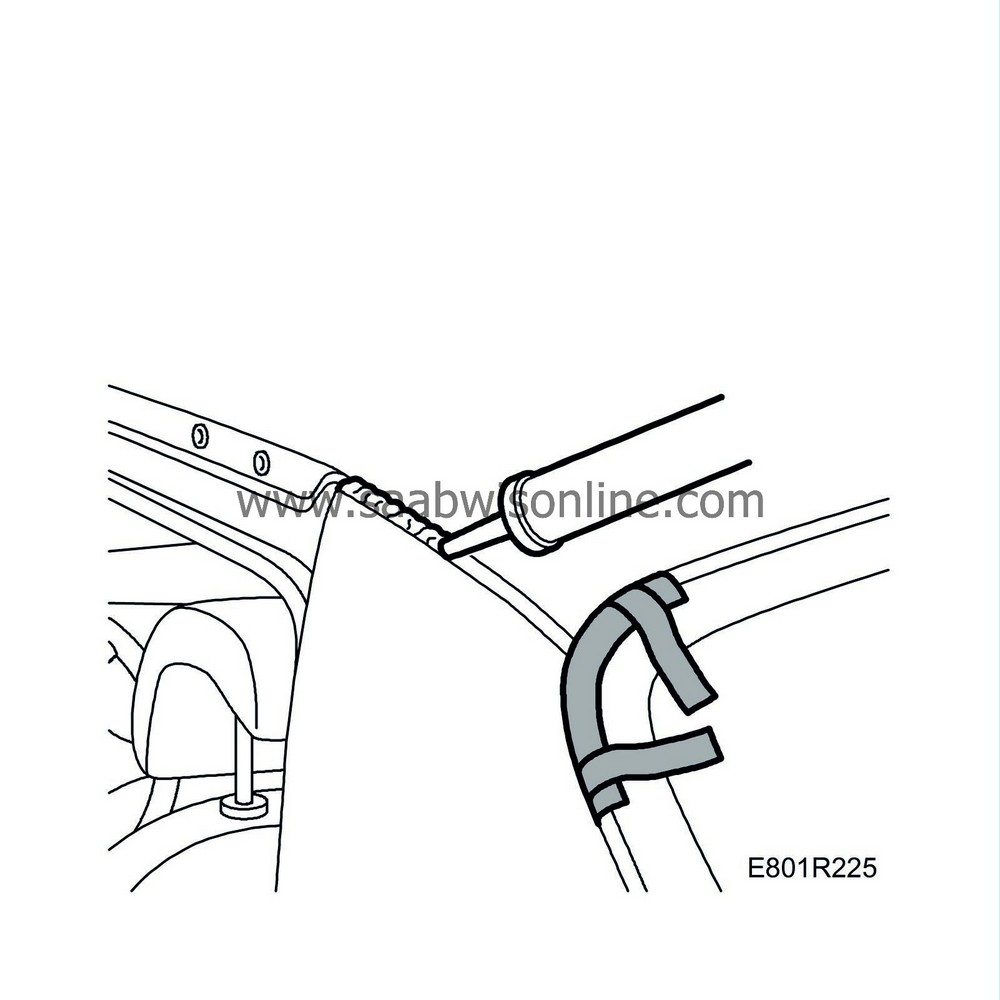
Apply new material Teroson Teromix 6700 T305
|
|
| 13. |
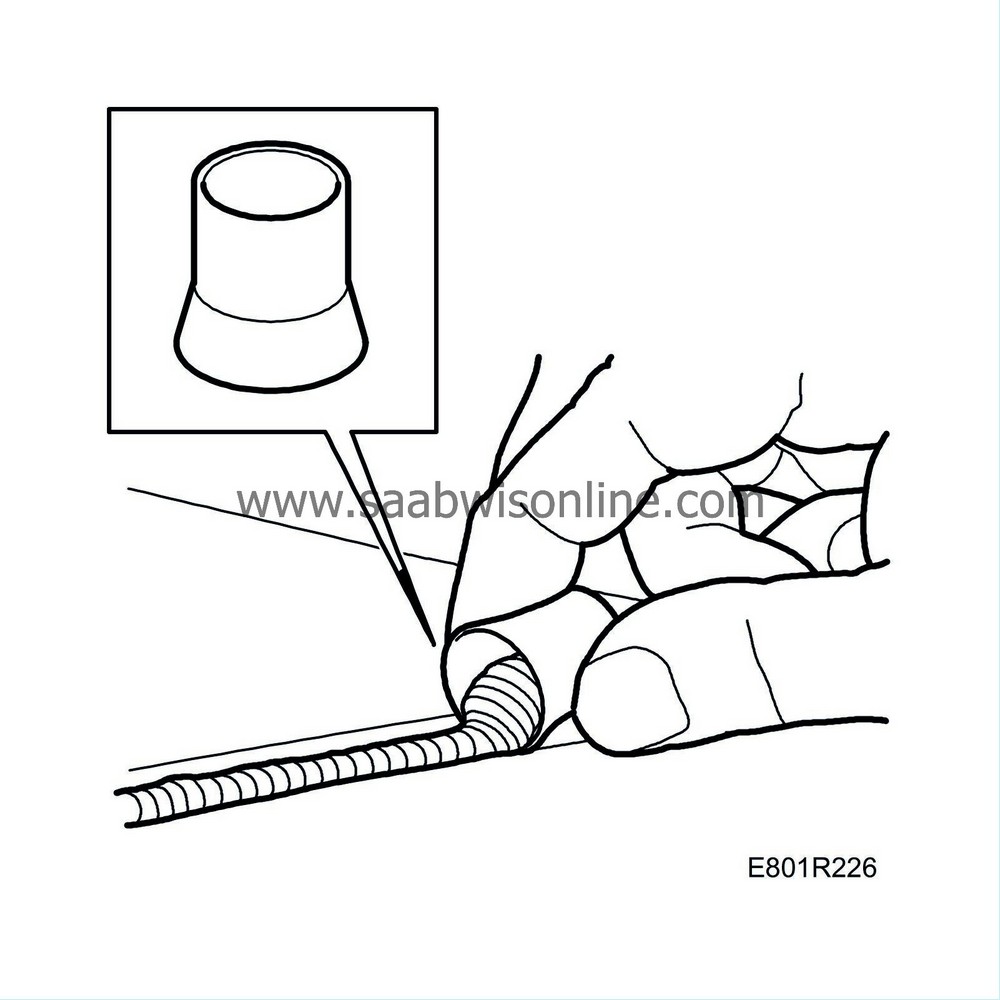
Use
82 93 730 Plastic scraper
to remove excess material. Adjust the shape against the rear window and roof mouldings.
|
|
| 14. |
Inspect the joint in respect of quality and finish.
|
|
| 15. |
Repeat points 11-15 to repair the other side.
|
|
| 16. |
Allow the material to harden 2 hours at a minimum of 20° C (68°F).
|
|
| 17. |
After hardening, check the joint as regards quality and finish.
|
|
| 18. |
Affix masking tape and apply primer.
|
|
| 19. |
Polish the paint joint and remove the masking.
|
|
| 20. |
Heat the rubber moulding of the rear window to 80°-100°C (176°-212°F) using a heat gun so that the moulding resumes its ordinary shape.
|
|
| 21. |
Fit the roof moulding and check the seal finish once again. Make sure there are no traces of grinding or paint dust.
|
|
| 22. |
Vacuum the car and remove the cover from the rear seat.
|
|

