Door handle, assembly following painting
|
|
Door handle, assembly following painting
|
|
1.
|
Check that there is no visible damage to painted surfaces.

|
|
2.
|
Fit the seals (A) to the handle (B).

|
|
3.
|
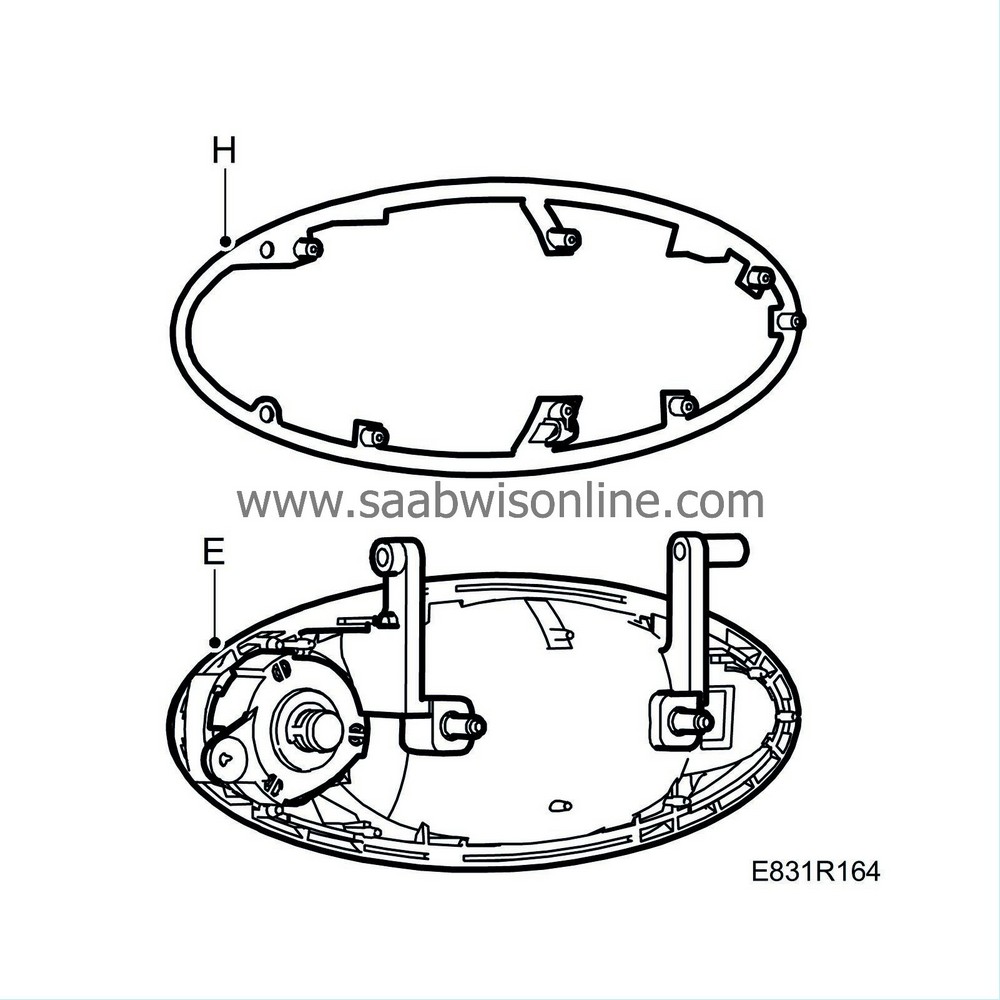
Fit the seal (H) to the handle frame (E).

|
|
4.
|
Insert the handle (B) into the handle frame (E).
|
|
5.
|
Thread the opening bracket (C) onto the handle (B), and position the opening bracket (C) over the boss on the handle frame (E). The opening bracket (C) has a notch which makes it easier to position.
|
|
6.
|
Thread the spring (D) onto the handle frame (E).

|
|
7.
|
Push the handle (B) into its closed position in the handle frame (E).
|
|
8.
|
Latch the spring (D) onto the handle (B).
|
|
9.
|
Press the balance weight (F) onto the handle (B).

|
|
10.
|
Grease the holes where the spring pins (G) are to be mounted.
|
|
11.
|
Fit the spring pins (G).
|
|
12.
|
Check that the unit has been assembled correctly and no damage has resulted.
|
|
13.
|
Check the operation of the handle by opening and closing it several times.
|


