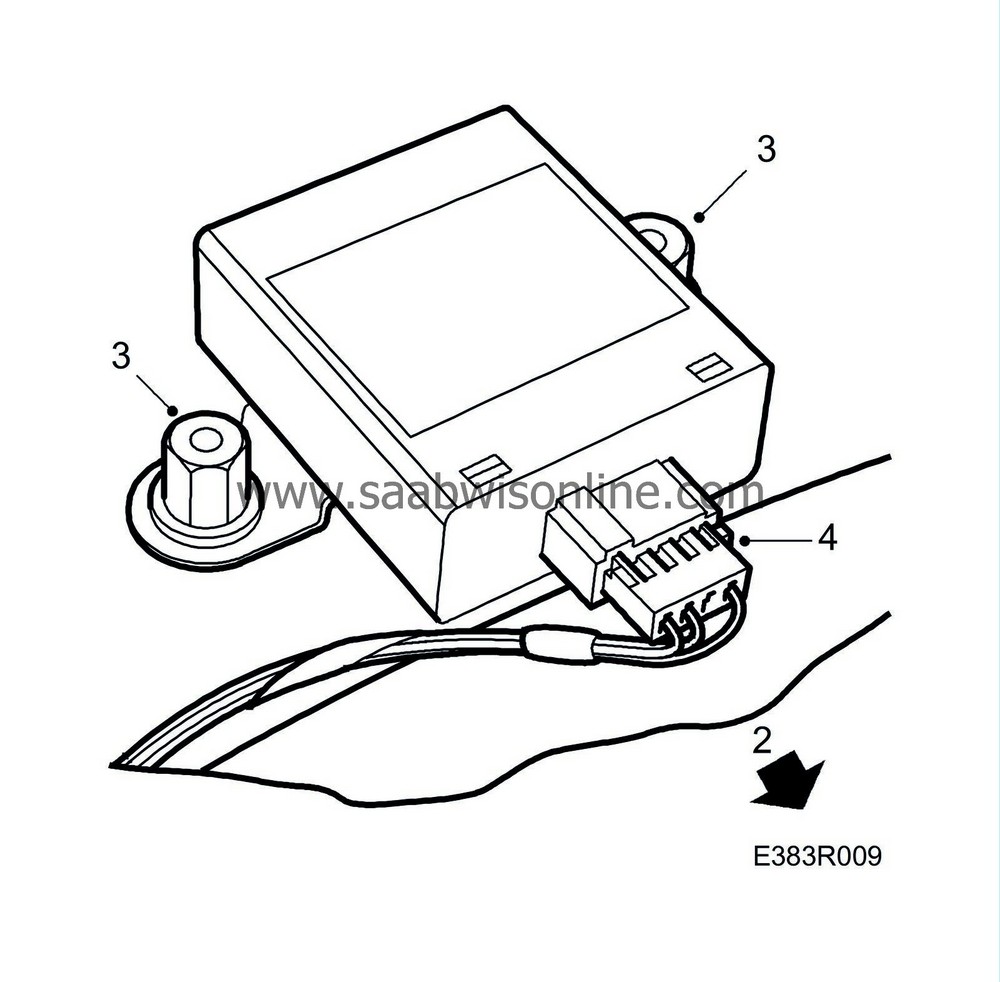
Tilt sensor
| Tilt sensor |
| To remove |
| 1. |
Remove RH front and rear sill trim.
|
|
| 2. |
Remove the bolts securing the RH front seat and lift the seat forwards.
|
|
| 3. |
Undo the lower B-pillar clips
|
|
| 4. |
Undo the clips securing the front carpet.
|
|
| 5. |
Fold the rear carpet out of the way.
|
|
| 6. |
Remove the two plastic nuts securing the tilt sensor.
|
|
| 7. |
Remove the connector and sensor.
|
|
| To fit |
| 1. |
Fit the connector.
|
|
| 2. |
Fit the plastic nuts on the sensor.
|
|
| 3. |
Replace the rear carpet.
|
|
| 4. |
Fit the clips securing the front carpet.
|
|
| 5. |
Clip and secure the lower B-pillar section.
|
|
| 6. |
Fit the bolts on the passenger pillar.
|
|
| 7. |
Fit the RH front and rear sill trim.
|
|
| 8. |
Conduct a functionality test for the anti-theft alarm.
|
|
| 8.a. |
Activate the anti-theft alarm.
|
| 8.b. |
The diode should glow for approx. 10 seconds followed by a blinking flash.
|
| 8.c. |
Wait approximately 15 seconds.
|
| 8.d. |
Deactivate the anti-theft alarm.
|
| 8.e. |
Connect Tech 2.
|
| 8.f. |
Connect the ignition and read diagnostic trouble codes.
|


