Installation
| Installation |

| 1. |
Connect the
adapter cable
(25/9-pin, male/female) between the computer COM port and the hardware key.
|
|
| 2. |
Hardware key
(25/25-pin, male/female). This must be registered in order for it to work. See the heading
Hardware key registration
in the previous section.
|
|
| 3. |
Adapter
(25/9-pin, female/male).
|
|
| 4. |
Adapter
(DB9)
|
|
| 5. |
Adapter cable
(RS232)
|
|
| Installing and updating software |
| Note | ||
|
You must have administrator rights on your PC in order to install TIS2000. |
Installing TIS2000 on the computer
| 1. |
Insert the TIS2000 CD in the computer's CD drive.
|
|
| 2. |
Click on the Windows
Start
button and select
Run...
.
|
|
| 3. |

Enter D:\cosids\Setup.exe in the field of the dialogue box (If the CD drive designation is a letter other than "D", use that letter instead). Alternatively: Click on Browse... , find the file and mark it. Click on OK to start the installation. |
|
| 4. |

Click on Next to continue with the installation or Cancel to stop it. |
|
| 5. |
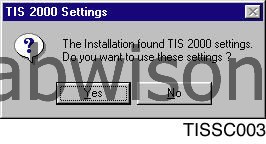
If TIS2000 was installed on the computer previously and then uninstalled, a dialogue box will open to ask if you wish to use the TIS2000 settings found on the computer. Click Yes if you wish to use the same installations as previously. The installation process will then jump ahead several steps. Continue at point 11. Click No if you wish to have different settings than previously. The installation process with then continue through each step. |
|
| 6. |
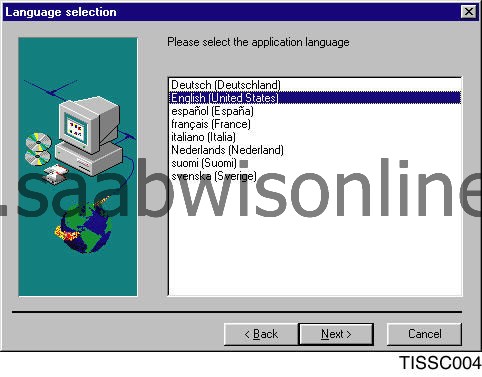
Select which language TIS2000 is to use. |
|
| 7. |

Approve the directory in which the computer wishes to install the program or indicate a different directory by clicking on Browse... and selecting the desired directory. |
|
| 8. |
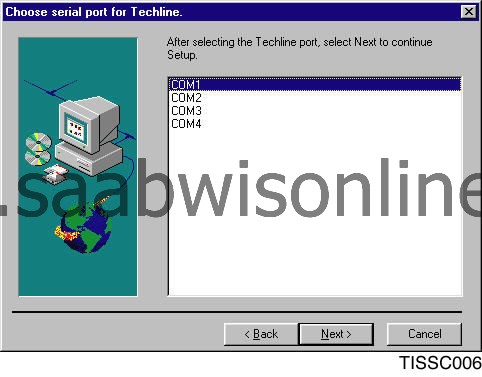
Specify to which COM port TECH2 shall be connected (COM1). |
|
| 9. |
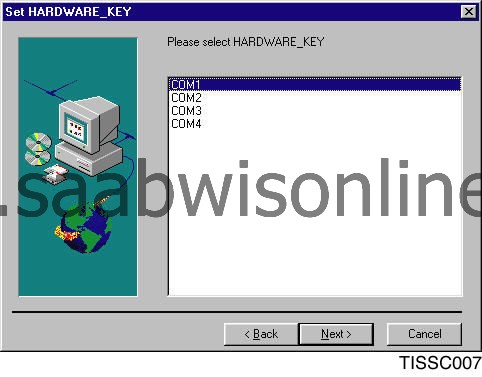
Specify to which COM port the hardware key shall be connected (same COM port as TECH2). |
|
| 10. |
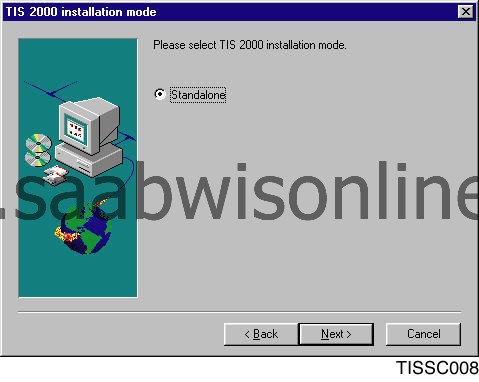
Confirming the installation setting for a standalone computer. |
|
| 11. |
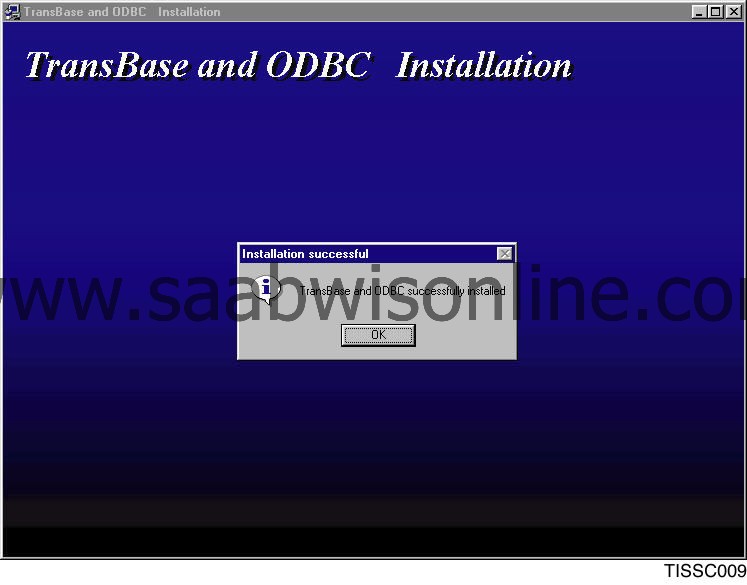
After a few minutes, the first part of the installation is finished. Click OK to confirm and continue. |
|
| 12. |
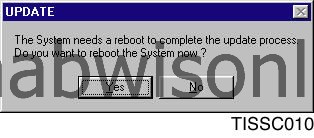
The computer must be rebooted to continue the installation process. If you wish to do that now, click Yes . To do so later, click No . Installation will continue after the reboot. Remove the CD. |
|
| 13. |
When the computer has been rebooted with the CD in the CD drive, the program will be configured and will finish by displaying a message indicating that the installation is complete. Confirm by clicking OK . |
|
Updating TIS2000
| 1. |
Insert the CD with the new TIS2000 version in the computer's CD drive.
|
|
| 2. |
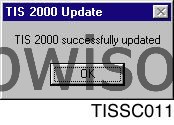
Start the current version of TIS2000 in the usual manner. The program will be updated automatically. Only the updated program files will be changed.
|
|
| Language and market settings |
Language selection
The program can be shown in another language:| 1. |
Select the
Configuration
menu and click on
Options
. The dialogue box
Options
will then open.
|
|
| 2. |

Click on the Language tab and mark the desired language in the list. |
|
| 3. |
Click
OK
to confirm the selection or
Cancel
to undo.
|
|
Market selection
Select the country based on the market for which the program shall be used.| 1. |
Select the
Configuration
menu and click on
Options
. The dialogue box
Options
will then open.
|
|
| 2. |
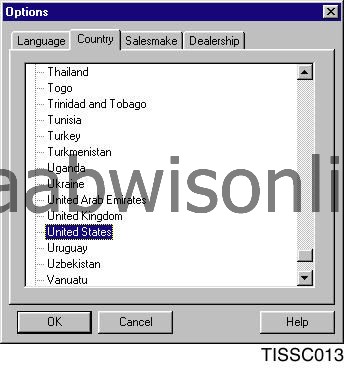
Click on the Country and mark the desired country in the list. |
|
| 3. |
Click
OK
to confirm the selection or
Cancel
to undo.
|
|
Make selection
It is currently only possible to select SAAB.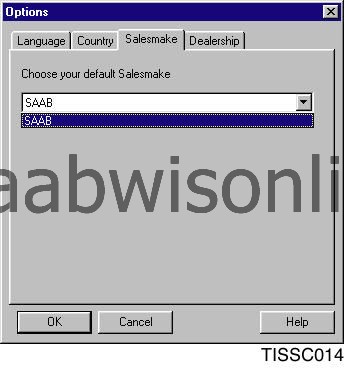
Dealer selection
It is currently only possible to select SAAB dealers.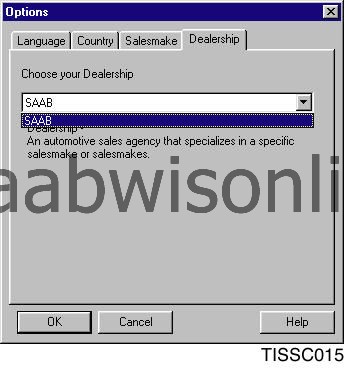
| Hardware communication (incl. drivers, etc) |
Modifying an existing setting
If you need to change the settings of a connected unit, such as the hardware key (also known as a Dongle ) or TECH2, you can choose to either modify an existing setting or create a new setting for the unit. This is then saved under a new name as an extra presetting for the unit.| 1. |
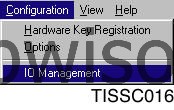
Select the Configuration menu and click on IO Management . |
|
| 2. |
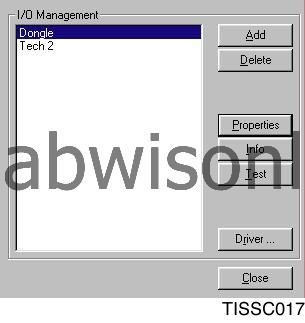
Select the unit for which the settings are to be modified in the I/O Management dialogue box. ( Dongle = hardware key; TECH2 = diagnostic tool ) |
|
| 3. |
Click on
Properties
. A dialogue box will open.
If Dongle has been selected, you can change the COM port for the connection. If TECH2 has been selected, you can change both the COM port and communication speed. 

|
|
| 4. |
Select another setting by clicking on the down arrow on the right-hand side and marking the desired setting.
|
|
| 5. |
Click
OK
if the setting is to be saved or
Cancel
if it is not to be saved.
|
|
Adding a new setting
The new setting is saved under a new name as an extra presetting for the unit in question.| 1. |
Select the Configuration menu and click on IO Management . |
|
| 2. |
Select the unit for which a new setting is being made. Click
Add
.
|
|
| 3. |
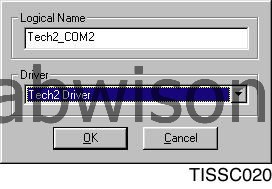
A dialogue box opens. From the lower field, select an installed driver for the unit that is to have a new setting. The name of the driver is tied to the unit. Enter the name of the new setting in the upper field. Select a name that indicates what has been changed. For example, if the COM port for TECH2 has been changed from 1 to 2: (TECH2_COM2). |
|
| 4. |
Click
OK
if the setting is to be saved or
Cancel
if it is not to be saved.
|
|
Deleting a setting
Existing and added settings can also be deleted.| 1. |
Select the Configuration menu and click on IO Management . |
|
| 2. |

Mark the setting / unit that is to be deleted. |
|
| 3. |
Click
Delete
in the dialogue box to delete the setting. The name of the setting disappears from the list.
|
|
| 4. |
Click
Close
to finish.
|
|
Installing a driver
New drivers can be installed for existing hardware.| 1. |
Select the Configuration menu and click on IO Management . |
|
| 2. |
Select the unit that is to have a new driver. Click Driver... . A dialogue box opens in the program window: 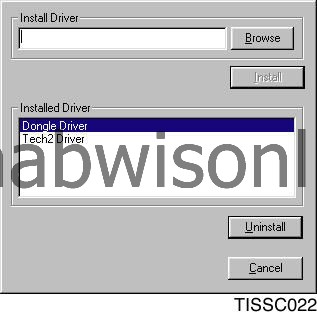
Install Driver : field for selecting a driver from the computer hard drive, disk, CD or other media. Installed Driver : field containing the drivers already installed |
|
| 3. |
Click
Browse...
. The dialogue box
Open
is shown. This allows you to select a driver from the computer hard drive, disk, CD or other media.
|
|
| 4. |

If the driver is in TIS2000, find the file drv under C:\Program files\cosids . Click on the driver in question (they have the extension *.dll). Click Open . If the driver is not in TIS2000, open its folder on the hard drive, disk, CD or other media. |
|
| 5. |

Click Install . The driver is installed and is then found in the field Installed Driver (Alternatively, click Cancel to cancel the installation). |
|
Driver information
Various information is available for a specific driver.| 1. |
Select the
Configuration
menu and click on
IO Management
.
|
|
| 2. |
Select the unit in the
I/O Management
field.
|
|
| 3. |
Click
Info
. Information on the selected driver is shown.
|
|
| 4. |
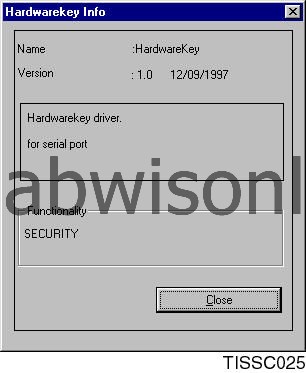

Click Close to close the information window. |
|
Testing a driver
A self-test can be run on installed drivers.| 1. |
Select the
Configuration
menu and click on
IO Management
.
|
|
| 2. |
Select the unit in the
I/O Management
field.
|
|
| 3. |
Click
Test
. The driver is tested and the results are displayed onscreen.
|
|
| 4. |
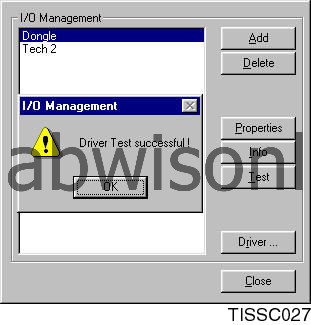
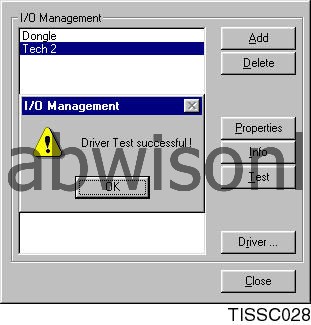
Click OK to close the information window. |
|
Uninstalling a driver
Uninstall a driver as follows:| 1. |
Select the Configuration menu and click on IO Management . |
|
| 2. |
Mark the unit for which the driver is to be deleted. Click Driver... . |
|
| 3. |
In the Installed Driver field of the dialogue box, click on the driver to be uninstalled. |
|
| 4. |
Click
Uninstall
. The driver is then removed from the field.
|
|
| 5. |
Click
Cancel
to finish.
|
|
| 6. |
Click
Close
to close the information window.
|
|
| Installing TCP/IP |
Installing TCP/IP in Windows 95/98
In order to successfully install TCP/IP on the computer you must have access to Windows 95/98 installation files either on CD or on the hard drive.| 1. |
Click on the
Start
button; select
Settings
and
Control panel
.
|
|
| 2. |
Select
Network
in the Control panel. A dialogue box opens. Click
Add
.
|
|
| 3. |
Mark
Protocols
in the list displayed and click
Add
.
|
|
| 4. |
Select
Microsoft
from the list of manufacturers.
|
|
| 5. |
Select
TCP/IP
from the list of network protocols. Click
OK
.
|
|
| 6. |
The computer asks for a network card; select
Microsoft
from the list of manufacturers. Select
Microsoft
driver for remote connection. Click
OK
.
|
|
| 7. |
Primary network login: Select Windows login. Click
OK
.
|
|
| 8. |
The computer will now install the drivers. Be prepared to insert the Windows 95/98 CD if the computer requests it. The path to the drivers on the hard drive or CD may need to be specified.
Reboot the computer after the installation. |
|
| 9. |
After the computer is rebooted, the Windows login box may open. Enter a user name. If you do not enter a password, the login box will not open the next time the computer is started.
|
|
Installing TIP/IP in Windows NT4
This installation is complicated and should only be done by a computer administrator. Administrator authority on the computer is required in order to modify network settings in Windows NT.In order to successfully install TCP/IP on the computer you must have access to Windows NT installation files either on CD or on the hard drive.
| 1. |
Click on the
Start
button; select
Settings
and
Control panel
.
|
|
| 2. |
Select
Network
in the Control panel. A dialogue box opens.
|
|
| 3. |
Select the
Network card
tab. A virtual network card shall be selected in the dialogue box. Click
Add
.
|
|
| 4. |
Click
MS Loopback adapter
in the list shown.
The computer will ask you to configure this. Do not do so. Click OK instead. |
|
| 5. |
Select the
Protocols
tab and click
Add
. Select
TCP/IP
from the list of network protocols.
|
|
| 6. |
Configure TCP/IP for Loopback adapter: Click
Properties
for TCP/IP.
|
|
| 7. |
Specify your own IP address: Enter it in the field. (Example of IP address: 10.0.0.1)
|
|
| 8. |
Netmask: enter 255.255.255.0
|
|
| 9. |
The computer is now configured with TCP/IP. Close all windows and reboot the computer.
Log in as usual. |
|
This project is supported by memberships and donations. If you use this site, please consider Joining SCNA and/or making a donation.
Our Friends
