Front wing
| Front wing |
| 1. |
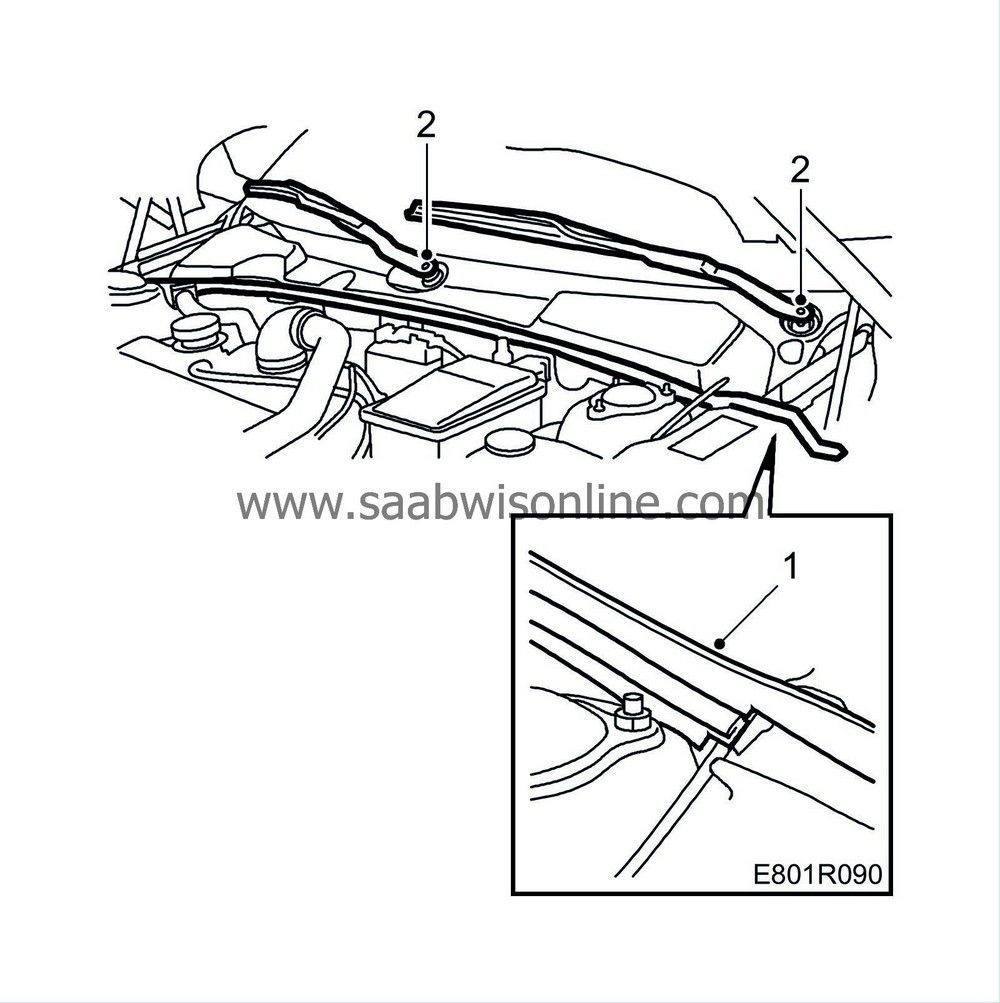
Remove the rear bonnet seal from the front wing.
|
|
| 2. |
Remove the wiper arms. Use
85 80 144 Puller, windscreen wiper arm
.
|
|
| 4. |
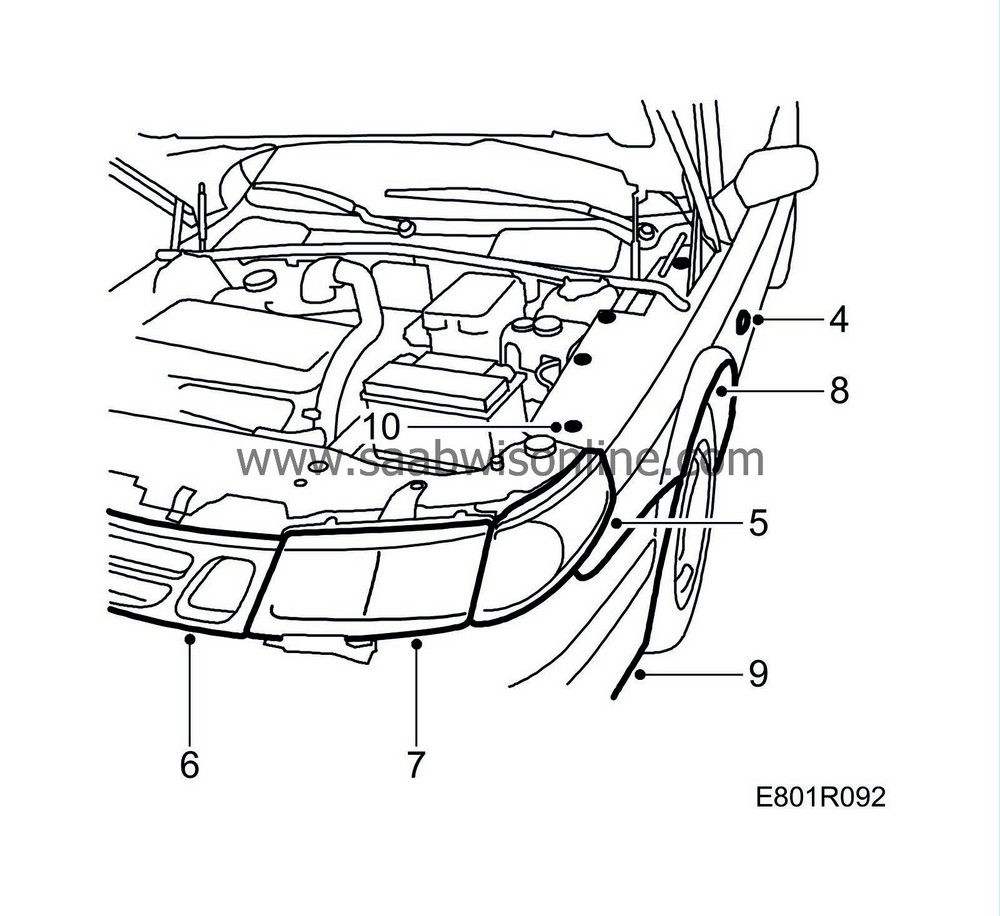
Remove the side direction indicators and detach the connectors.
|
|
| 5. |
Remove the direction indicator lamp and detach the connectors.
|
|
| 6. |
Remove the grille.
|
|
| 7. |
Remove the headlamps.
|
|
| 8. |
Remove the wing liner.
|
|
| 9. |
Remove the bumper. See
Front bumper

|
|
| 10. |
Unscrew the top of the wing.
|
|
| 11. |
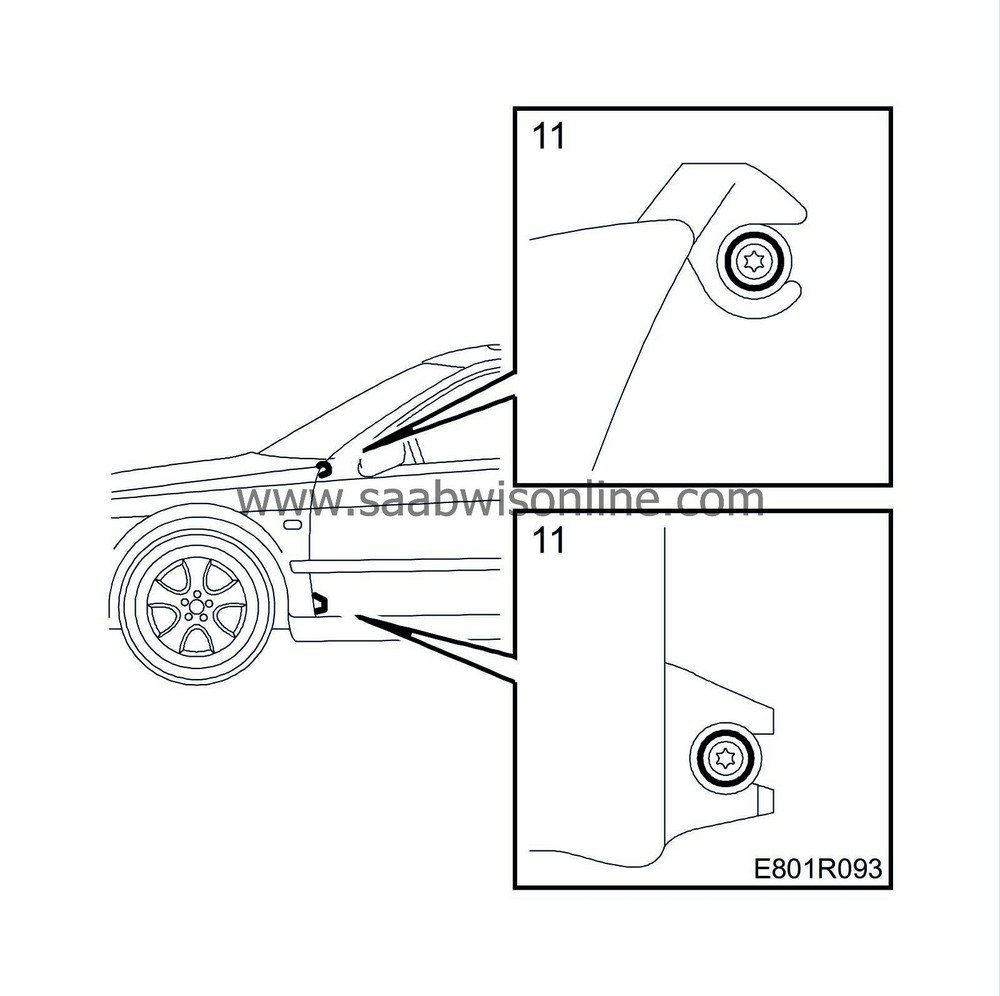
Slightly loosen the screws on the A-pillar so that the wing can be pushed forwards.
|
|
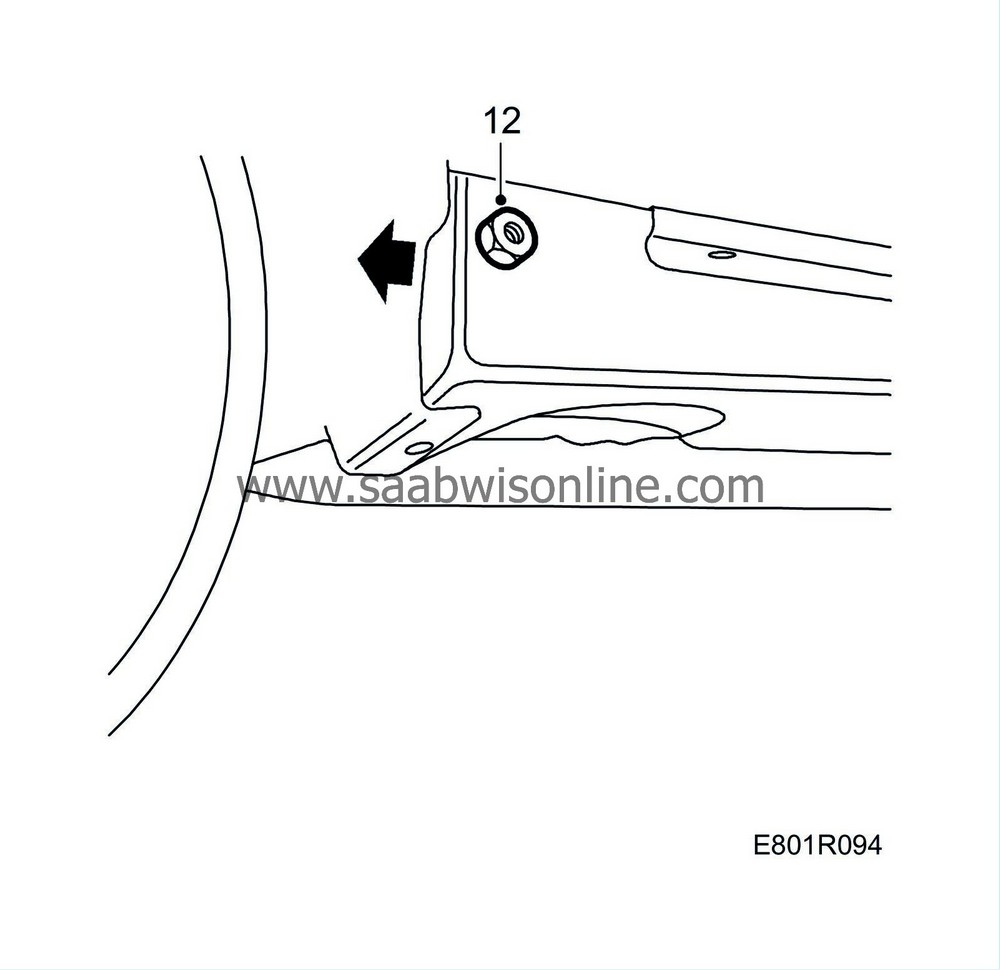
| 12. |
Unscrew the nut holding the scuff plate to the front wing.
|
|
| 13. |
Pull out the scuff plate and slide the front wing forwards. Lift away the front wing.
|
|||||||
| Fitting |
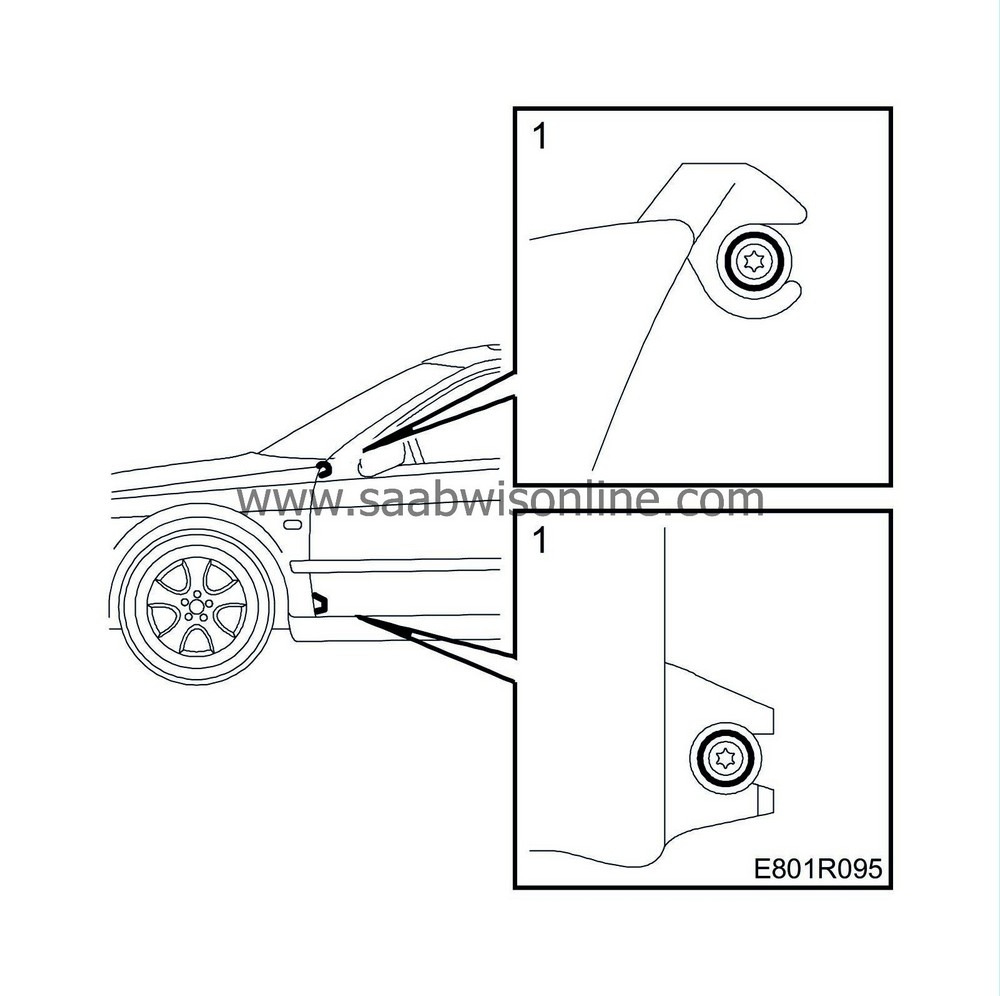
| 1. |
Push the wing lugs into position behind the screws in the A-pillar while pulling out the scuff plate.
|
|
| 2. |
Insert the front wing bolts.
|
|
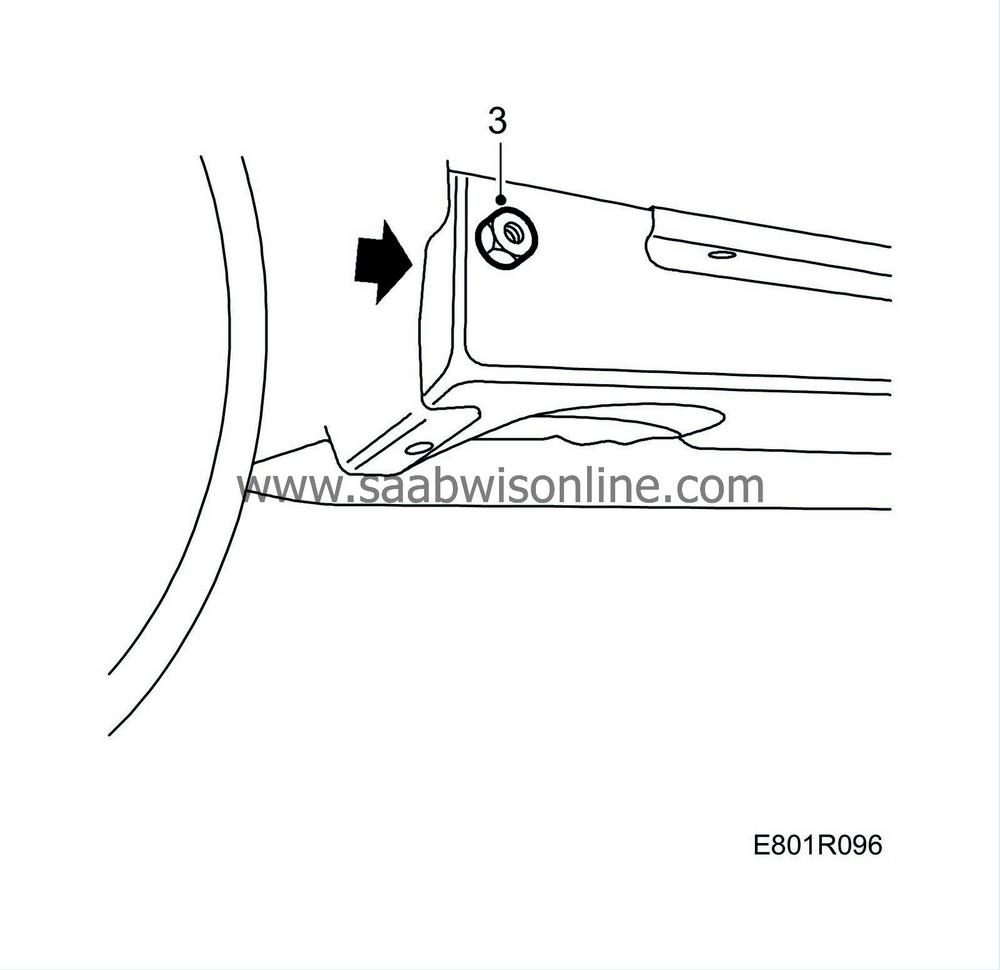
| 3. |
Fit the nut in the scuff plate.
|
|
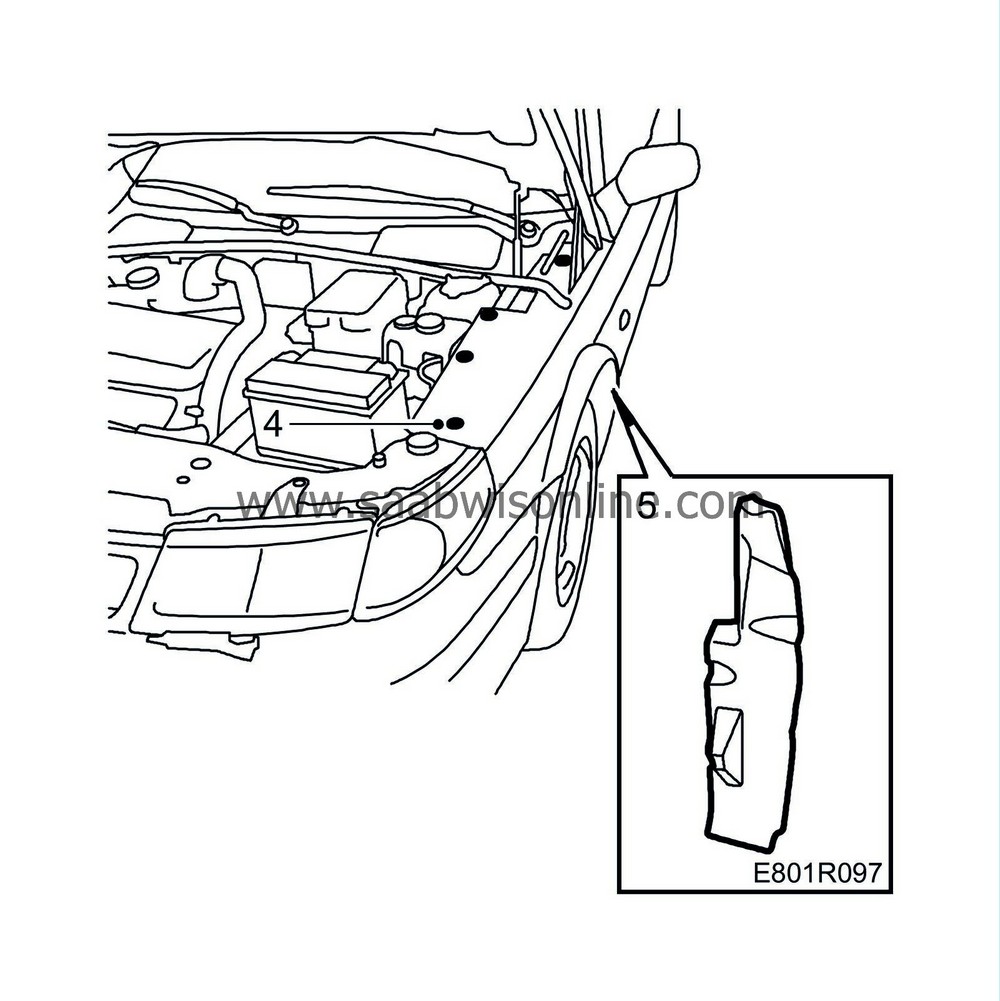
| 4. |
Tighten the retaining screws in the front wing.
|
|
| 5. |
Fit the sound insulation behind the front wing at the A-pillar.
|
|
| 6. |
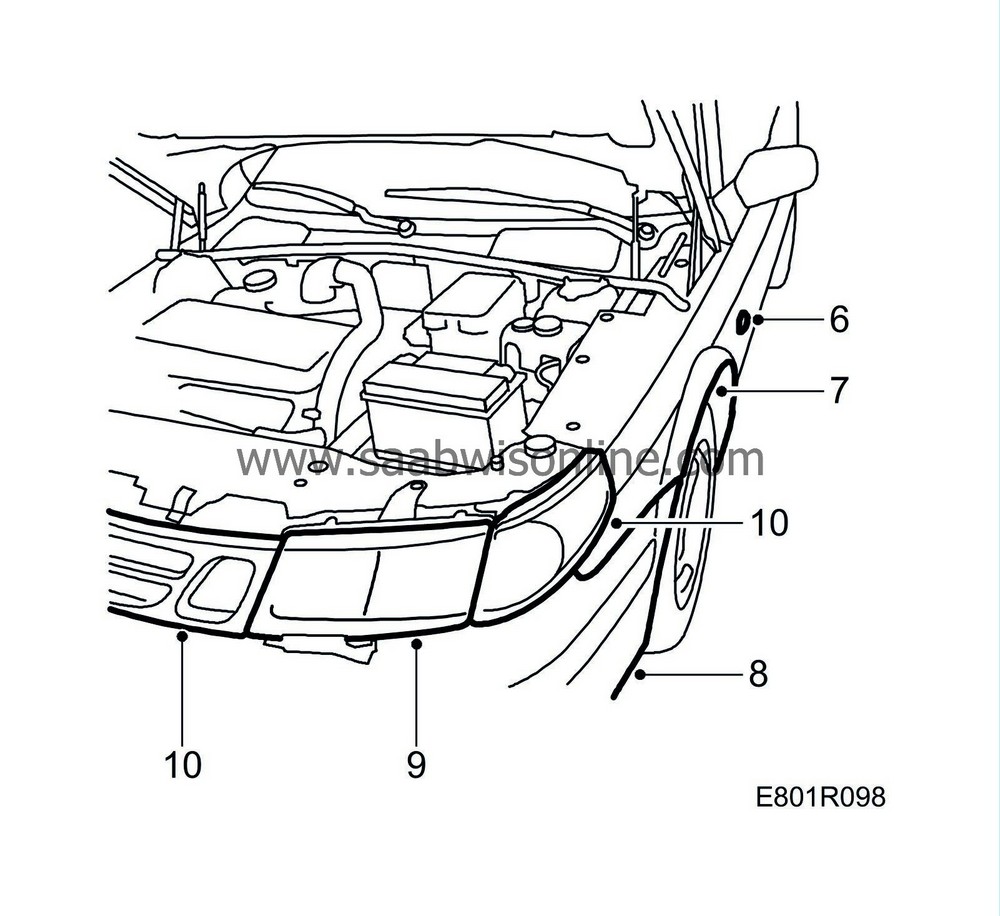
Insert the side direction indicator cable into the wing and connect it. Fit the lamp in the front wing.
|
|
| 7. |
Fit the wing liner.
|
|
| 8. |
Fit the bumper. See
Front bumper
|
|
| 9. |
Fit the headlamp.
|
|
| 10. |
Fit the grille and the direction indicator.
|
|
| 11. |
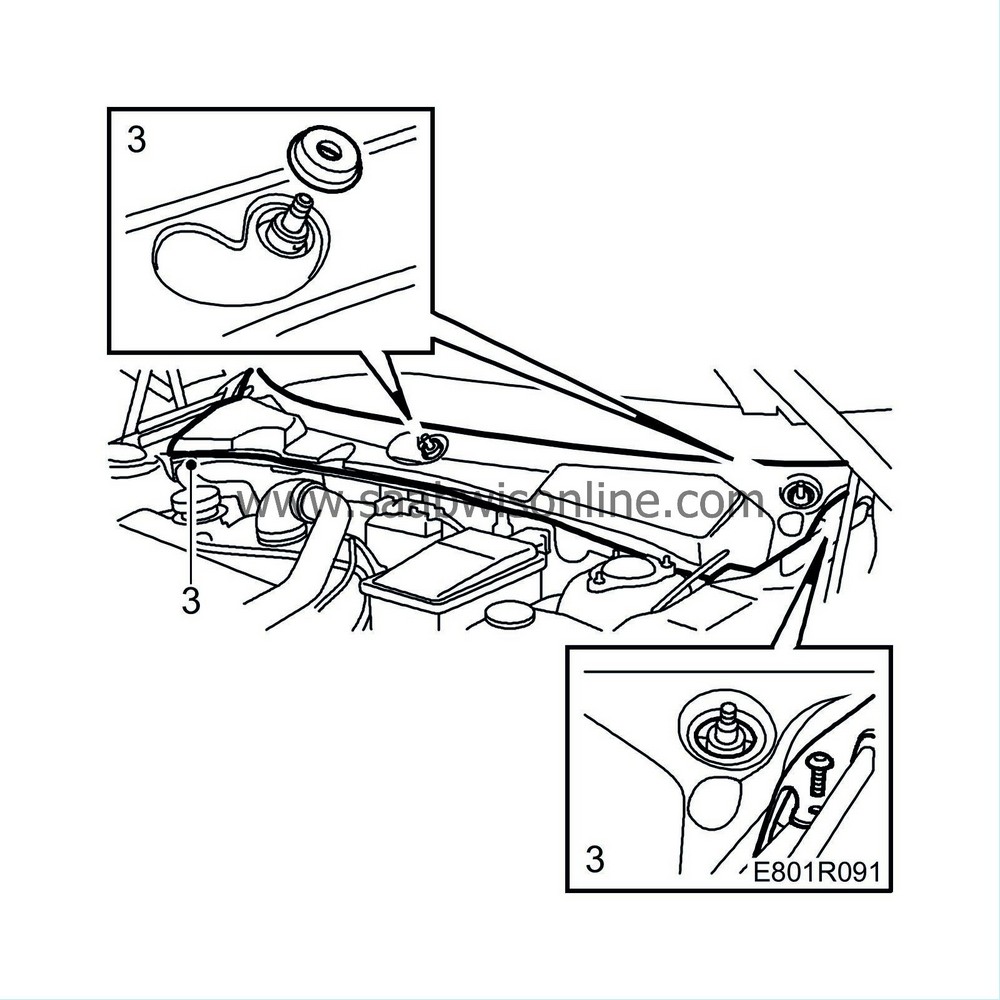
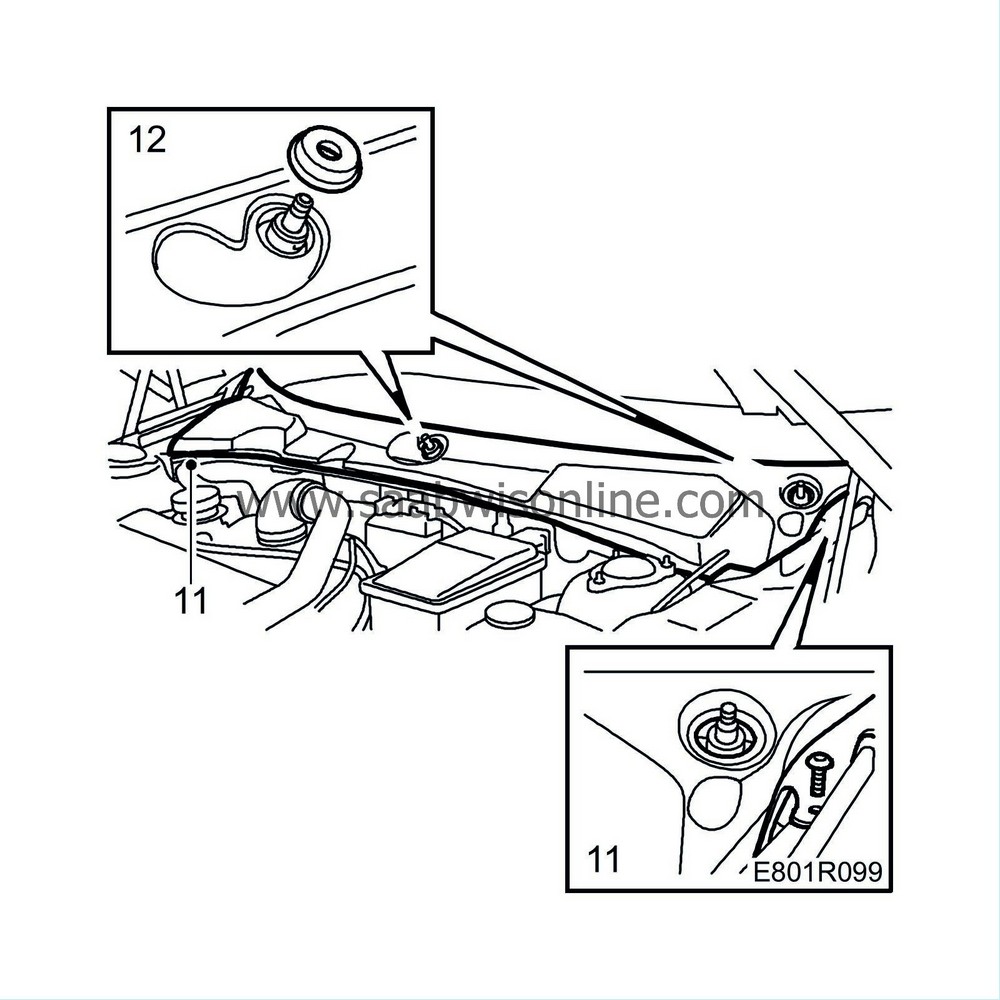
Place the cover over the bulkhead partition space by pressing on the clips under the windscreen and inserting it inside the windscreen moulding on the A-pillar. Screw on the cover.
|
|
| 12. |
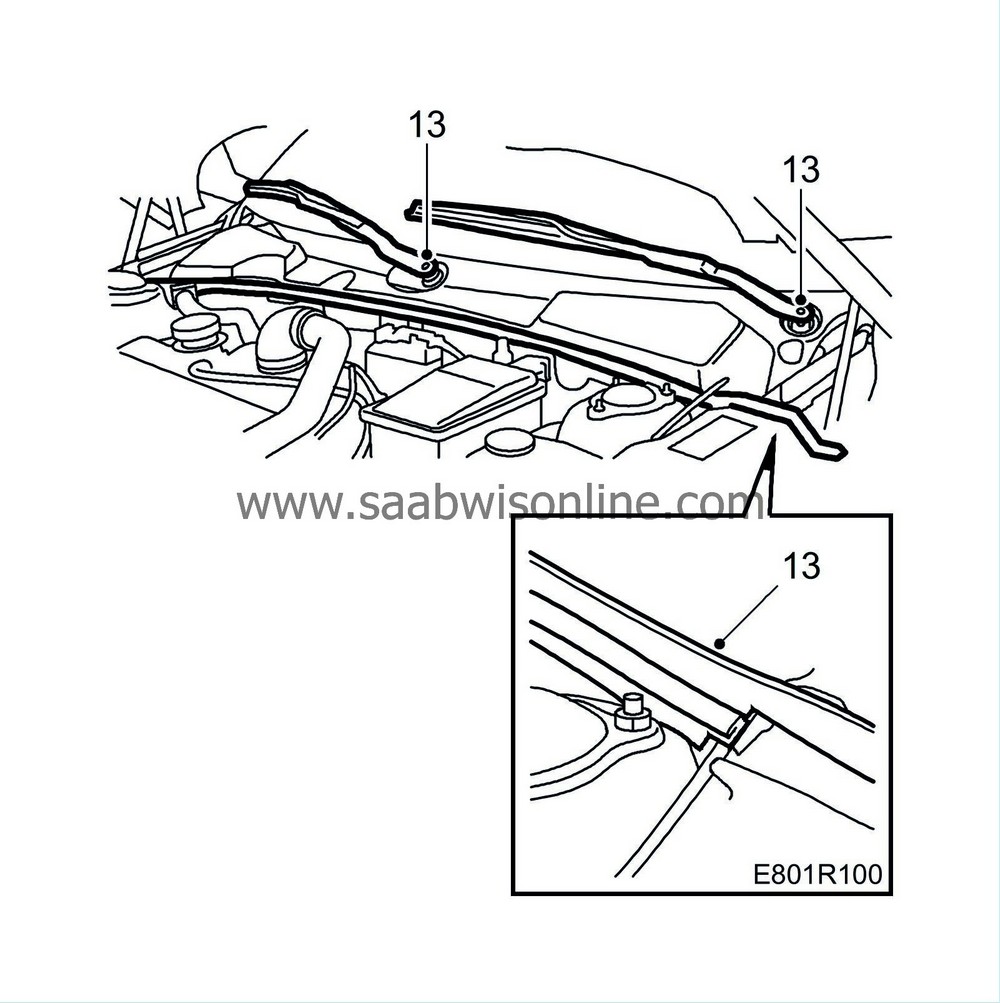
Fit the rubber seals for the wiper arms.
|
|
| 13. |
Fit the wiper arms and rear bonnet seal.
|
|
| 14. |
Check the park position of the windscreen wipers.
|
|

