Right-hand engine mounting
| Right-hand engine mounting |
| To remove |
|
||||||||||||||||||||||
| Important | ||
|
Be particulary observant regardning cleanliness when working on the fuel system. Loss of function may occur due to very small particles. Prevent dirt and grime from entering the fuel system by cleaning the connections and plugging pipes and lines during disassembly. Use 82 92 948 Plugs, A/C system assembly. Keep components free from contaminants during storage. |
||
| 1. |
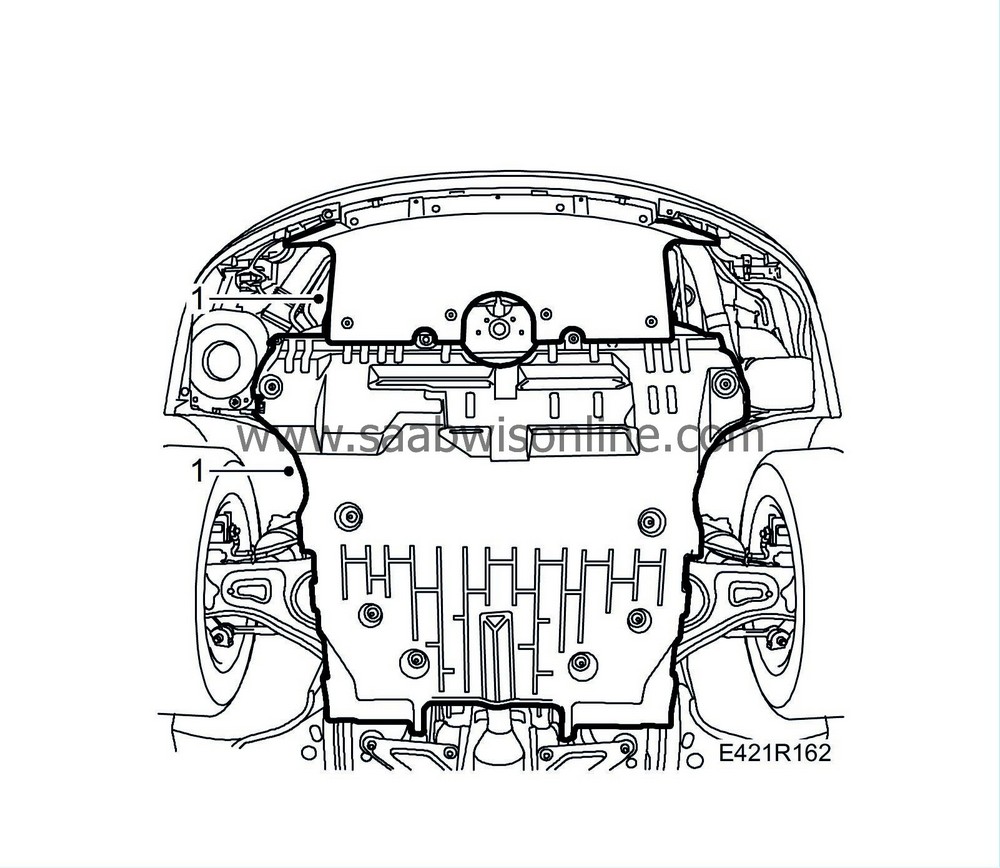
Raise the car and remove the lower engine cover.
|
|
| 2. |
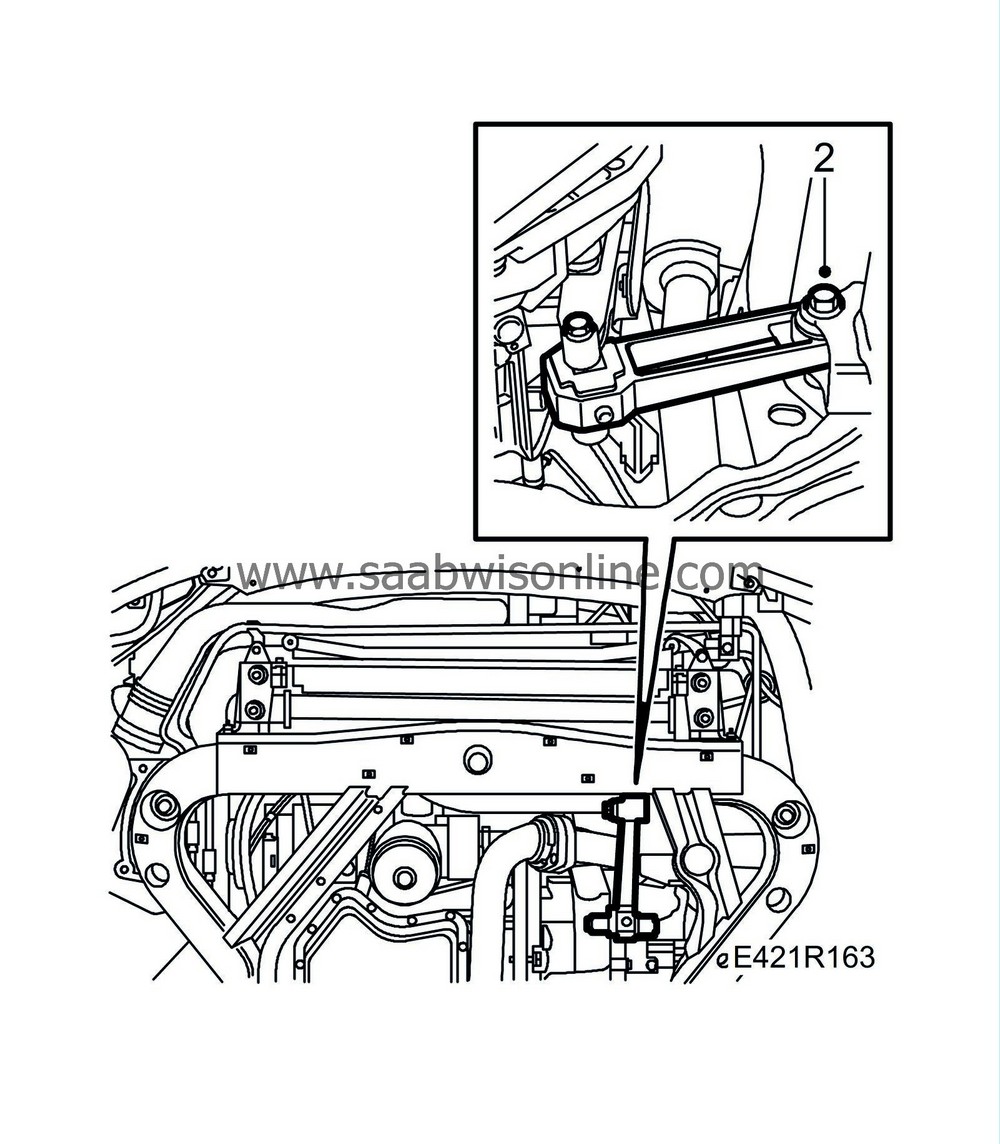
Undo the front bolt on the front torque arm and lower the car.
|
|
| 3. |
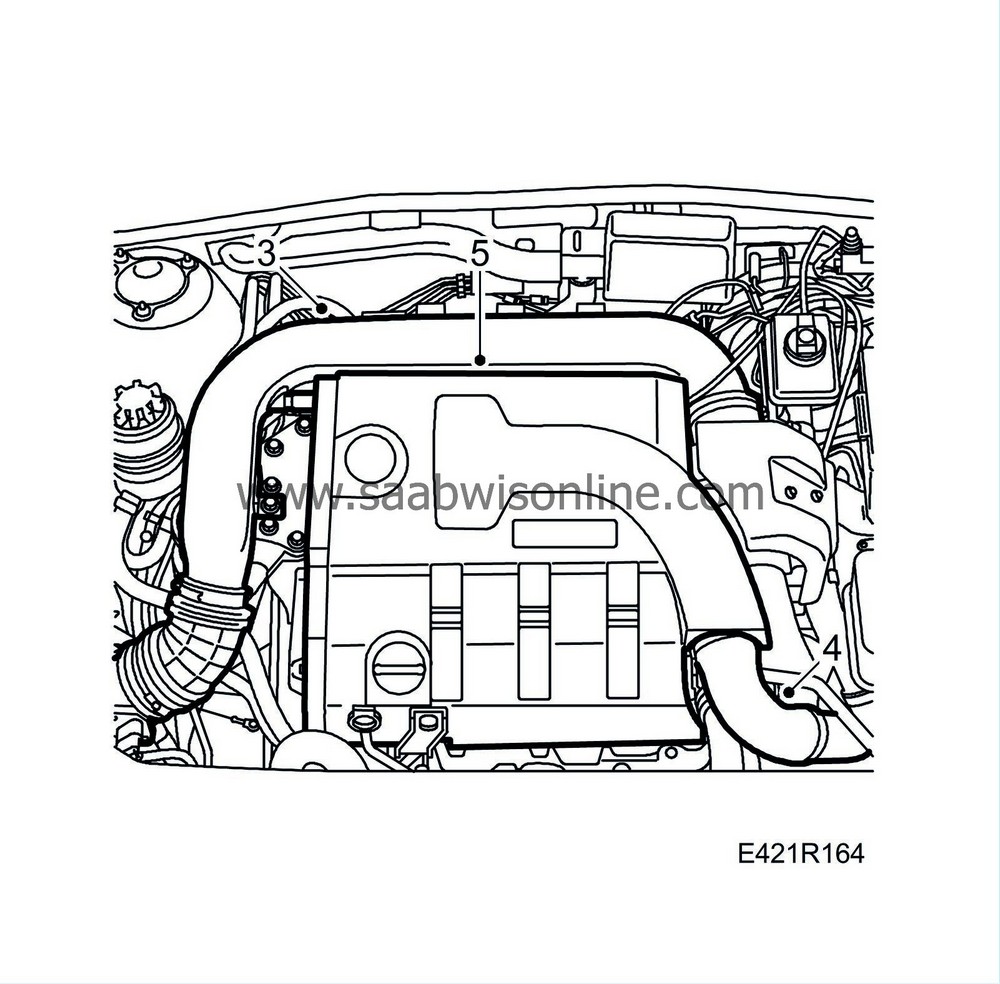
Remove the intake manifold with mass air flow sensor from the turbocharger.
|
|
| 4. |
Remove the upper intake manifold.
|
|
| 5. |
Remove the upper engine cover.
|
|
| 6. |
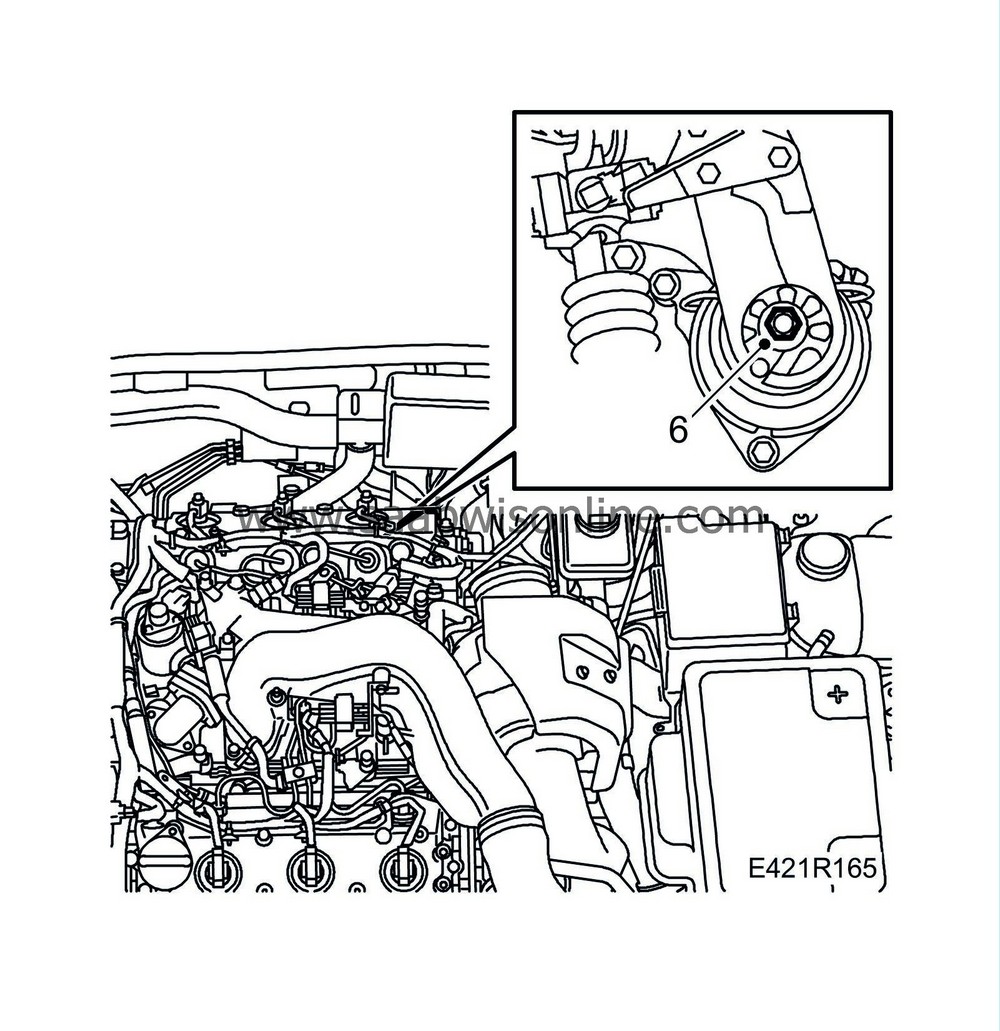
Remove the nut on the rear engine mounting.
|
|
| 7. |
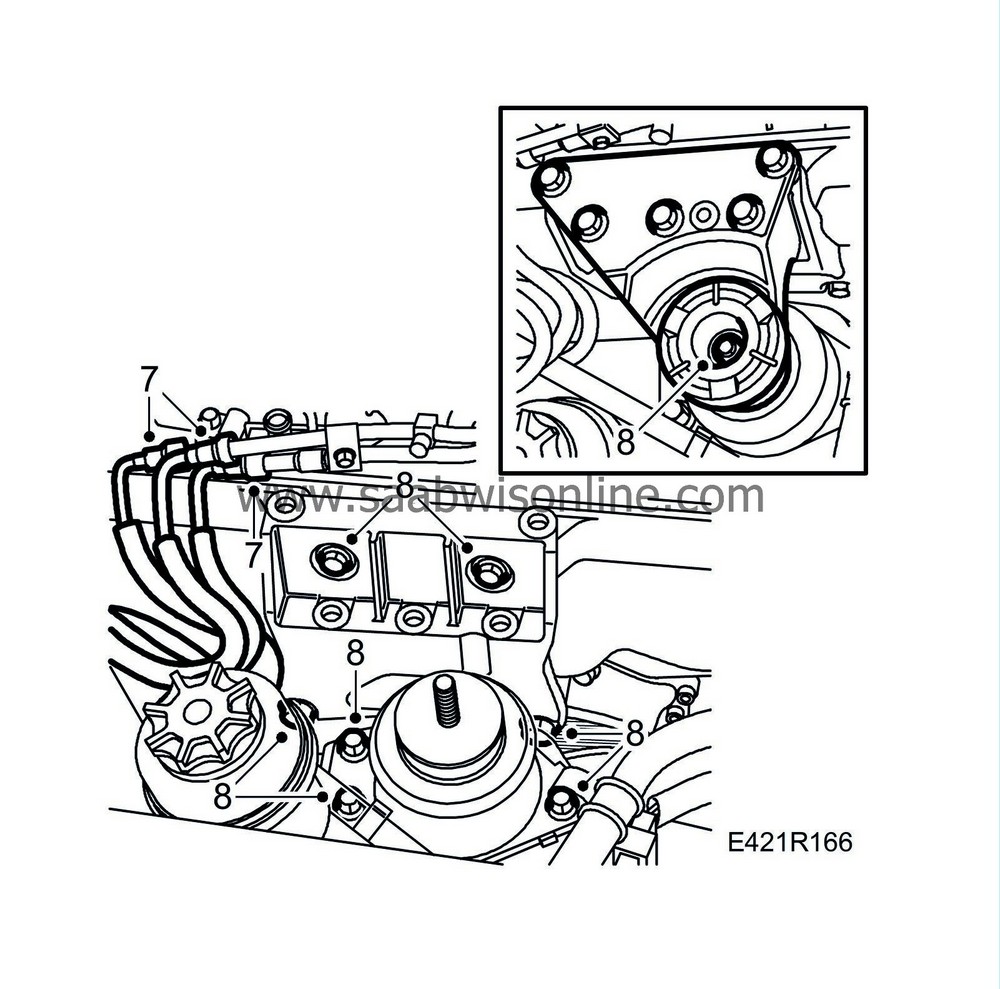
Undo the quick-release couplings on the fuel lines. Use a cloth to catch any fuel spill.
|
|
| 8. |
Take up the weight of the engine using a jack. Remove the right-hand engine mounting with the bracket and engine pad. Raise the engine slightly and remove the engine bracket bolts.
|
|
| To fit |
| 1. |
Fit the right-hand engine mounting with bracket and engine pad. Raise the engine slightly to insert the engine bracket bolts.
Tightening torque: 47 Nm (35 lbf ft) 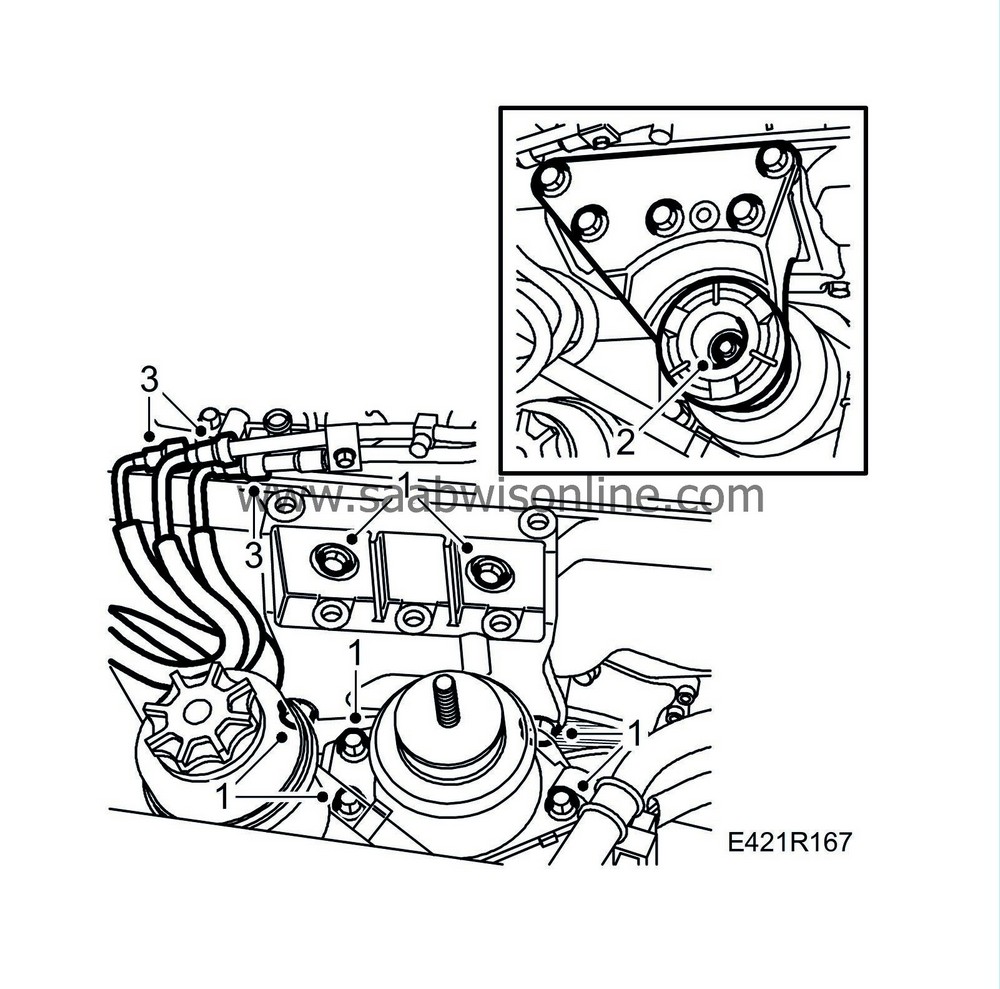
|
|
| 2. |
Lower the engine and remove the jack. Fit the nut to the right-hand engine mounting.
Tightening torque: 47 Nm (35 lbf ft) |
|
| 3. |
Fit the quick-release couplings on the fuel lines.
|
|
| 4. |
Fit the nut of the rear engine pad.
Tightening torque: 47 Nm (35 lbf ft) 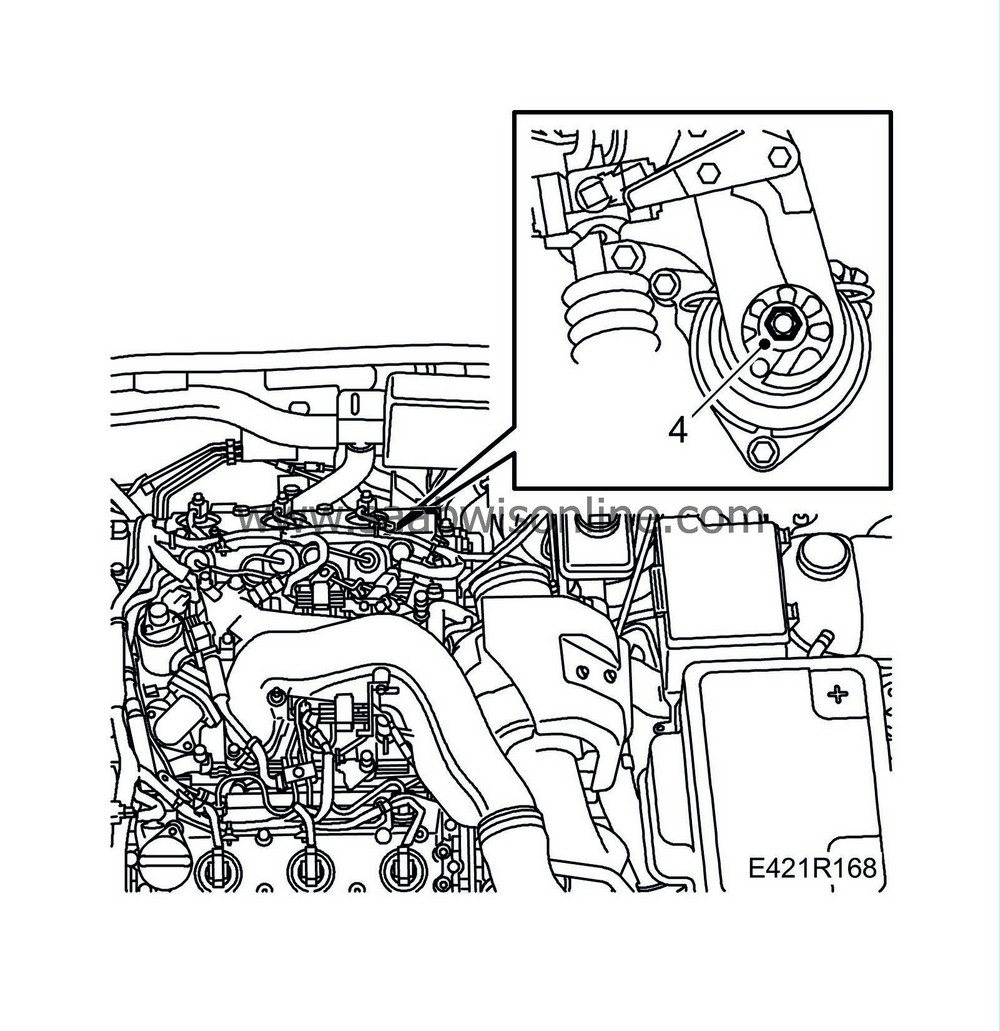
|
|
| 5. |
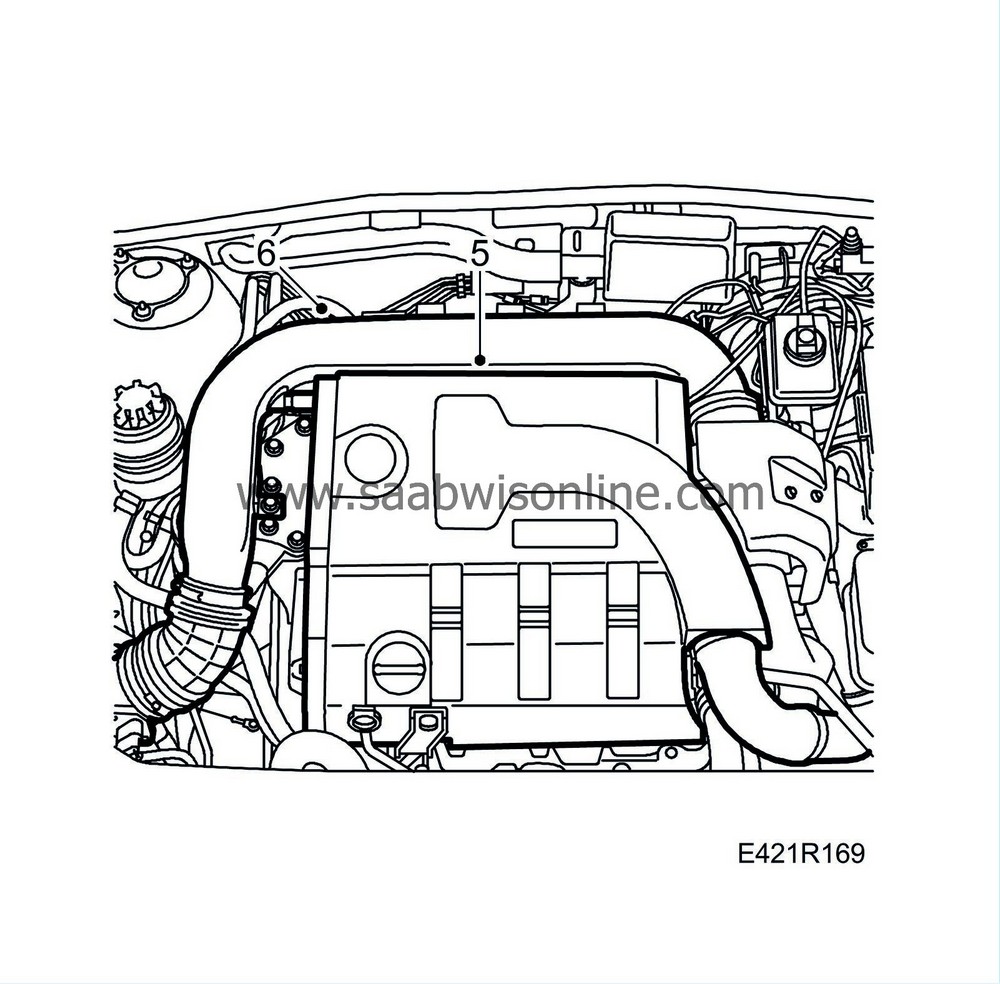
Refit the upper engine cover.
|
|
| 6. |
Fit the intake manifold with mass air flow sensor. Plug in the mass air flow sensor connector.
Tightening torque, mass air flow sensor: 3.5 Nm (2.5 lbf ft) |
|
| 7. |
Raise the car and fit the front bolt of the torque arm.
Tightening torque: 90 Nm + 90° (66 lbf ft + 90°) 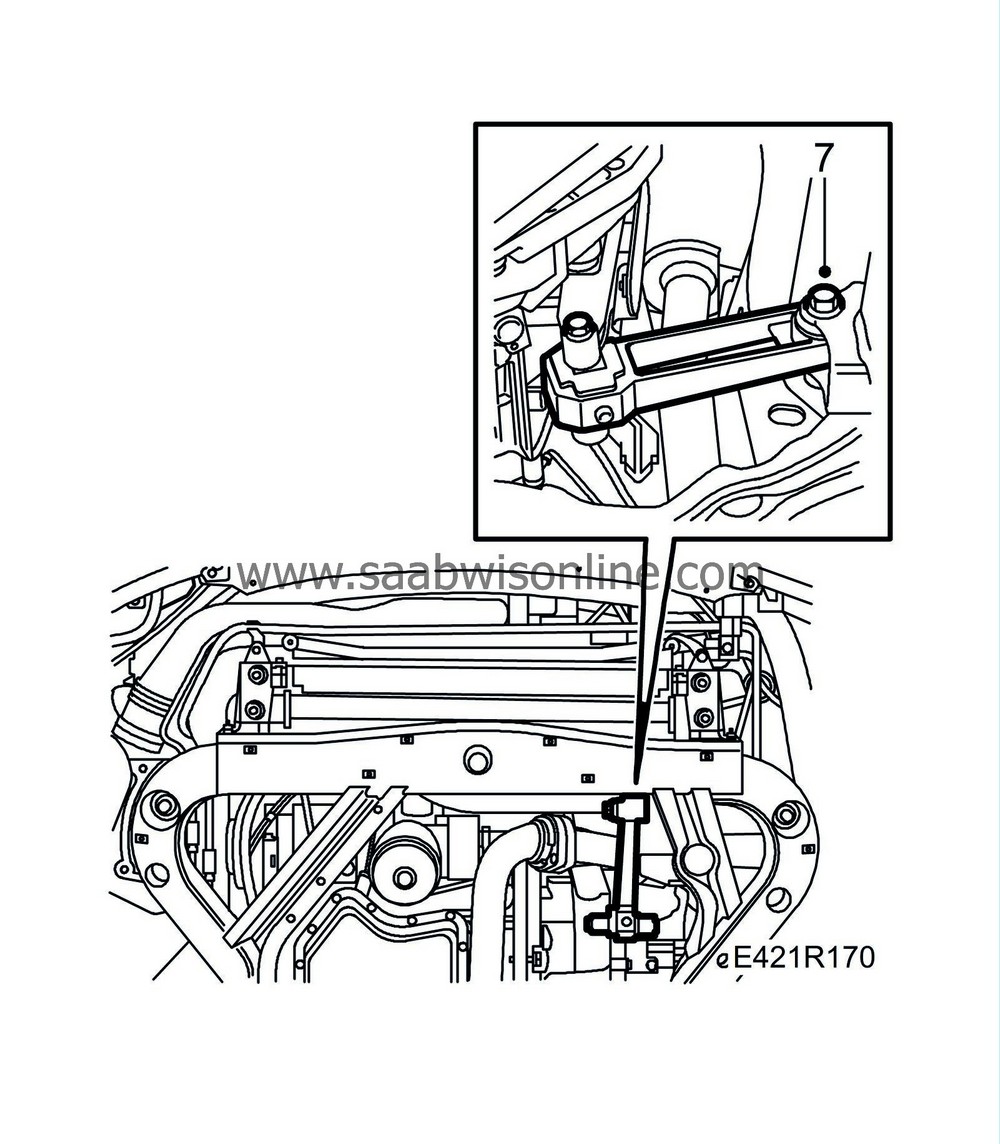
|
|
| 8. |
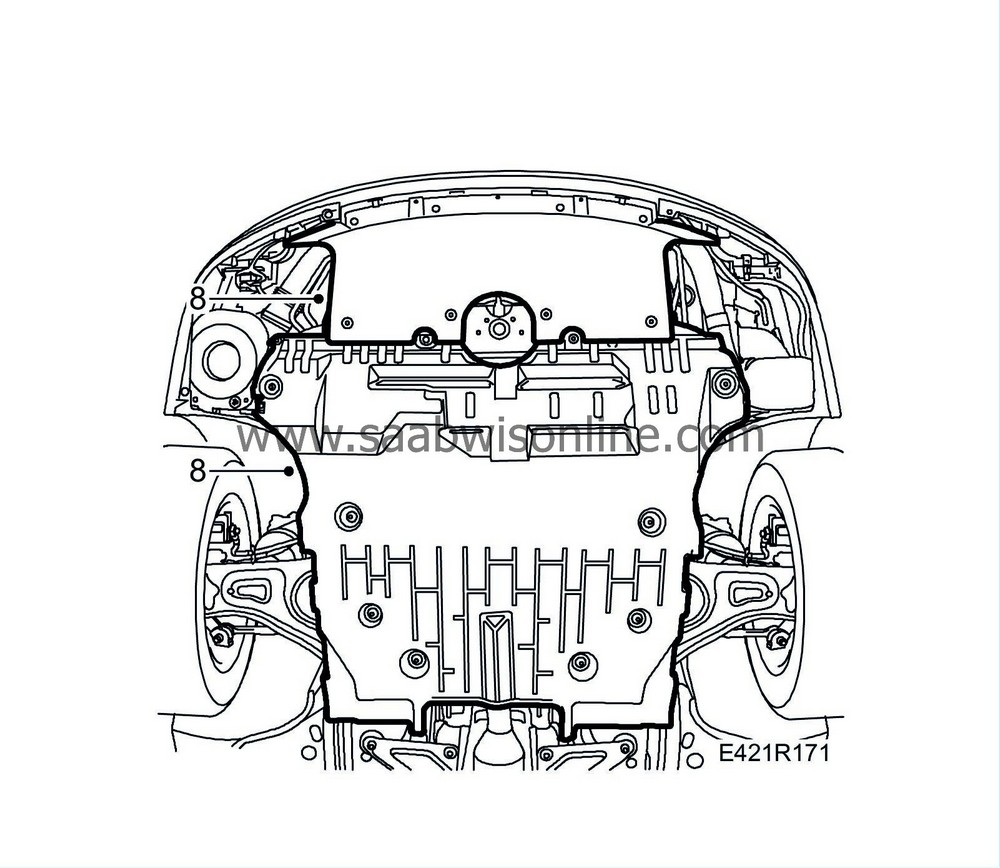
Fit the lower engine cover and lower the car.
|
|
| 9. |
Bleed the fuel system as described in
Bleeding the fuel system.
|
|

 Warning

