Fuel level sensor
| Fuel level sensor |
|
||||||||||||||||||||||
| Important | ||
|
Be particulary observant regardning cleanliness when working on the fuel system. Loss of function may occur due to very small particles. Prevent dirt and grime from entering the fuel system by cleaning the connections and plugging pipes and lines during disassembly. Use 82 92 948 Plugs, A/C system assembly. Keep components free from contaminants during storage. |
||
| To remove |
| Important | ||
|
The car must be level. There is a risk for fuel leaks if the tank is full and the rear of the car is raised for dismantling the fuel reservoir. |
||
|
Protect mats with paper while dismantling the fuel reservoir as there is risk for spilling. |
||
| 1. |
Raise the rear seat cushions and fold the carpeting out of the way.
|
|
| 2. |
Open the cover of the fuel level sensor.
|
|
| 3. |
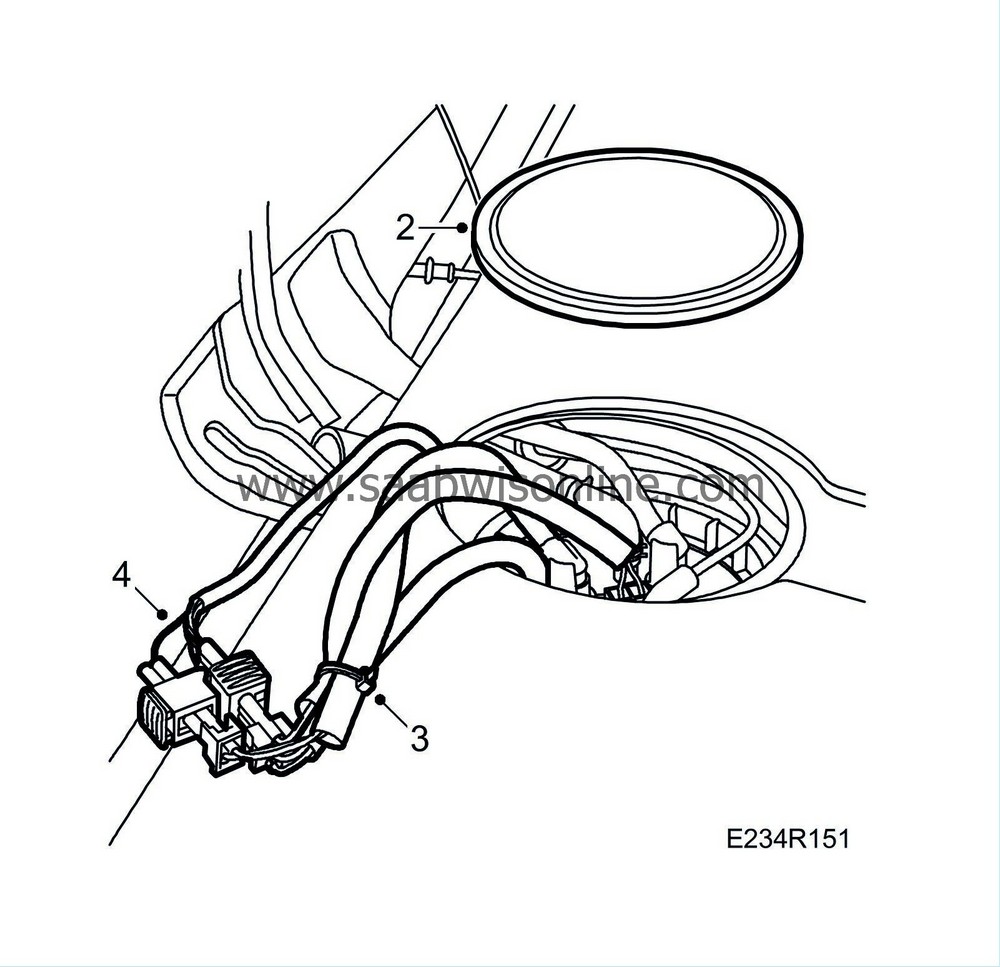
Unplug the connectors and cut off the cable tie holding the cables together.
|
||||||||||
| 4. |
Prise out the two wires, 3 (yellow/white) and 4 (grey/white), and remove the seal in the brown connector. Use special tool 85 80 151, subtool 09706GLA.
|
|
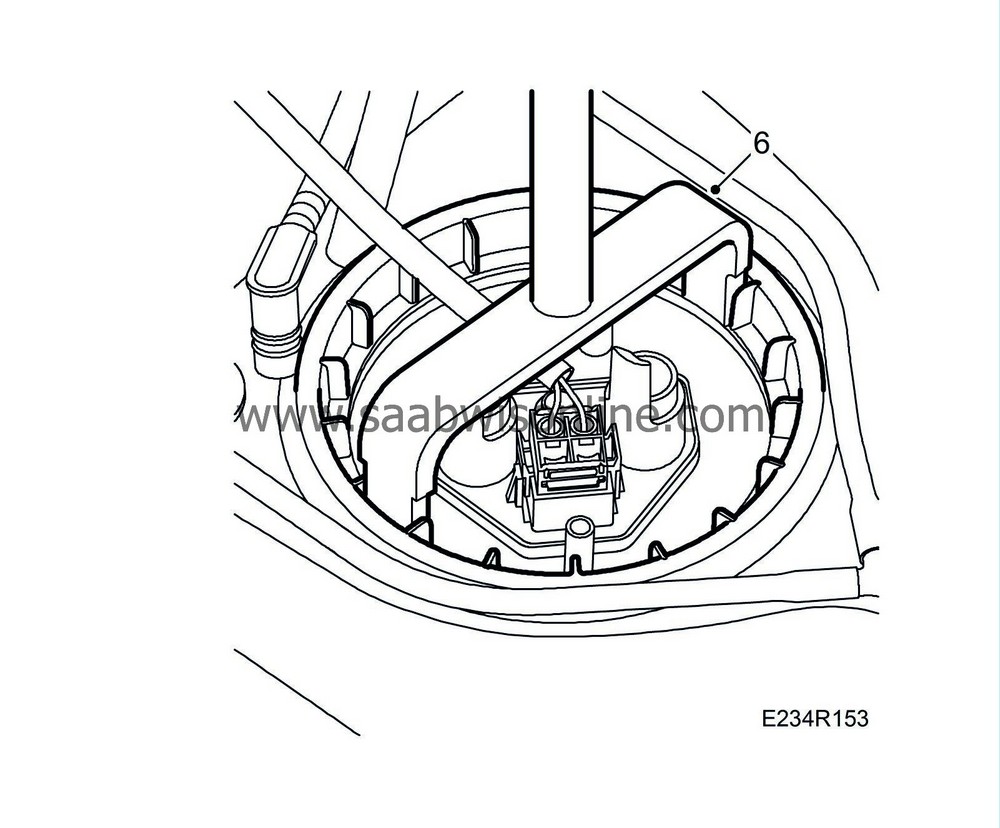
| 6. |
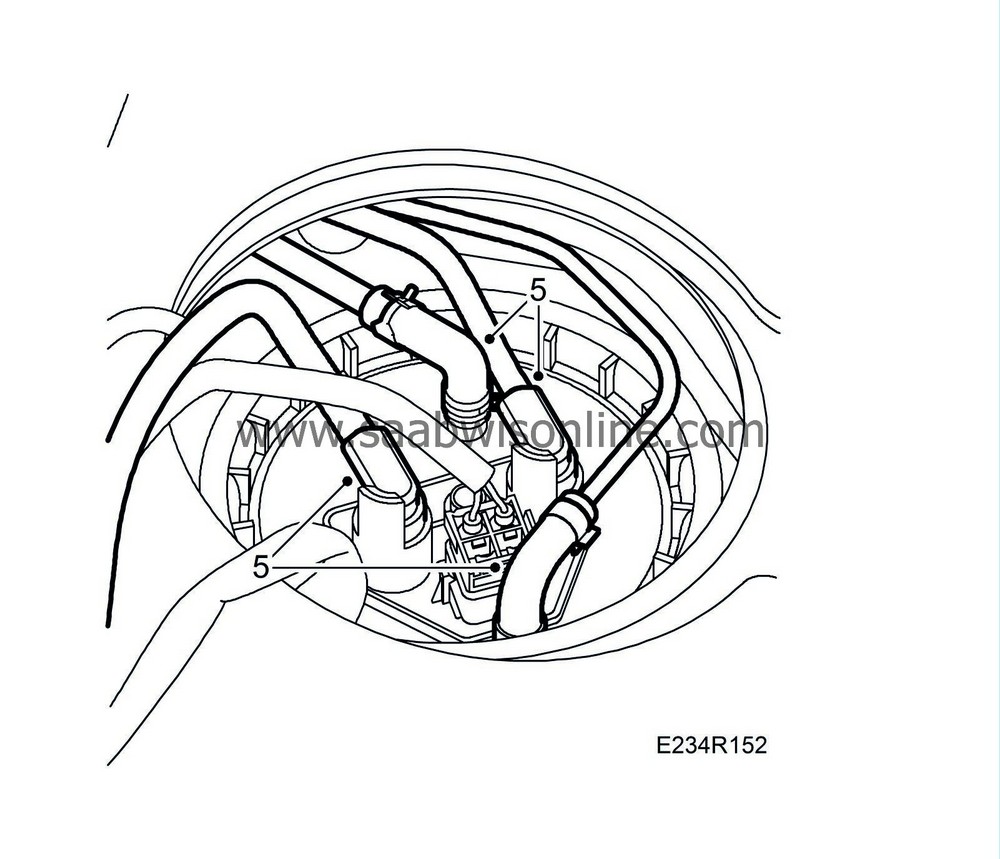
Remove the eye screw, Use
83 94 462 Spanner, fuel pump
.
|
|
| 8. |
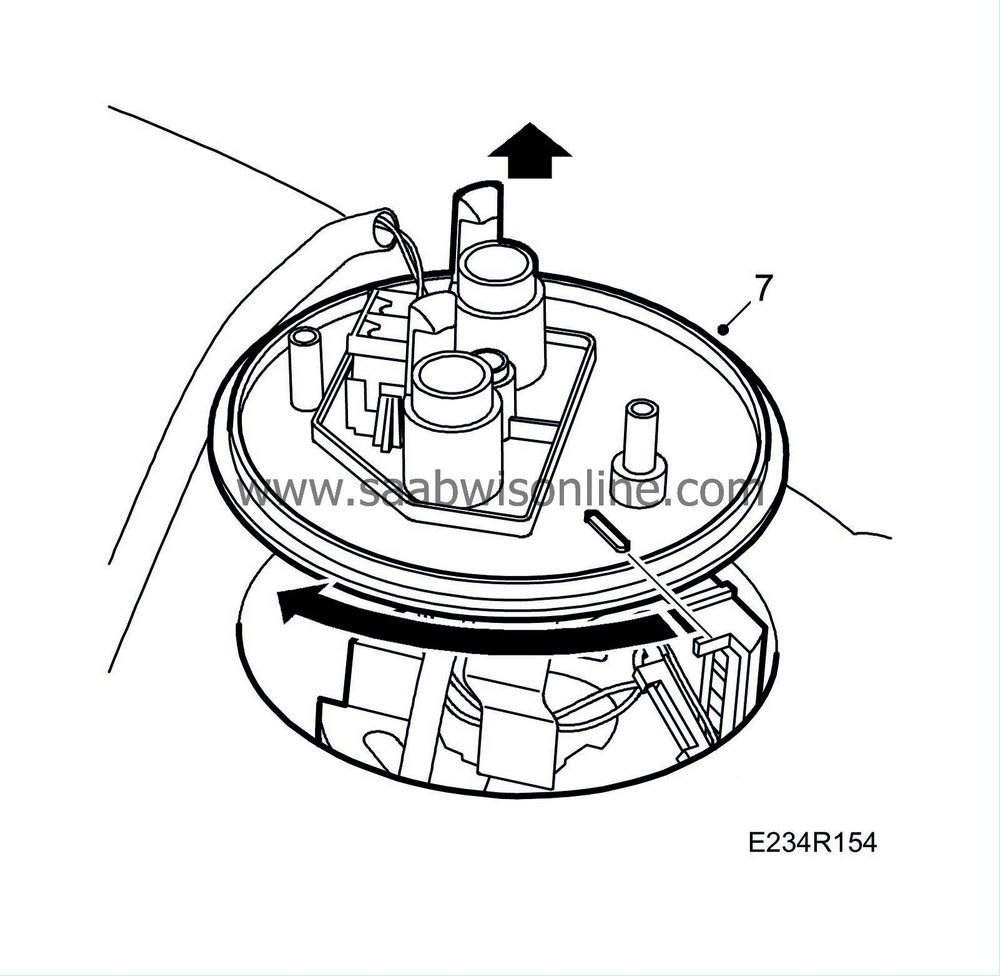
Transfer the fuel reservoir to a suitable container and pour off the fuel.
|
|
| To fit |
| Note | ||
|
Spray the connectors with Kontakt 61, part no. 30 04 520, before connecting them. |
| 1. |
Clean sealing surfaces.
|
|
| 2. |
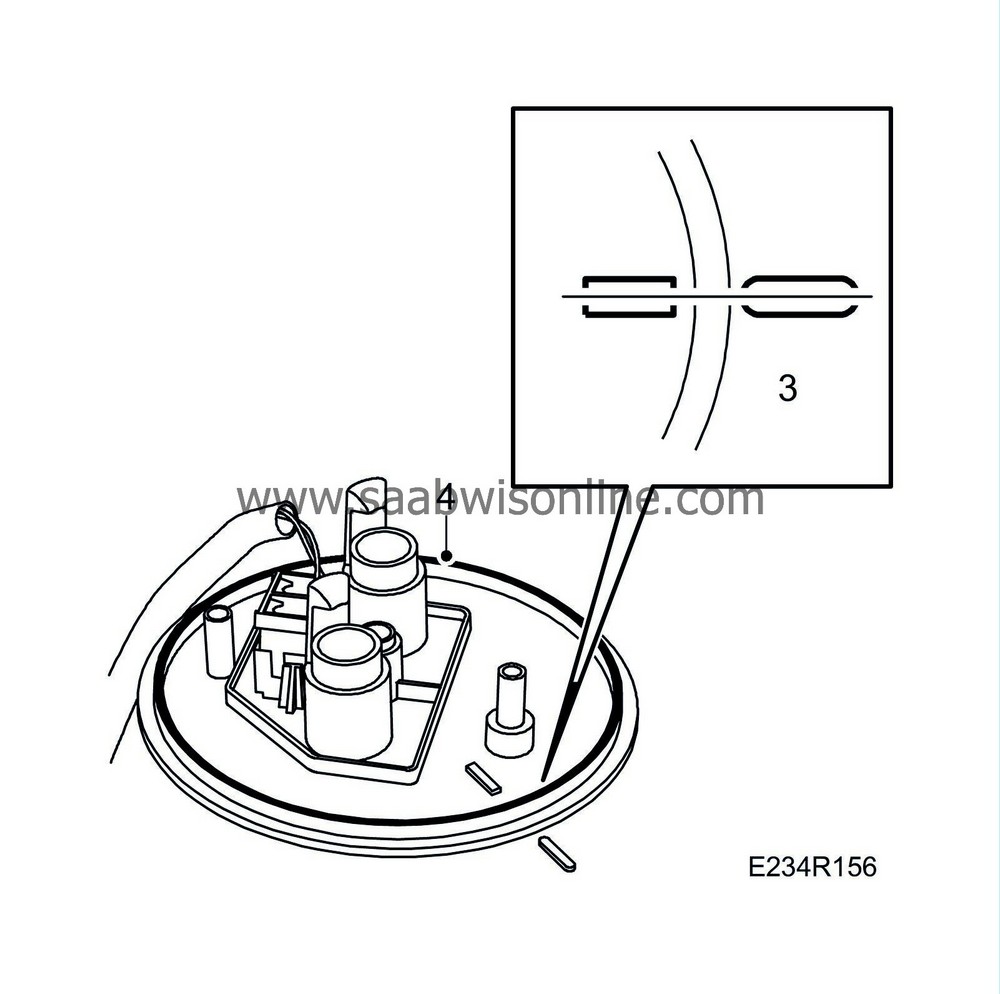
Fit a new O-ring in the groove in the tank.
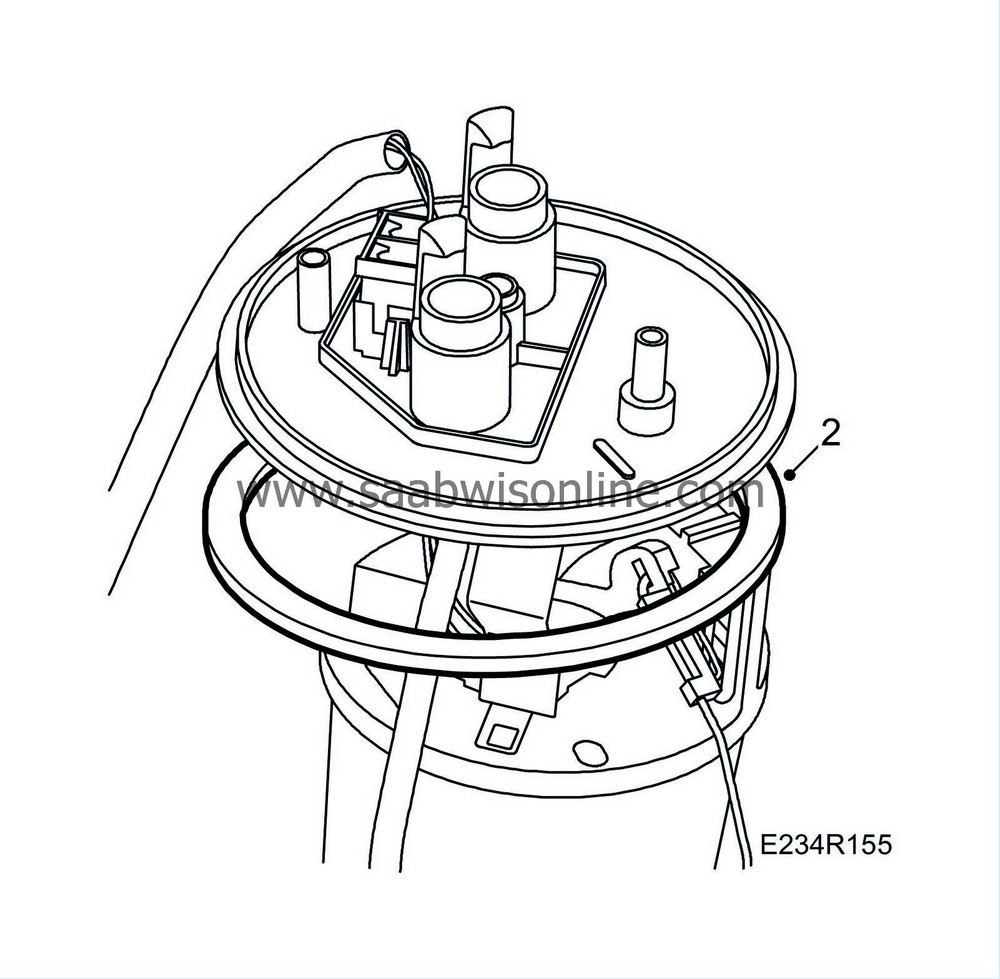
|
|
| 4. |
Lubricate the threads of the cover and the top edge of the reservoir with acid-free petroleum jelly to prevent the reservoir from turning when the eye screw is tightened.
|
|
| 5. |
Fit and tighten the eye screw with
83 94 462 Spanner, fuel pump
.
Tightening torque: 75 Nm (55 lbf ft) 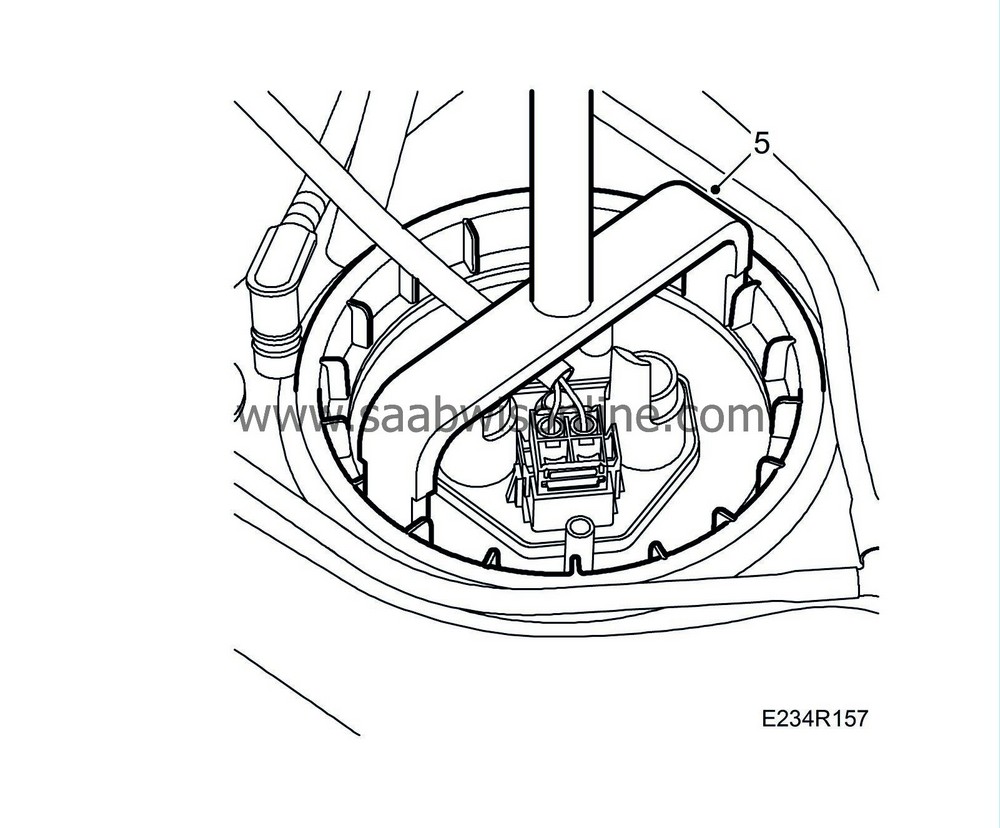
|
|
| 6. |
Check and lubricate the O-rings on the fuel line connections with acid-free petroleum jelly and connect them to the fuel reservoir.
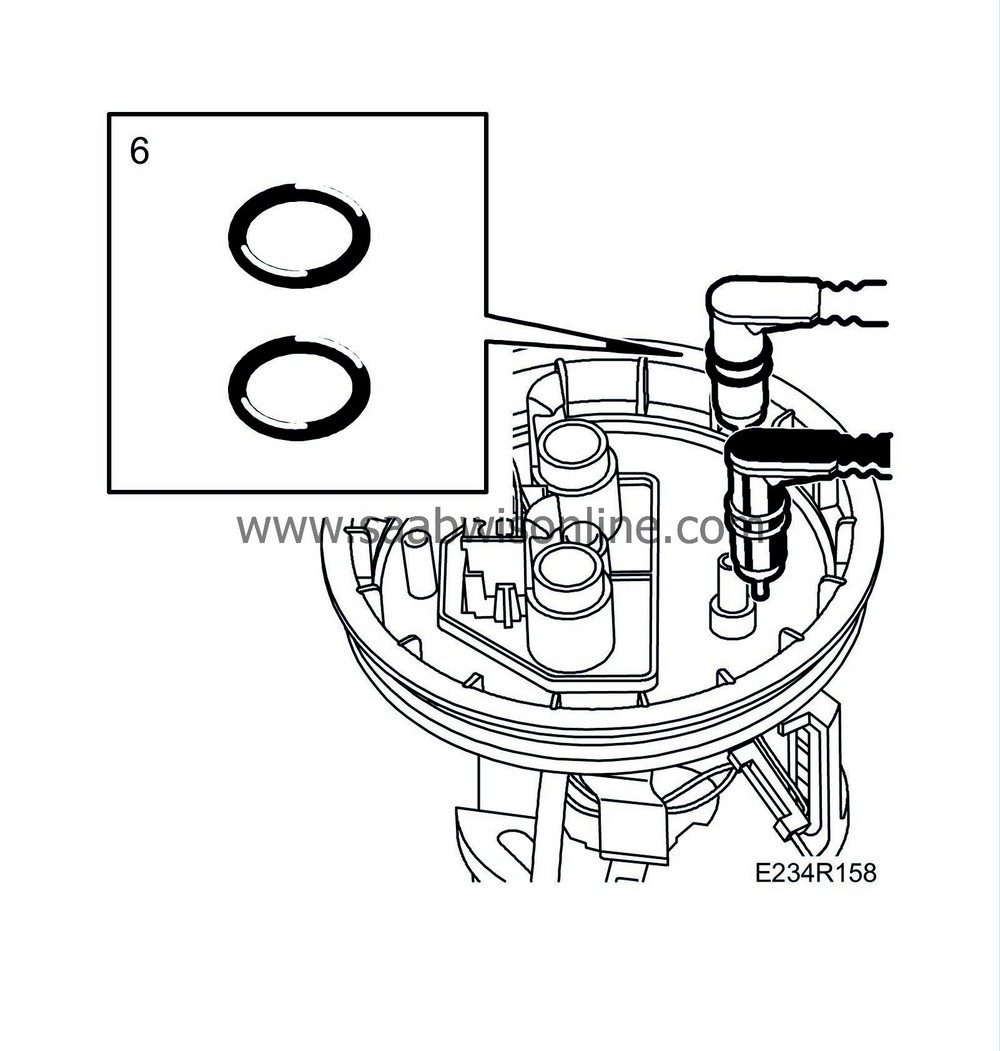
|
|
| 7. |
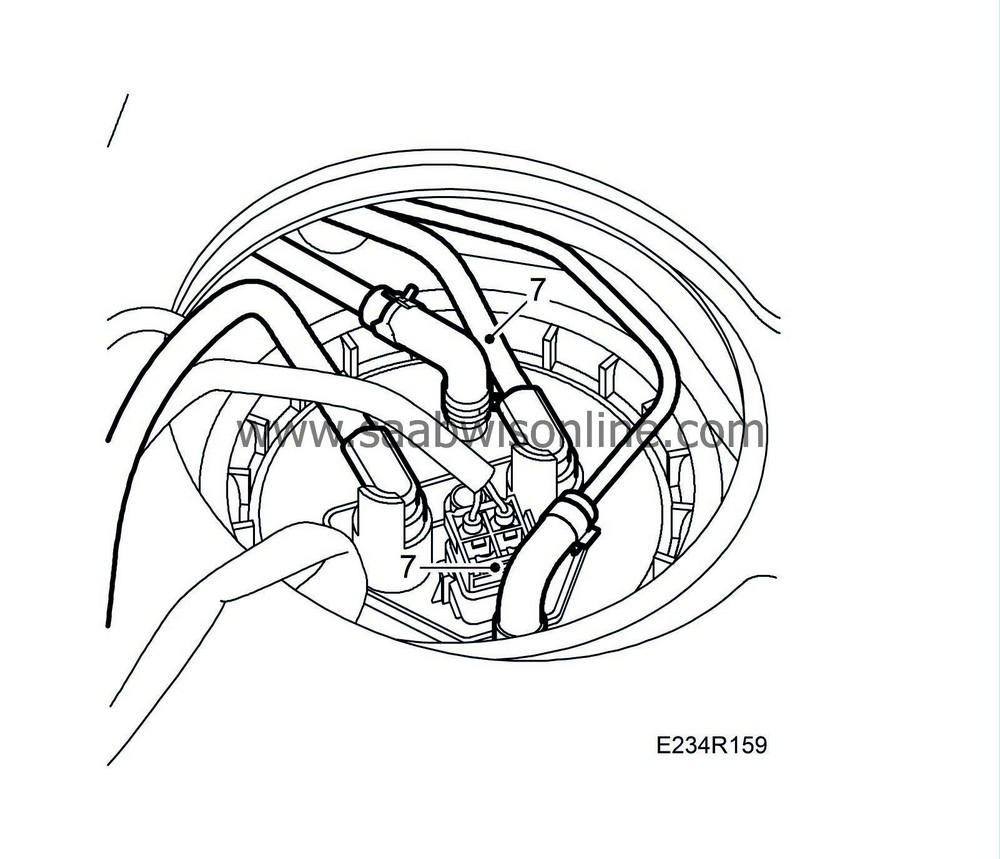
Fit the return line and the heater feed line.
|
|
| 8. |
Make sure that the yellow hooks have snapped in place over the connections.
|
|
| 9. |
Insert the pins, 3 (yellow/white) and 4 (grey/white), in the connector and fit the seal back in the connector.
|
|
| 10. |
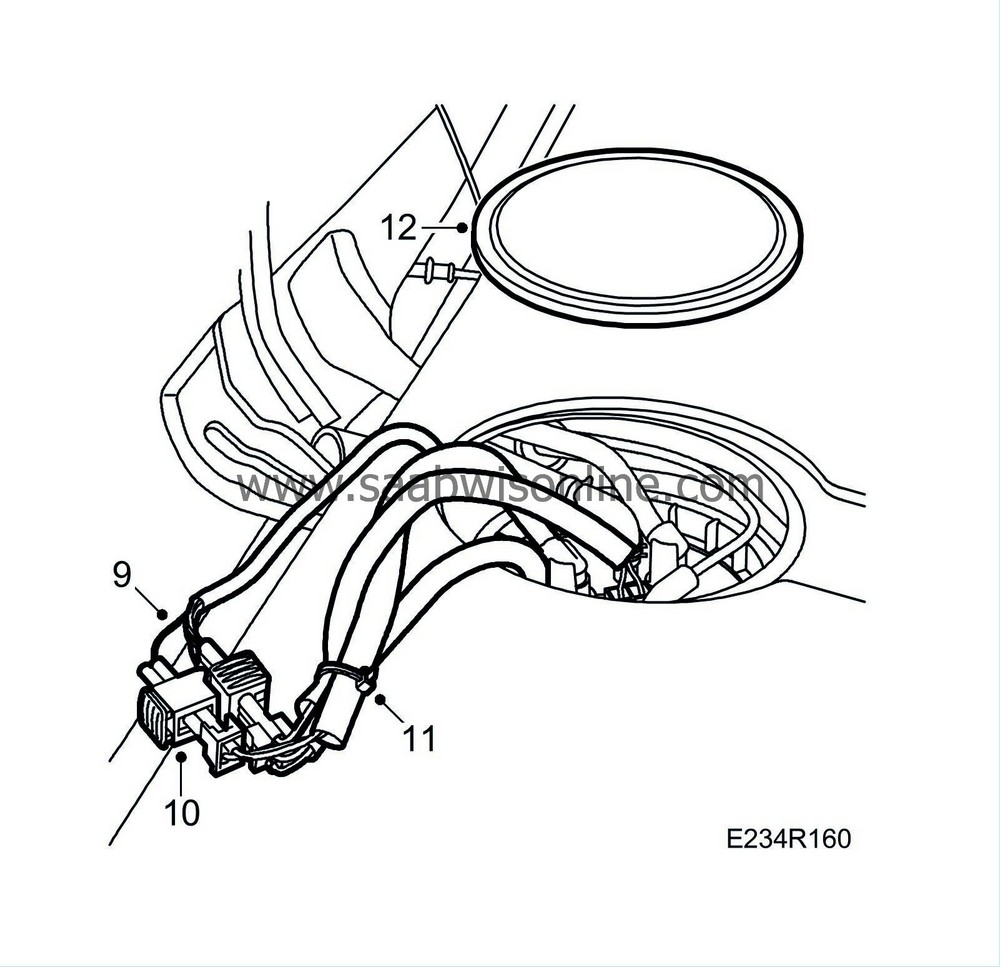
Plug in the connector.
|
|
| 11. |
Secure the three cables with a cable tie.
|
|
| 12. |
Fit the fuel pump cover, return the rear seat cushions to their places and fold back the carpeting.
|
|

 Warning
