Differential
| Differential |
| Important | ||
|
It is essential the greatest cleanliness is maintained when working with the transmission. Contamination can seriously affect the transmission's function and service life. |
||
To dismantle
| 1. |
Drain the oil from the transmission in the car before starting removal. Remove the gearbox from the car. See removing gearbox assembly. Fit the dipstick pipe.
|
|
| 2. |
Plug the shaft holes. Use
87 92 665 Protective plug, drive shaft hole
. Use plug 91 32 929 and seal 91 32 937 for the oil cooler hose connections and plug the bleeder pipe. Clean the outside of the transmission.
|
|
| 3. |
Remove the dipstick pipe.
|
|
| 4. |
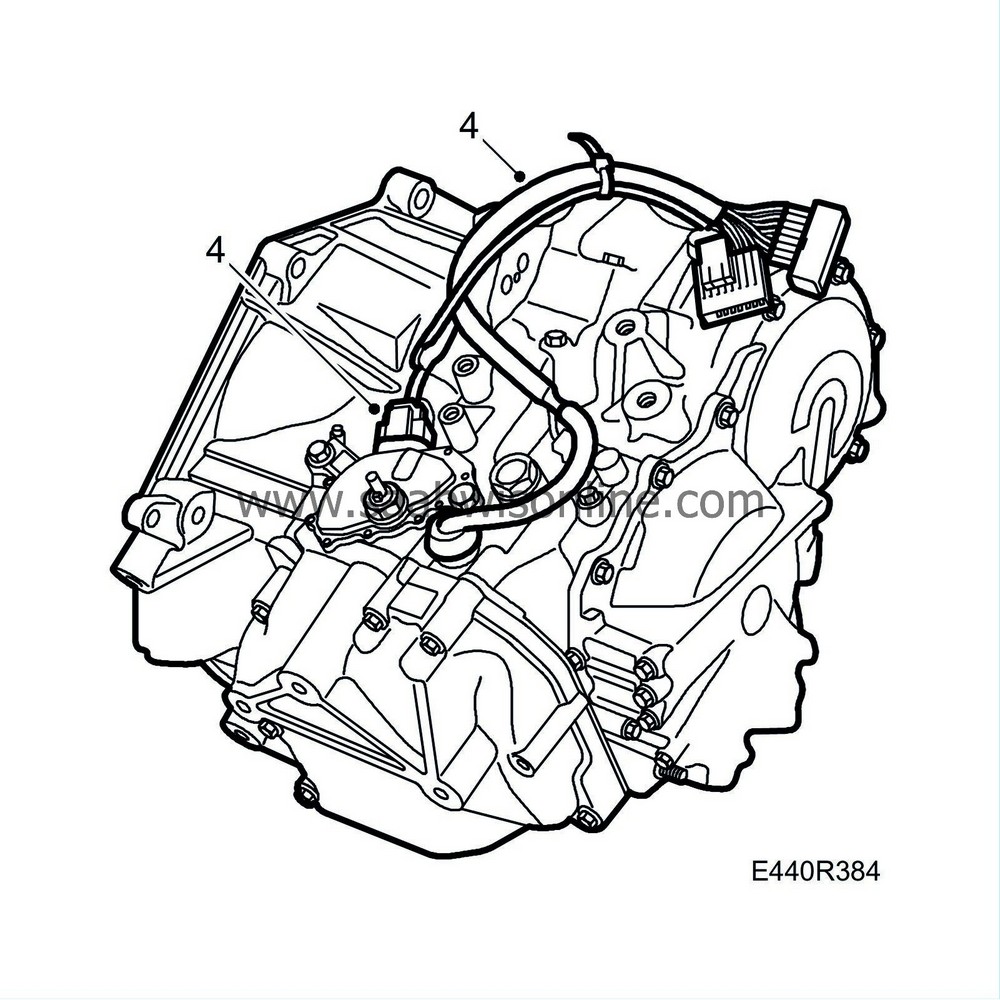
Unplug the connector from the gear selector position sensor and speed sensor.
|
|
| 5. |
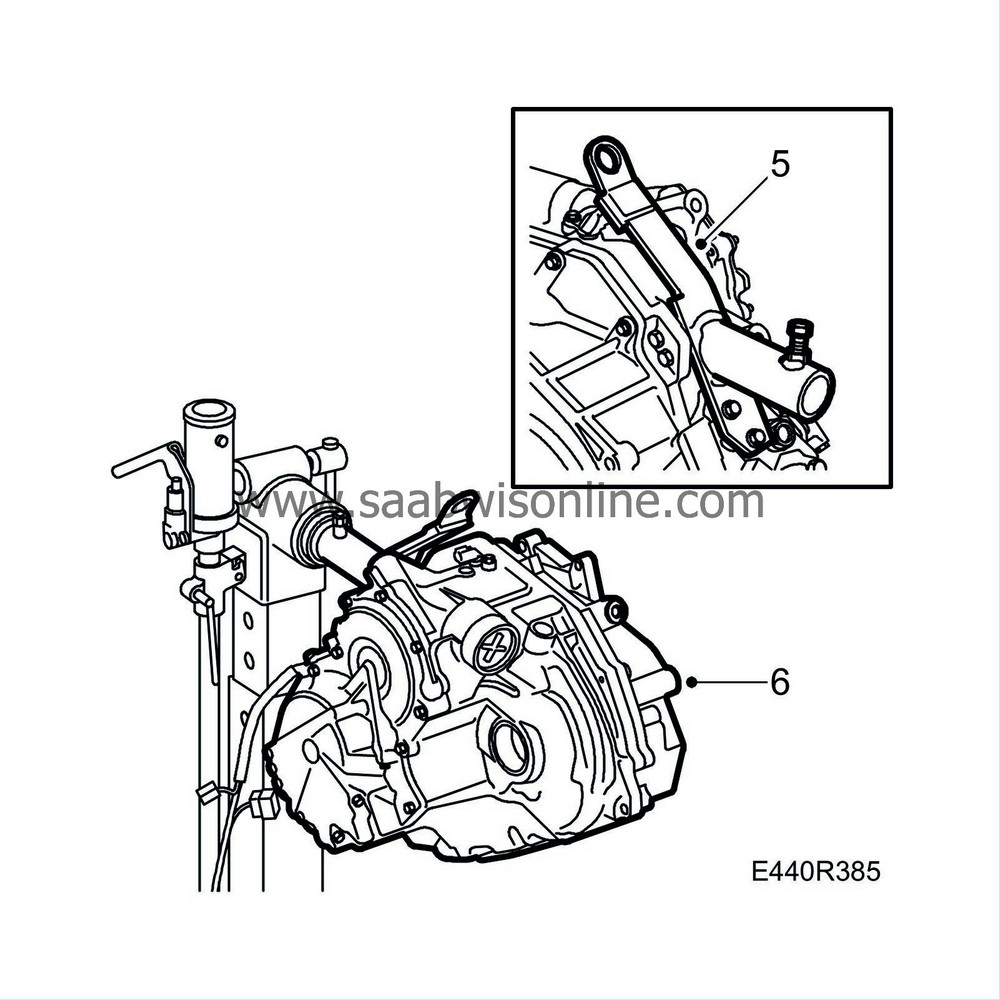
Fit
87 92 392 Holder, transmission
to the transmission using M8x25 flange screws.
|
|||||||
| 6. |
Mount the transmission on
78 74 878 Floor stand
.
|
|
| 7. |
Insert
87 91 766 Gripping tool, torque converter
into the torque converter. Remove
87 92 574 Holder
. Remove the torque converter.

|
|
| 8. |
Turn the gearbox through 180° in the stand.
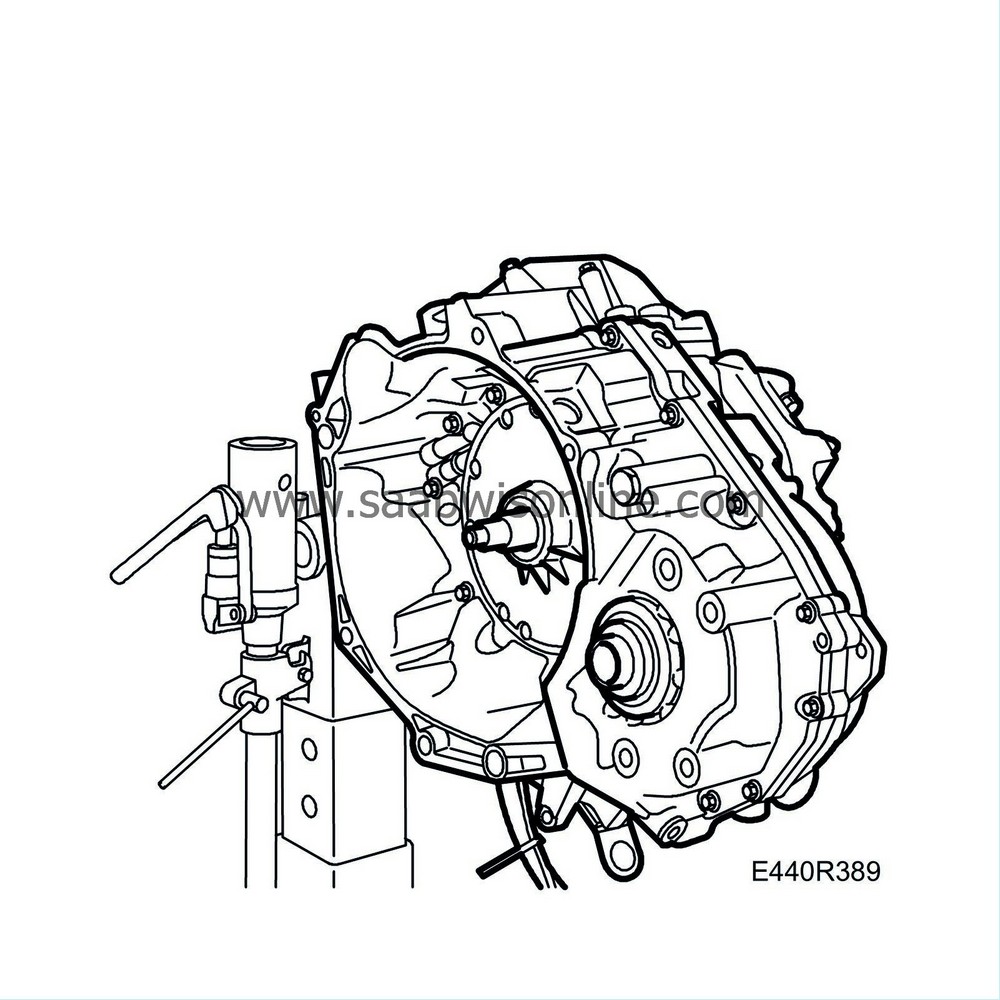
|
|
| 9. |
Remove the bolts securing the oil pump to the gearcase.
|
|
| 10. |
Pull off the oil pump and brake unit B2 from the gearcase using
87 92 699 Puller (KM-993)
.
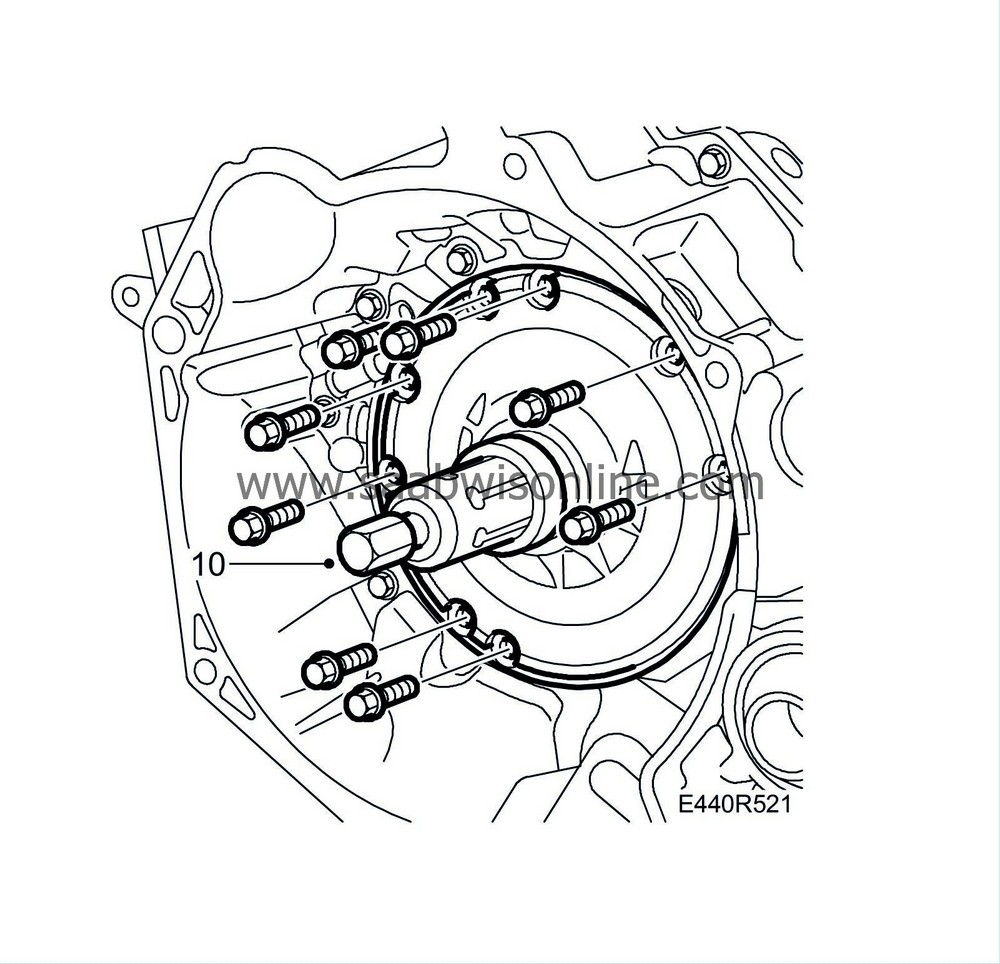
|
|
| 11. |
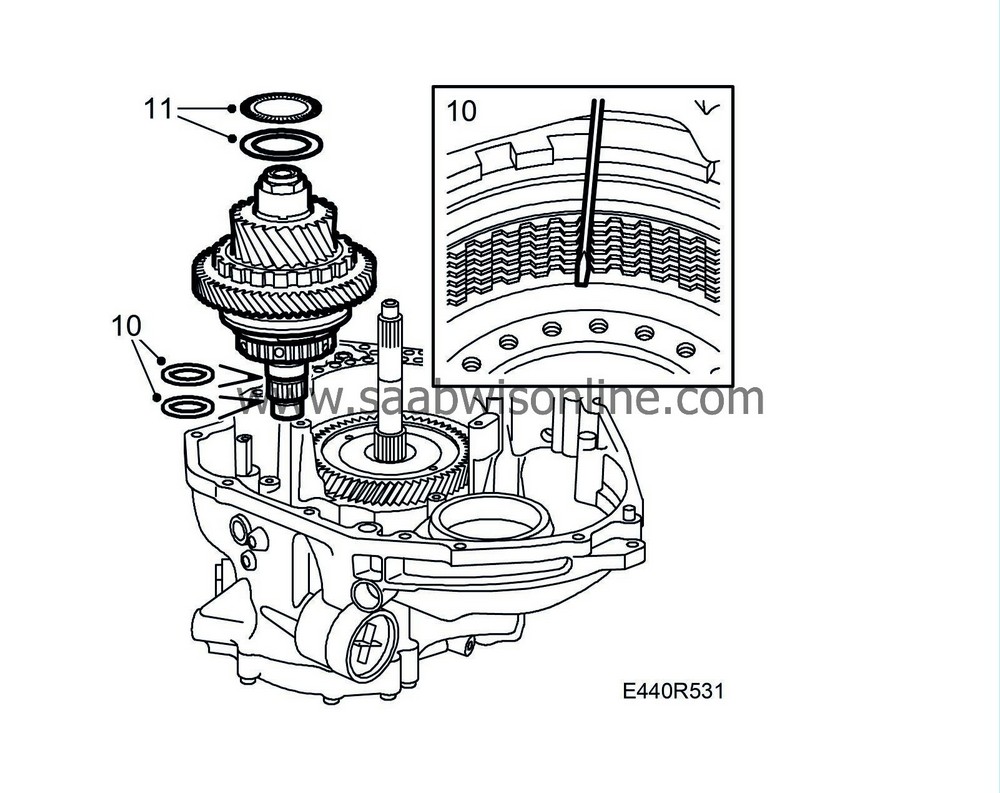
Remove the brake hub and freewheel F1.

|
|
| 12. |
Turn the gearbox through 90° in the stand.
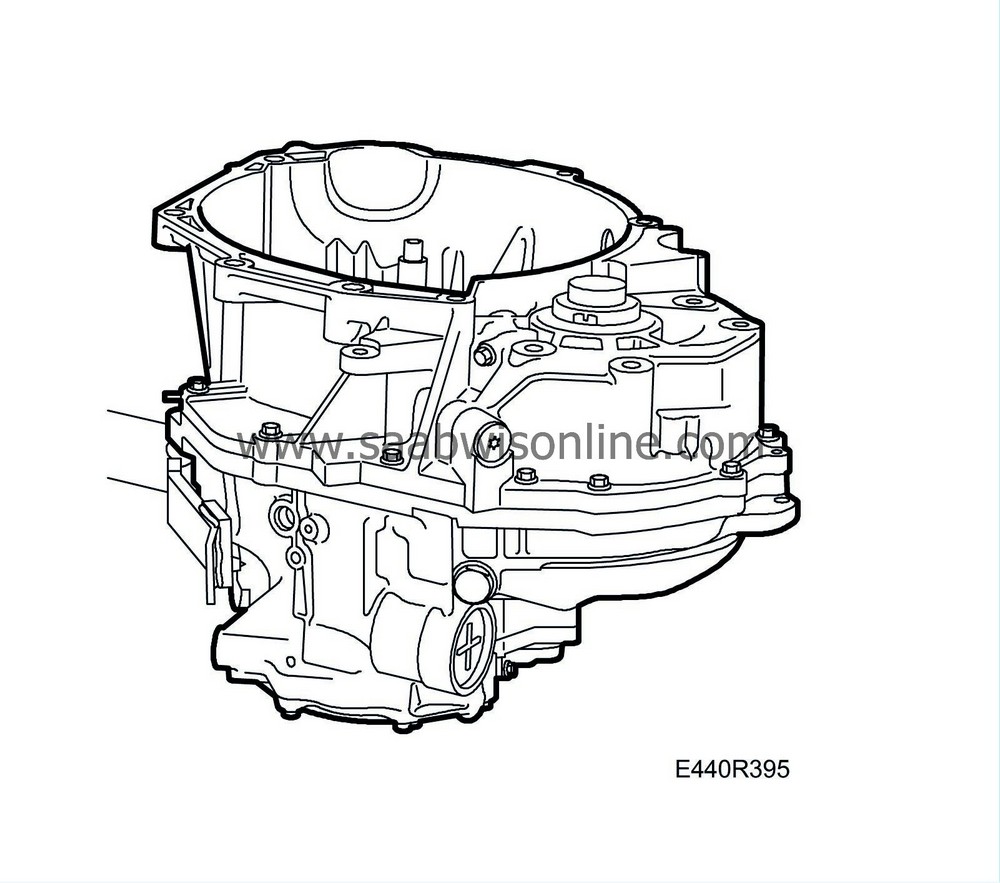
|
|
| 13. |
Remove the torque converter housing.
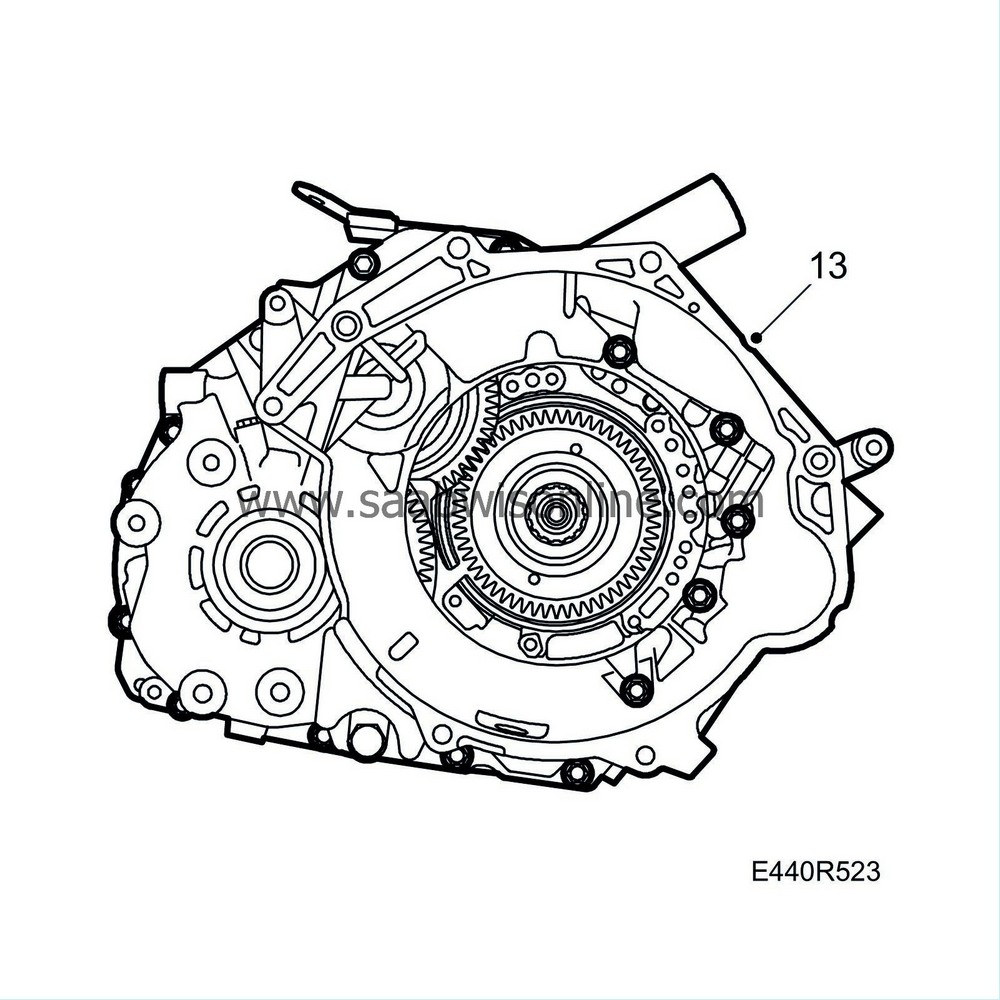
|
|
| 14. |
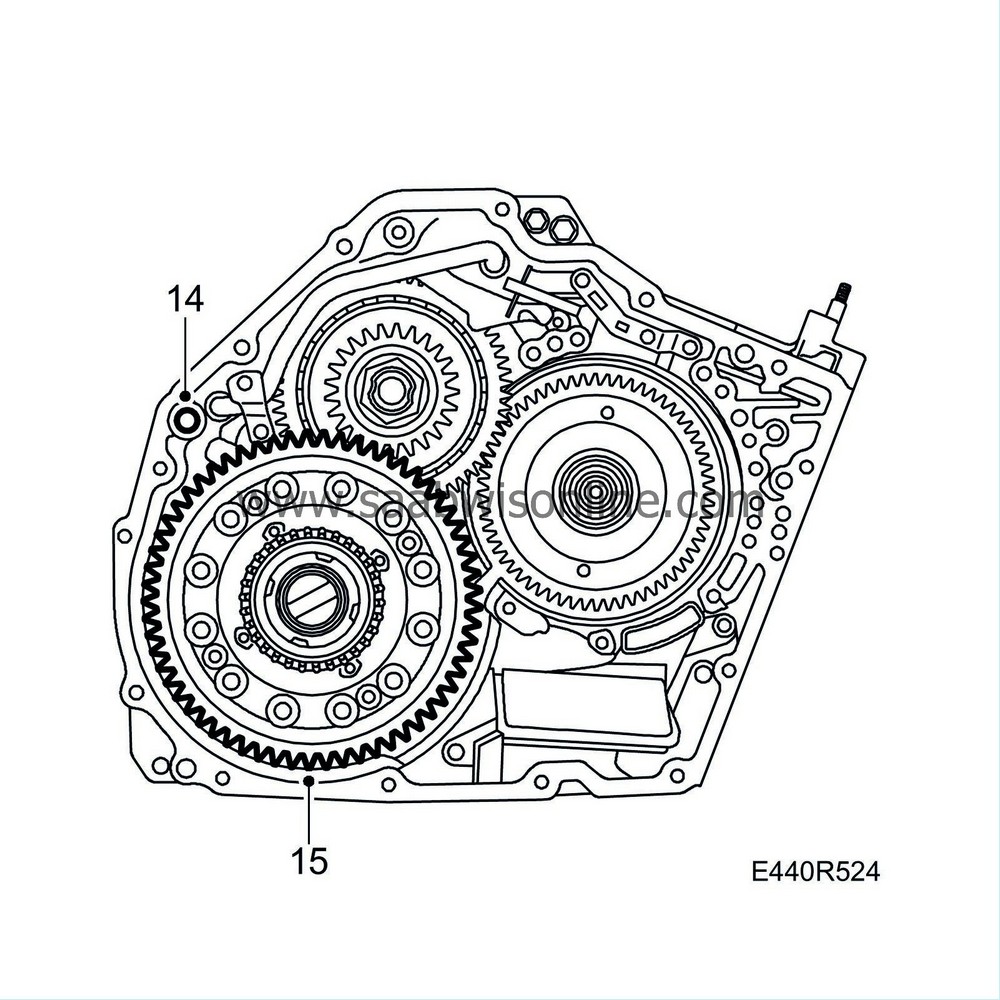
Knock loose the housing using a plastic mallet. Remove the seal.
|
|
| 15. |
Lift out the differential unit.
|
|
| 16. |
Fit
87 91 683 Puller
and
87 91 675 Puller
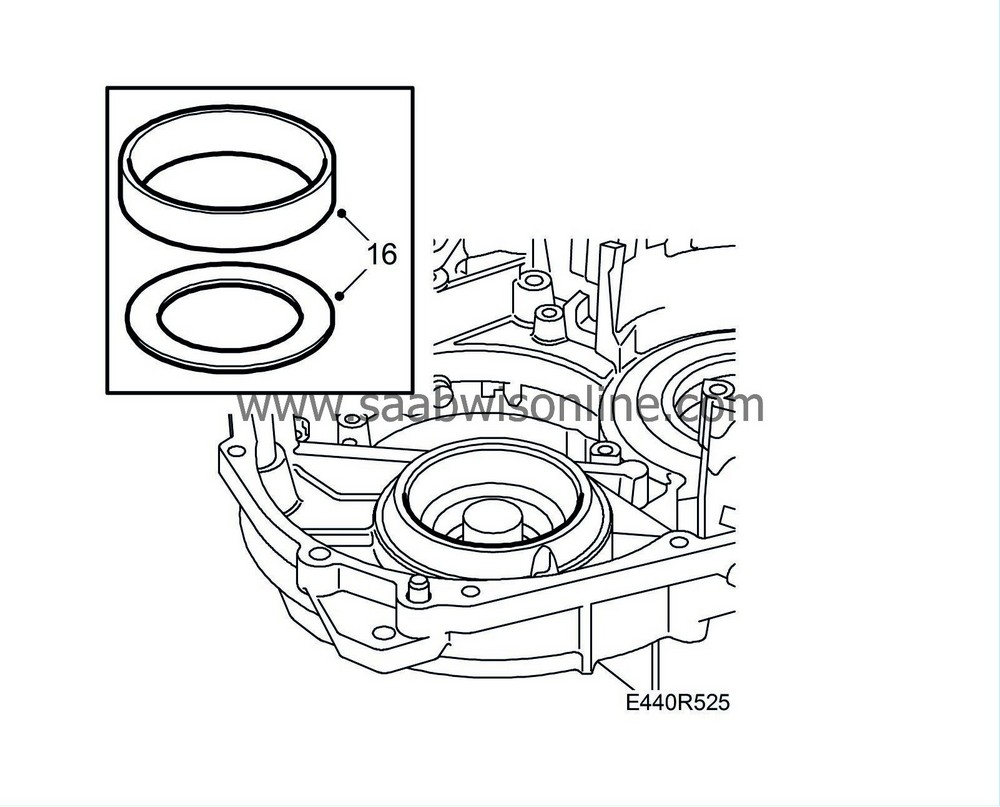
and remove the bearing race from the gearcase by heating the gearcase with a heat gun for approx. 5 min. Pull out the bearing race and place the shim to one side.
|
|
| 17. |
Remove the screw and pipe clamp from the torque converter housing.

|
|
| 18. |
Detach both ends of the pipe using
83 90 270 Sliding hammer
and
87 92 384 Puller, torque converter seal
. Remove the pipe. Be careful not to damage the pipe.
|
|
| 19. |
Remove the oil duct plate. Remove the three magnets.
|
|
| 20. |
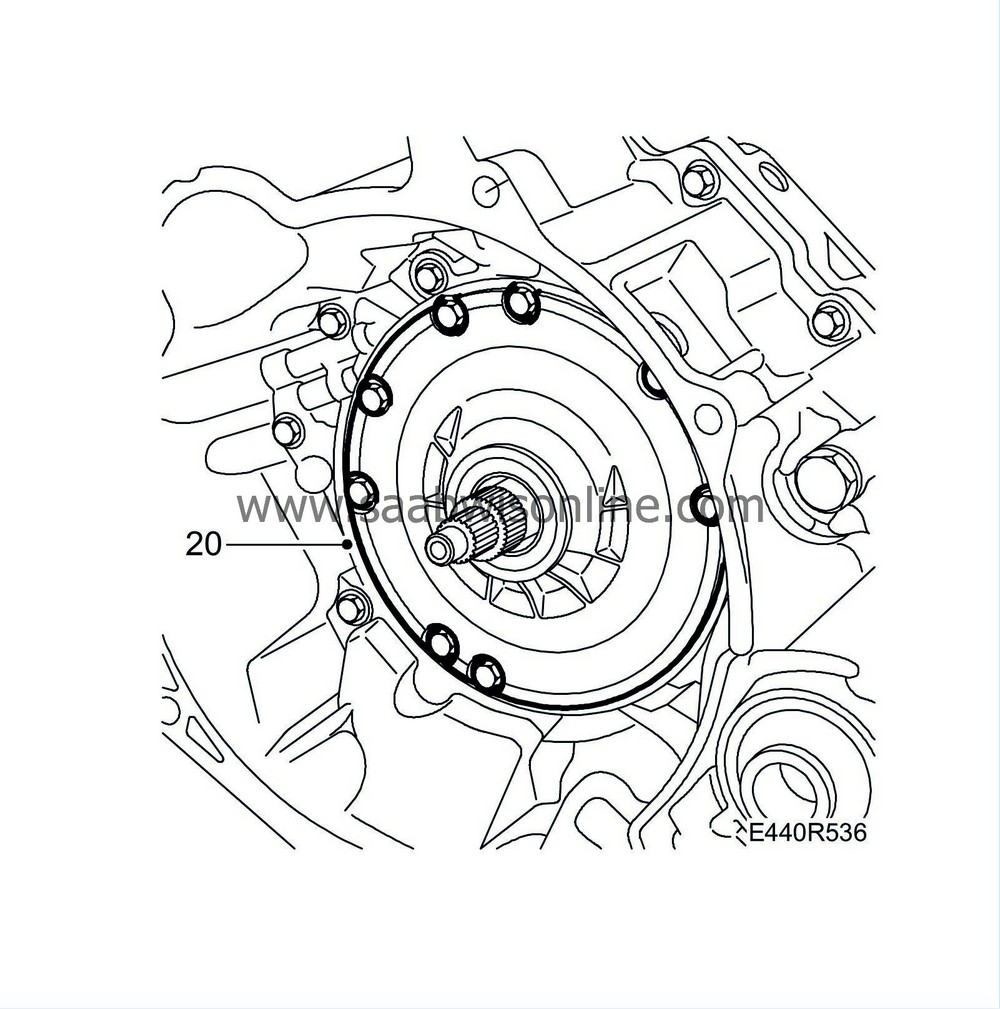
Knock out the shaft seal.
|
|
| 21. |
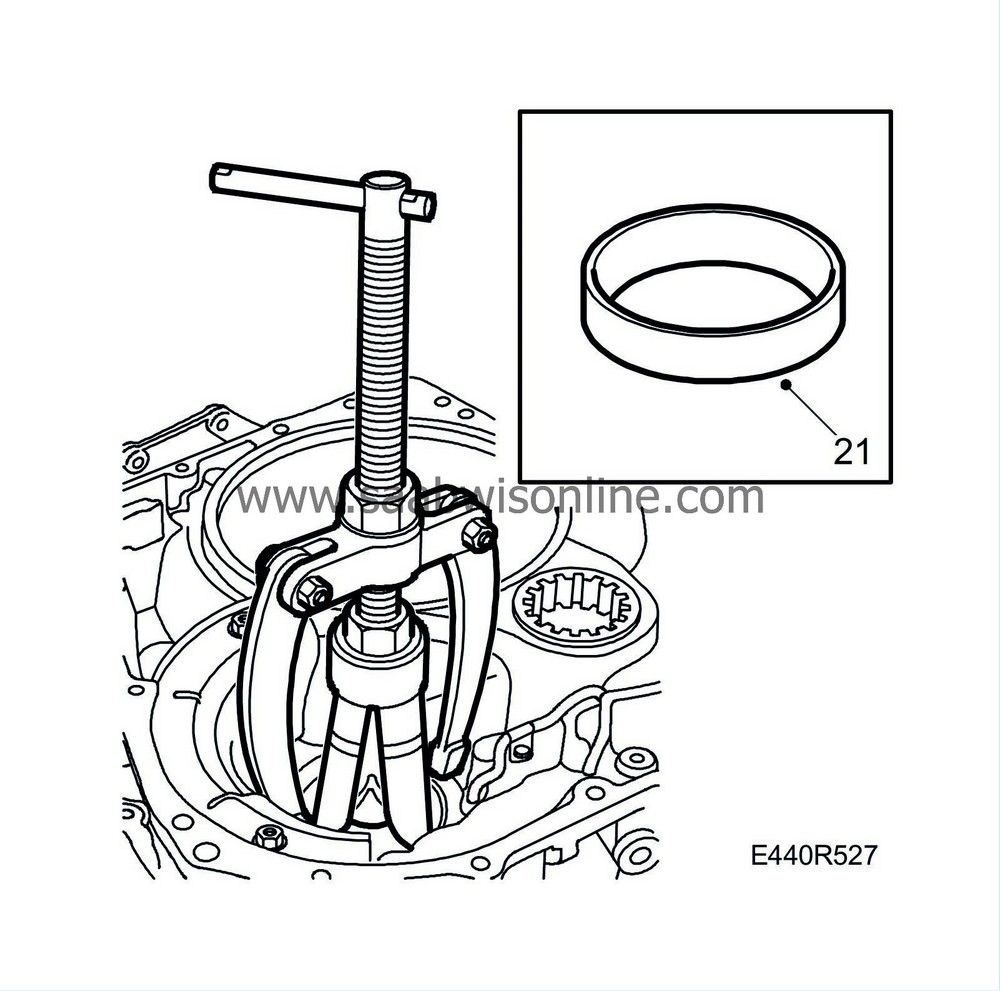
Remove the bearing race of the conical roller bearing in the torque converter housing by heating around the bearing seat with a heat gun for about 5 minutes. Pull out the bearing using
87 91 683 Puller
and
87 91 675 Puller
. The bearing need only be removed if the torque converter housing or differential bearing is changed.
|
|
| To assemble |
| 1. |
Carefully remove the old sealing compound from the sealing surface using a gasket scraper.
|
|
| 2. |
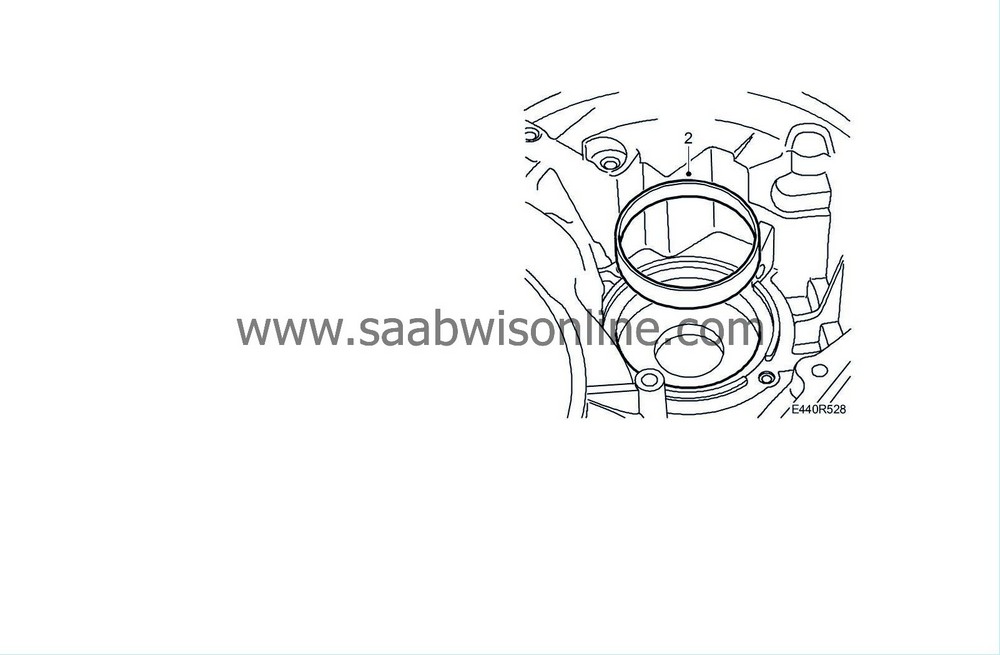
Heat the bearing seat for the differential bearing race in the torque converter housing. Fit the bearing race. Make sure the bearing race is all the way home.
|
|
| 3. |
Fit the oil duct plate and the three magnets. Blow the pipe clean, apply vaseline to the ends of the pipe and fit the pipe using a splinter-free plastic mallet. Take care not to bend or damage the pipe. Fit the pipe clip.
|
|
| 4. |
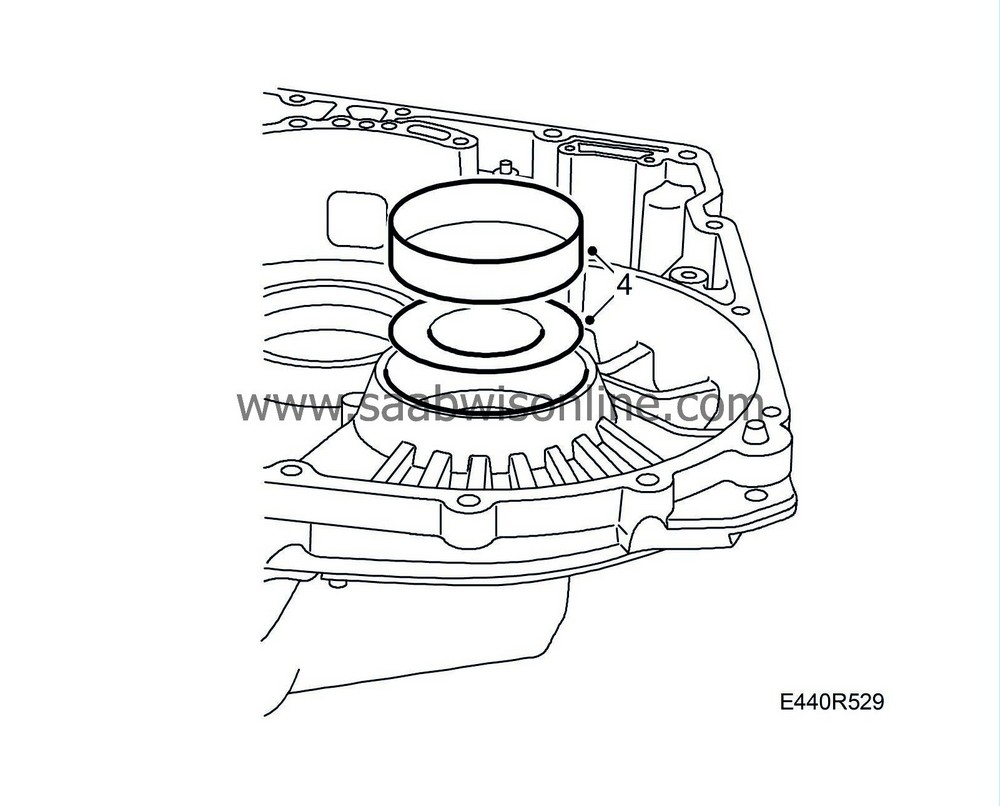
Heat the bearing seat for the differential bearing race in the gearcase for about 5 min. Refit the shim and fit the bearing race. Make sure the bearing race is all the way home.
|
|
| 5. |
Lift out the output shaft complete with thrust bearing and bearing race.

|
|
| 6. |
Lubricate the bearings with automatic transmission fluid.
|
|
| 7. |
Fit the differential and fit the torque converter housing. Only fit every other bolt. Fit a
87 92 483 Torque wrench
and
87 91 337 Driver, measuring differential bearing torque
to the differential housing (file down the key slightly if the tool does not fit the differential shaft). Turn until the reading is stable.
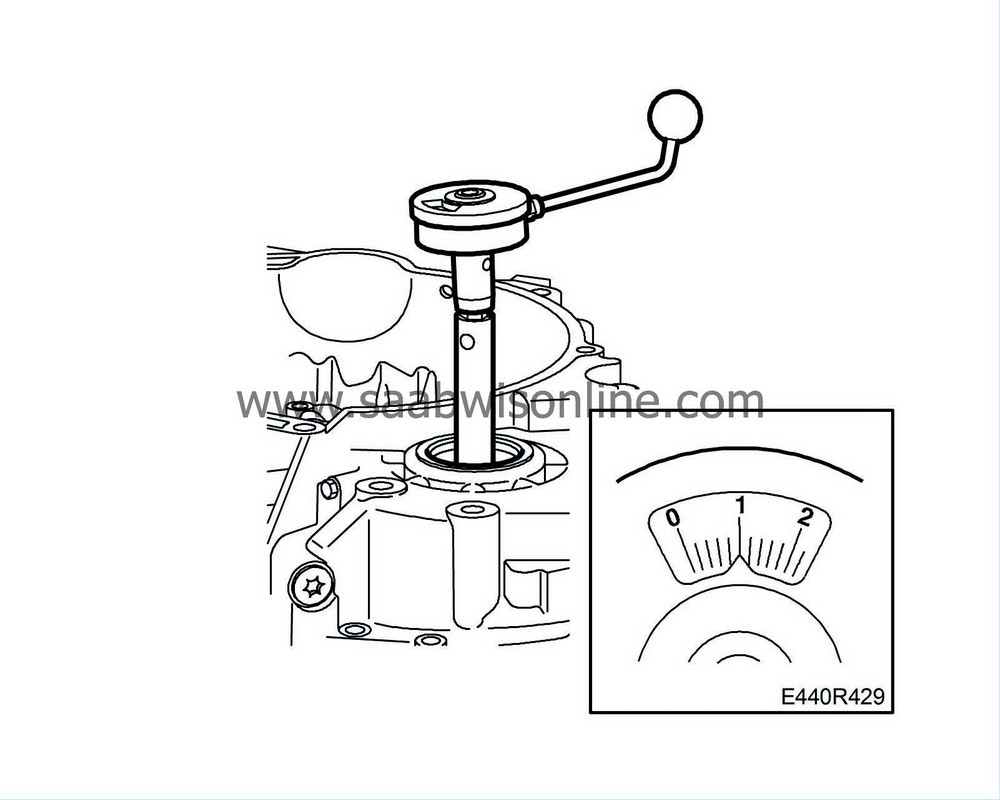
Tightening torque 24 Nm (18 lbf ft) Measure the prestress. Start value:
|
||||||||||||||
| 8. |
If the prestress is not within specified limits, remove the differential and bearing race from the gearcase and change shim. If the reading exceeds the specified value, change to a thinner shim. If the reading is lower than the specified value, change to a thicker shim. Shims are available between 1.0 - 1.90 mm in small intervals.
|
|
| 9. |
Remove the torque converter housing and lift out the differential.
|
|
| 11. |
Fit the thrust bearing race and the thrust bearing on the output shaft unit.
|
|
| 12. |
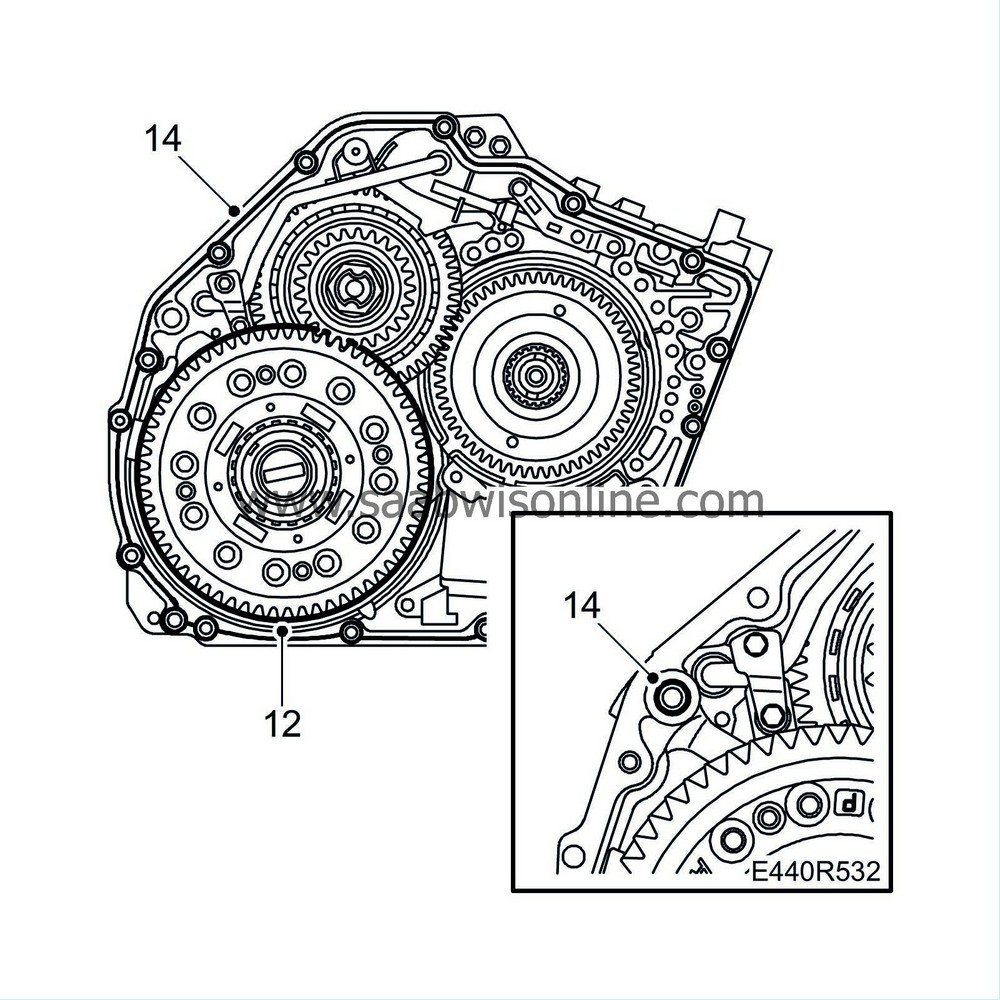
Fit the differential unit.
|
|
| 13. |
Fit the differential housing unit.
|
|
| 14. |
Clean the sealing surfaces on the gearcase and the torque converter shell. Use
Cleaning agent, Loctite Super Clean 7063
. Keep surfaces free from grease.
|
|
| 15. |
Fit a new seal into the gearcase and apply an approx. 1 mm thick bead of
87 81 841 Silicone flange sealant
to the gearcase as illustrated. Fit the torque converter housing.
|
|
| 16. |
Apply
Thread locking adhesive, Loctite 577
to the inside bolts. Fit the bolts (different lengths). Tighten the bolts.
Tightening torque 25 Nm (18 lbf ft) 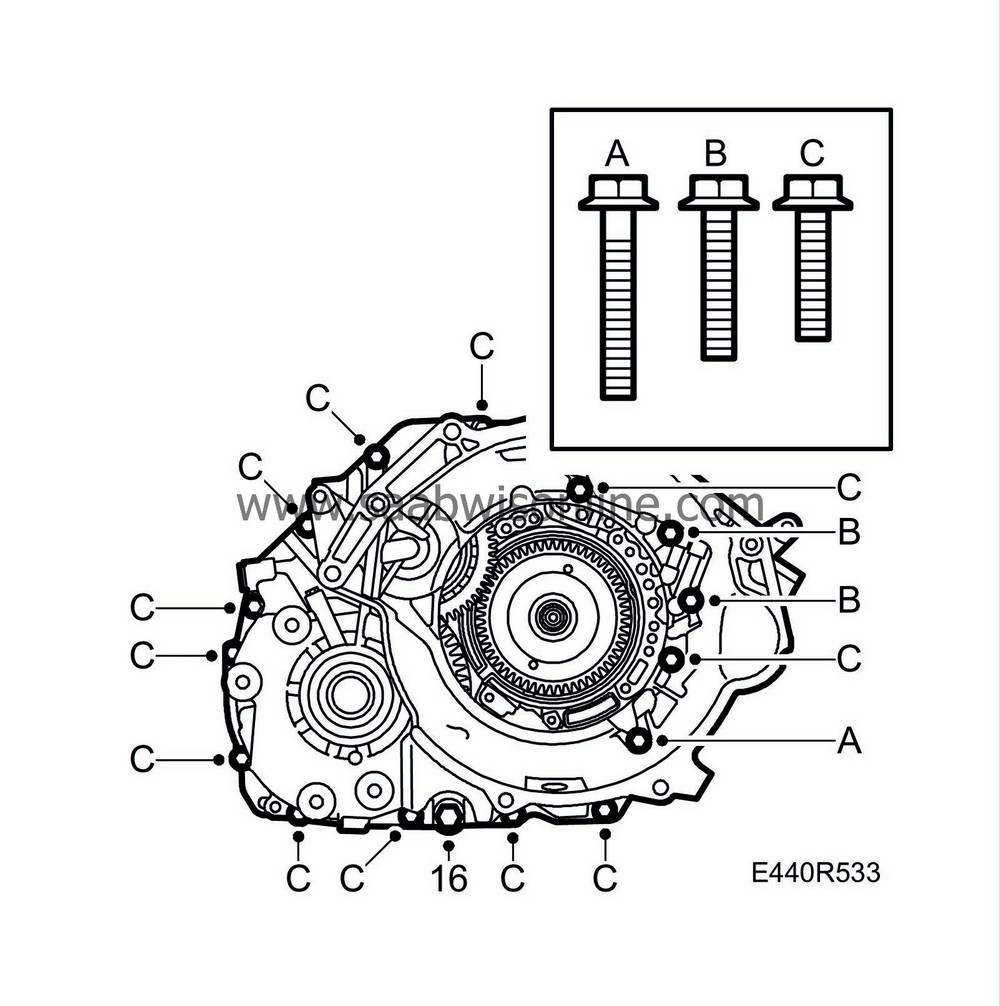
|
|
| 17. |
Clean the magnetic surface on the drain plug and fit it with a new gasket.
Tightening torque 40 Nm (30 lbf ft) |
|
| 19. |
Fit freewheel F1 and the bearing race for brake B1 and B2 to the oil pump unit. Lubricate the thrust washer for F1 with vaseline and fit it.

|
|
| 21. |
Turn back the gearcase 45°
|
|
| 22. |
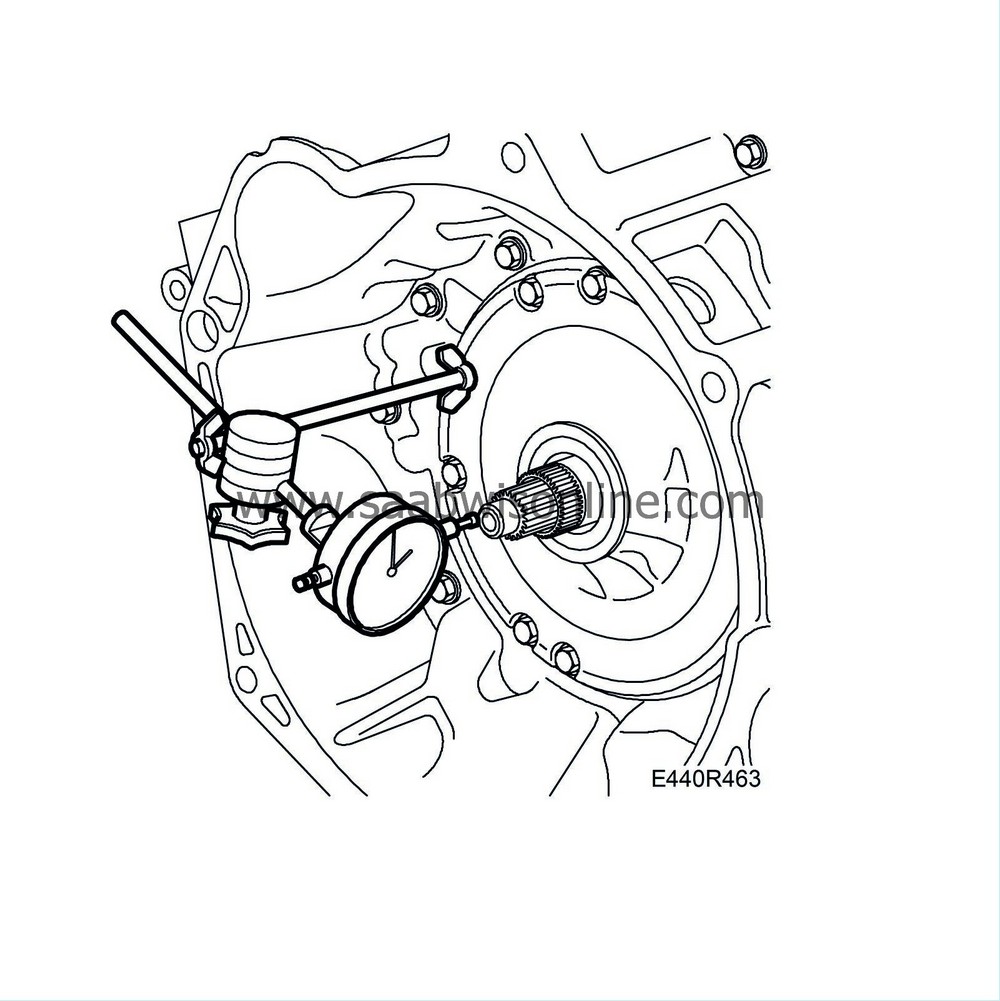
Check that the turbine shaft has an end play of 0.37 - 0.9 mm. Use
78 40 622 Dial gauge
and
87 90 727 Bracket, dial gauge
.
|
|
| 23. |
Change the torque converter seal, see
Torque converter seal
.
|
|
| 24. |
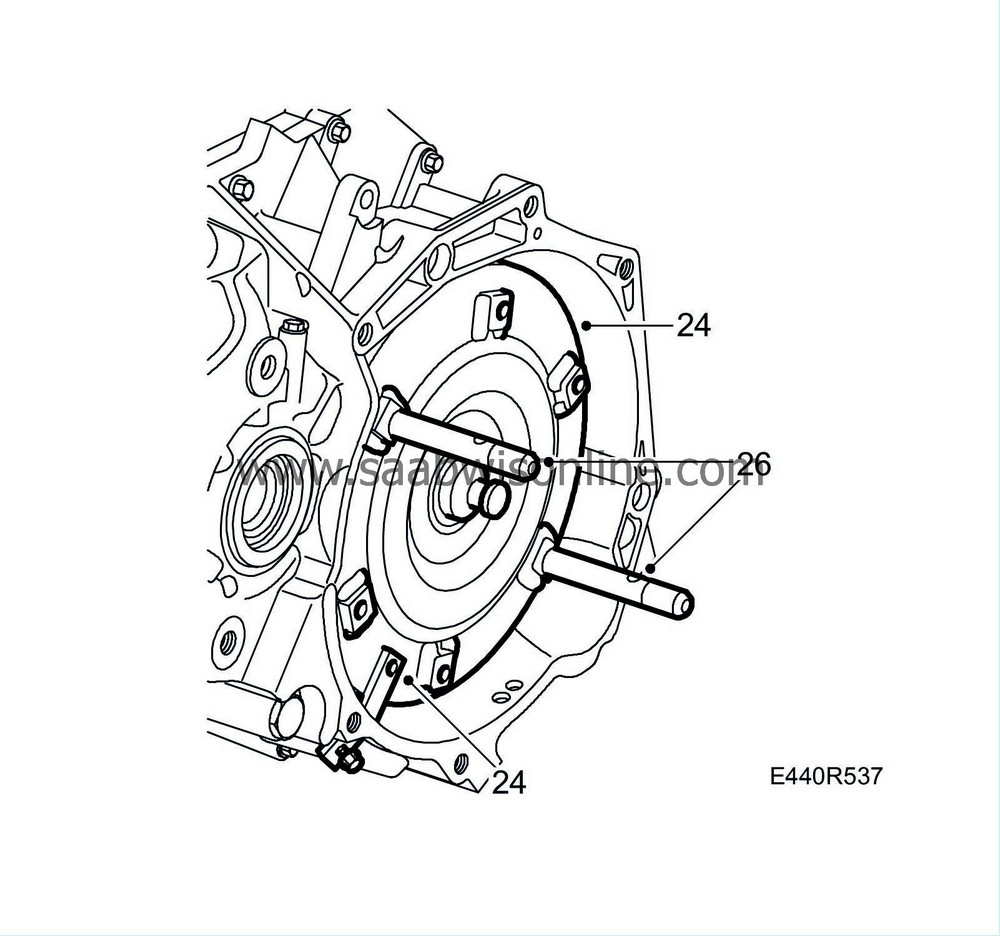
Fit the torque converter. Use
87 91 766 Gripping tool, torque converter
Fit
87 92 574 Holder
.
|
|
| 25. |
Make sure the torque converter has been fitted in the correct position and lay a steel rule on the mating face of the torque converter. Measure the distance between the mating face and the drive plate contact surface on the torque converter. The distance must be at least 15 mm.
|
|
| 26. |
Remove
87 91 766 Gripping tool, torque converter
.
|
|
| 27. |
Fit new drive shaft seals. Use
83 90 122 Drift
.
|
|
| 28. |
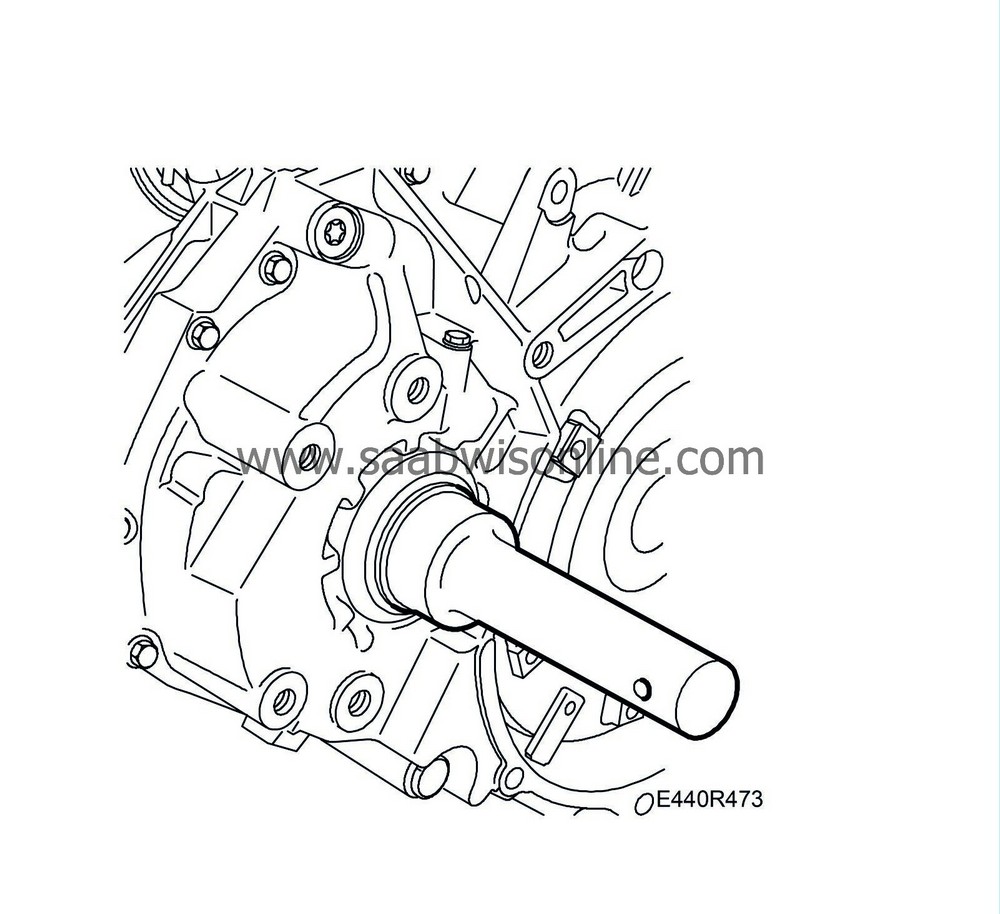
Remove the gearbox from the stand. Remove the holder from the gearbox.
|
|
| 29. |
Plug in the connectors to the gear selector and speed sensors.

|
|
| 30. |
Fit the gearbox in the car. See To fit, Complete automatic transmission. Remember to clean the oil cooler with
87 91 824 Flushing equipment
.
|
|

