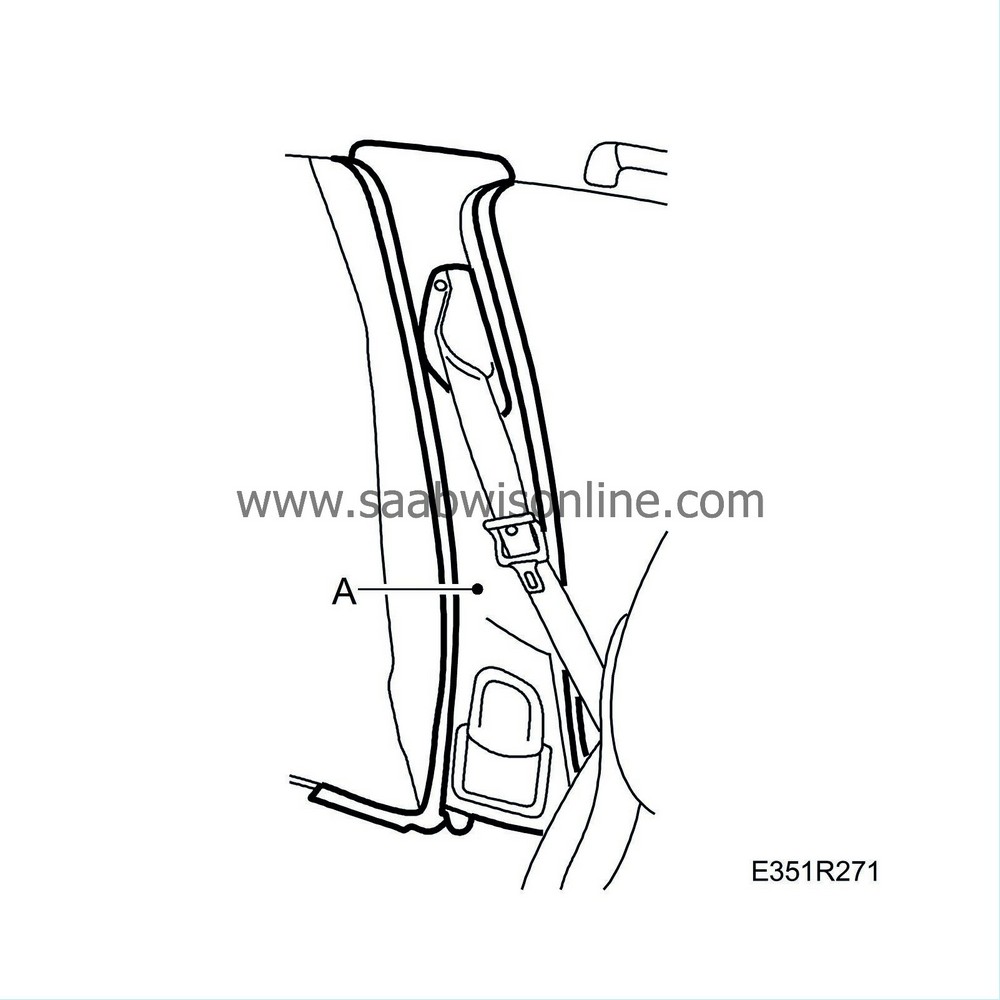
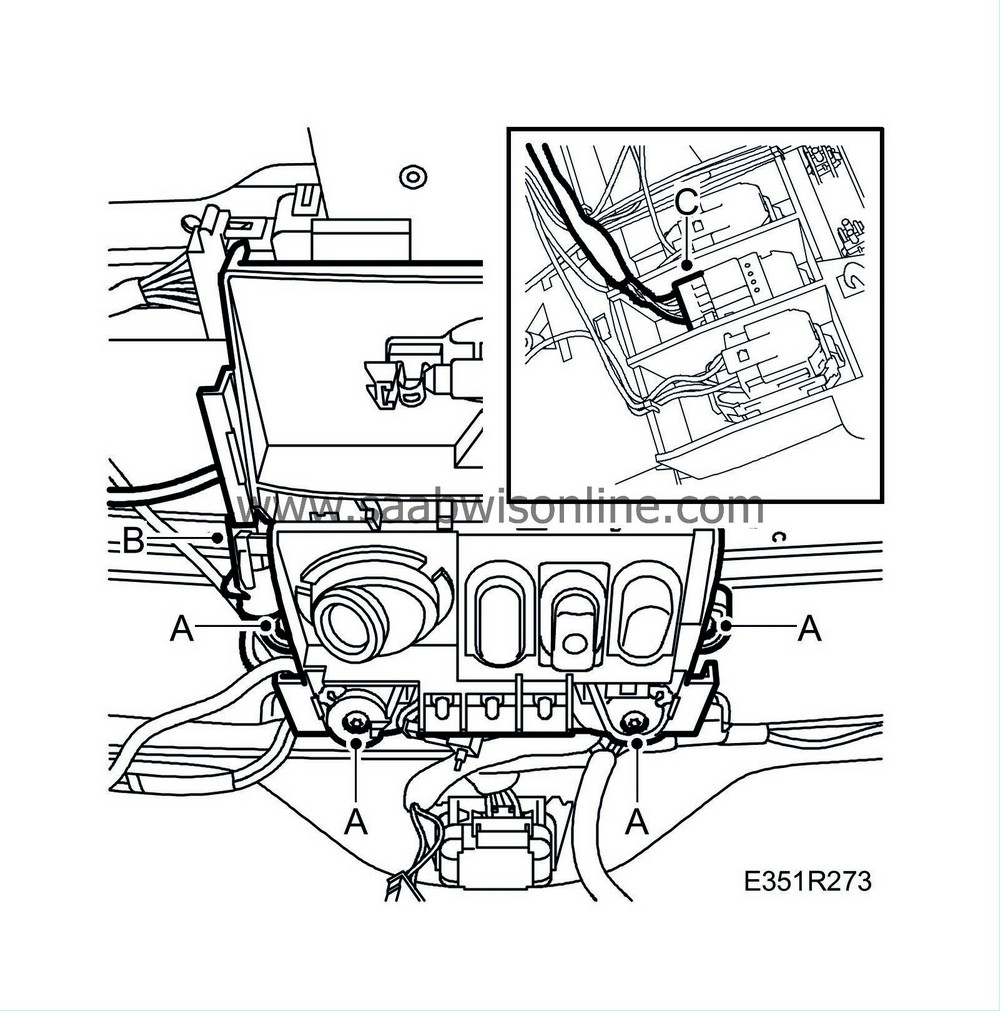
Roof console, 5D
| Roof console, 5D |
| To remove |
|
|||||||
| 1. |
Remove the sun visors and their mountings (A).

|
|
| 2. |
Remove the light lens from the cover (B) by carefully prizing with a screwdriver in the clip recess of the light lens.
|
||||||||||
| 3. |
Unscrew the roof console's cover (B).
|
|
| 4. |
Unplug any connectors for microphone and interior temperature sensor and lift away the cover (B).
|
|
| 5. |
Remove the interior rearview mirror, 3 screws (C).
|
|
| 6. |
Unplug and separate the grey 10-pin connector.
|
|
| 7. |
Remove the A-pillar trims (fastened with clips) (D).
|
|
| 8. |
Remove all courtesy handles above the doors (E).
|
|
| 9. |
Cars with sunroof:
Undo the clips (A) in the rear edge of the sunroof (x 3) by carefully pressing with a finger from the rear.

|
|
| 10. |
Undo the B-pillar trims (A), fastened with clips. Lift the trims from the air ducts and place them to one side.

|
|
| 11. |
Remove the rear roof covering (A), fastened with clips. Unplug and separate the connectors for the glass breakage sensor and luggage compartment lighting.

|
|
| 12. |
Undo the D-pillar trims (B).
|
|
| 13. |
Remove the roof coverings (C) between the C and D-pillars.
|
|
| 14. |
Detach the top of the C-pillar trims (D), fastened with clips.
|
|
| 15. |
Remove the cargo safety net mountings (E). Remove the covers and undo the clips.
|
|
| 16. |
Undo the clips (F) securing the rear of the headlining (x 2) by turning them 90° and pulling them down.
|
|
| 17. |
Carefully pull the headlining out of the door weatherstrips on the passenger side. Then pull the headlining out of the door weatherstrips.
|
|
| 18. |
Cars with sunroof:
Detach the headlining from the hooks adjacent to the sunroof.
|
|
| 19. |
Unplug and separate the connector on the upper surface of the headlining.
|
|
| 20. |
Carefully lower the headlining.
|
|
| 21. |
Remove the roof console (A).

|
|
| 22. |
Unplug and separate the connector (B) and unplug the connector for the sunroof (C) if fitted.
|
||||||||||
| To fit |
|
|||||||
| 1. |
Plug in the connector (B) and also (C) if such a connector is fitted.

|
||||||||||
| 2. |
Fit the roof console (A).
|
|
| 3. |
Plug in the grey 10-pin connector.
|
|
| 4. |
Carefully lift the headlining into place.
|
|
| 5. |
Plug in the connector on the upper surface of the headlining.
|
|
| 6. |
Position the headlining in front of the roof console.
|
|
| 7. |
Cars with sunroof:
Hook the headlining into the hooks adjacent to the sunroof.
|
|
| 8. |
Position the headlining against the door weatherstrips.
|
|
| 9. |
Fit the clips (F) which hold the headlining at the rear edge.

|
|
| 10. |
Fit the D-pillar trims (B).
|
|
| 11. |
Plug in the connector for the glass breakage sensor and luggage compartment lighting. Fit the rear roof covering (A).
|
|
| 12. |
Fit the cargo safety net mountings (E) and the covers.
|
|
| 13. |
Fit the C-pillar trims (D).
|
|
| 14. |
Fit the roof coverings (C) between the C and D-pillars.
|
|
| 15. |
Fit the B-pillar trims (A).

|
|
| 16. |
Cars with sunroof:
Secure the clips (A) in the rear edge of the sunroof.

|
|
| 17. |
Fit all courtesy handles above the doors (E).

|
|
| 18. |
Fit the A-pillar trims (D).
|
|
| 19. |
Fit the interior rearview mirror (C).
|
|
| 20. |
Fit the roof console's cover (B), and carefully press the light lens into place.
|
|
| 21. |
Plug in the connectors for the mirror lighting in the sun visors. Fit the brackets for the sun visors, as well as the sun visors (A).
|
|

 Warning

