Injectors, 4 cyl (206)
| Injectors, 4 cyl (206) |
| To remove |
|
|||||||
| • |
Work only in a well-ventilated area! If approved equipment for the extraction of fuel vapours is available, be sure to use it.
|
|
| • |
Wear suitable gloves! Prolonged contact with fuel can cause skin irritation or dermatitis.
|
|
| • |
Keep a class BE fire extinguisher near at hand! Be mindful of the danger of sparks caused by short circuits and when connecting and disconnecting leads in electrical circuits.
|
|
| • |
No smoking anywhere in the vicinity.
|
|
| Important | ||
|
Be particulary observant regardning cleanliness when working on the fuel system. Loss of function may occur due to very small particles. Prevent dirt and grime from entering the fuel system by cleaning the connections and plugging pipes and lines during disassembly. Use 82 92 948 Plugs, A/C system assembly. Keep components free from contaminants during storage. |
||
| 1. |
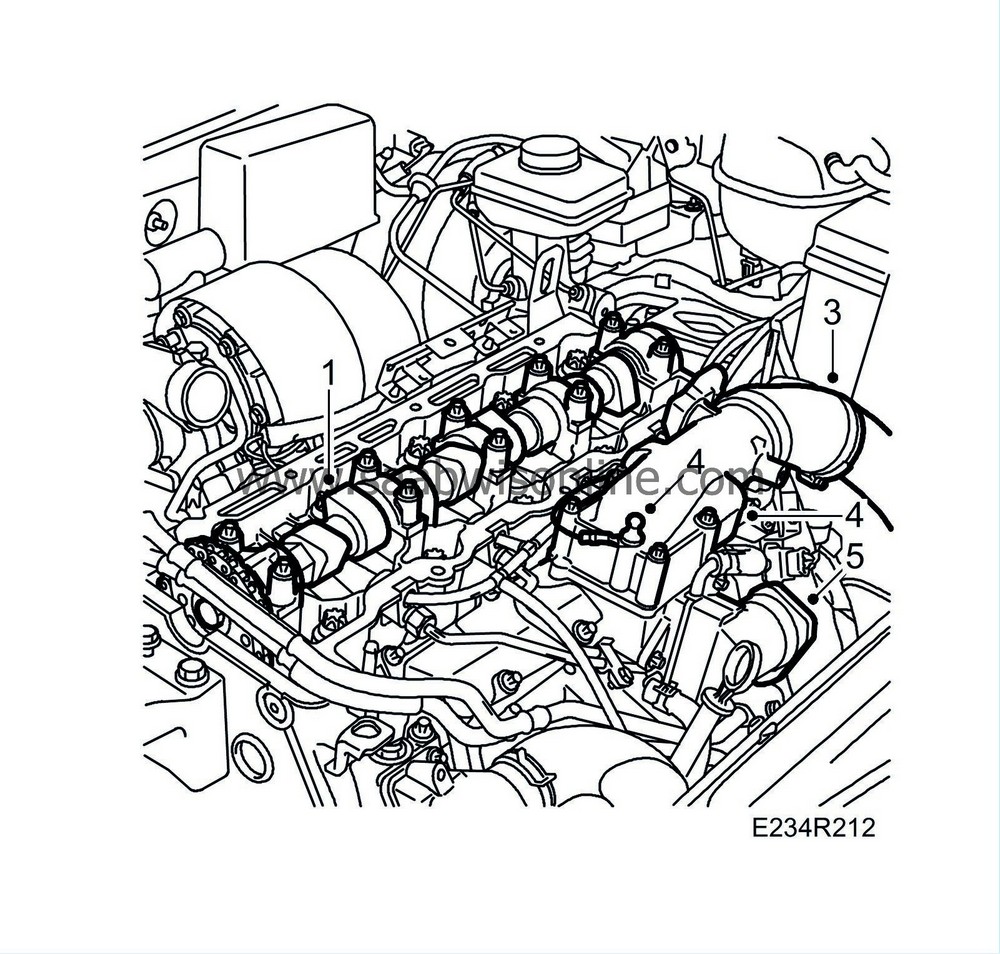
Remove the camshaft. See
Camshaft
.
|
|
| 2. |
Suction up the oil lying on top of the cylinder head.
|
|
| 3. |
Detach the turbocharger delivery pipe with hose from the throttle body and move it aside. Plug the pipe and inlet.
|
|
| 4. |
Unplug the temperature/pressure sensor connector and the ground cable. Remove the throttle body.
|
|
| 5. |
Unplug the connector, detach the EGR valve from the intake manifold and move it aside.
|
|
| 6. |
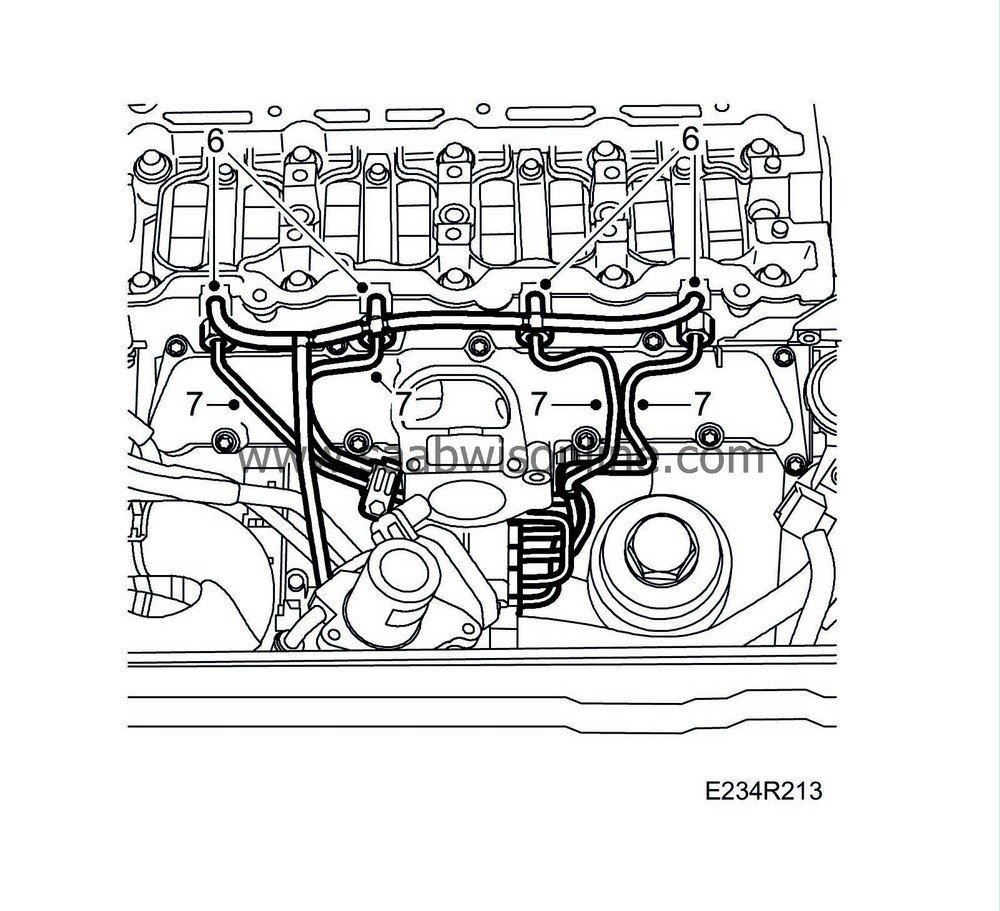
Detach the fuel return hoses from the fuel bridges.
|
|
| 7. |
Mark the position of the fuel rails with clips and remove the fuel rails.
|
|
| 8. |
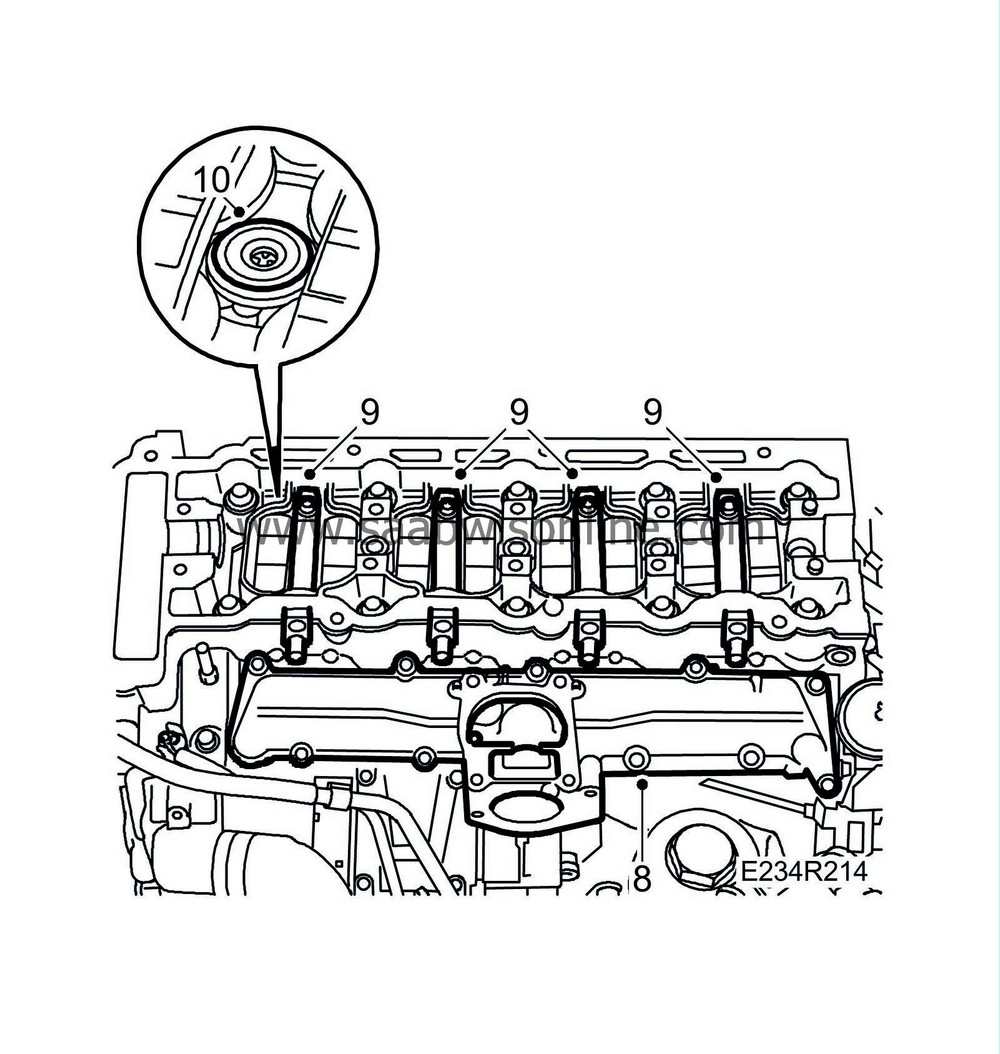
Remove the upper portion of the intake manifold and seal the ducts.
|
|
| 9. |
Remove the retaining screws for the fuel bridges; lift and pull the fuel bridges out of the cylinder head.
|
|
| 10. |
Remove the rubber seals on the injectors.
|
|
| 11. |
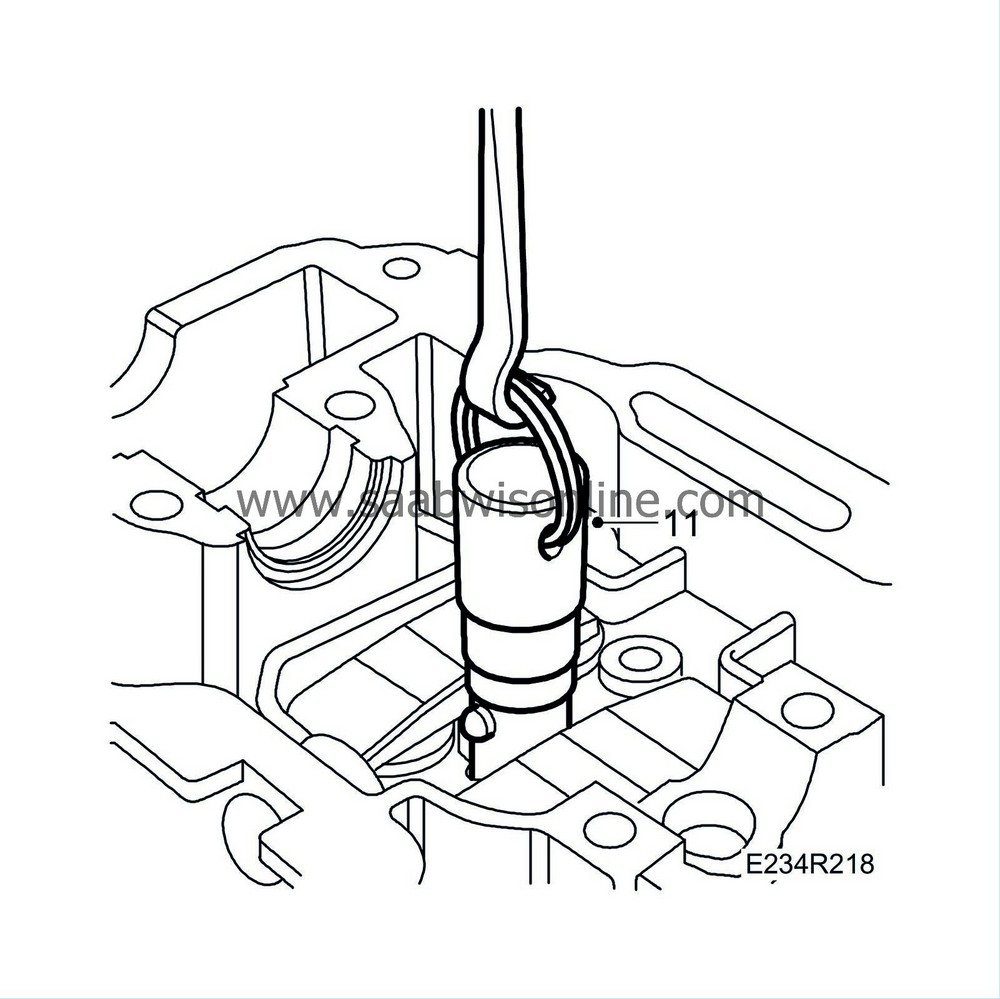
Secure tool
83 95 378 Removal tool, injectors
on the injectors and remove them.
|
|
| 12. |
Remove the sealing washers from the injectors.
|
|
| To fit |
| 1. |
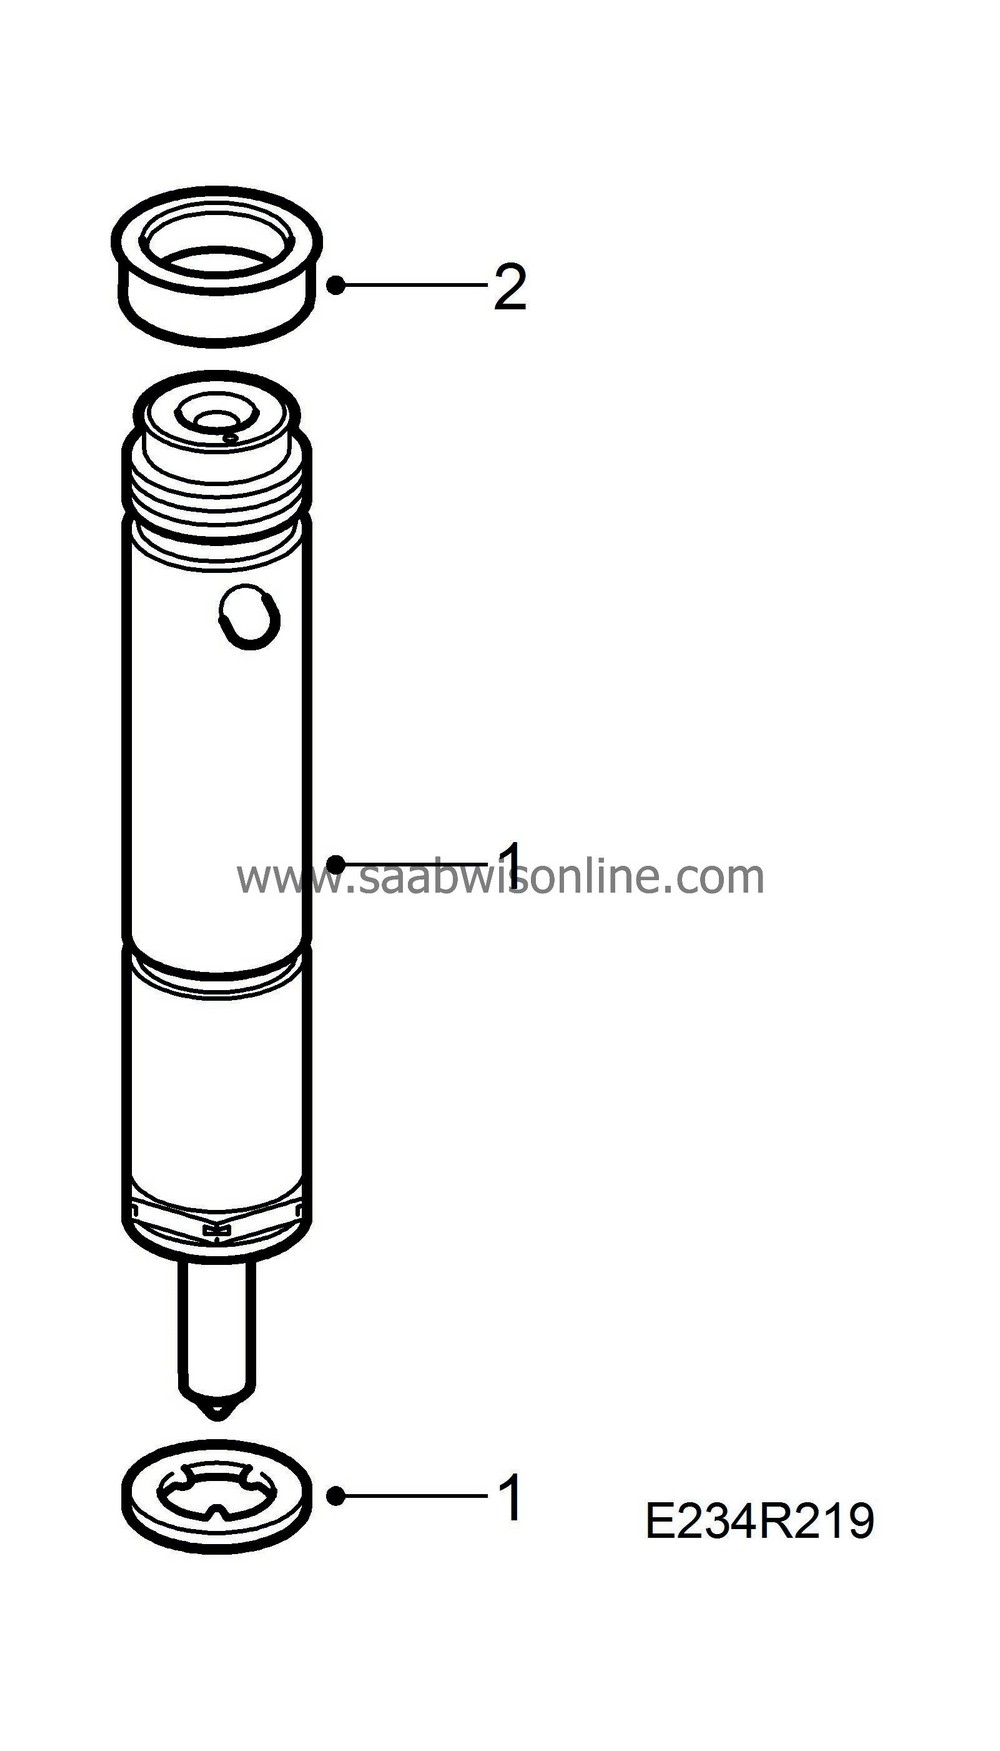
Fit new sealing washers on the injectors and mount them.
|
|
| 2. |
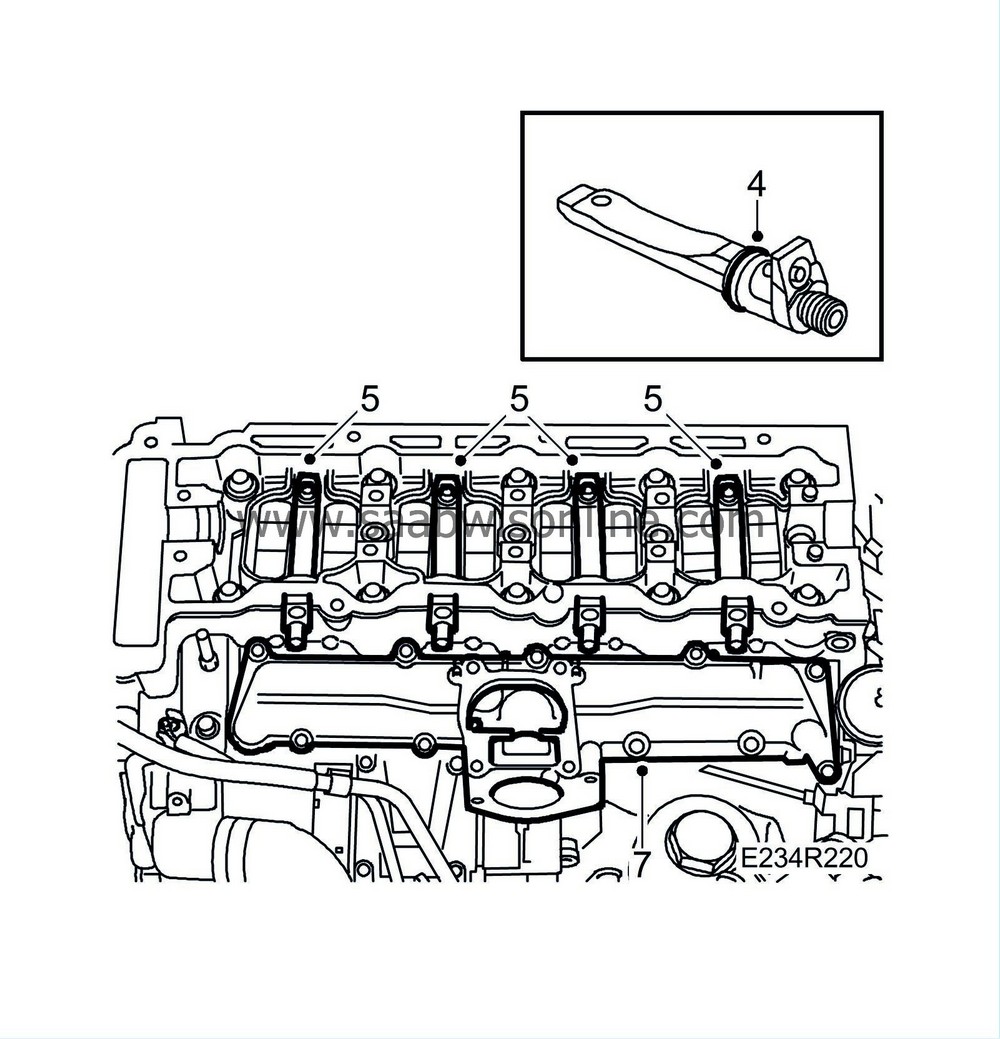
Fit new seals on the injector connections against the fuel bridges. Remove any residue from the old seals.
|
|
| 3. |
Blow out the holes for the fuel bridge retaining screws.
|
|
| 4. |
Fit new O-rings on the fuel bridges. Lubricate the O-rings with acid-free petroleum jelly and carefully insert the fuel bridges into the cylinder head.
|
|
| 5. |
Tighten the fuel bridge screws.
Tightening torque: 5 Nm + 360° (4 lbf ft + 360°) |
|
| 6. |
Clean the sealing surfaces.
|
|
| 7. |
Fit a new gasket to the lower portion of the intake manifold and fit the upper portion of the intake manifold.
Tightening torque: 10 Nm (7 lbf ft) |
|
| 8. |
Check the fuel rail connecting cones. Replace as necessary.
|
|
| 9. |
Connect the fuel rails with clips in their original positions.
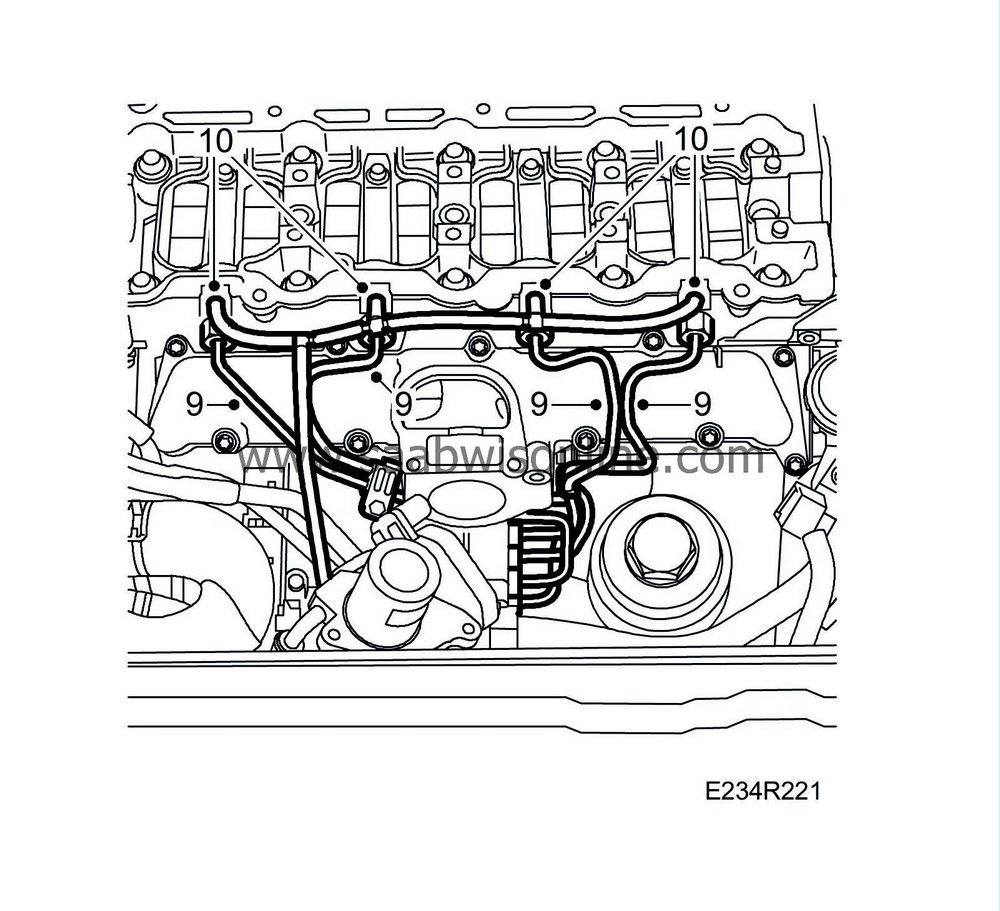
Tightening torque: 25 Nm (18 lbf ft). |
|
| 10. |
Fit new fuel return hoses. Check the condition of the T-pieces. Replace as necessary.
|
|
| 11. |
Connect the fuel return hoses to the fuel bridges. Loosen the fuel return hose connection at the fuel pump and attach
30 14 883 Pressure/vacuum pump
to the hose. Pump up 750 mbar negative pressure and wait 1 minute. Check that the indicator on the tool has not moved.
If there is a leak, the fuel bridges must be checked individually. Connect the pressure/vacuum pump to each fuel bridge's fuel return connection, not the existing return hose. If the fuel bridges are fault-free, examine the fuel return hoses with T-pieces. The hoses should be soft, with no cracks or other damage. If there are signs of leakage, replace all fuel return hoses with T-pieces. If there is a leak in the fuel bridge, remove it, replace the seal, and refit. Recheck for leaks. |
|
| 12. |
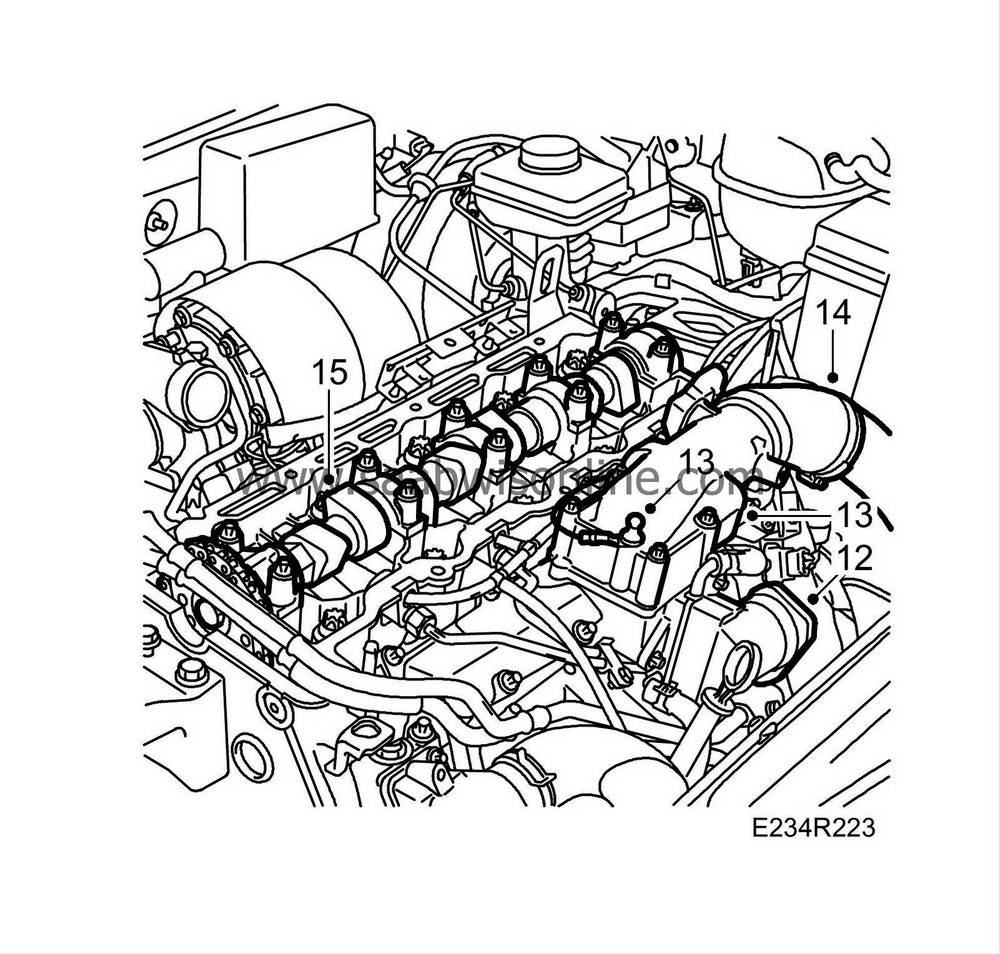
Fit the EGR valve with new O-ring. Plug in the EGR valve connector.
|
|
| 13. |
Fit the throttle body with new gasket. Attach the ground cable and temperature/pressure sensor connector.
Tightening torque: 10 Nm (7 lbf ft) |
|
| 14. |
Fit the turbocharger delivery pipe with hose to the throttle body.
|
|
| 15. |
Fit the camshaft. See
Camshaft
.
|
|

 Warning

