Readings, control module connections, xenon headlamps
|
|
Readings, control module connections, xenon headlamps
|
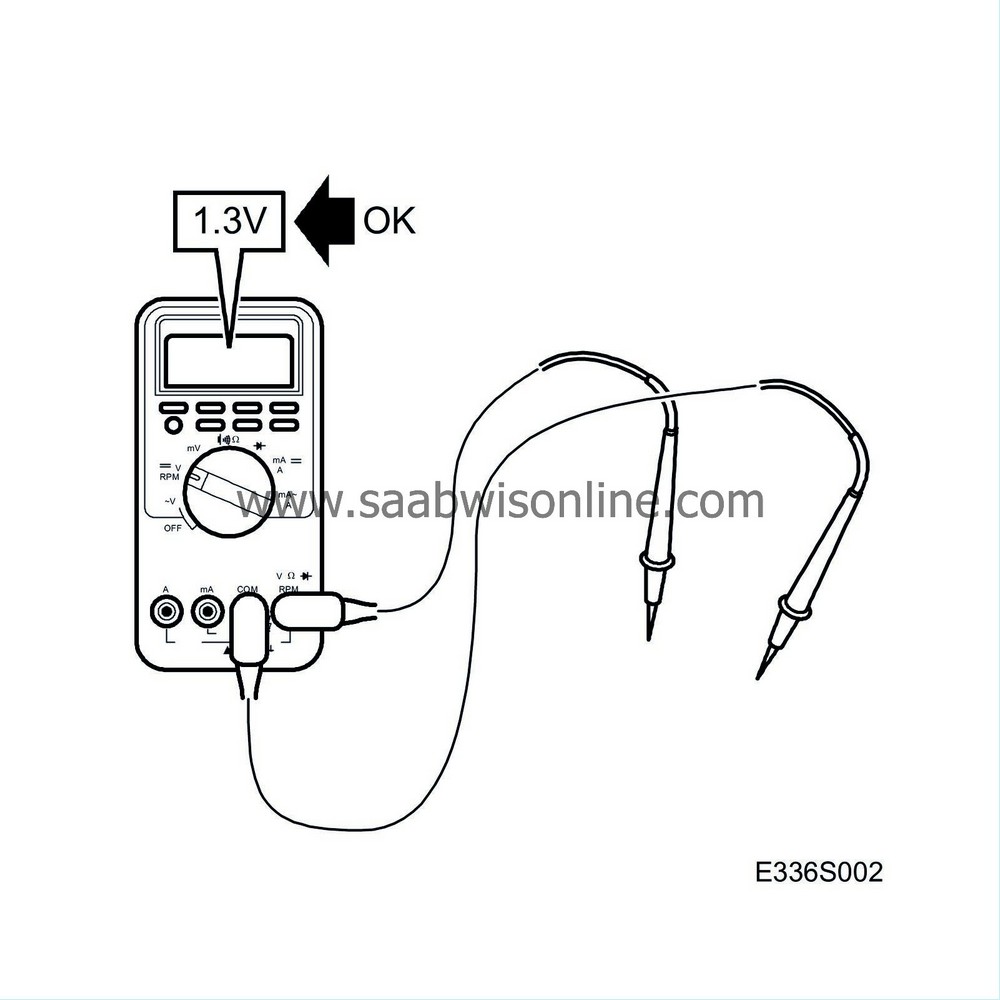
This section contains the readings and instructions for measuring voltage levels on the SID unit.
|
•
|
Note the test conditions and use common sense when assessing the test result.
|
|
•
|
First check that the control module has a power supply and is grounded.
|
|
•
|
Then check all sensor inputs and signals from other systems.
|
|
•
|
Lastly, check the control module outputs. Remember, the test values do not say anything about whether or not the actuator is in working order.
|
|
•
|
If a reading is incorrect, consult the wiring diagram to trace the leads, connectors or components which should be checked more thoroughly.
|
|
•
|
The specified test readings refer to those obtained with a calibrated Fluke 88/97.
|
|
•
|
The test readings show the signal's pulse ratio and pulse width. A test instrument with pulse ratio and pulse width measurement must be used. The sign indicates a positive trigger pulse, TRIG+.

|
|
Control module connection
|
Headlamp, LH (663FL)
Headlamp, RH (663FR)
Pin no.
|
Component/
function
|
In/Out
|
Test conditions
|
|
Across
|
Test value
|
See
|
1
|
Ground
|
In
|
Turn Ignition On
|
|
10-1
|
B+
|

|
|
|
|
|
|
|
1-B-
|
<0.5V
|
|
2
|
Main beam
|
In
|
Main beam on
|
|
2-1
|
B+
|

|
|
|
|
Main beam off
Dipped beam on
|
|
2-1
|
<0.5V
|

|
3
|
Main voltage supply
|
In
|
Xenon lamp on
|
|
3-1
|
B+
|

|
4
|
Parking lights
|
In
|
Parking light on
|
|
4-1
|
B+
|

|
5
|
Indicator lamp, xenon light system
|
Out
|
Turn Ignition On
|
On
|
5-1
|
<0.5V
|
|
|
|
|
|
|
Off
|
5-1
|
approx. 9 V
|
|
6
|
Load angle sensor, PWM signal 200Hz
|
In
|
|
|
|
approx. 4 V, 200 Hz
|

|
7
|
Headlamp flasher H7
|
In
|
Headlamp flasher on
|
|
7-1
|
B+
|
|
|
|
|
IGNITION OFF
Dipped beam off
Headlamp flasher on
|
|
7-1
|
B+
|
|
8
|
No connection
|
|
|
|
|
|
|
9
|
Diagnostic communication, Diagnostic tool
|
In/Out
|
Diagnostic tool not connected
|
|
9-1
|
0V
|
|
|
|
|
|
Diagnostic tool not connected and AHL (xenon) selected for communication
|
|
9-1
|
approx. 7-10V
|
|
10
|
Power supply +15
|
In
|
Turn Ignition On
|
|
10-1
|
B+
|

|


